In my last post, I talked about how a label ran and I ended up cutting it out. You can see pictures of it here. We used scissors to cut, so the edges are a little jagged and not straight. 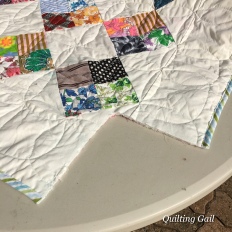
I really didn’t want to do a set-in seam with top, batting and back, so I decided to make a straight edge. All stitching was taken out about 3/4″ from the edge. I then whip-stitched the batting triangle to the original batting. Next, a background (white) triangle and a backing triangle were sewn onto the quilt. Elmer’s glue was used to sandwich the triangle to prevent future shifting. The triangle was squared to match the quilt … and I was smiling!
The first steps were done! (I find that sometimes they are the hardest steps to take!)
A new label was made, glued and ironed into place, then sewn down. I then quilted it from the top. (Sorry, I didn’t get a picture of me quilting it.)
Finally, the binding was attached. I attempted to do it the way a blog reader suggested, but on the third try, I decided to unstitch more of the binding, joining it in my usual manner. By this time, I was really smiling because it was almost done. 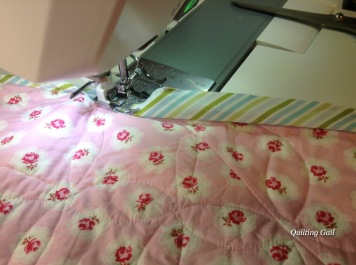
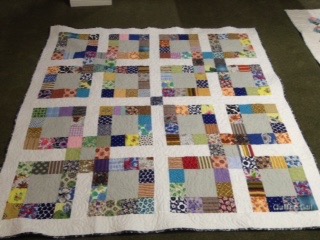
Grandma’s Fabric: Quilt 6 is now fixed and completed. I will post a picture of the completed quilt once it’s washed and hanging in the sunshine!
To see what others are working on wander over to these blogs:
Hope your quilting avoids disaster!
Gail