This blog post contains:
- How to make a quilt back when you don’t have quite enough fabric for the backing.
- Winner of the Fabric Draw from THIS Post
Making the Back

When I made one of my Log Cabin quilts for the Island Batik challenge, (see HERE) I wanted to use the lovely dark purple fabric (Gears – Purple Hyacinth) to back one of my log cabin quilts. But, alas, there was not enough. I have sometimes been asked how to make my diagonal backs, so I thought I’d do a short tutorial on it.
My quilt top is on the design wall. I took the dark purple and pinned it close to the top, folded it diagonally (not at 45o), just diagonally, from corner to corner. You can see how it looks ‘off’ from the quilt. That’s OK. You just want to have it diagonal.
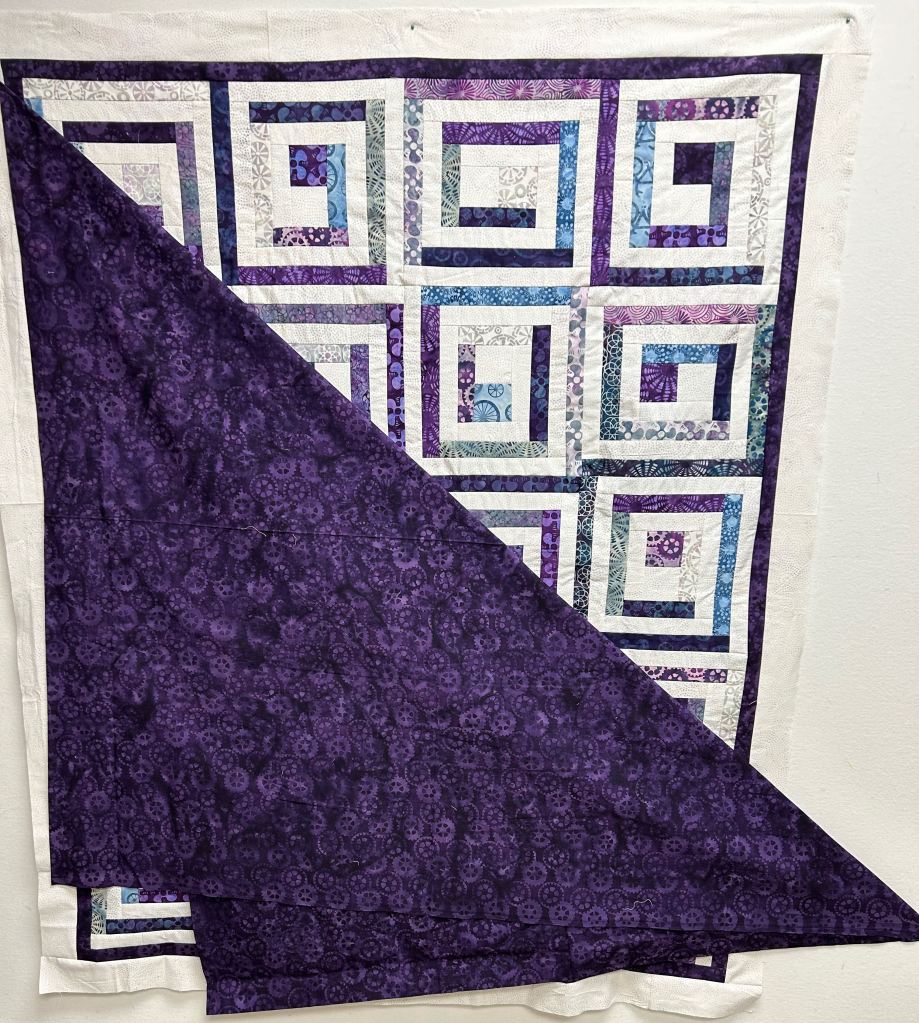
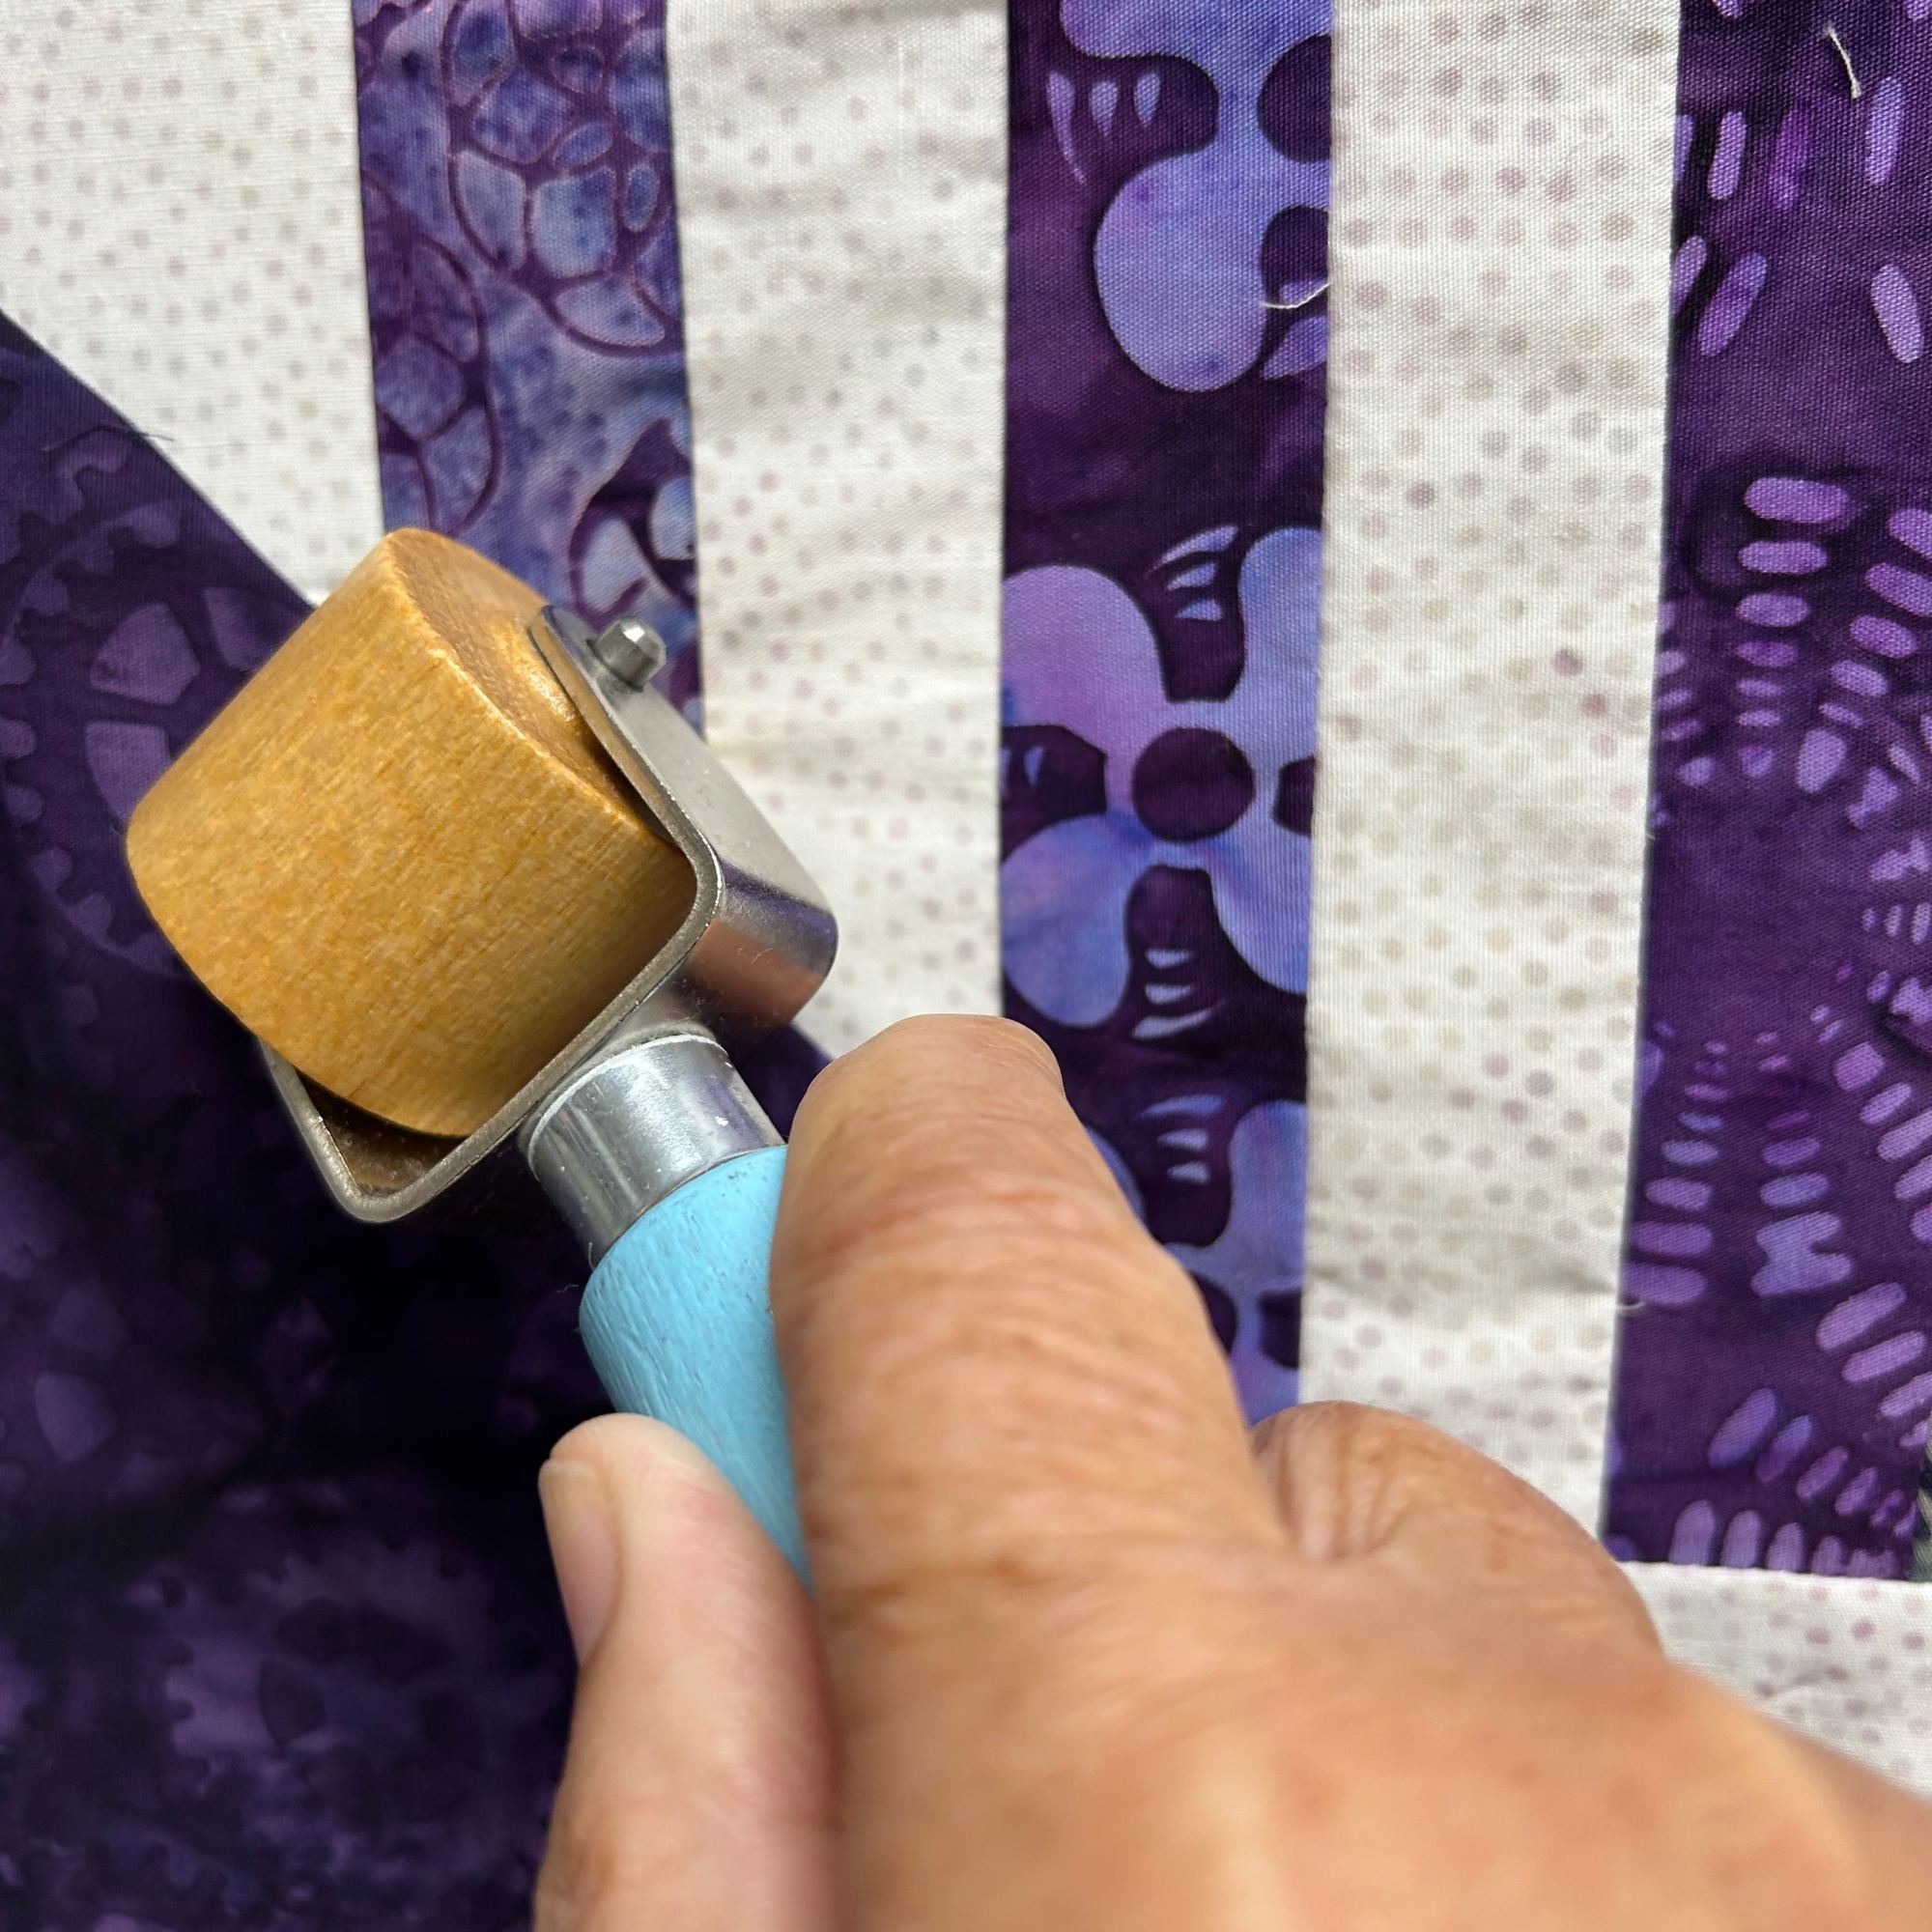
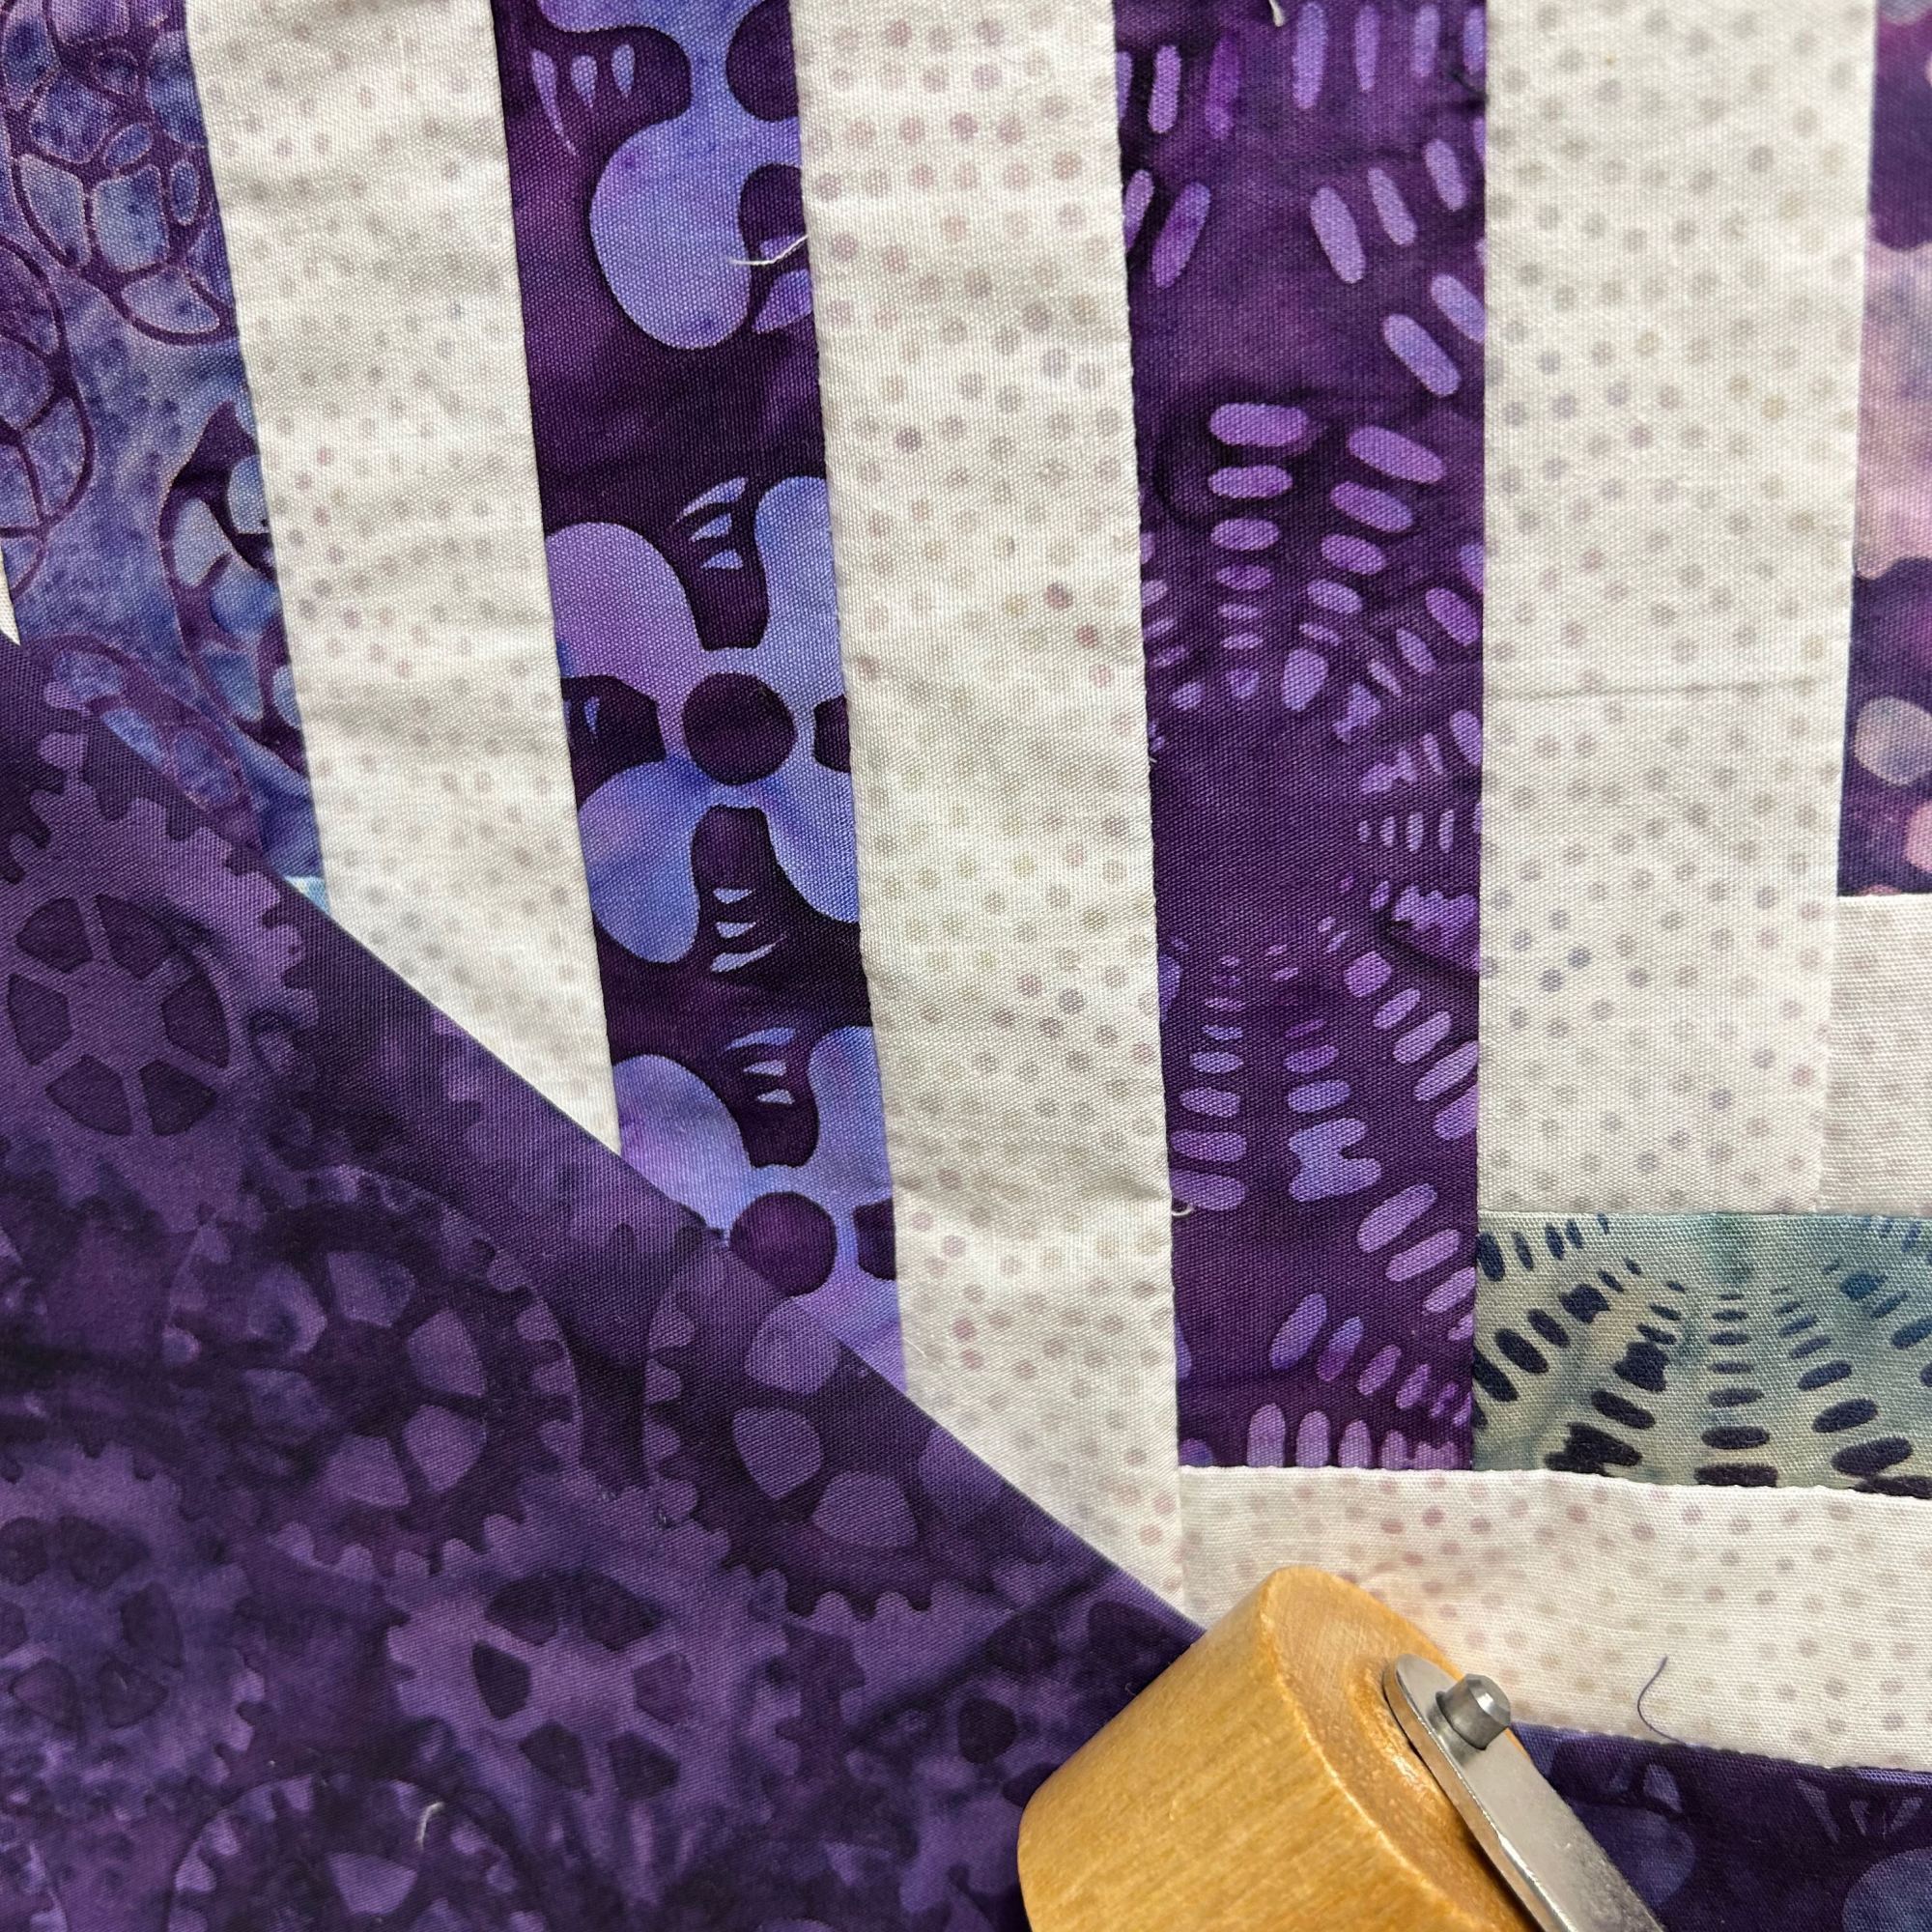
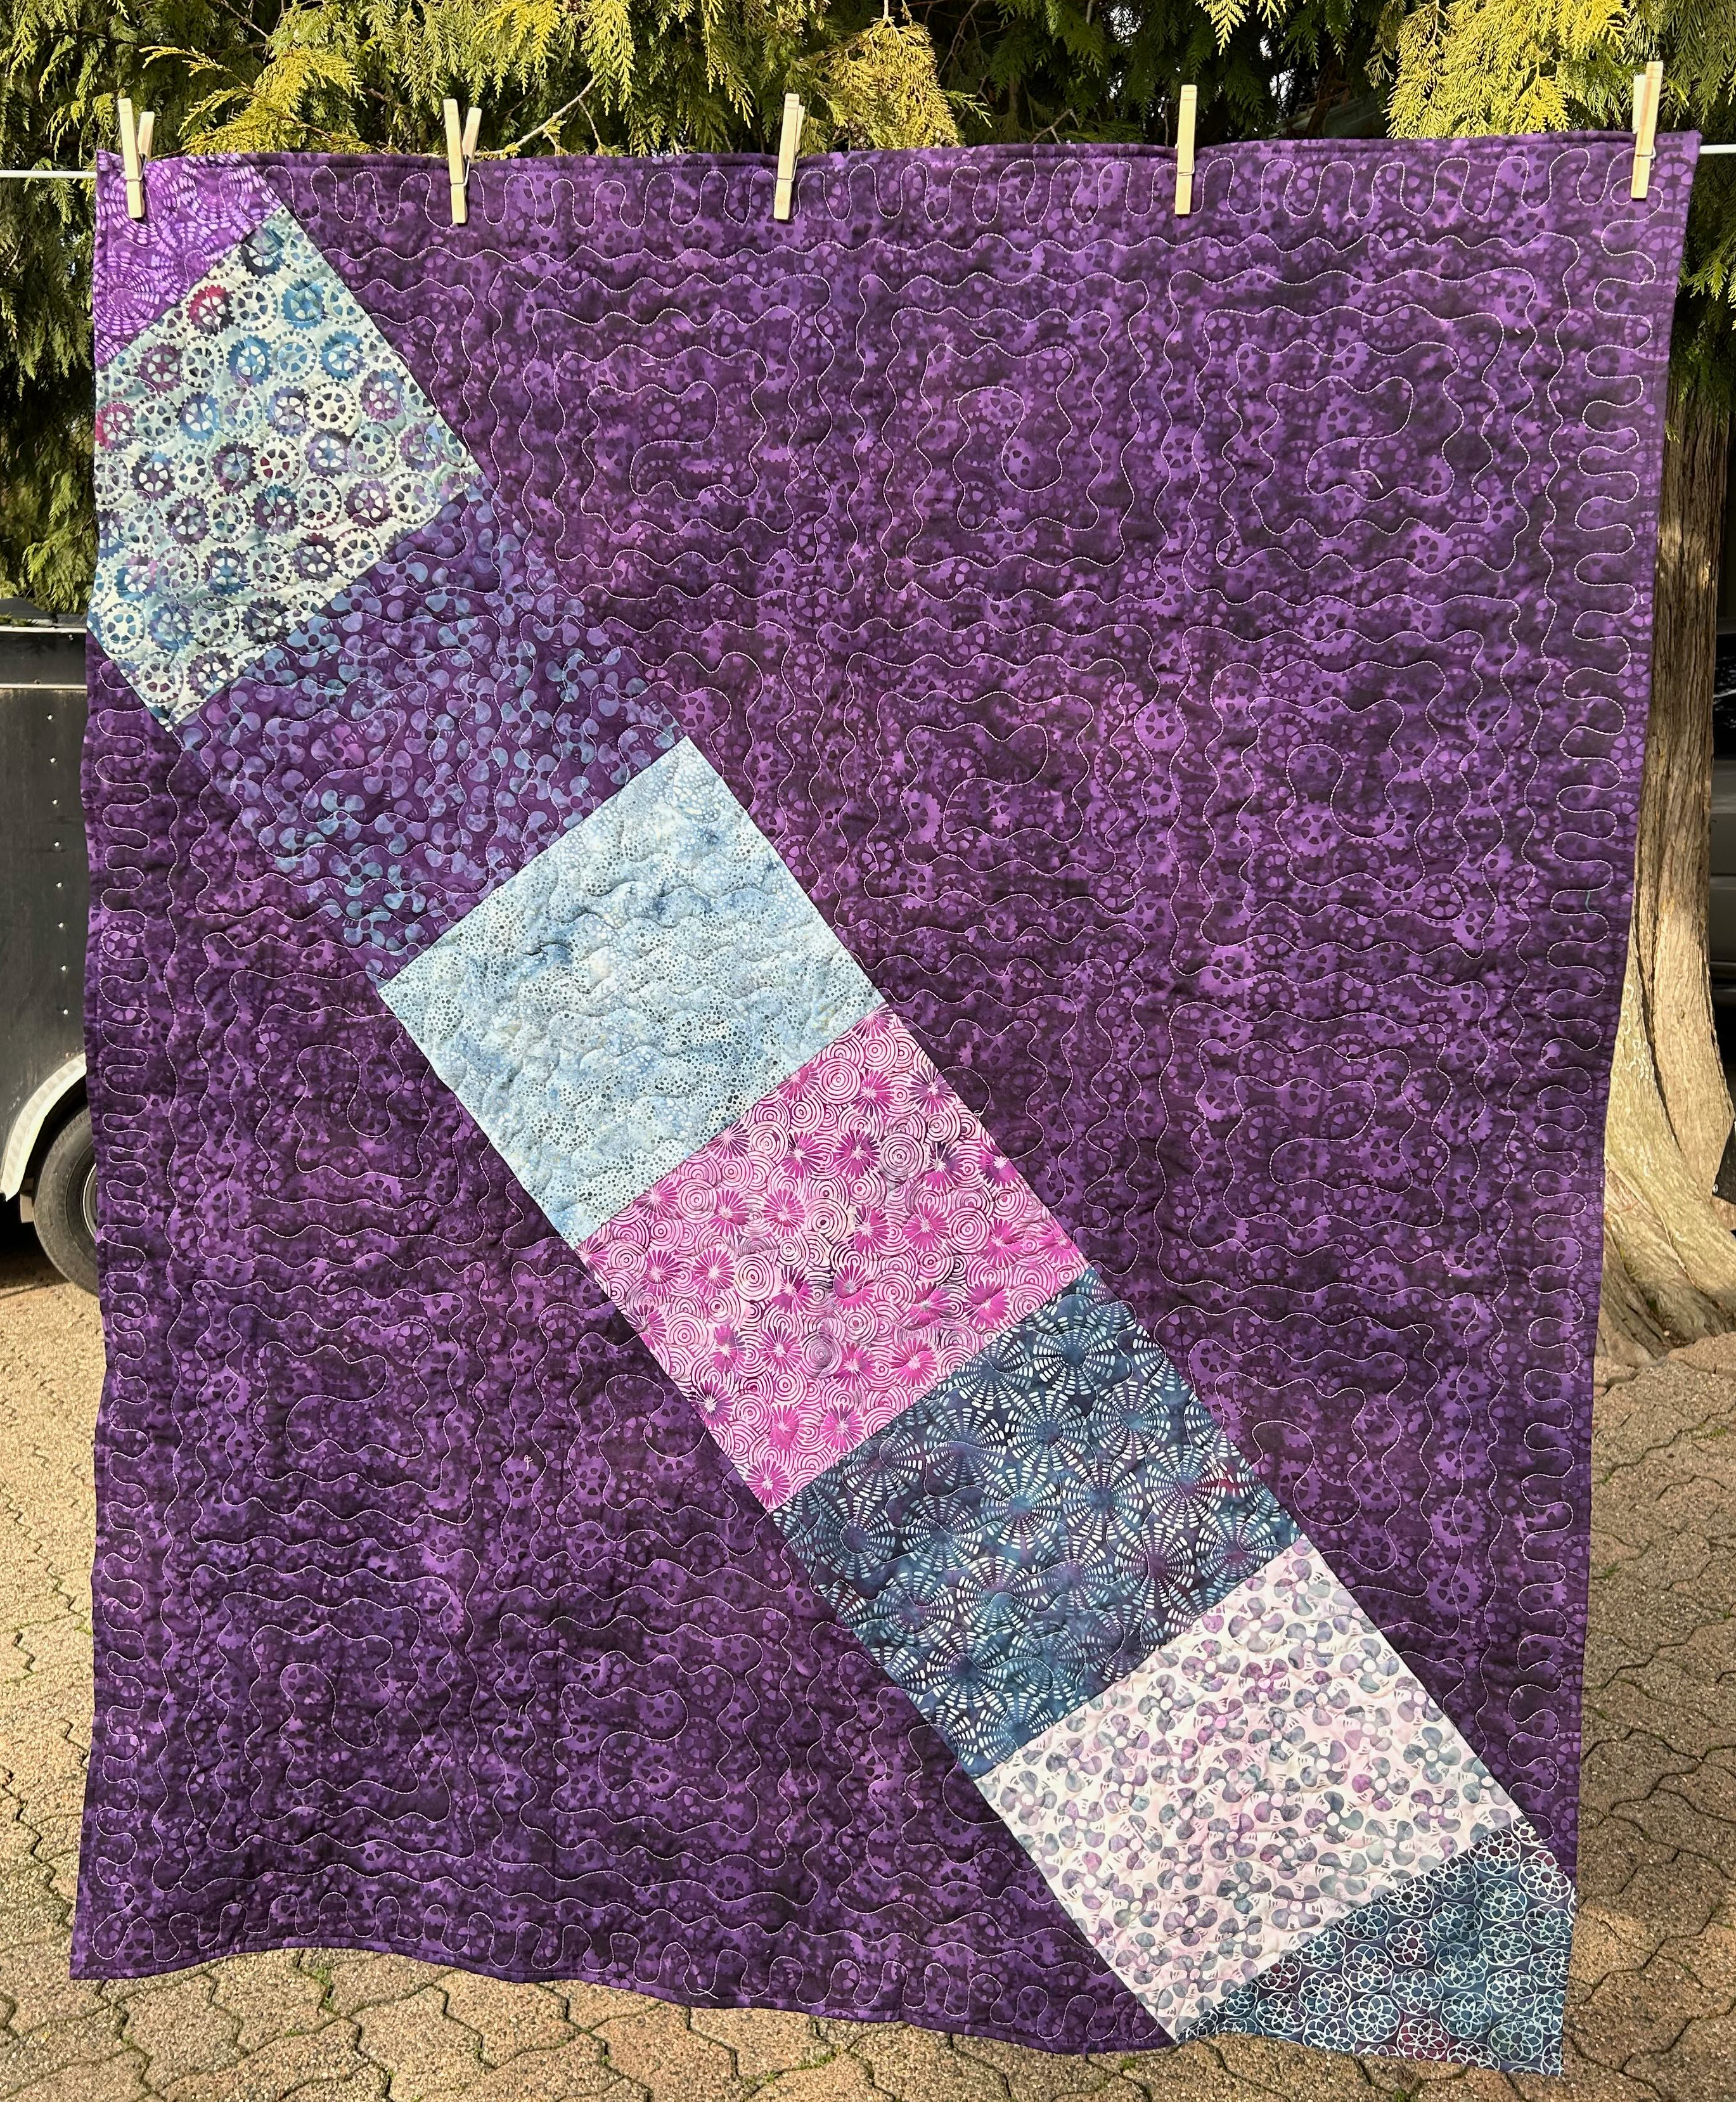
Then I took my roller and pressed that diagonal line. The next step was to use my fabric shears and cut the diagonal line. I placed the 2 halves over the quilt, going beyond the quilt by about 3″ on each side. (that’s the extra I like to have when I’m free motion quilting). If you are worried about cutting on the bias, you can always put a small strip of iron-on interfacing on the cutting line before cutting. In this case, you may want to mark the line instead of ‘pressing’ it. When working with Island Batik fabrics, I don’t worry about the bias stretching and I am gentle with it!
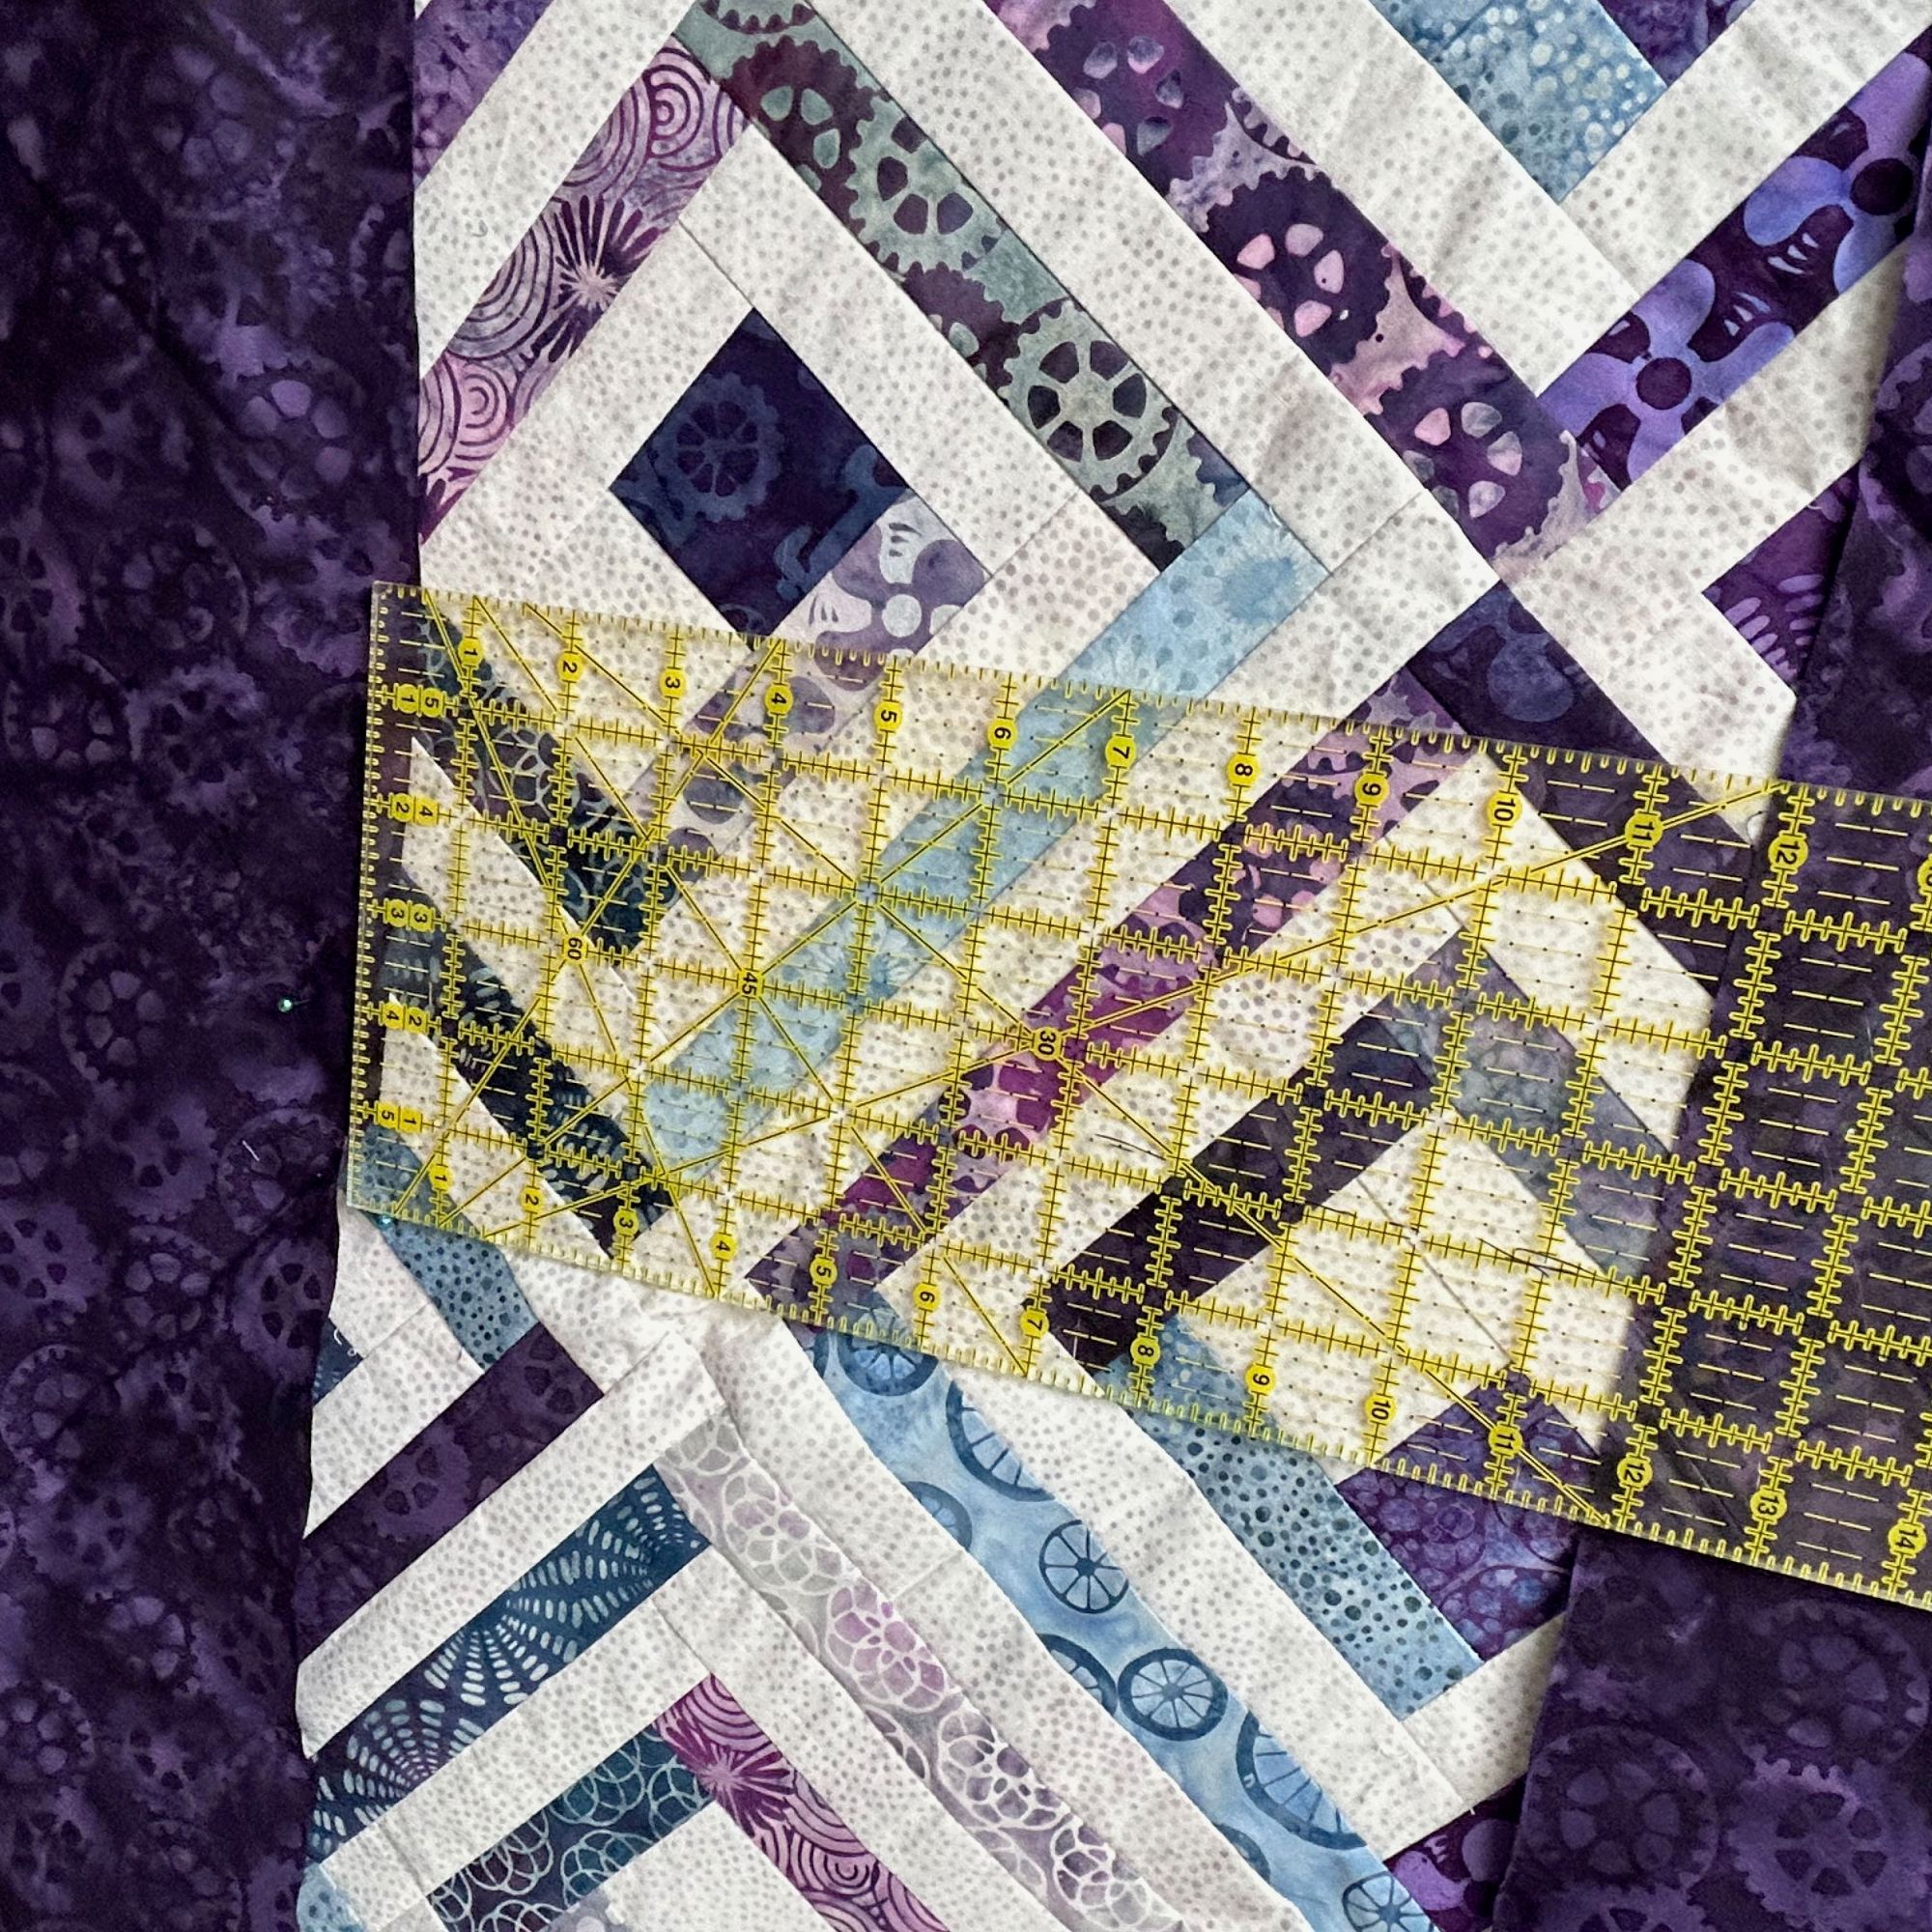
Then, I measured the distance between the two halves … it was about 12.” I added 1/2” for seam allowance and I cut pieces of fabric 12 1/2” wide. Those were pieced together to make one long strip. Each half of the diagonally cut piece was sewn onto the long strip.


Yes, I could have used one piece of fabric for the long strip, but I chose to use some of my favourite fabrics from the line in the strip.
When I go to sandwich my quilts, I make sure that the 2 opposite diagonal corners of the quilt end up on the centre piece. This will avoid any nasty build up of seams in the corners.
I’d love to hear if you’ve ever done this or if you plan to!
I’ll be linking to Kathleen McMusing’s Tips and Tutorials. If you’ve never been to her blog … the Tips and Tutorials has a plethora of fantastic quilting information. It’s well worth the visit. HERE.

Winner of the Fabric Draw

When I posted my Island Batik Log Cabin Challenge, I offered readers / followers to have an opportunity to win some Heavy Metal fabric. The Rafflecopter only worked for some people, so I took the list from the Rafflecopter and the list from the comments and combined them. I used a Random Number Generator and the it’s #14 … Stella M. I have emailed her and the fabric will be in her hands soon!
One who sleeps under a quilt is covered by LOVE!
Happy Quilting!
Gail
Linking to:
- Midweek Makers @ QuiltFabrication
- Wednesday Wait Loss @ Inquiring Quilter
- Happy Needle and Thread @ My Quilt Infatuation
- Put your Foot Down @ A Quiltery
- TGIFF @ Kathleen McMusing
- Andrée / Free Motion Mavericks @ Quilting & Learning – What a combo!
- Can I get a Whoop Whoop? @ Confessions of a Fabric Addict
- Finished or Not Friday @ Alycia Quilts
- Sherry @ Powered by Quilting
- Michelle @ From Bolt to Beauty
- Off the Wall Friday @ Creations – Quilts, Art, Whatever

I love your quilt back almost as much as the front, so pretty. Thank you for linking up to Put your foot down.
LikeLiked by 1 person
Thanks, Denise! I agree with you. But then again, it’s hard to not have pretty quilts when we use Island Batik’s wonderful fabric!
LikeLike
I love using up the fabrics from a collection to make my backing! Fun tutorial. Thanks for sharing on my weekly show and tell, Wednesday Wait Loss. https://www.inquiringquilter.com/questions/2024/02/21/wednesday-wait-loss-368
LikeLiked by 1 person
It’s a fun and easy technique! Thanks for hosting Wednesday Wait Loss.
LikeLike
Thanks for the tutorial, Gail. I’ve never tried a diagonal back, but I really like this. It looks great! Did you fussy up the binding or just use the purple?
LikeLiked by 1 person
I had to take a look because I couldn’t remember! LOL!!! I actually did a self binding on it … that’s why it matches so well. Otherwise, I would have used purple.
LikeLiked by 1 person
Thank you for the tutorial! It’s nice to have a new way to piece a back.
LikeLiked by 1 person
You’re welcome Kathy!! It works well!
LikeLike
Hi Gail! This is so cool and your tutorial is spot on. Makes me want to try this for my next quilt! Thank you so much for sharing your technique with us. Happy Saturday to you. {{Hugs}} ~smile~ Roseanne
LikeLiked by 1 person
Thanks, Roseanne! I know I had seen another tutorial on making a similar, but different back and it used so much math I was confused! And that’s saying something for someone who once thought she might become a math teacher! :-). Of course, I’ll be looking for your back in the future! 🙂
LikeLiked by 1 person
This is an interesting concept. Looks cool
LikeLiked by 1 person
Thanks Laura Kate! It’s easy, too!
LikeLiked by 1 person
I have done it before but your instructions are very helpful for a refresher! Beautiful quilt front and back now!
LikeLiked by 1 person
Thanks!
LikeLike
I am impressed! I hope to use this technique a lot! Thanks for sharing.
LikeLiked by 1 person
Thanks! It’s super easy and I’ve used it quite a lot!
LikeLike
Love the backing. Will have to give it a try.
LikeLiked by 1 person
Thanks, Ioleen!! I’d love to see it when you make it! 🙂
LikeLike
Thanks for this fabulous solution for making a pieced backing! It looks lovely and it avoids mostly the problem of a seam ending right on top of another since it is diagonal! Thanks, too for linking up and promoting Tips and Tutes!
LikeLiked by 1 person
Thanks Kathleen!! I don’t promote Tips and Tutes often enough … there’s such a wealth of information there!
LikeLike