Joan, from Moose Stash Quilting is hosting this month’s blog hop: Bee Kind
| Challenge: September is the time to remember that a little kindness goes a long way. Share your “kind” projects. Your favorite charity project, a free online pattern or anything that shows you spread a little kindness, everywhere you go. The Bee’s are an important part of life as well, and we all need to be kind to them too! |
I thought it would be cute to make a quilt with a bee on it. But “NO” was my mind’s response to that thought. I’m allergic to bees (their stings) and I generally don’t like them. Yes, I know they are good for growing things and are necessary, but honestly, I don’t want them anywhere near me. And not close-up in a quilt!
I do a LOT of donation quilts for numerous charities (see below), but I wanted to do something different.
So what to do???
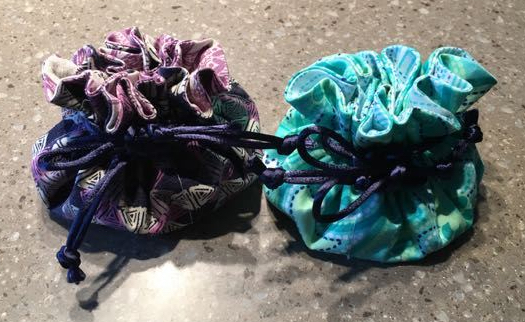
I was thinking about what to do as I was making a ton of tissue holders. I was getting ready for a retreat and making them for every attendee. Tissues are something that we all use and need at one time or another. The holders are quick and easy to make. But making over 20 of them takes time. And yes, I was doing it as a kindness to everyone!

Here’s how to make them:
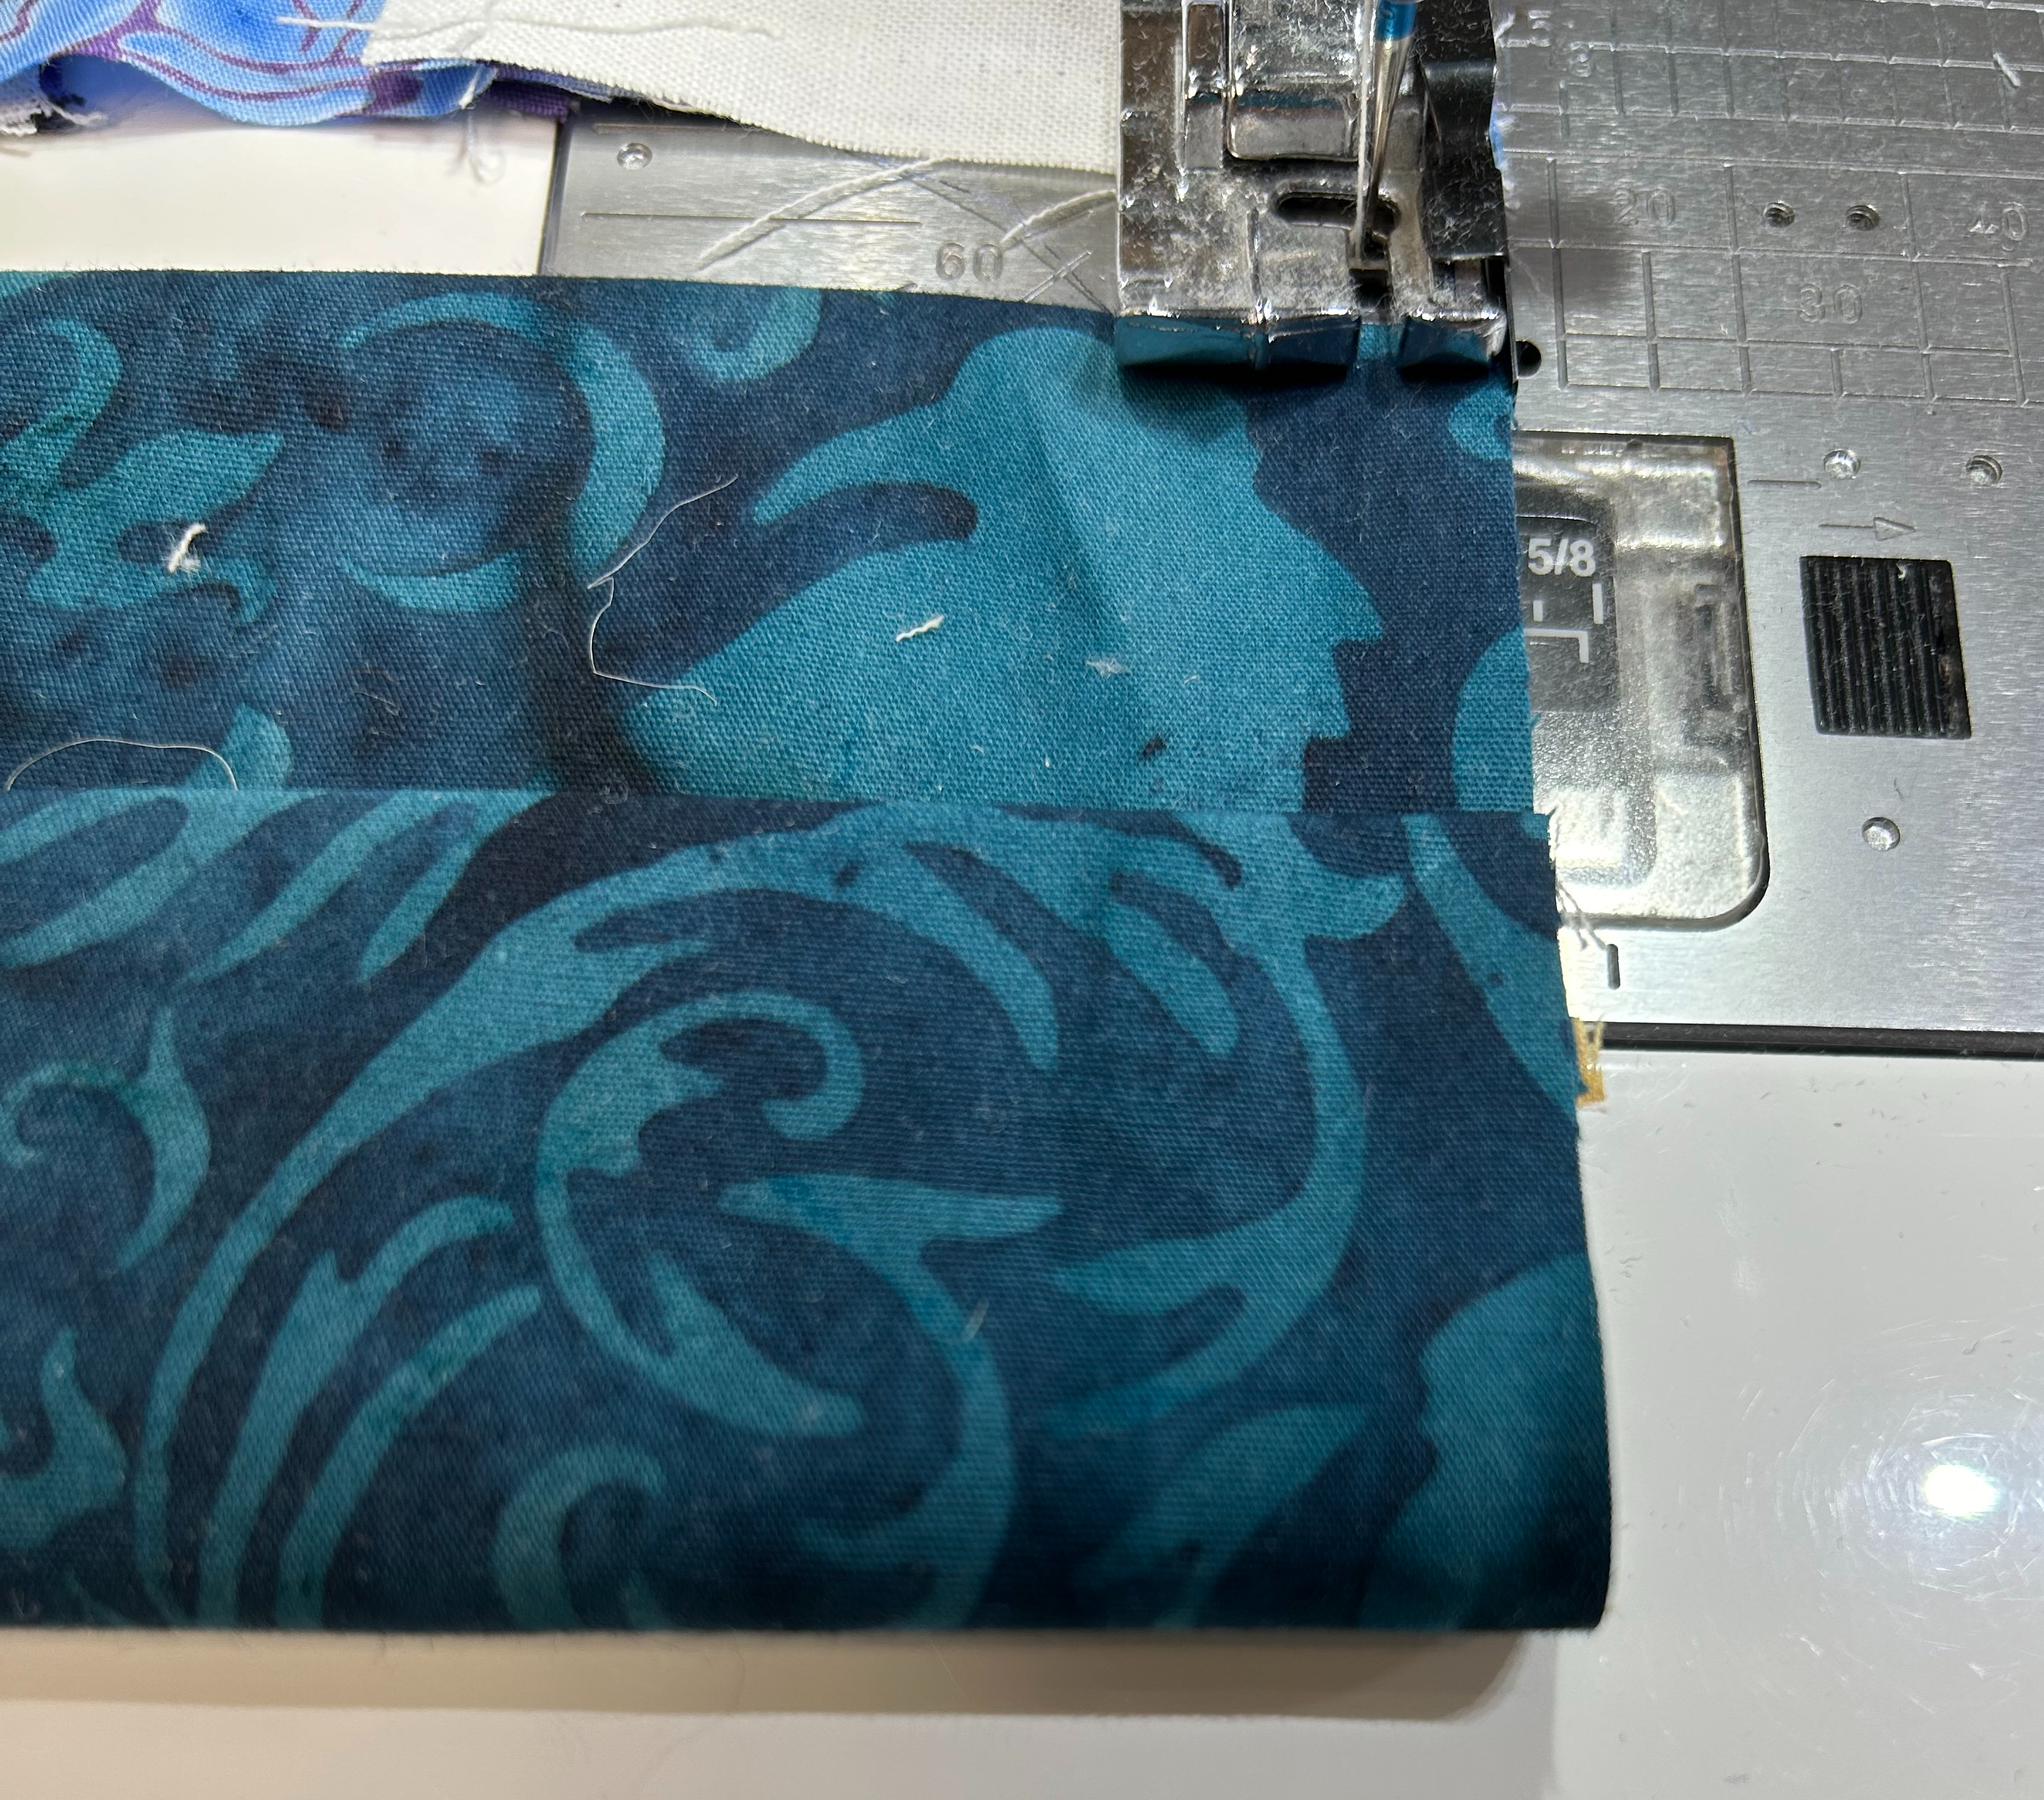
Step #1: Take a 6″ x 6″ square and an 6″ x 8″ rectangle. Sew them together on the long ends of the 8″ rectangle, wrong sides together, using a 1/4” seam.
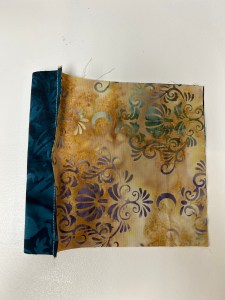
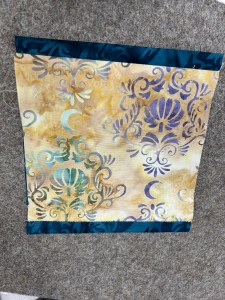
Step #2: Turn it right side out and ensure the ends of the 8″ rectangle form a small ‘border’ on each end. (I don’t measure, I just estimate that they are close to the same width).
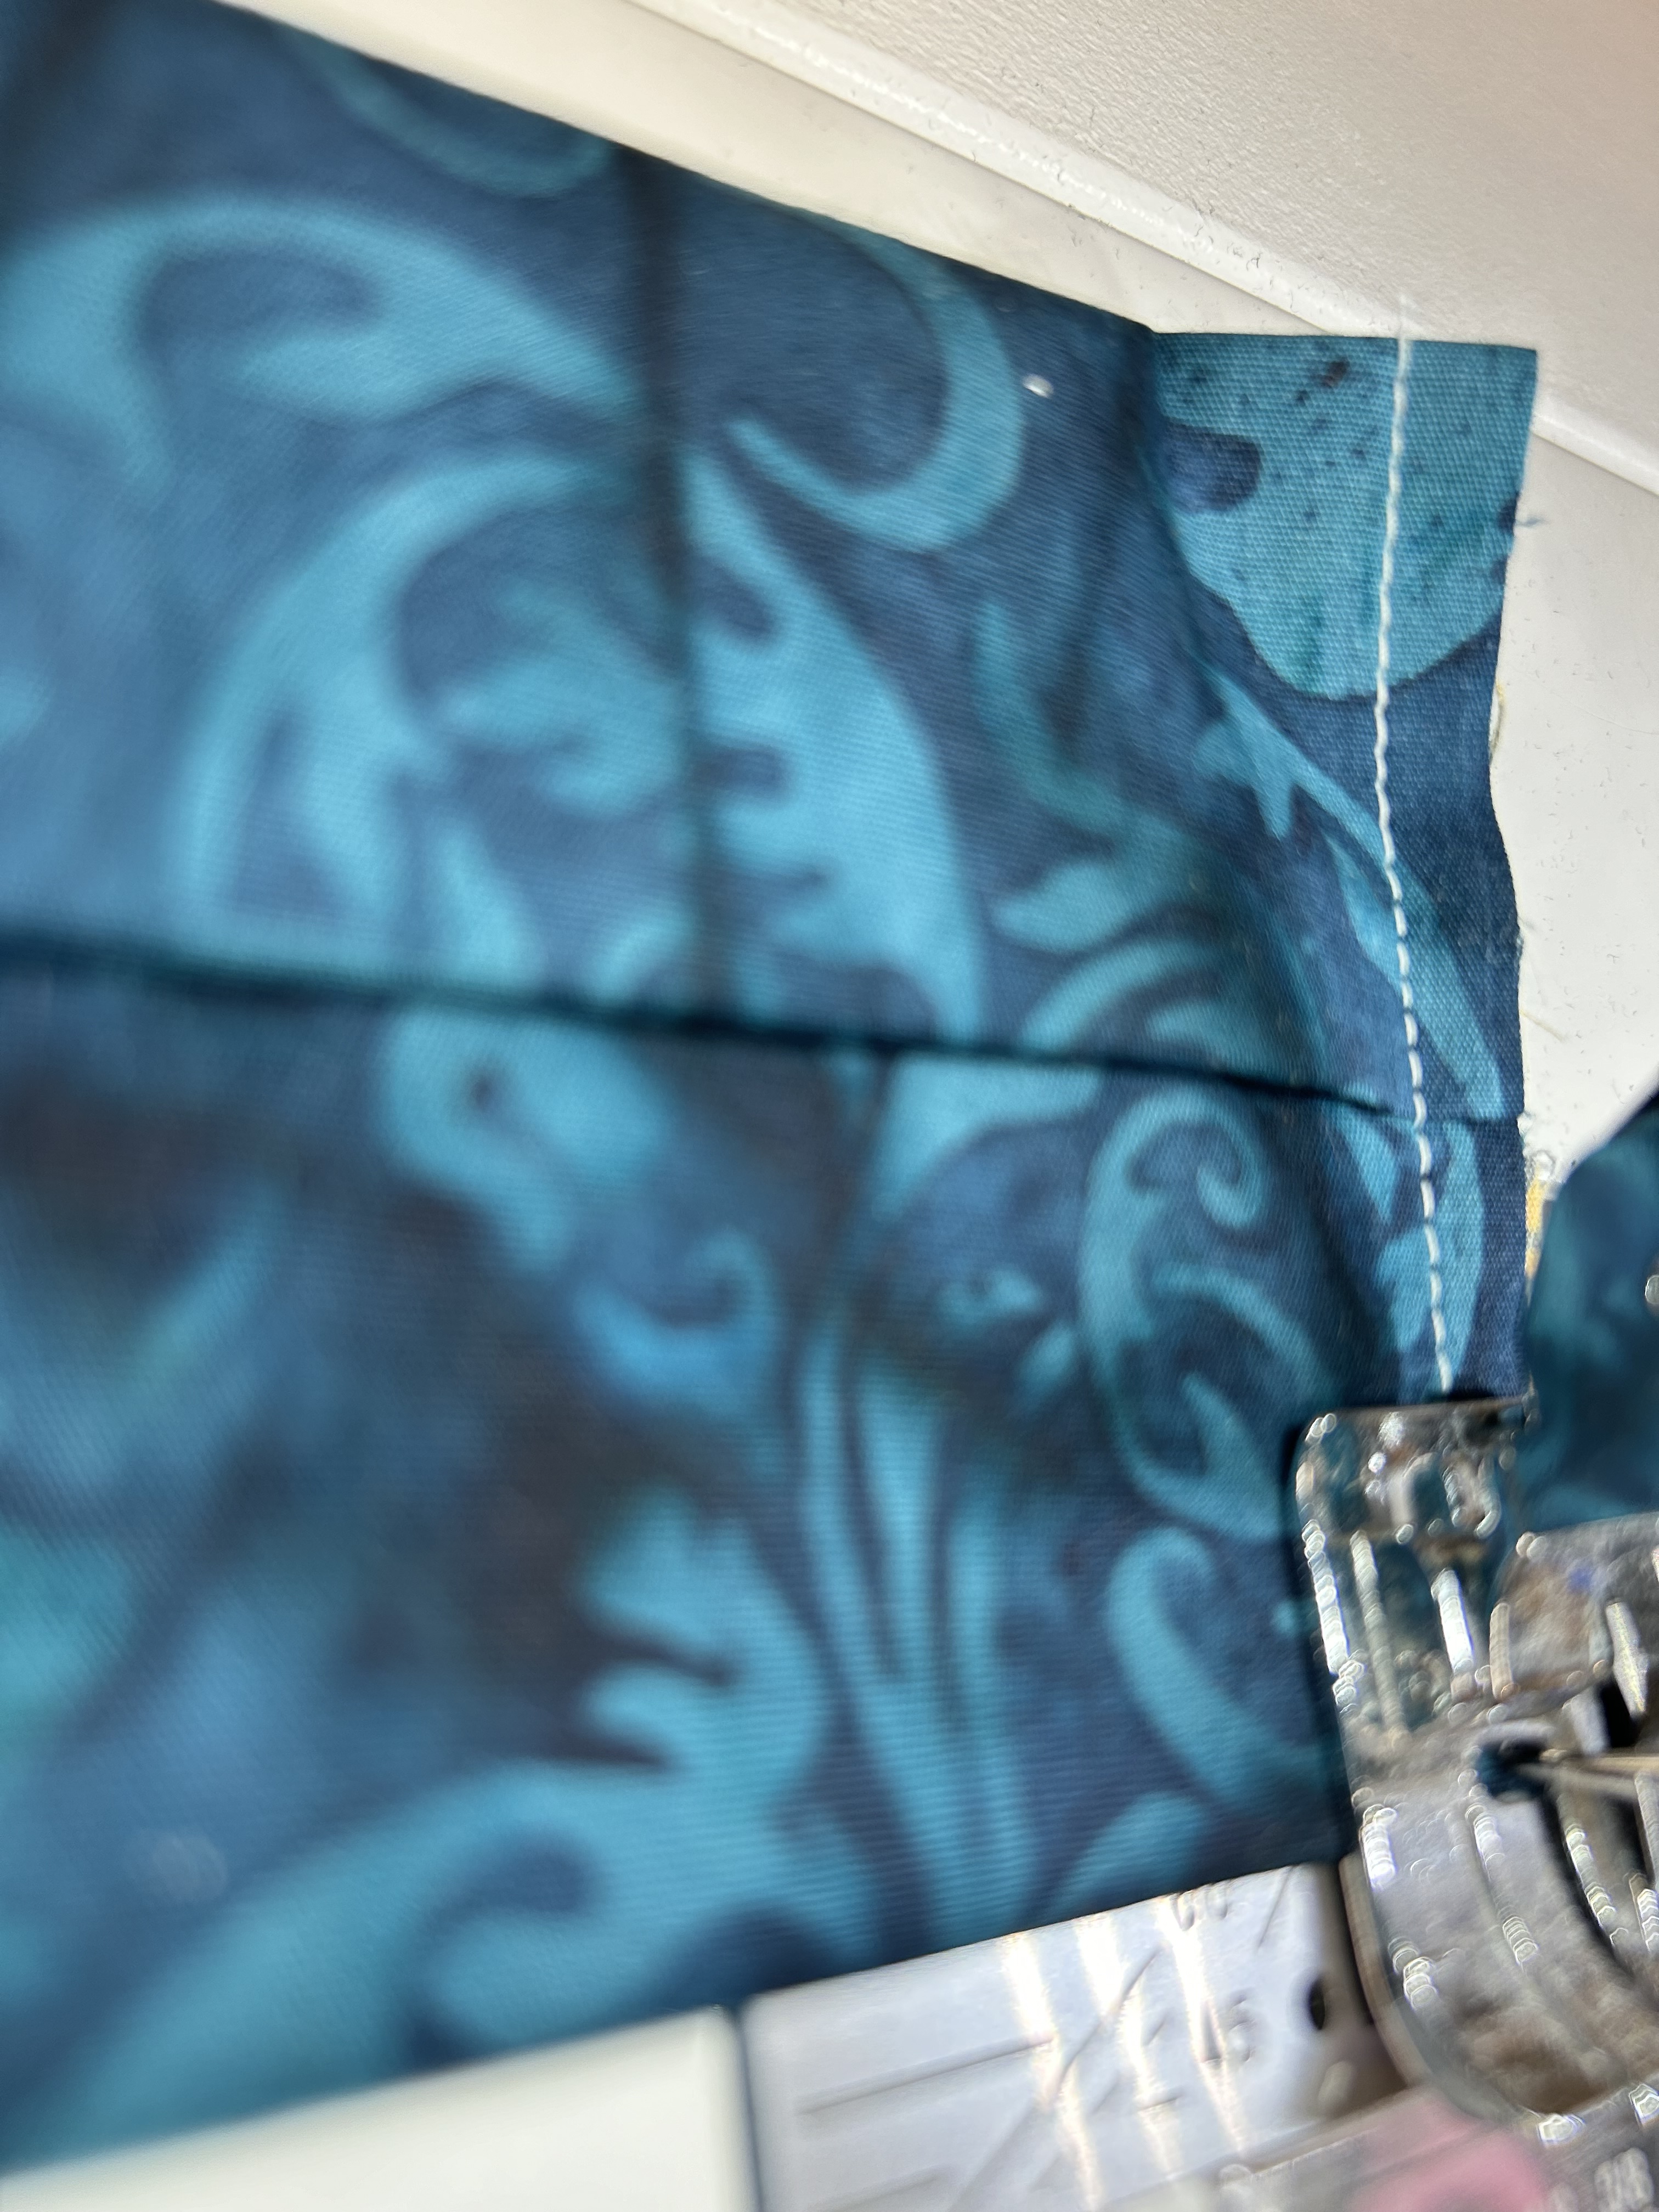
Step #3: Fold over one of the edges, measuring 1 3/4” up. Overlap the second side, folding down 1 1/2“. Clip into place and sew the ends. (Yes, they will overlap).
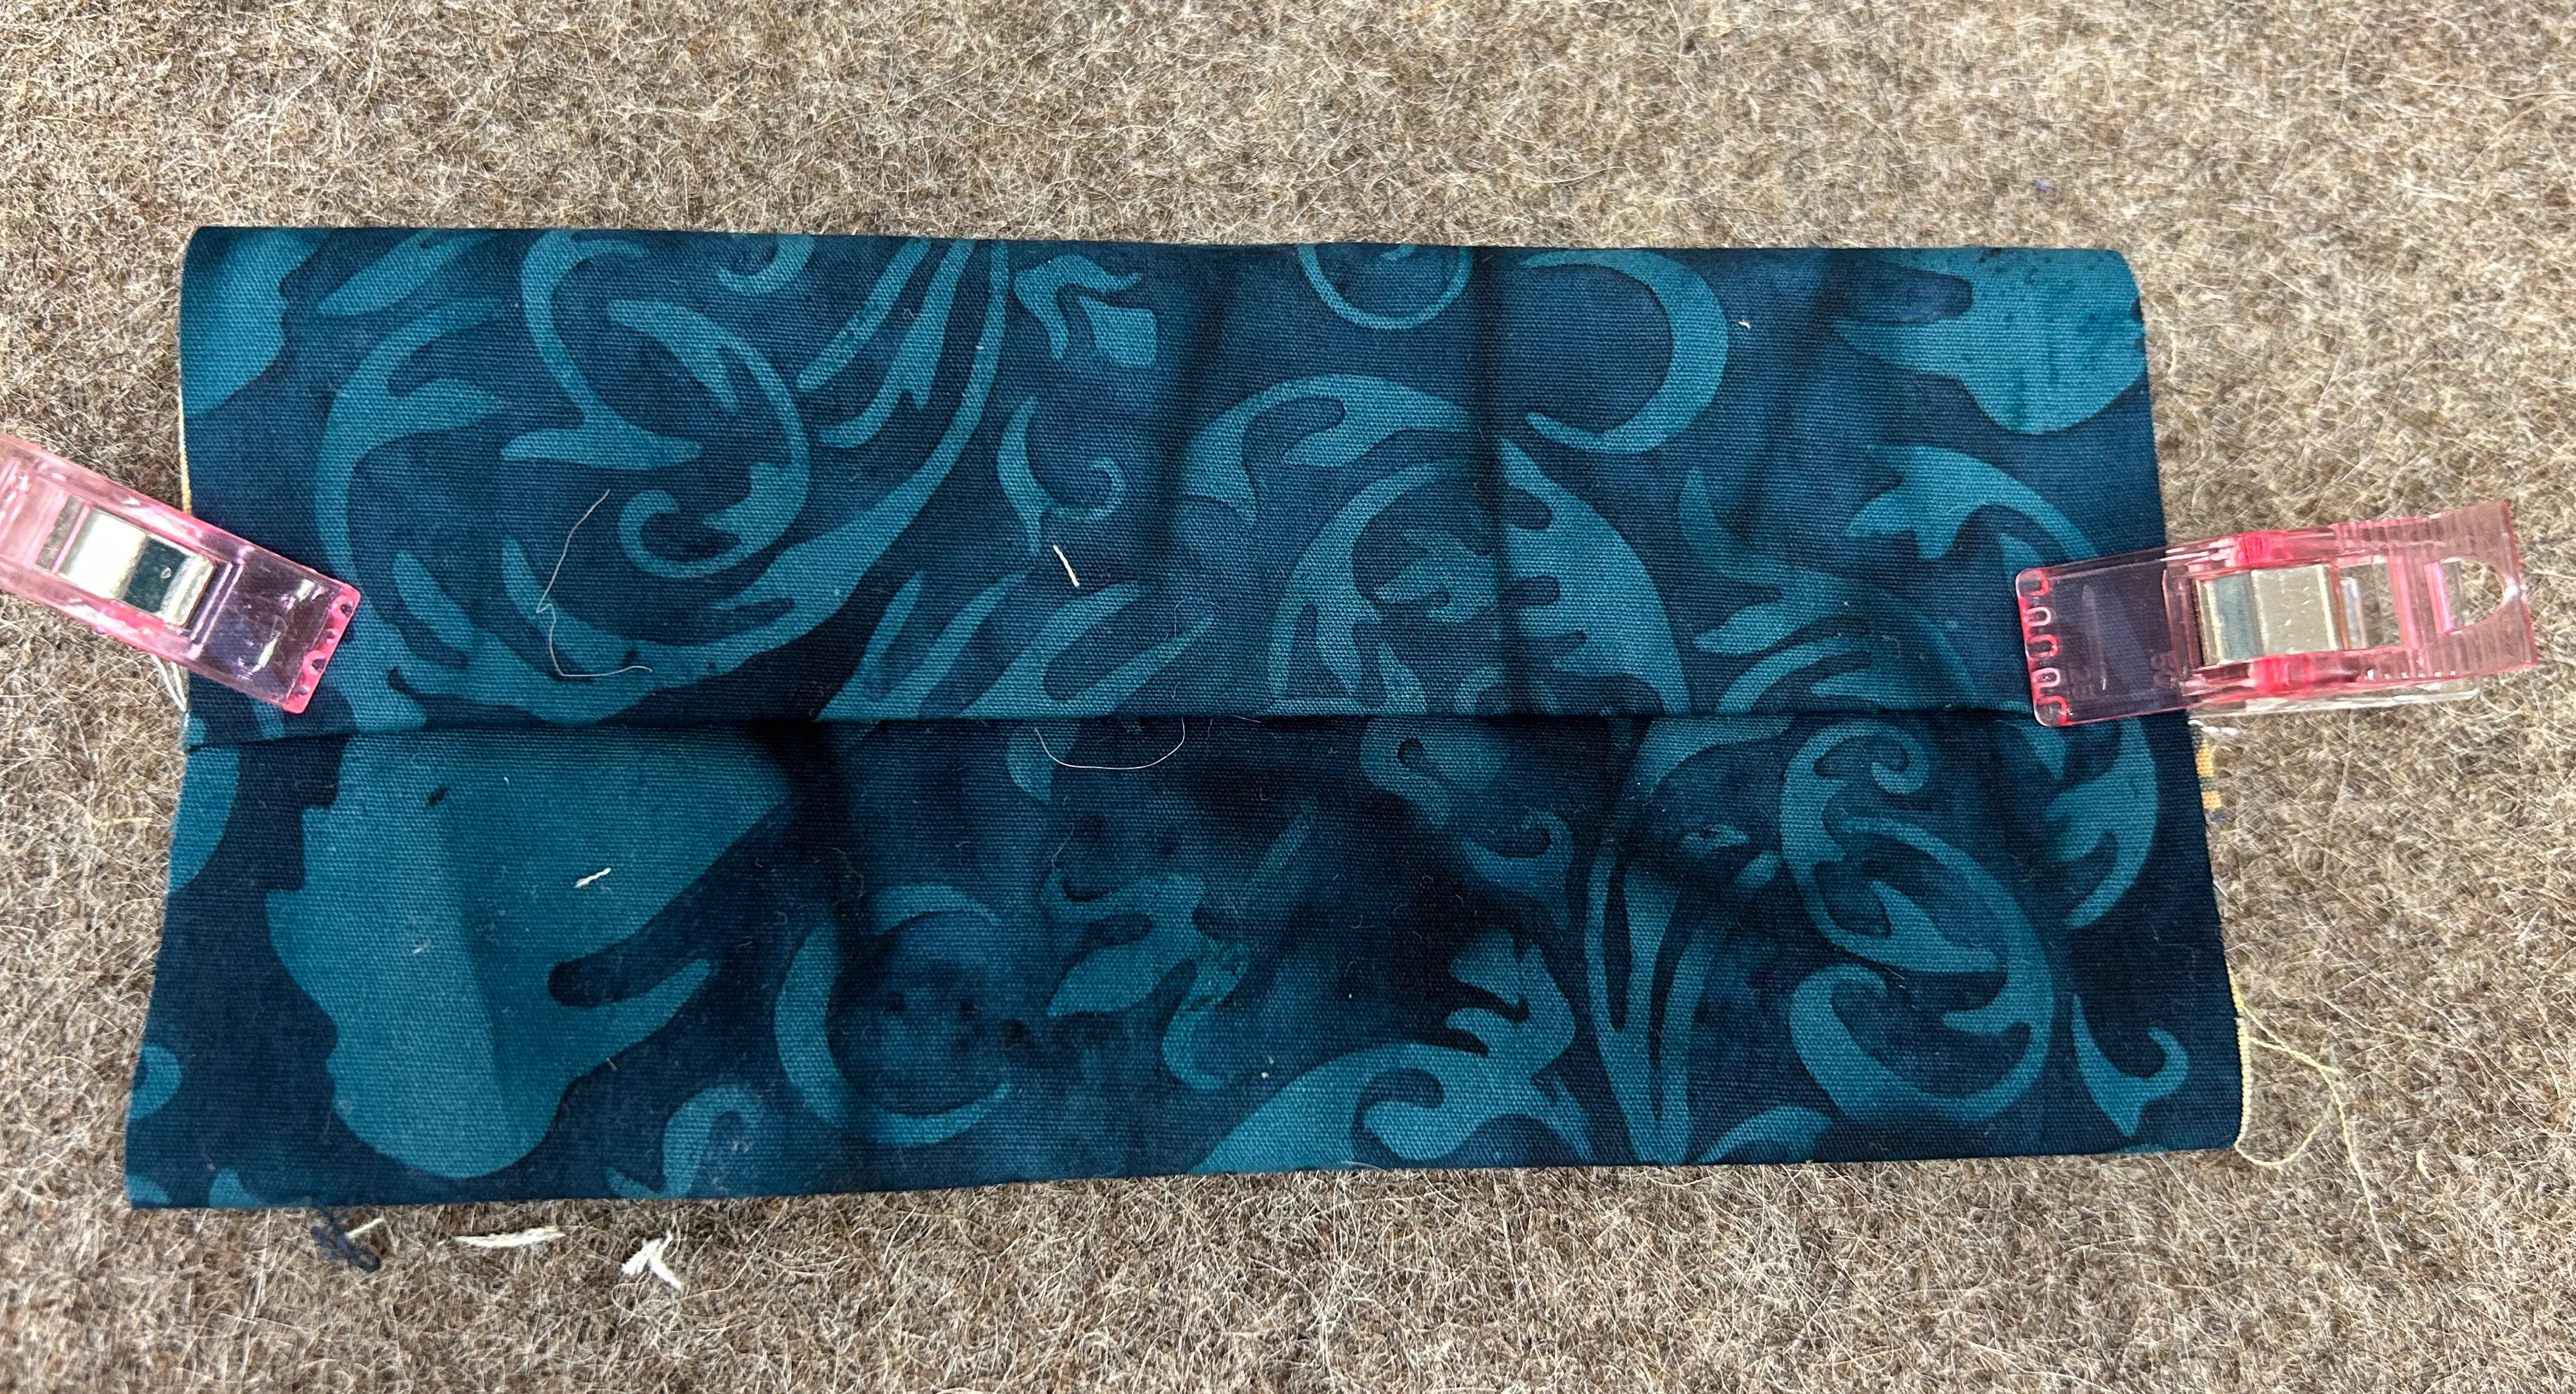
Step #4: Sew the ends, using a 1/4” seam.
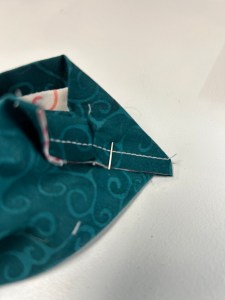
Step #5: Make boxed corners. Fold as in the picture and sew a line 1/2” from the corner. Trim boxed corners and turn right side out.
I used tissues from Dollarama.
Quilt Stats:
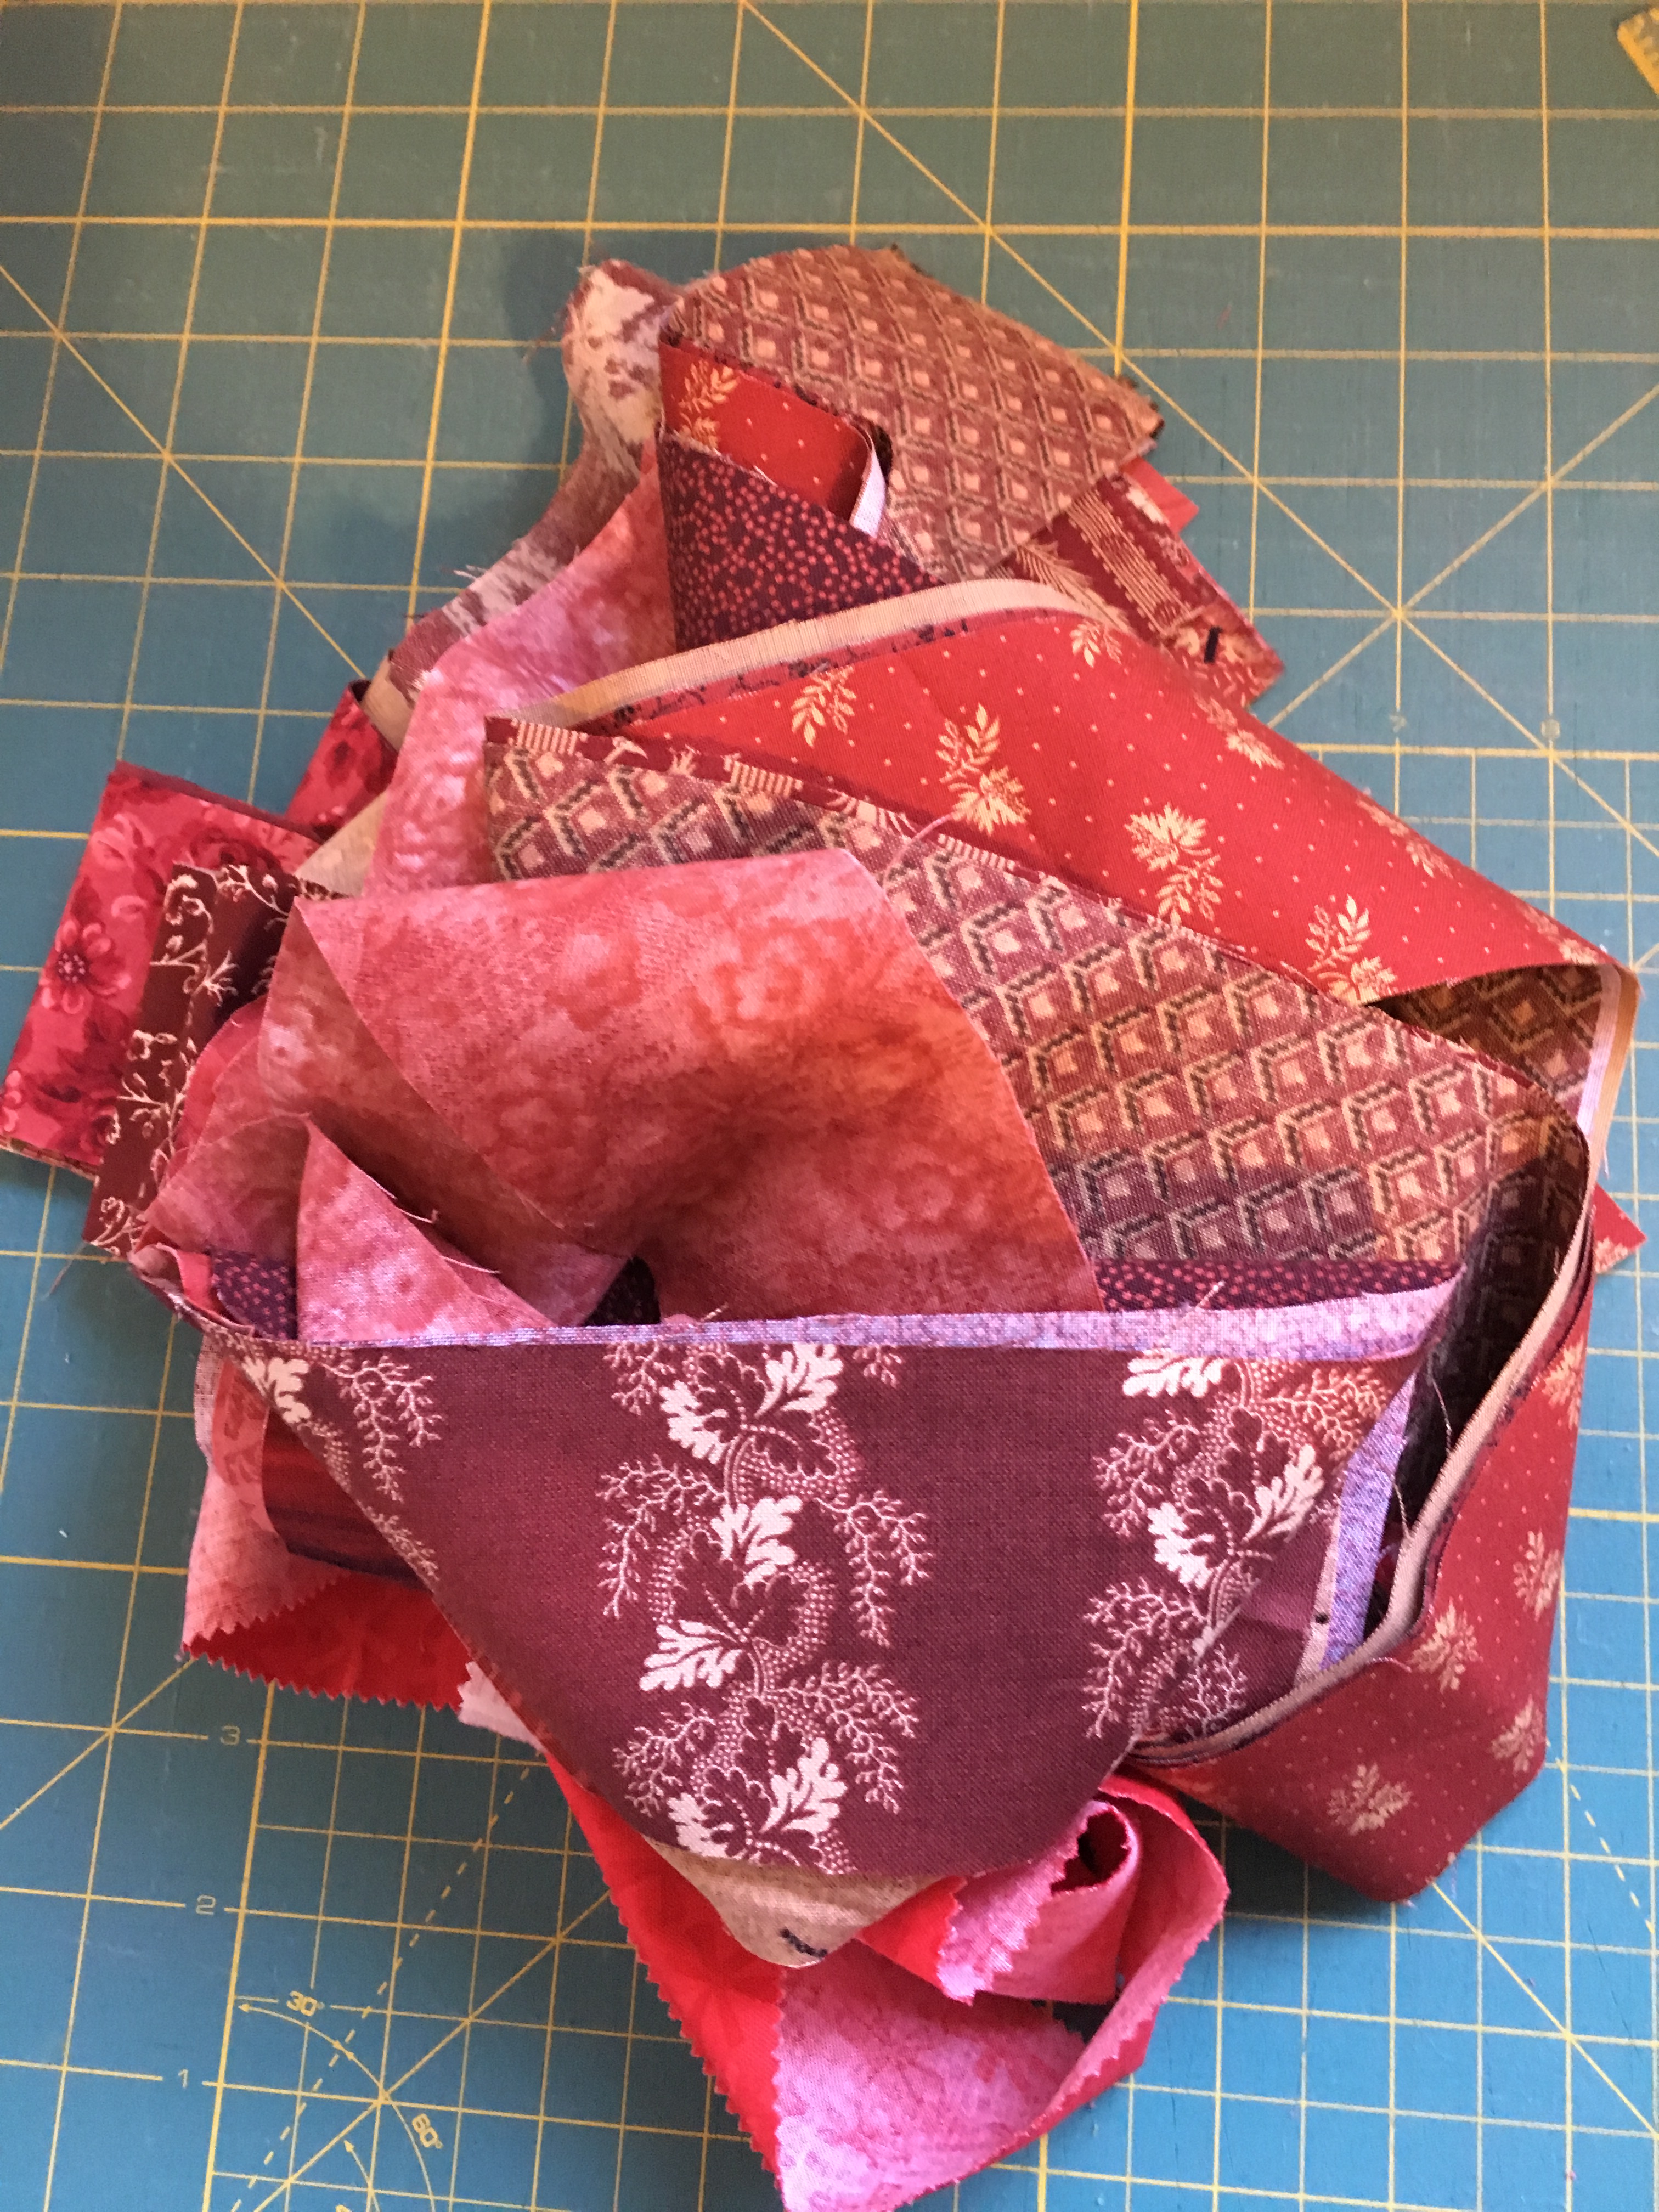
- Fabric: Island Batik: Scraps … and more scraps
- Aurifil Thread: 2600 (Dove Grey)
Other Kindnesses
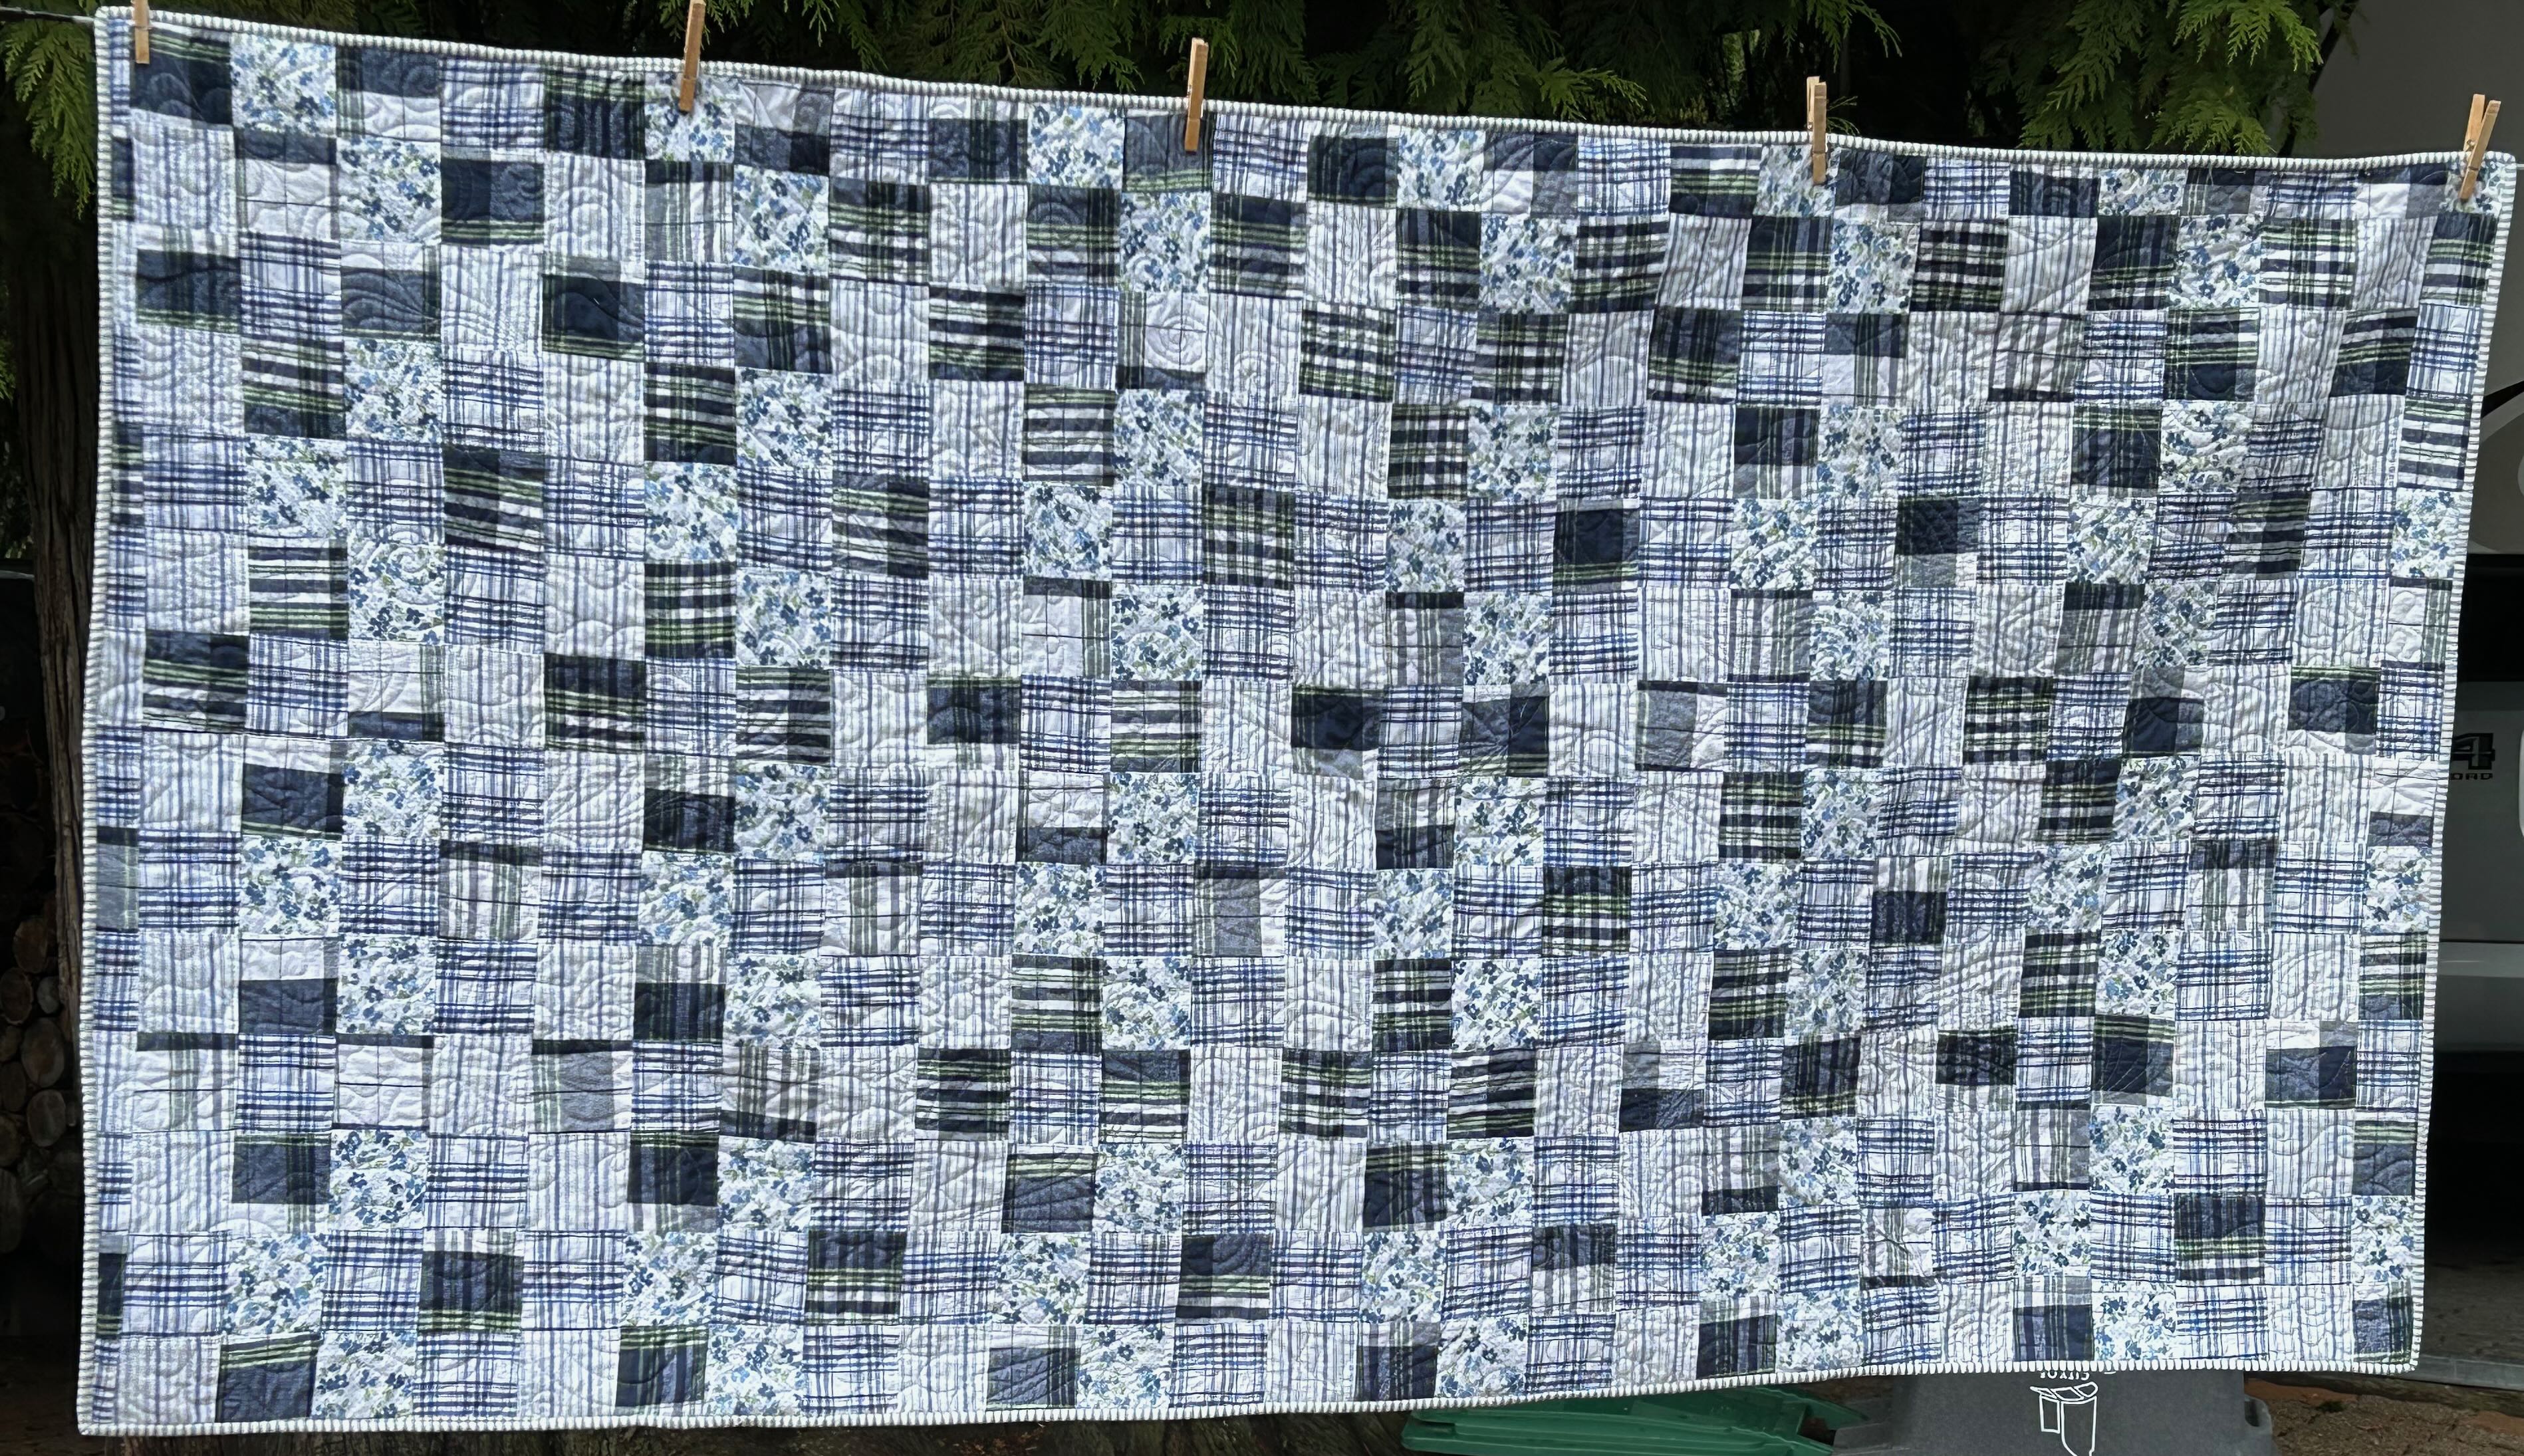
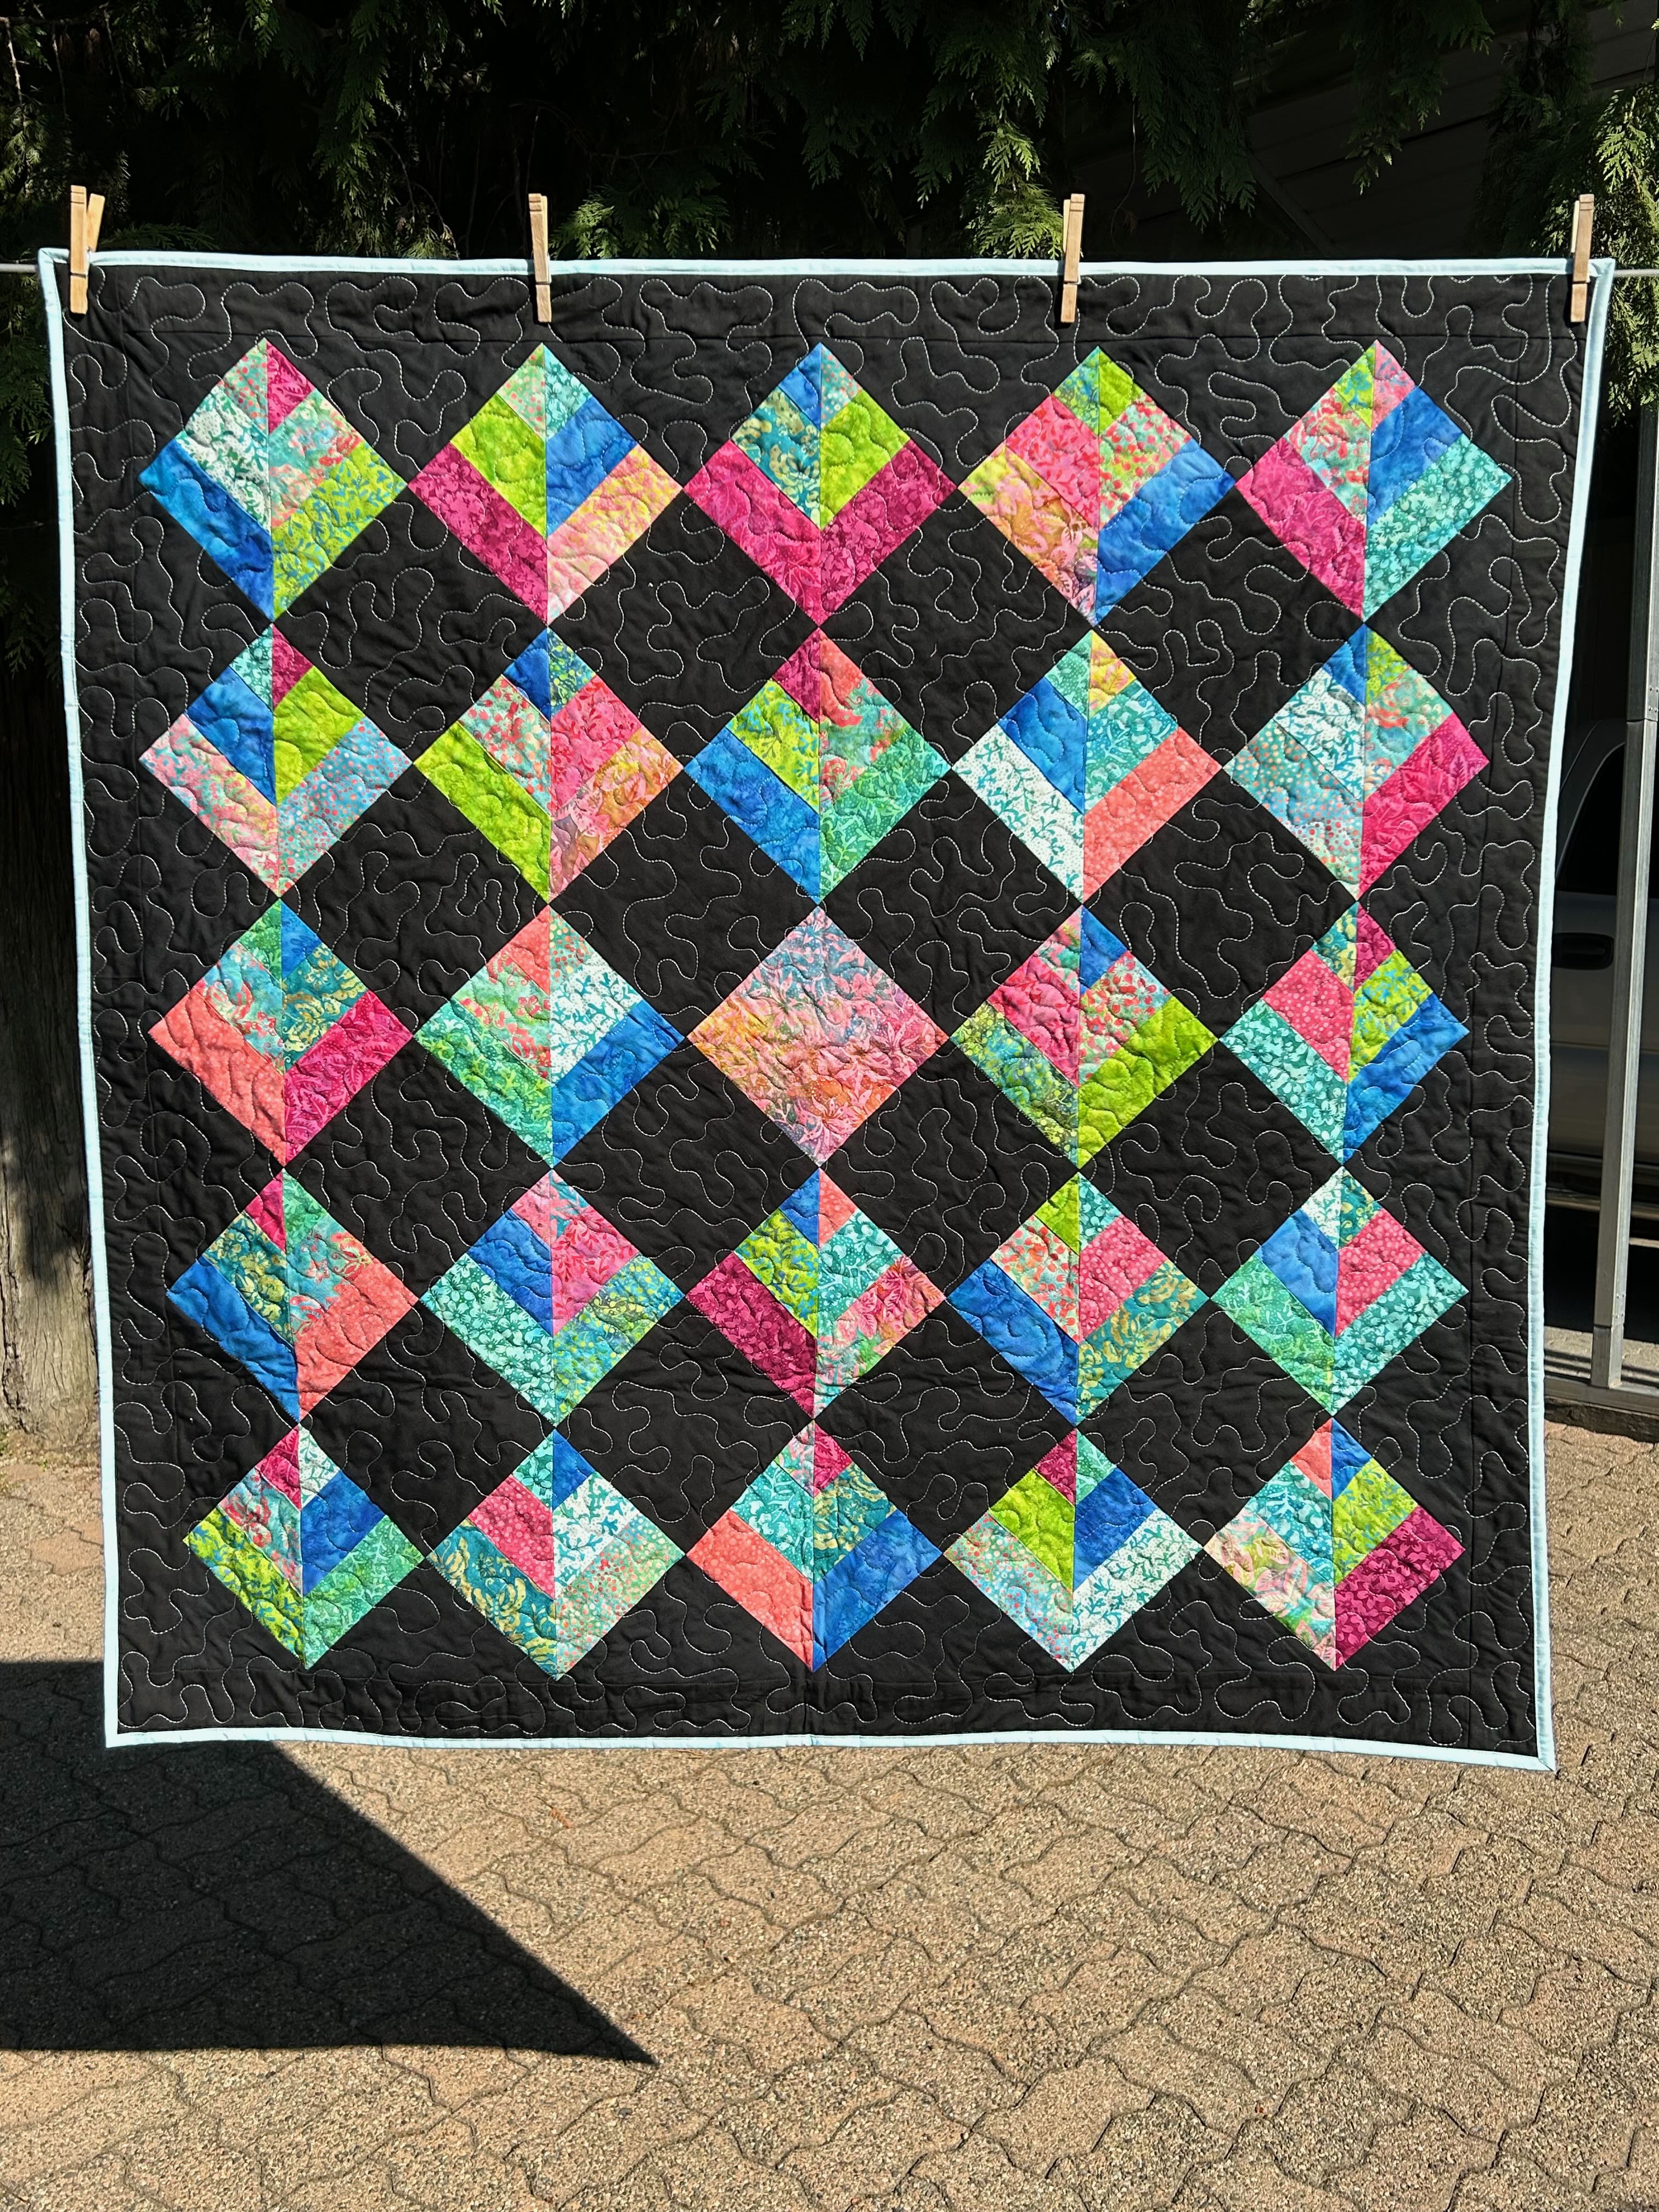
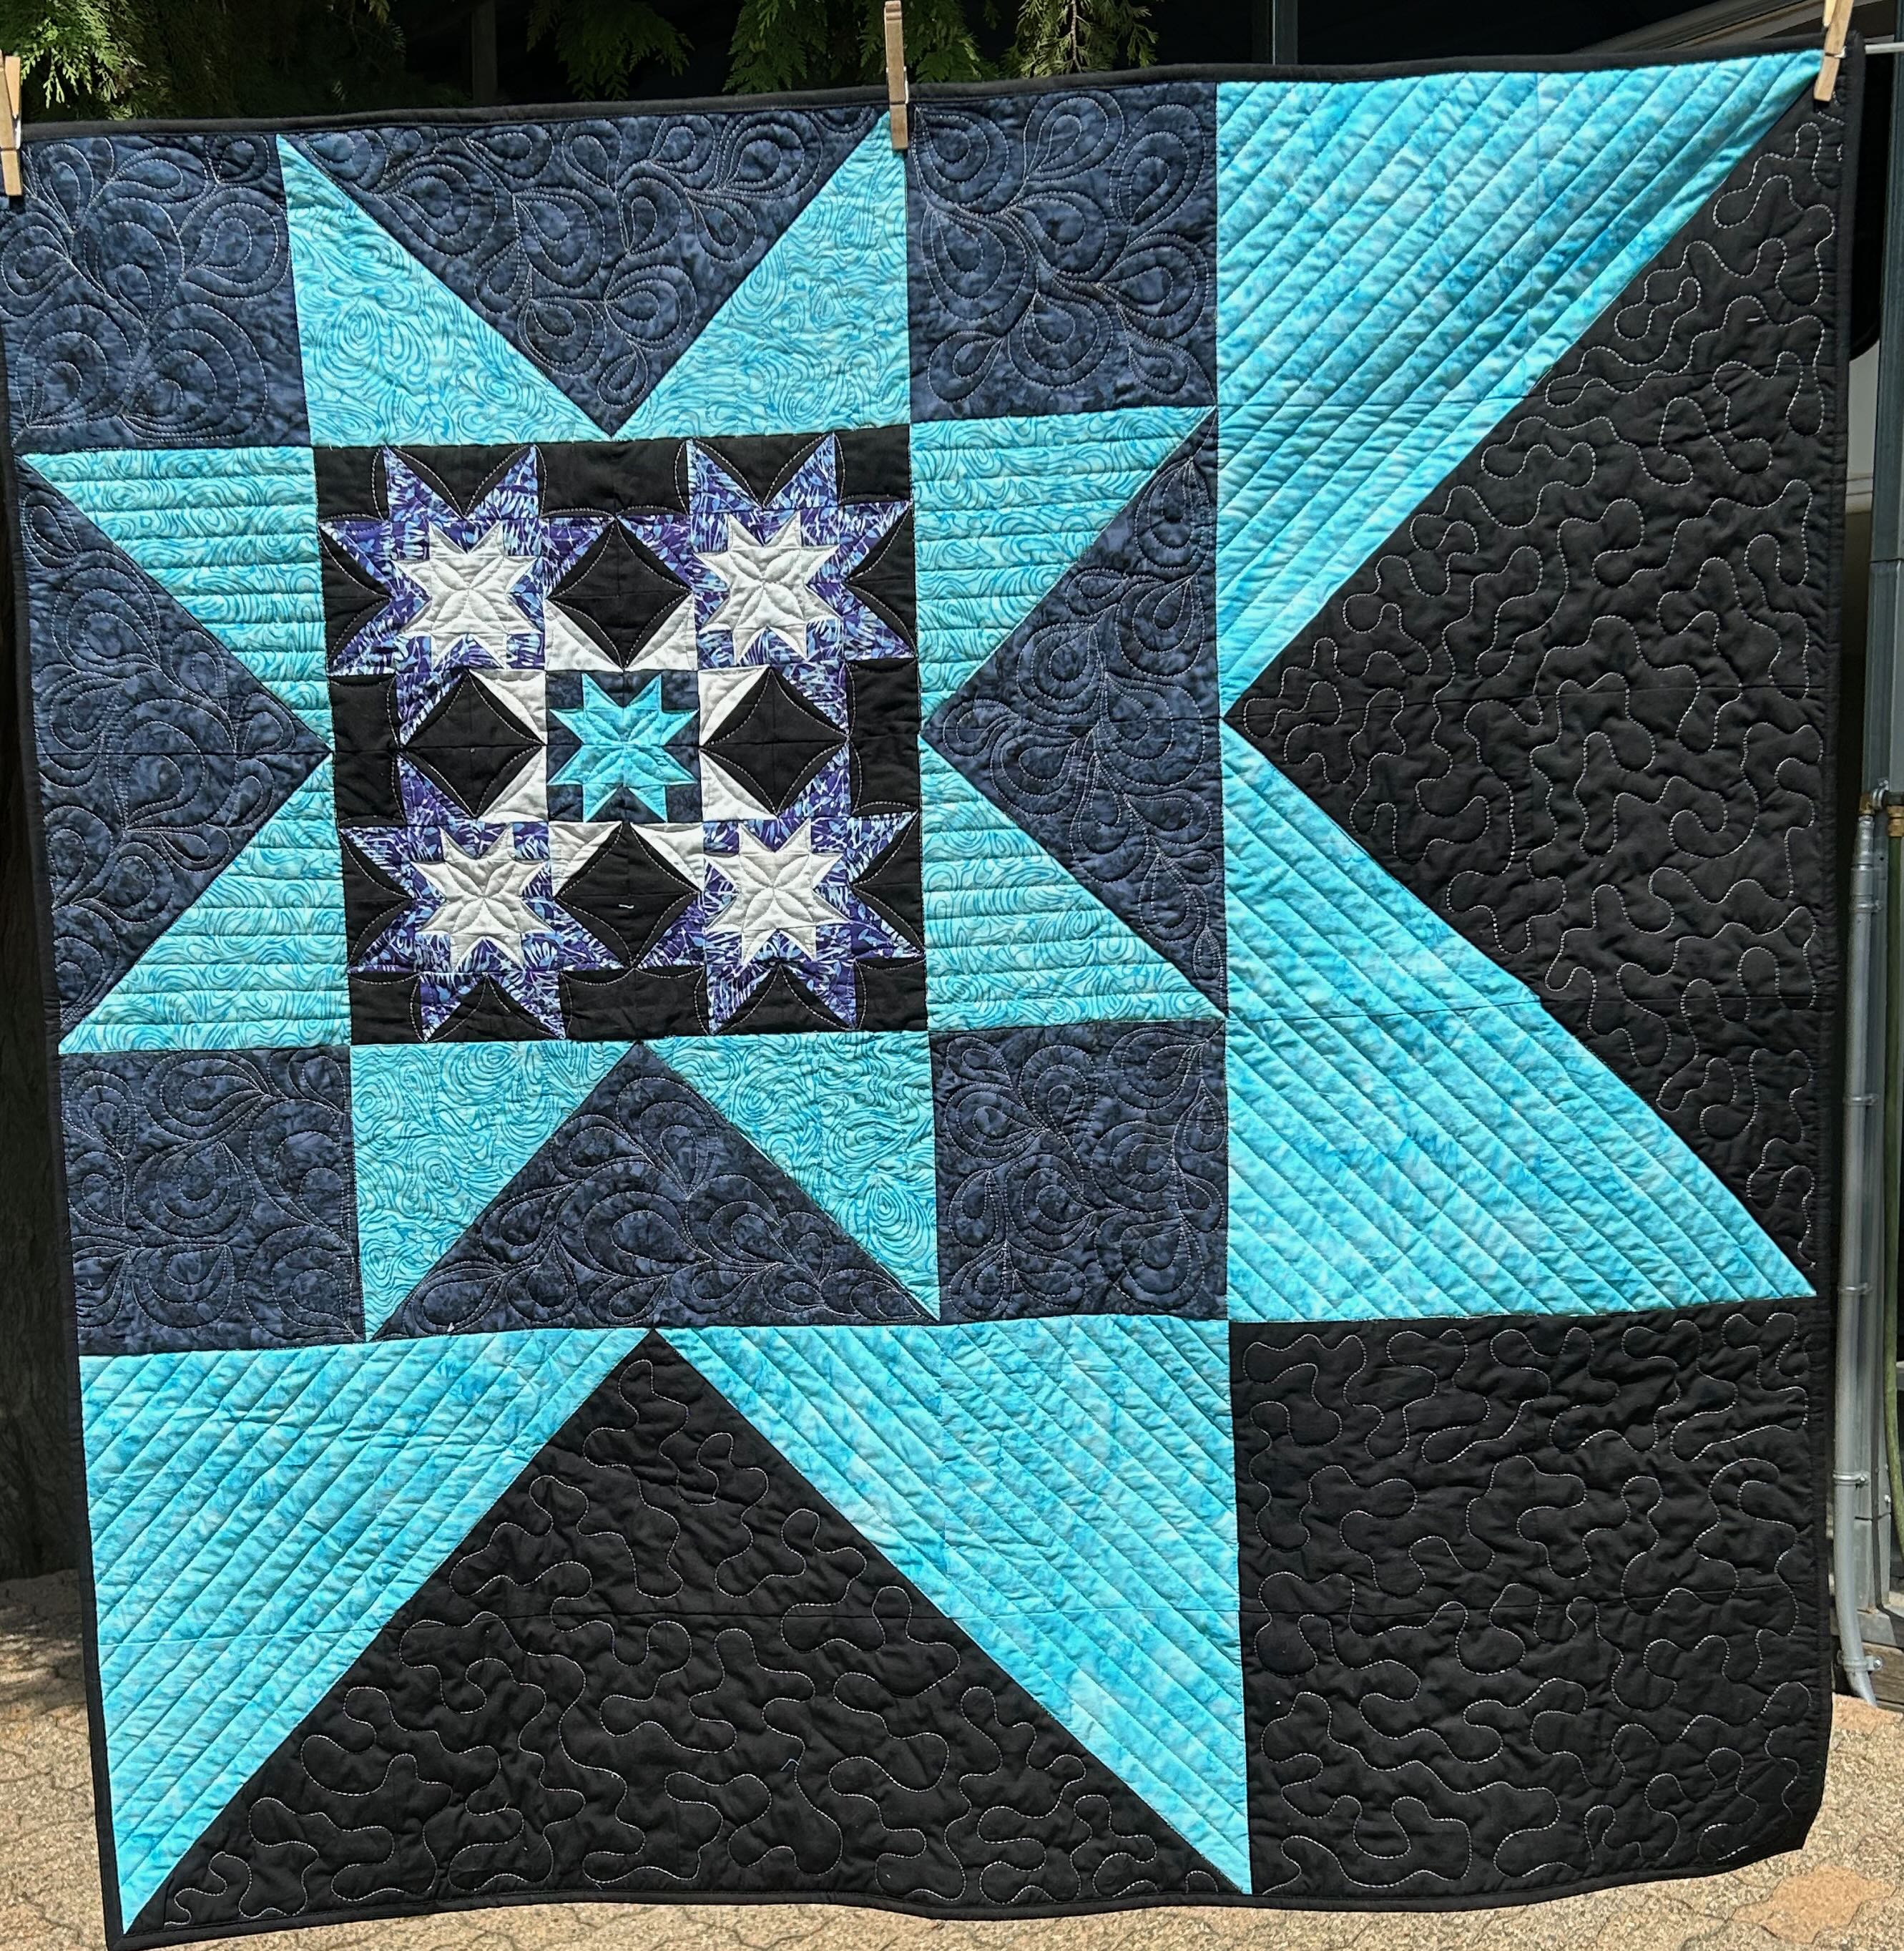
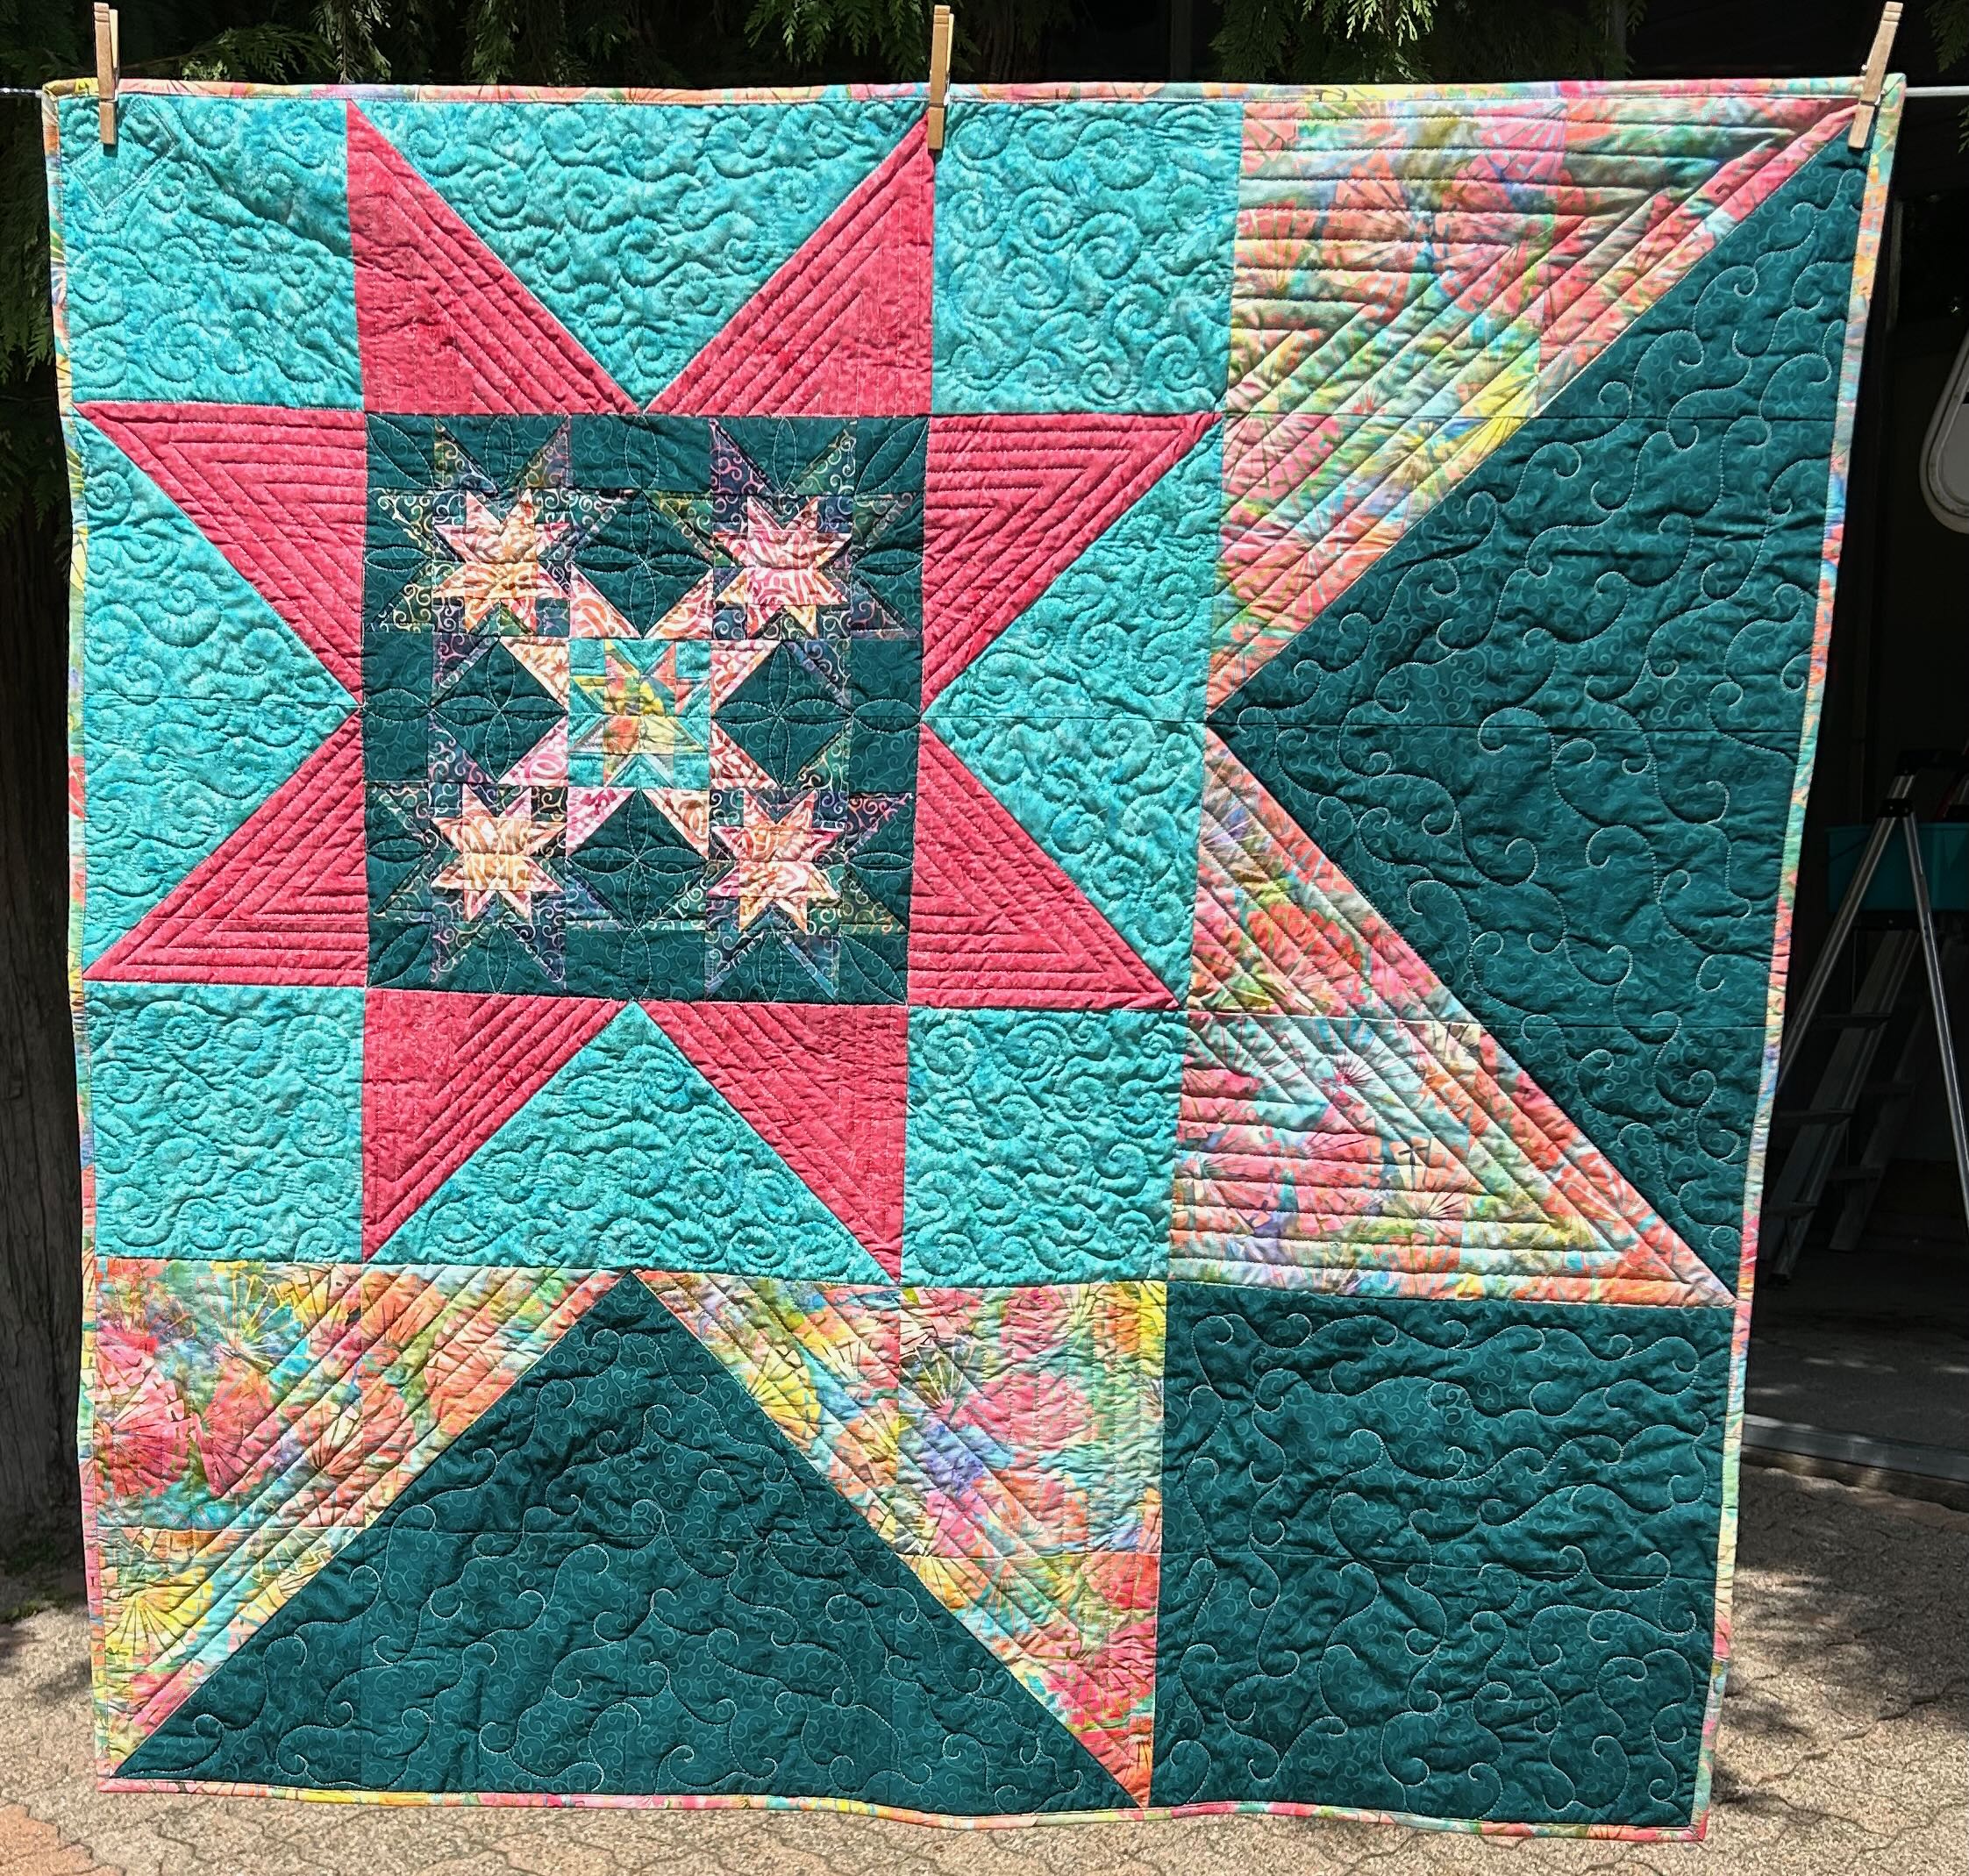
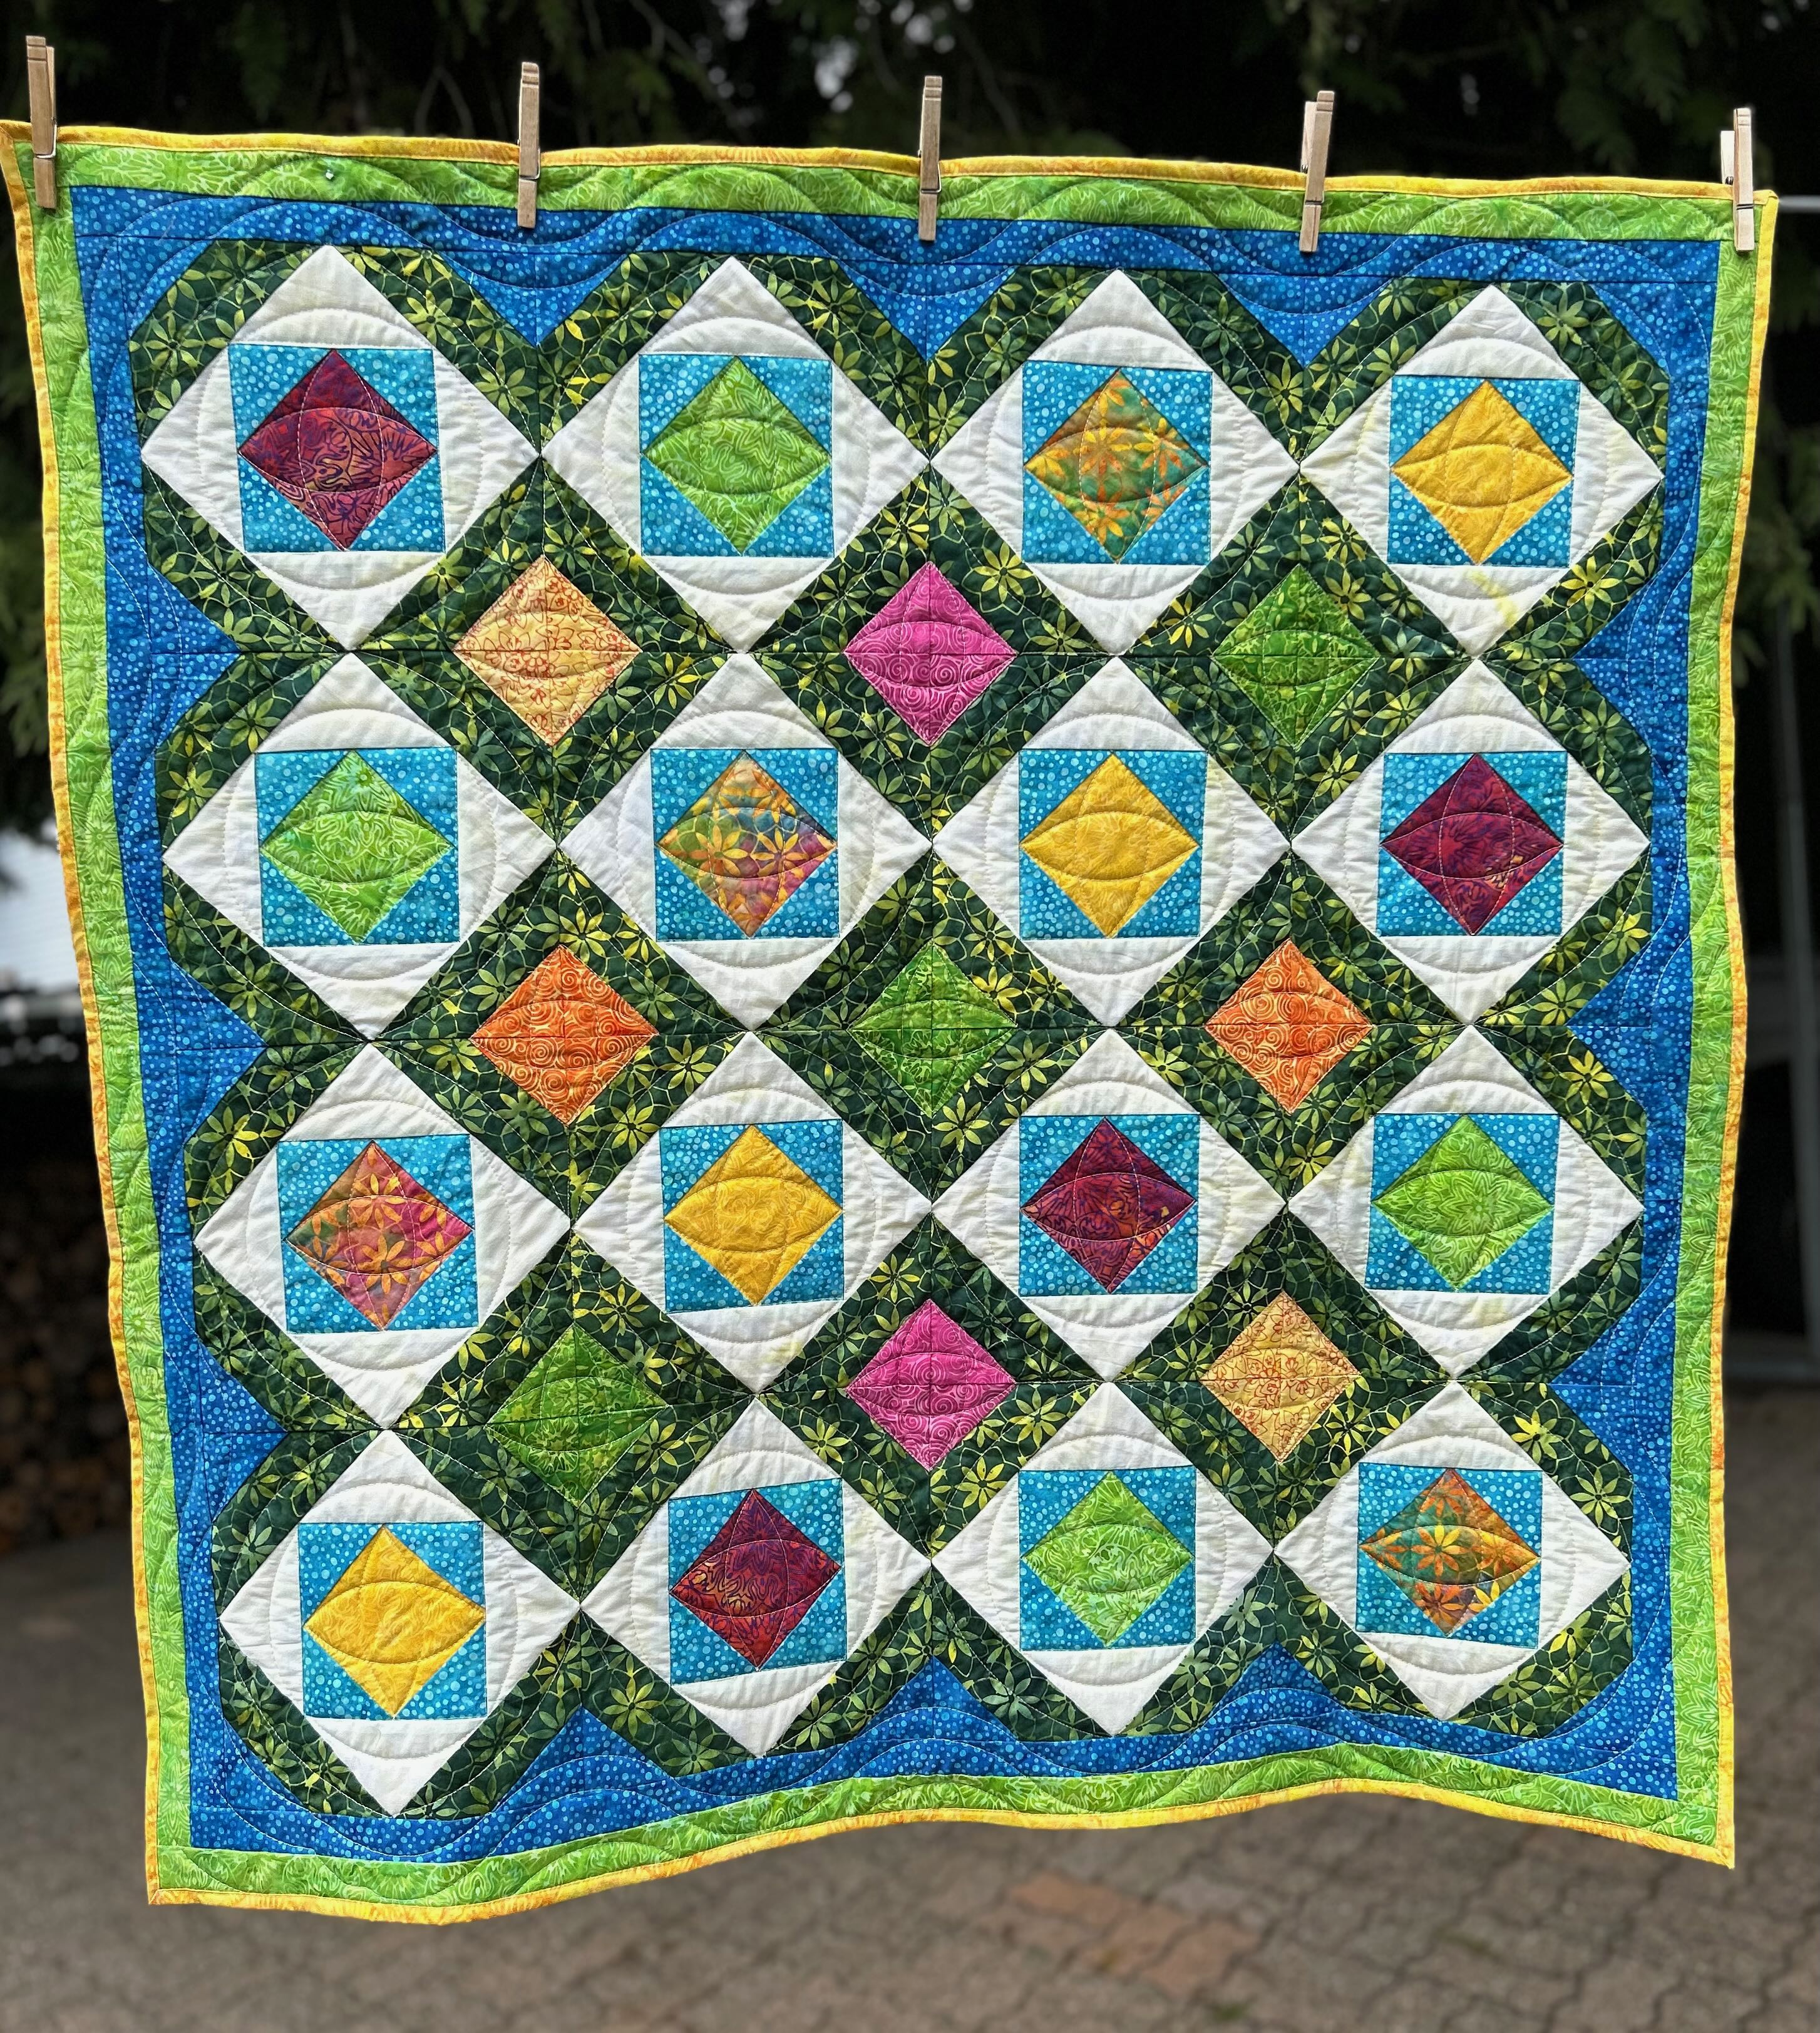
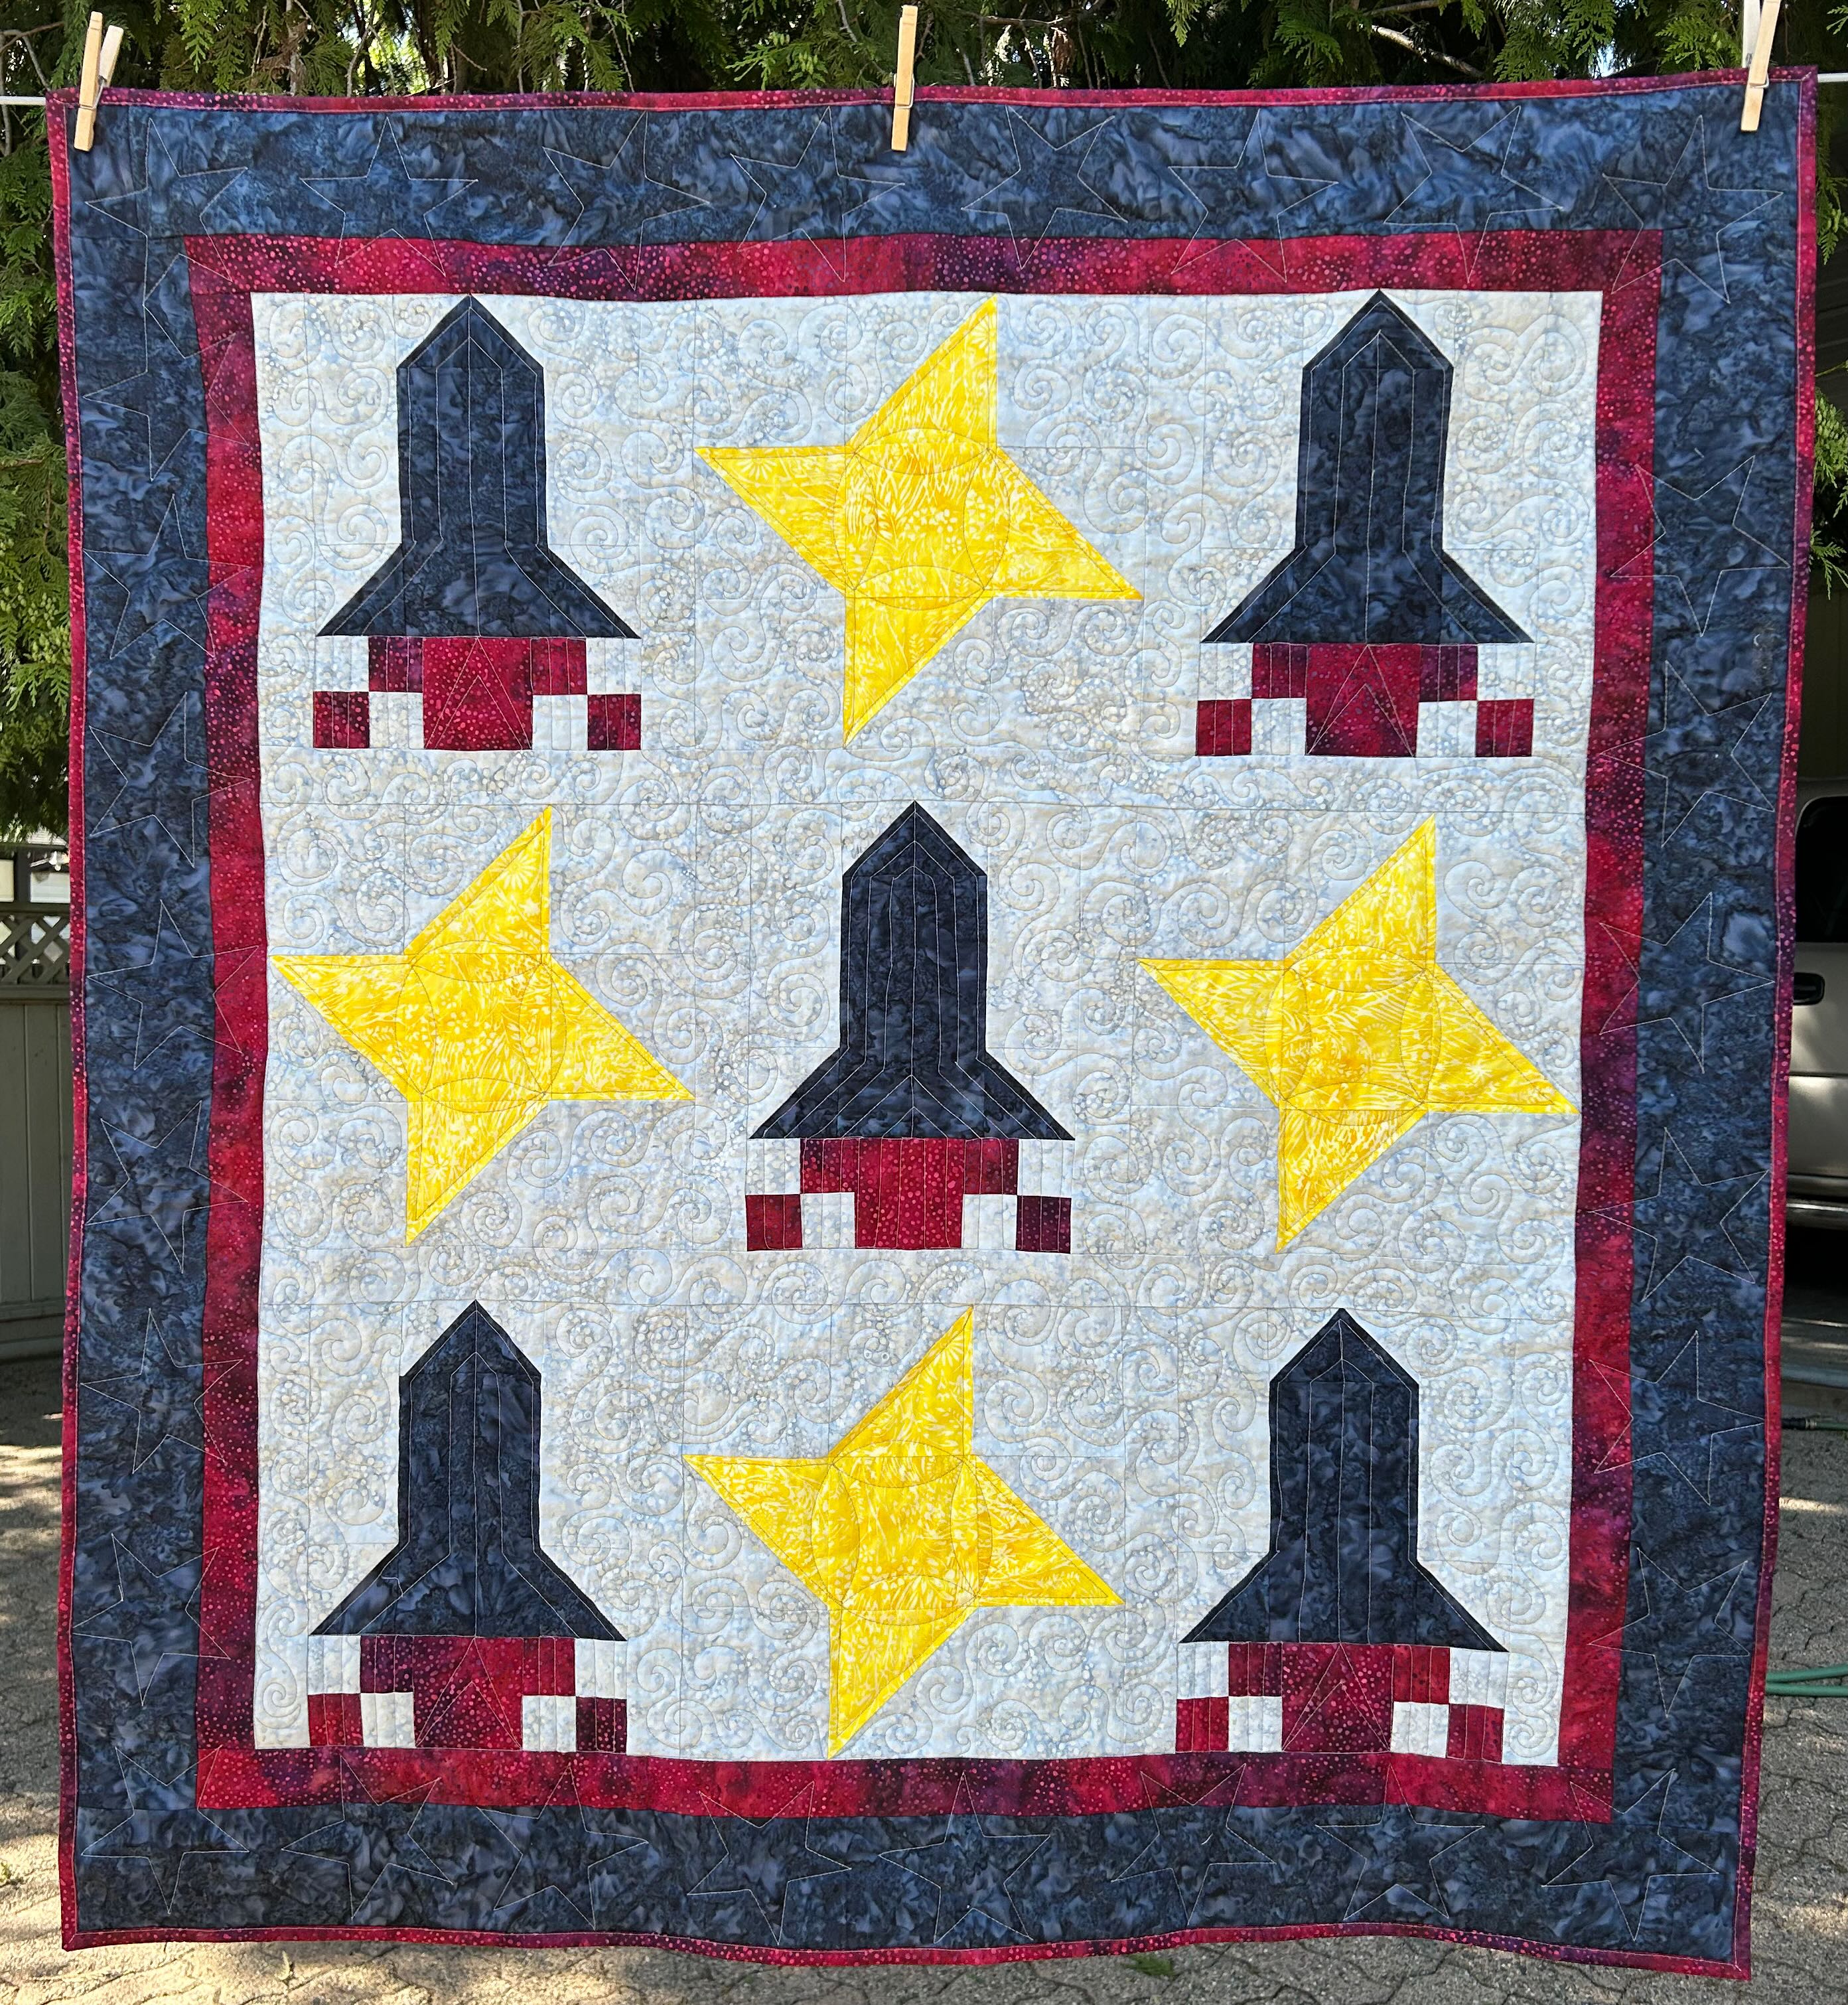
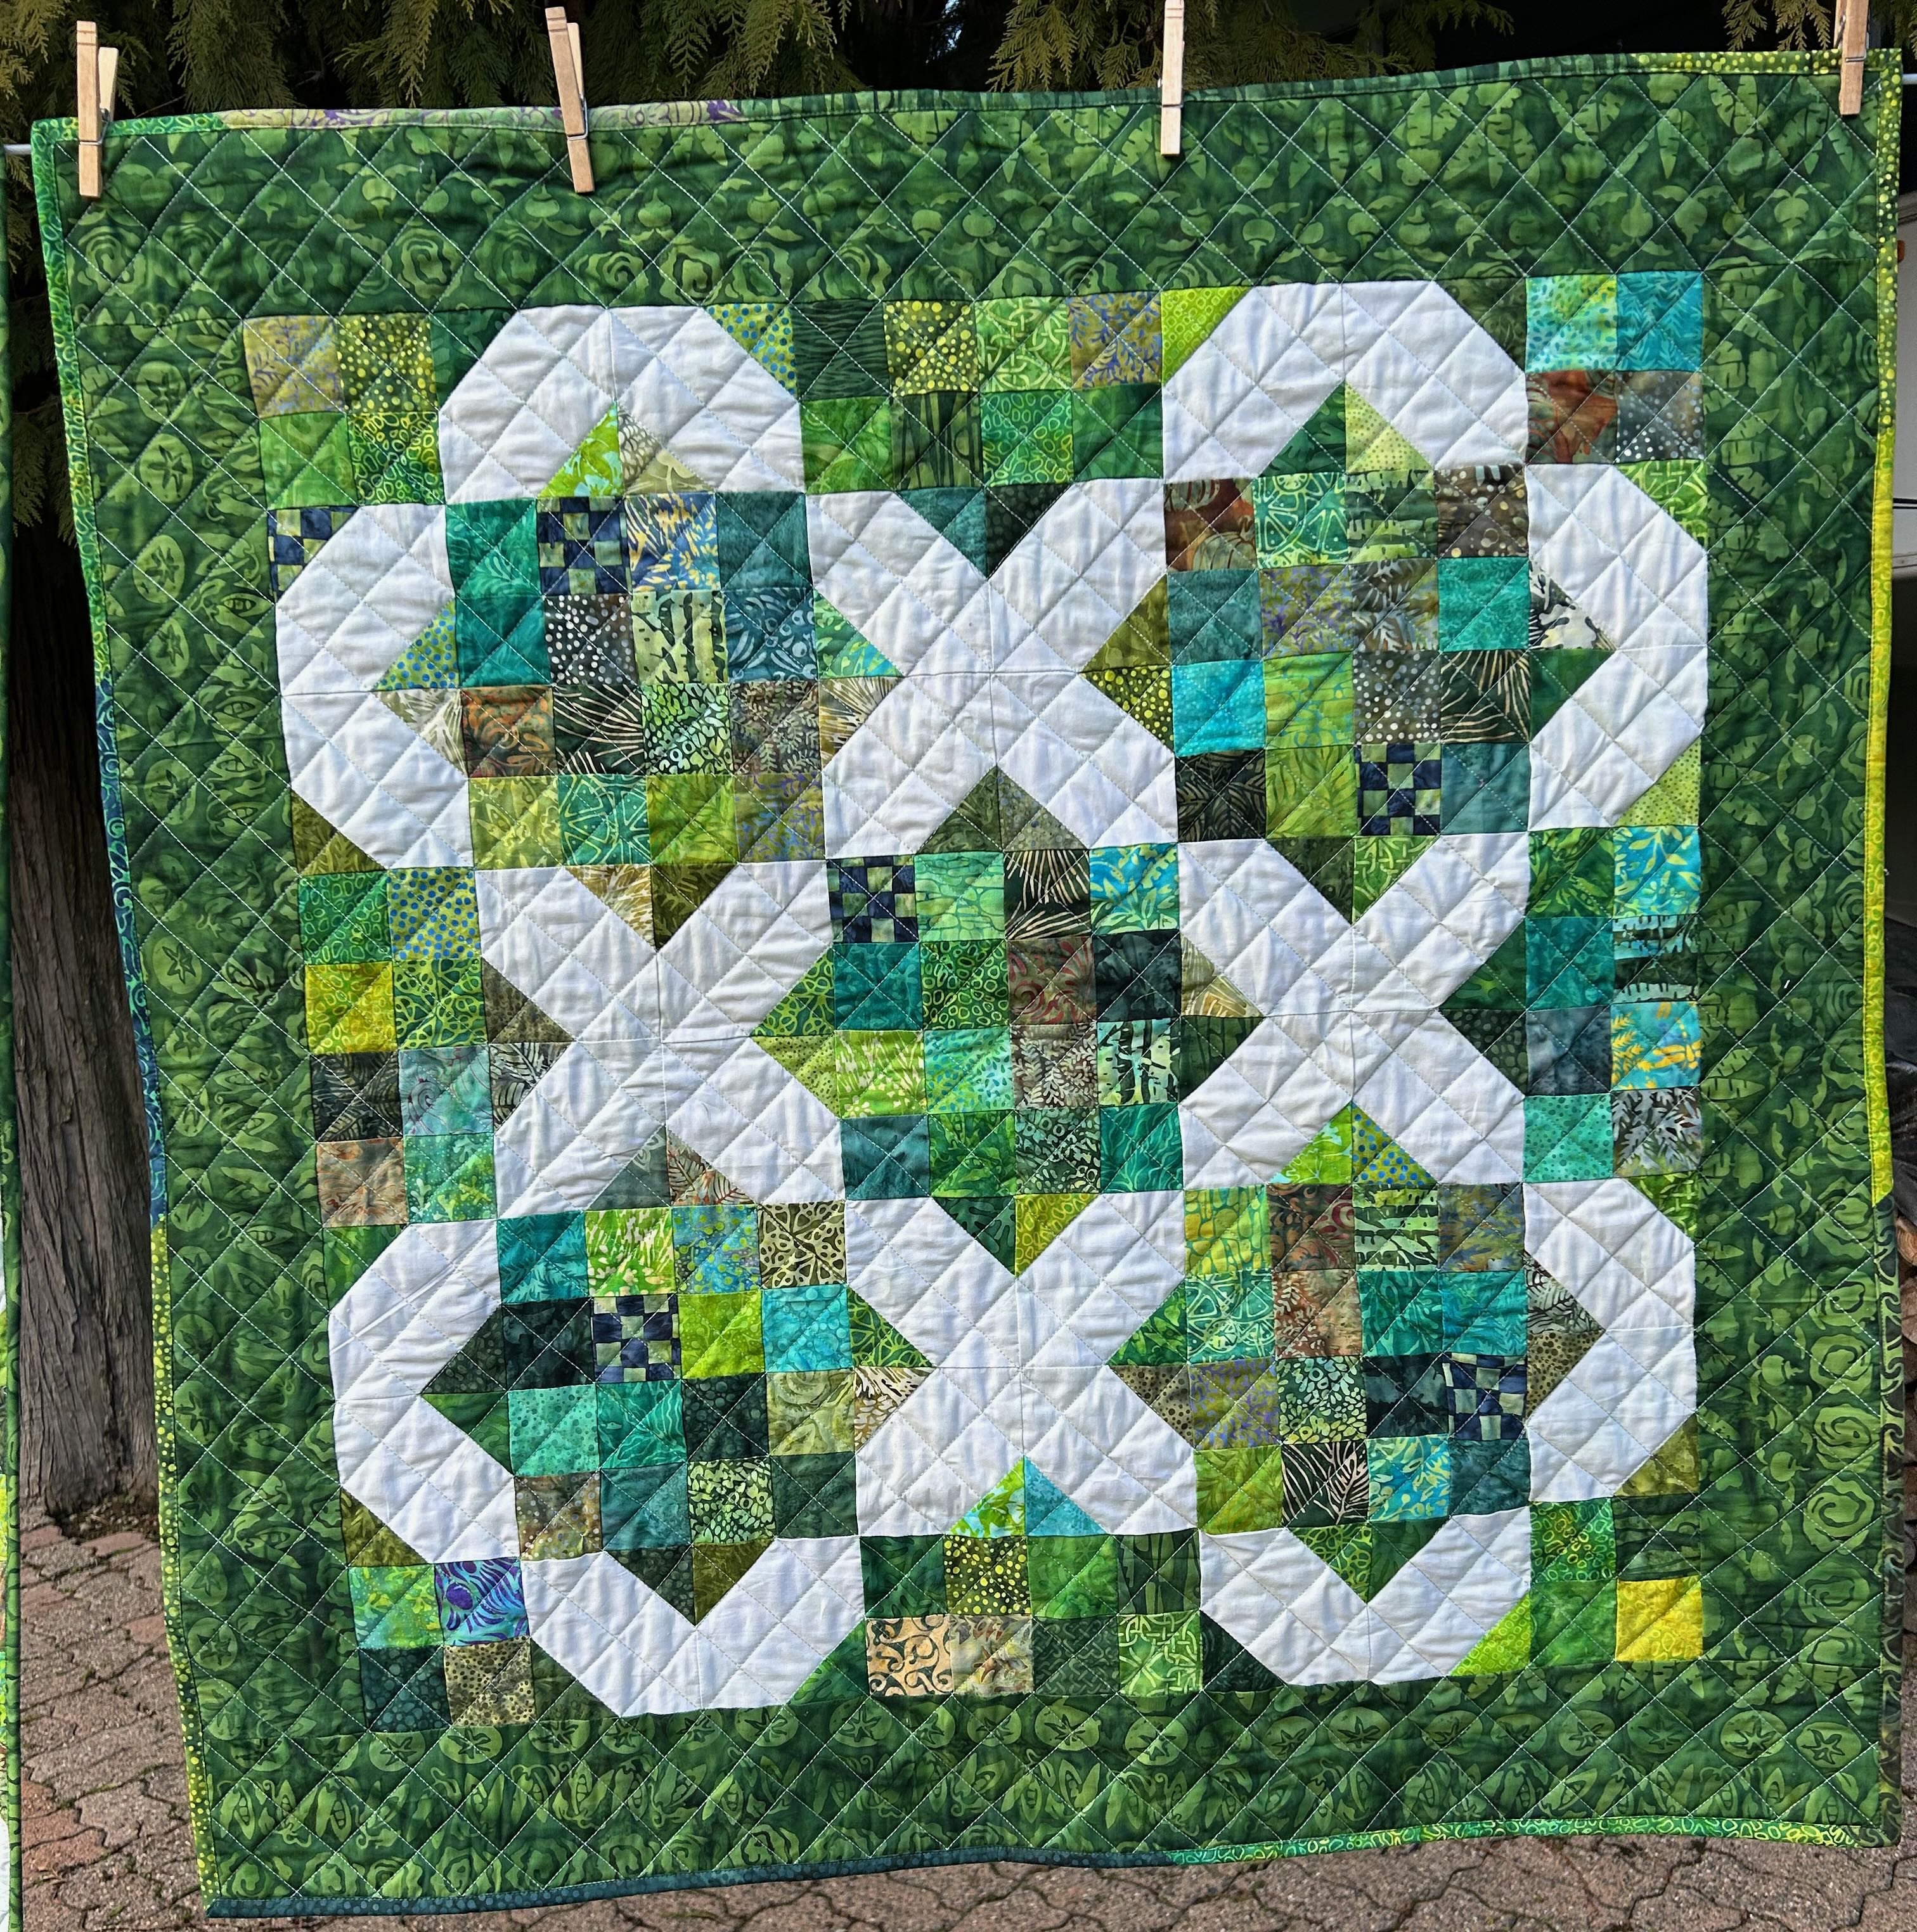
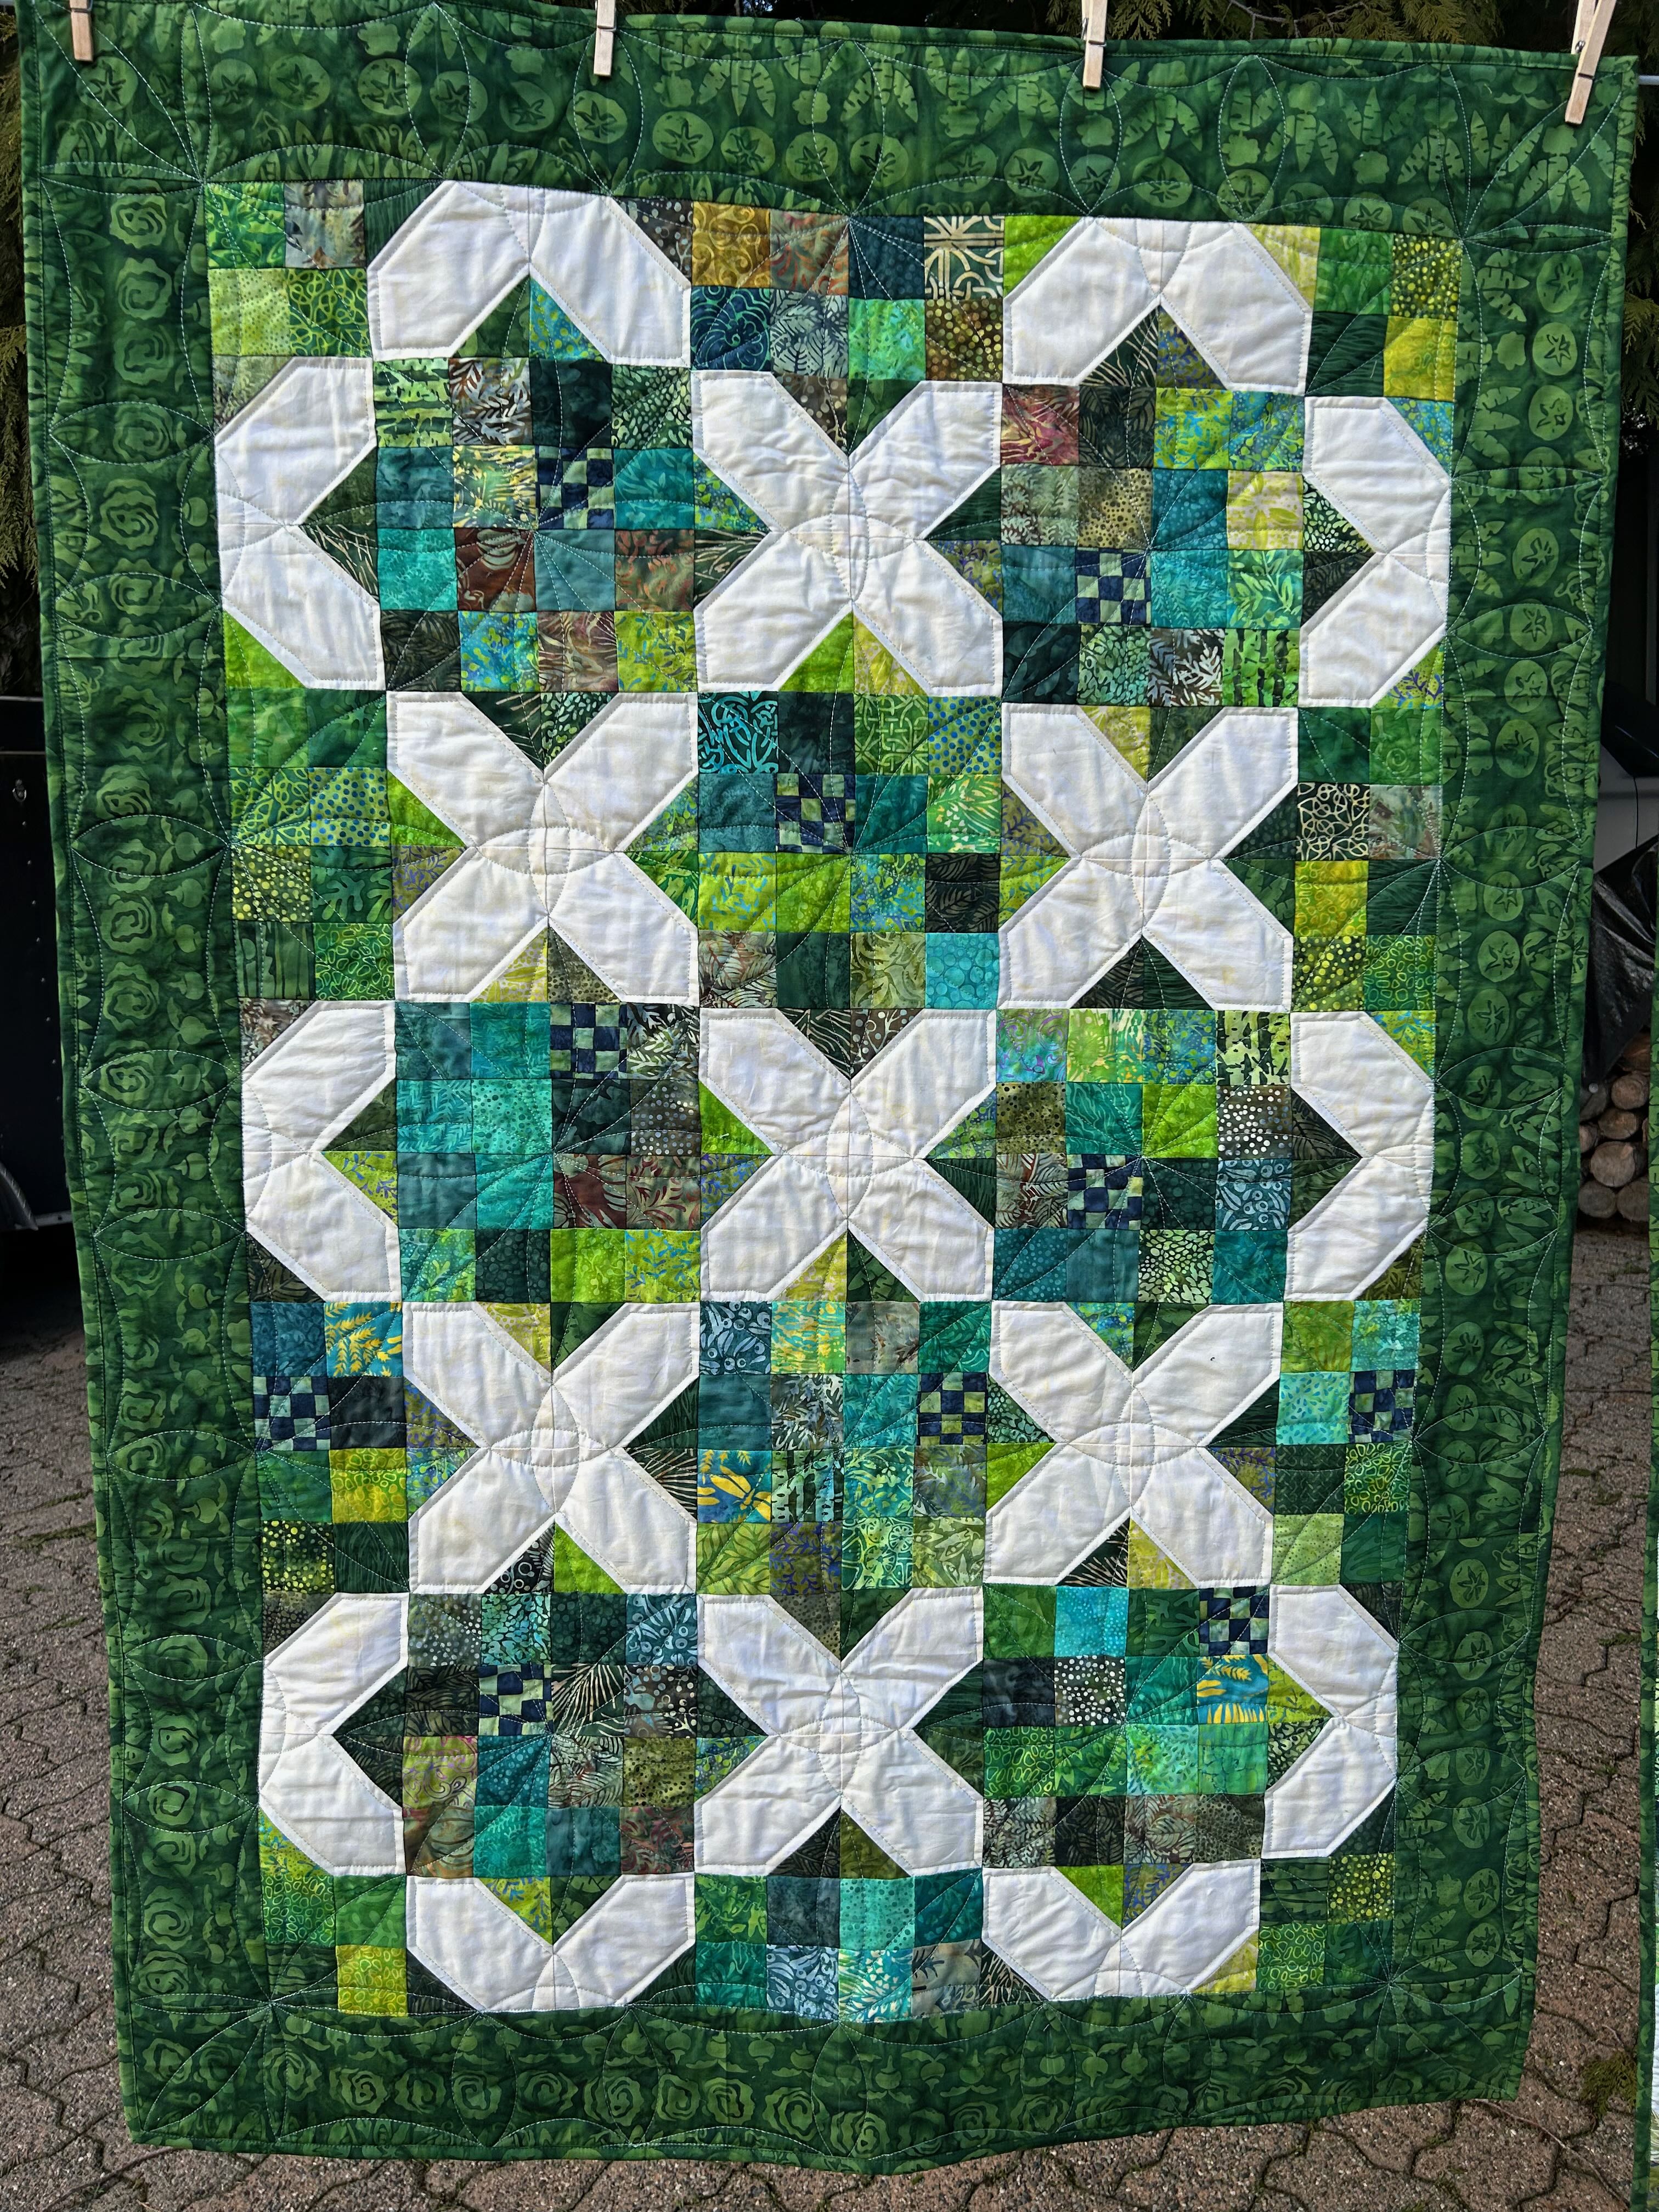
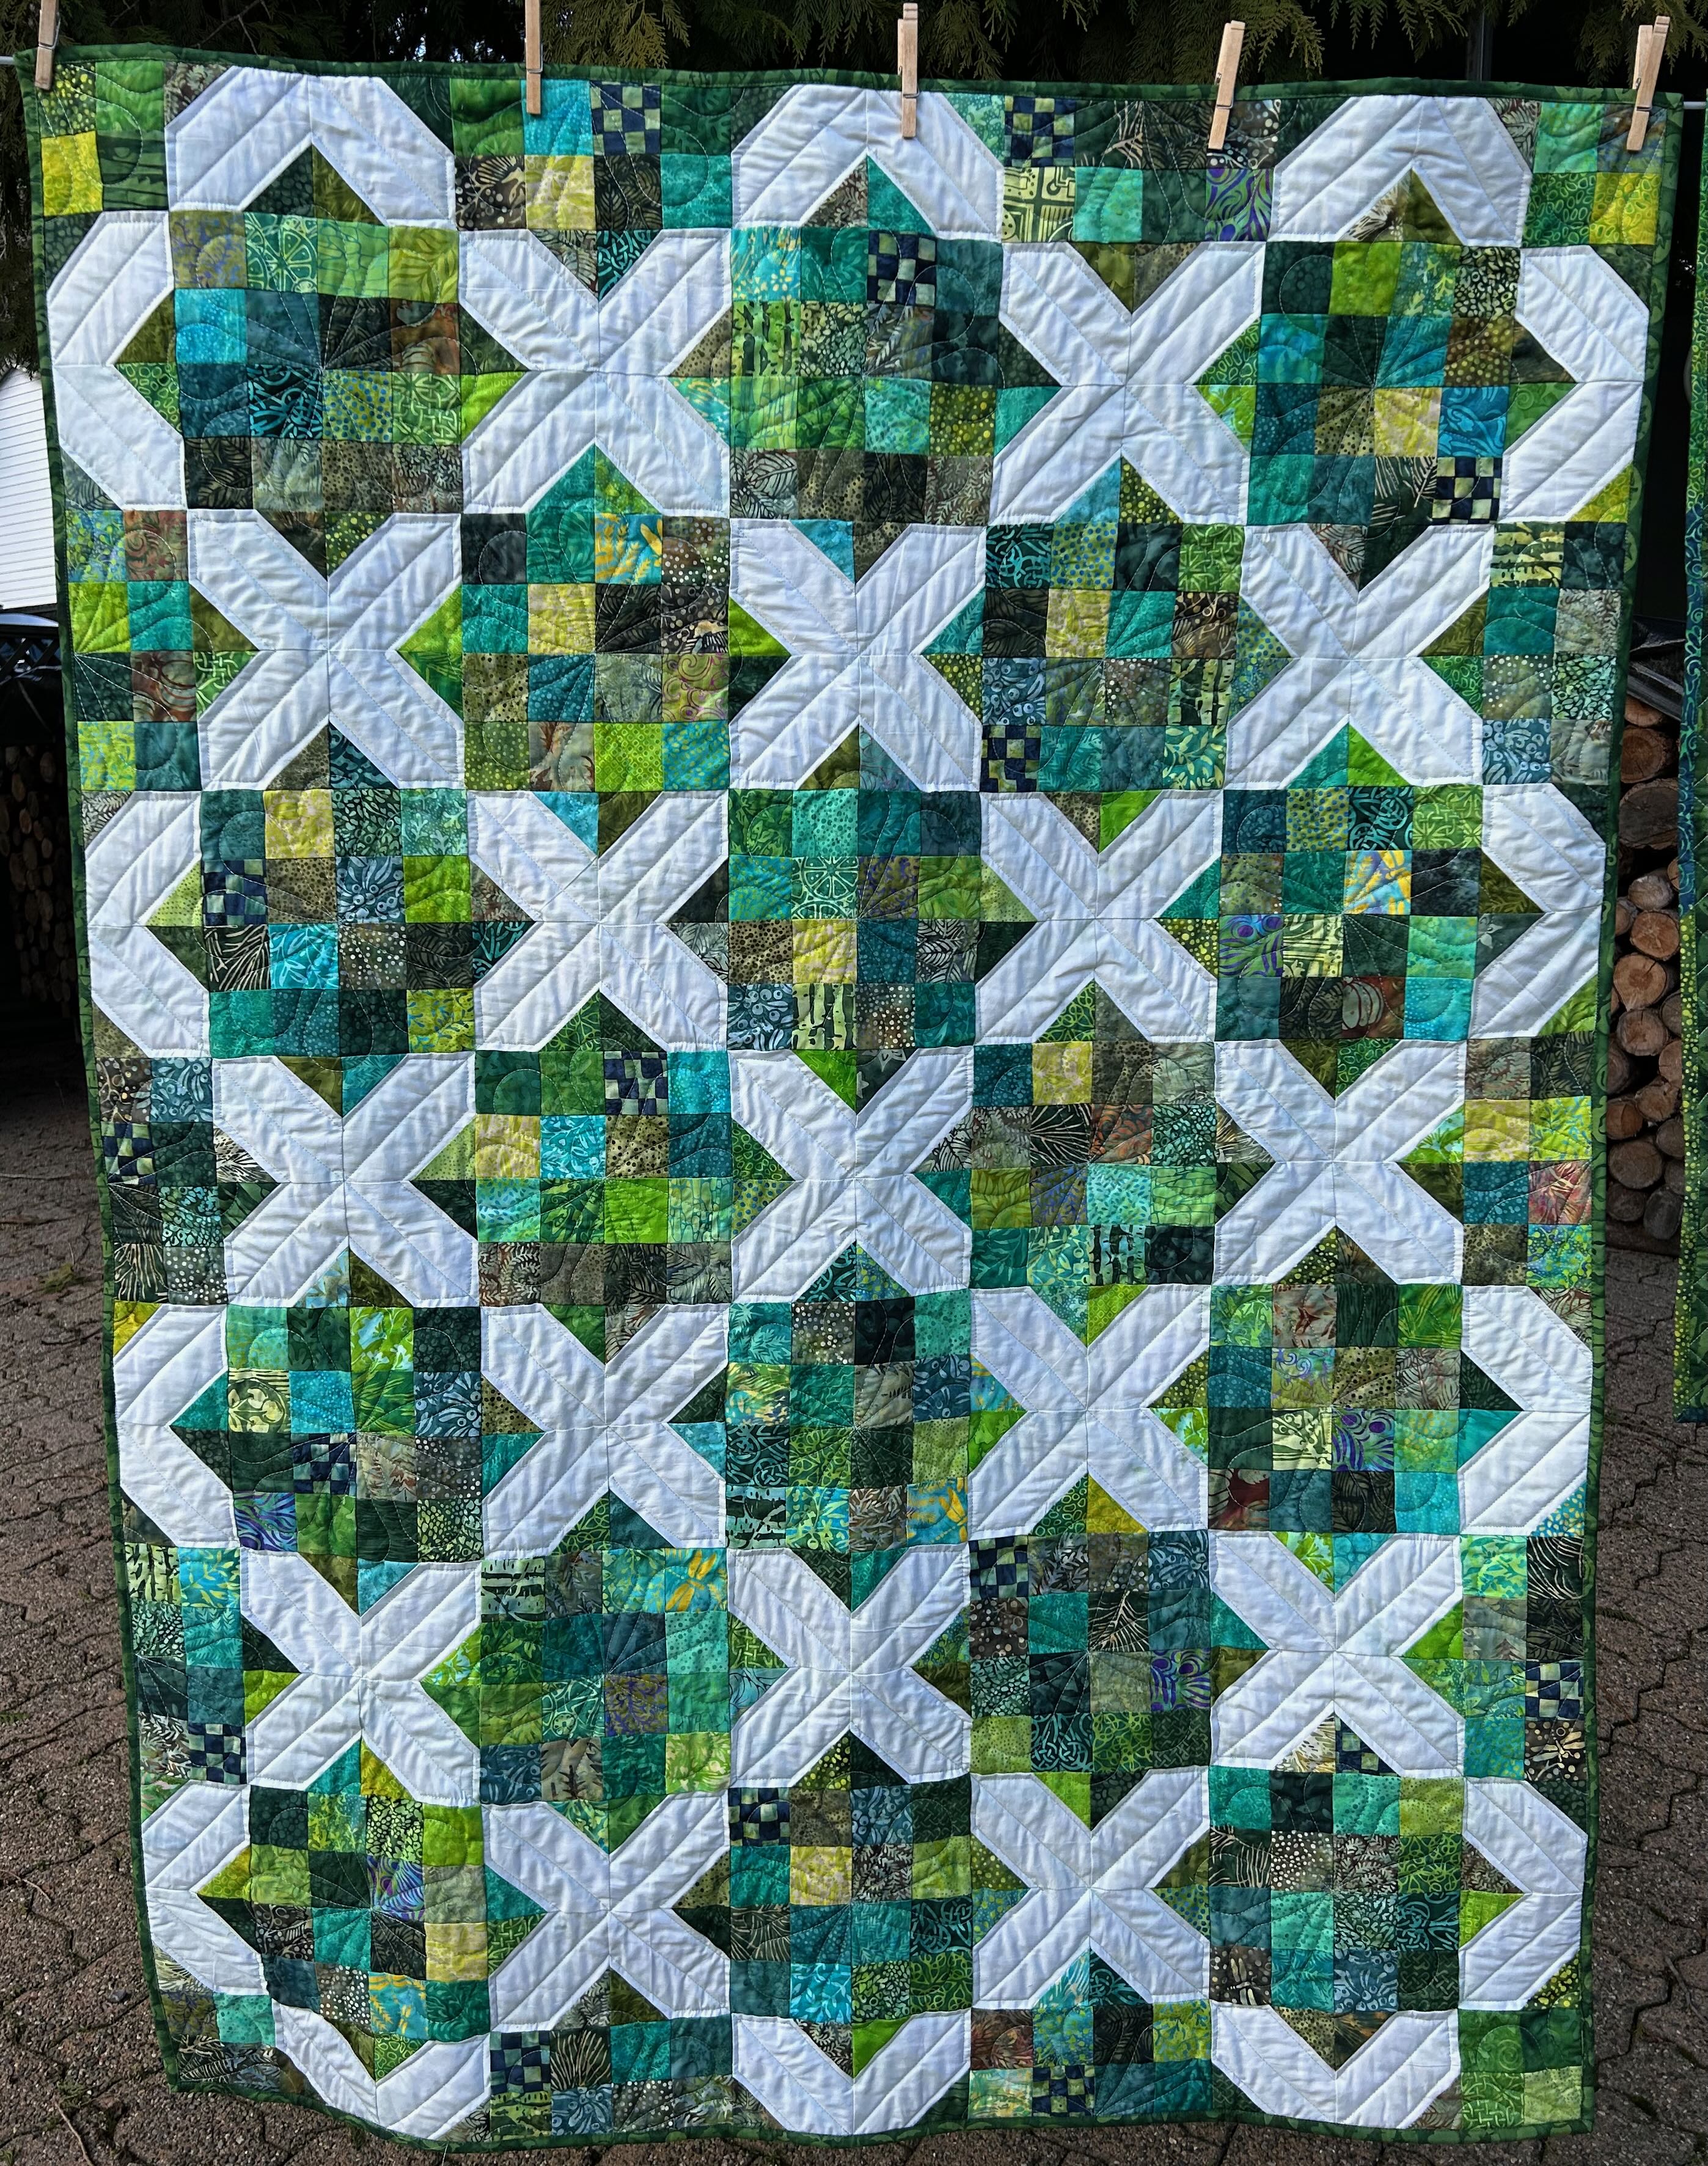
Boundary Bay Quilting Guild accepts donations for baby quilts, comfort quilts and Quilts of Valour. I regularly donate to the baby quilt and comfort quilt committees. I make a lot of quilts and it’s nice to know that they are going someplace where they are loved. Here are a few that I’ve made in the last while:

At Christmas time, the guild collects placemats for meals on wheels. I make these throughout the year, using left-overs from quilts. I simply put some Christmas fabric on the back and the recipient will have a reversible placemat. Sorry, no pictures.
Bee Kind Blog Hoppers
Bee sure to see all the Kindness of other bloggers
Monday Sept 23
Tuesday Sept 24
Wednesday Sept 25
- BeaQuilter
- Karrin’s Crazy World
- That Fabric Feeling
- Elizabeth Coughlin Designs
- Quilting Between the Rails
Thursday Sept 26th
Don’t Forget

Here is my Affiliate link: https://glnk.io/mzmmj/quiltinggail
For September, there is no 20% off an order of $50 or more. However, MSQC is having fantastic sales this month and if you use my Affiliate link, I will still receive a small commission.
Thank you for your support!
One who sleeps under a quilt is covered by LOVE!
Happy Quilting!
Gail
Linking to:
- Midweek Makers @ QuiltFabrication
- Wednesday Wait Loss @ Inquiring Quilter
- Happy Needle and Thread @ My Quilt Infatuation
- Andrée / Free Motion Mavericks @ Quilting & Learning – What a combo!
- Put your Foot Down @ A Quiltery
- Finished or Not Friday @ Alycia Quilts
- Michelle @ From Bolt to Beauty
- Off the Wall Friday @ Creations – Quilts, Art, Whatever
- TGIFF @ Kathleen McMusing

 Decide on the width of your binding. If there are points on the sides of the quilt that I don’t want to lose, I cut my binding at 2″. If there isn’t, I cut it at 2 1/4″. For this tutorial, I cut the binding at 2 1/2″ because it’s flannel on both sides and a little thicker than most quilts and I don’t want to have to fight with it.


 Bring the left over binding down to the bottom of the overlapping width of binding. Trim the left-over binding at the bottom edge.


