Leanne, from Devoted Quilter is hosting the Lazy Summer Quilt Camp. She always has fun challenges and this one peeked my interest immediately!!!
Beautiful Blues
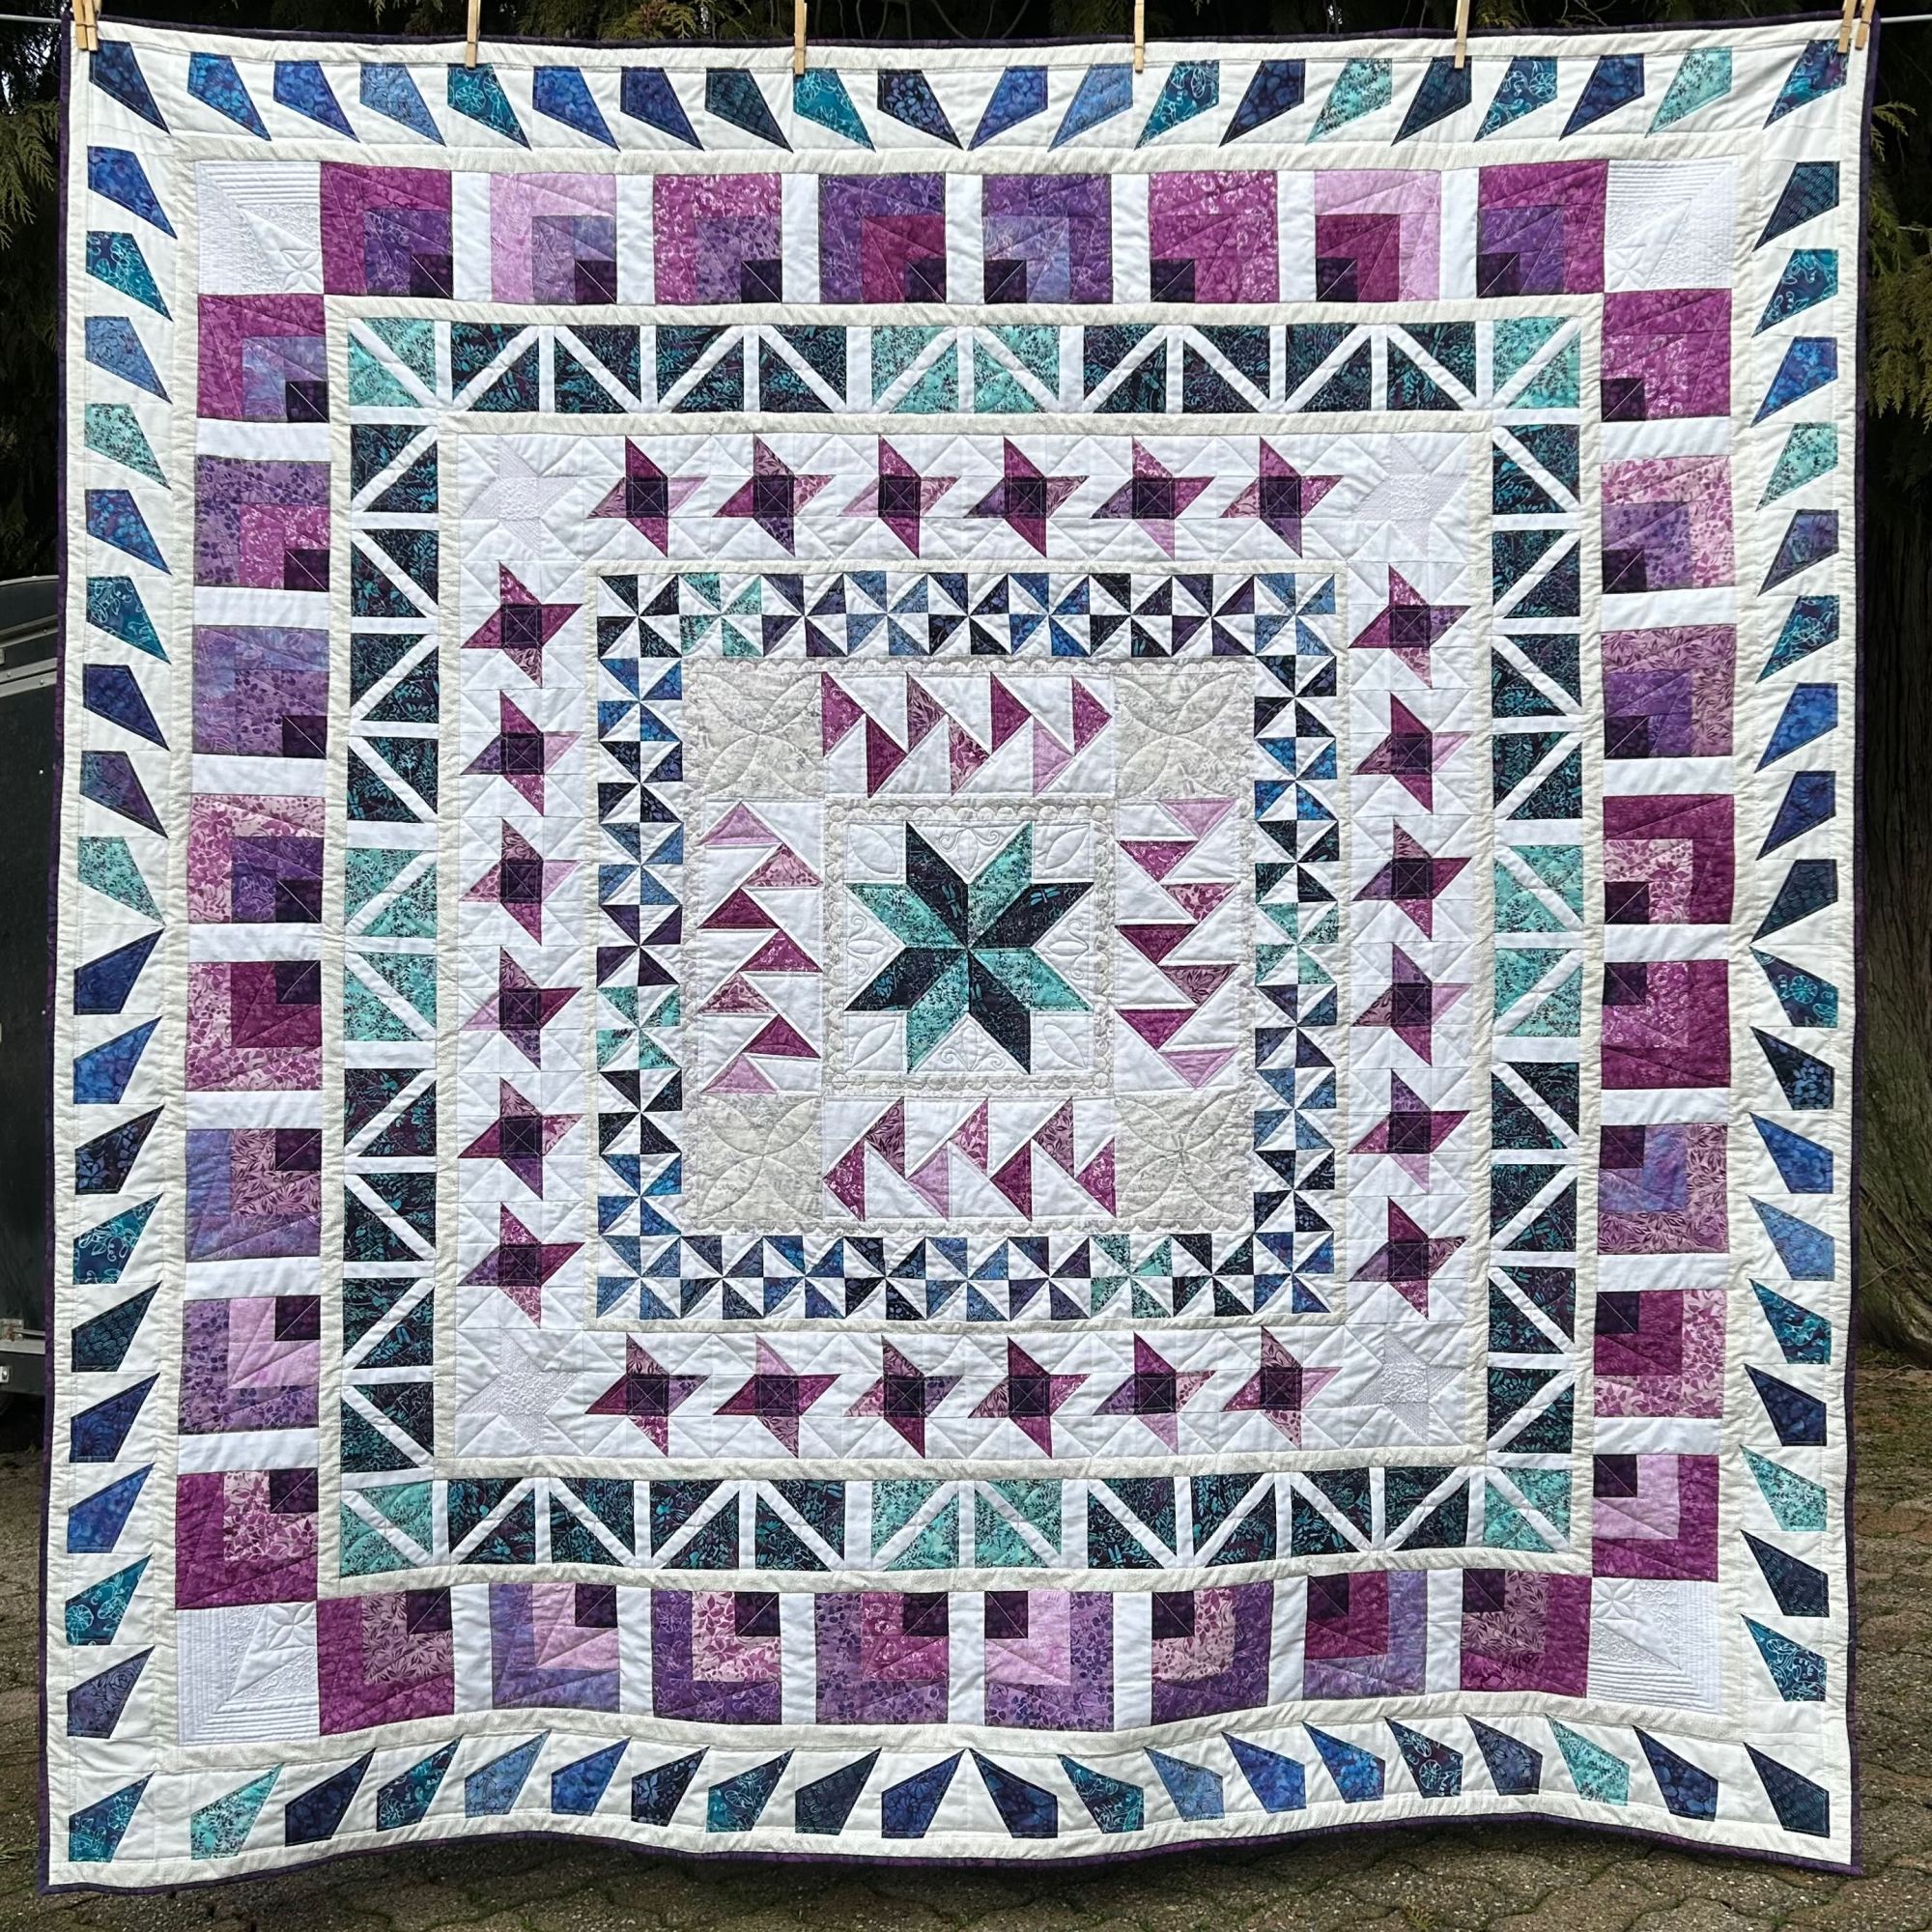
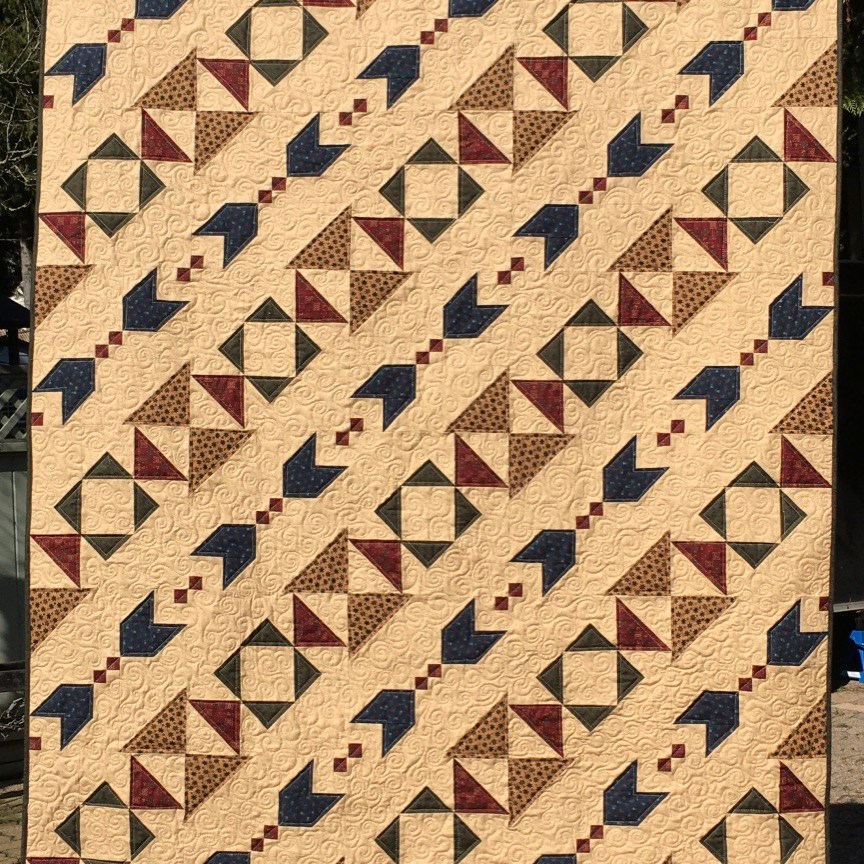
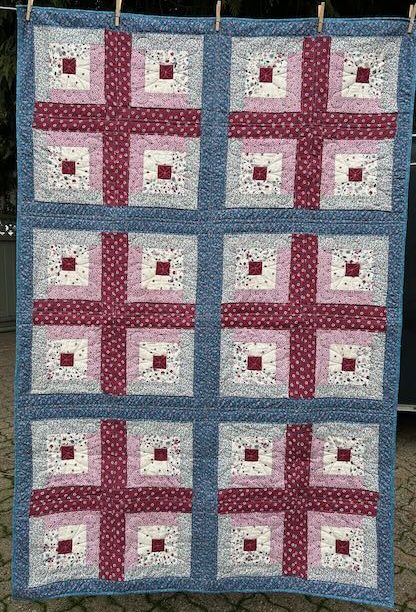
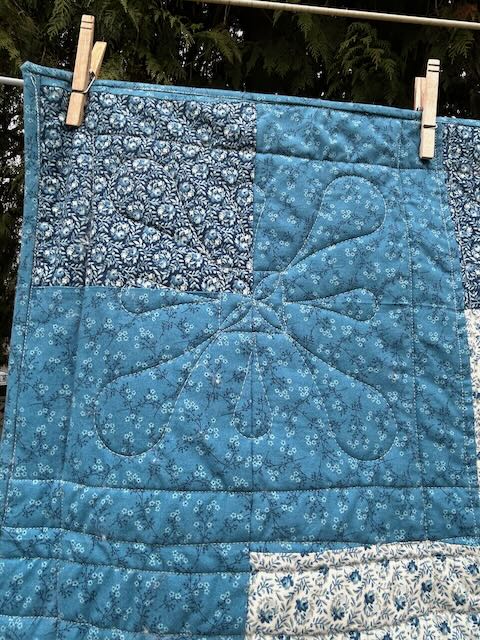
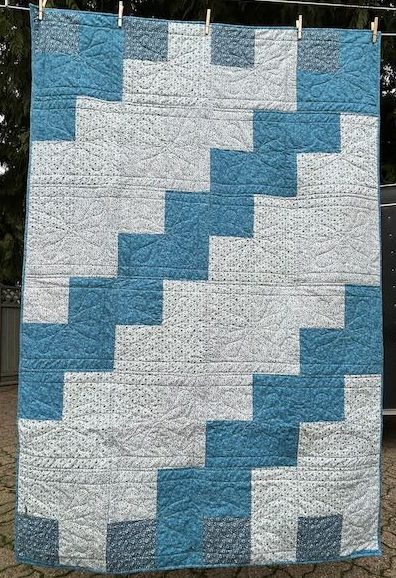
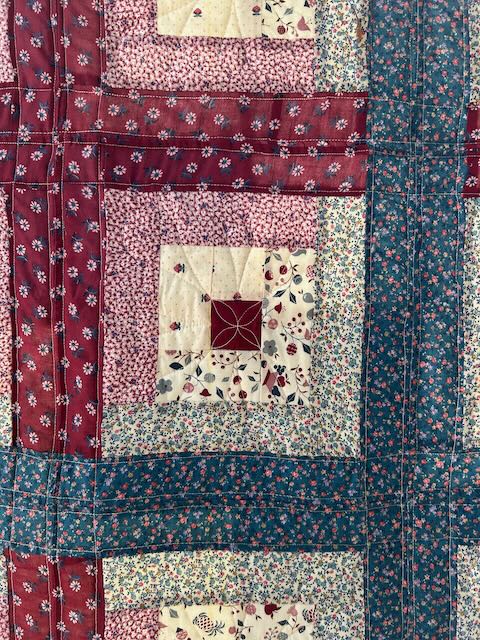
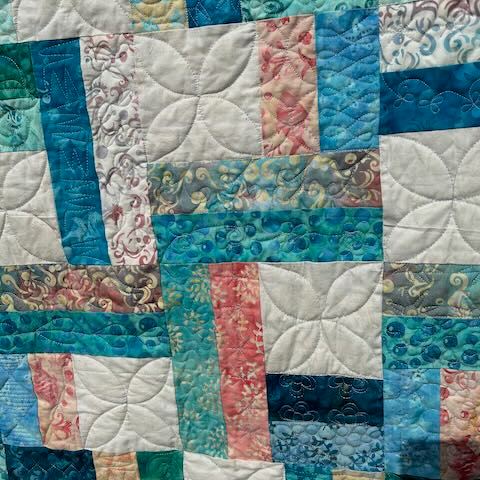
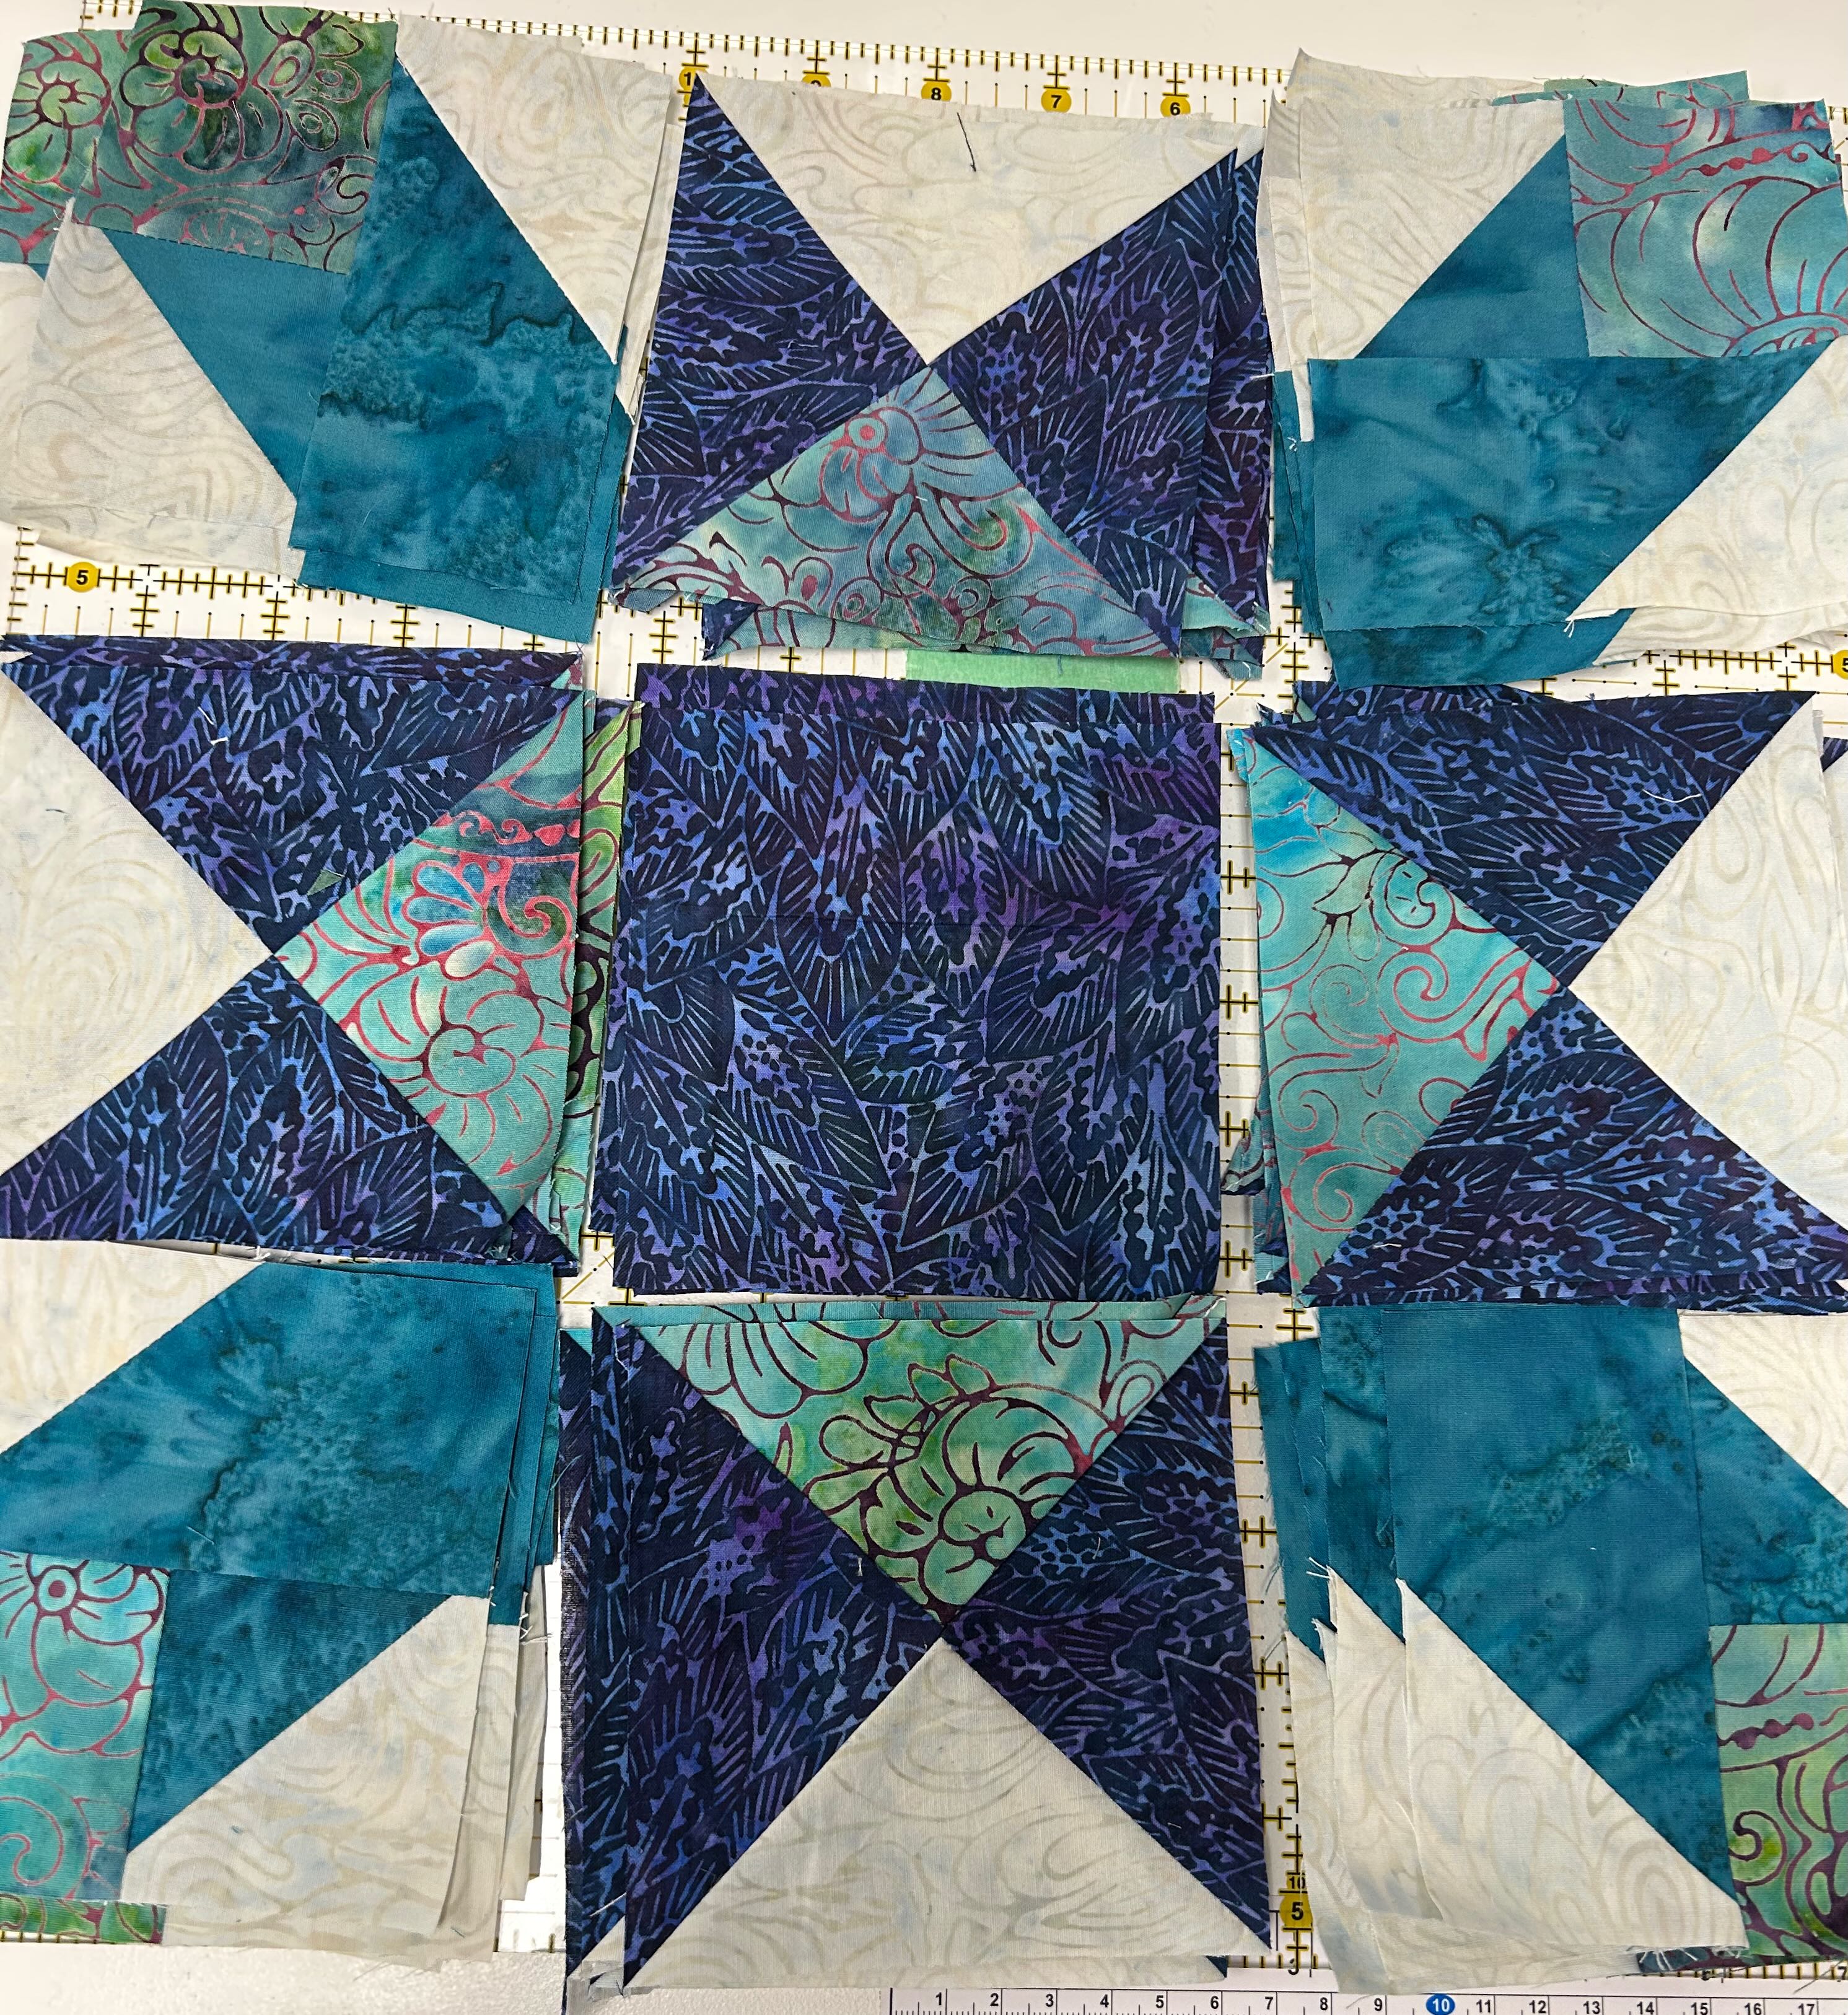
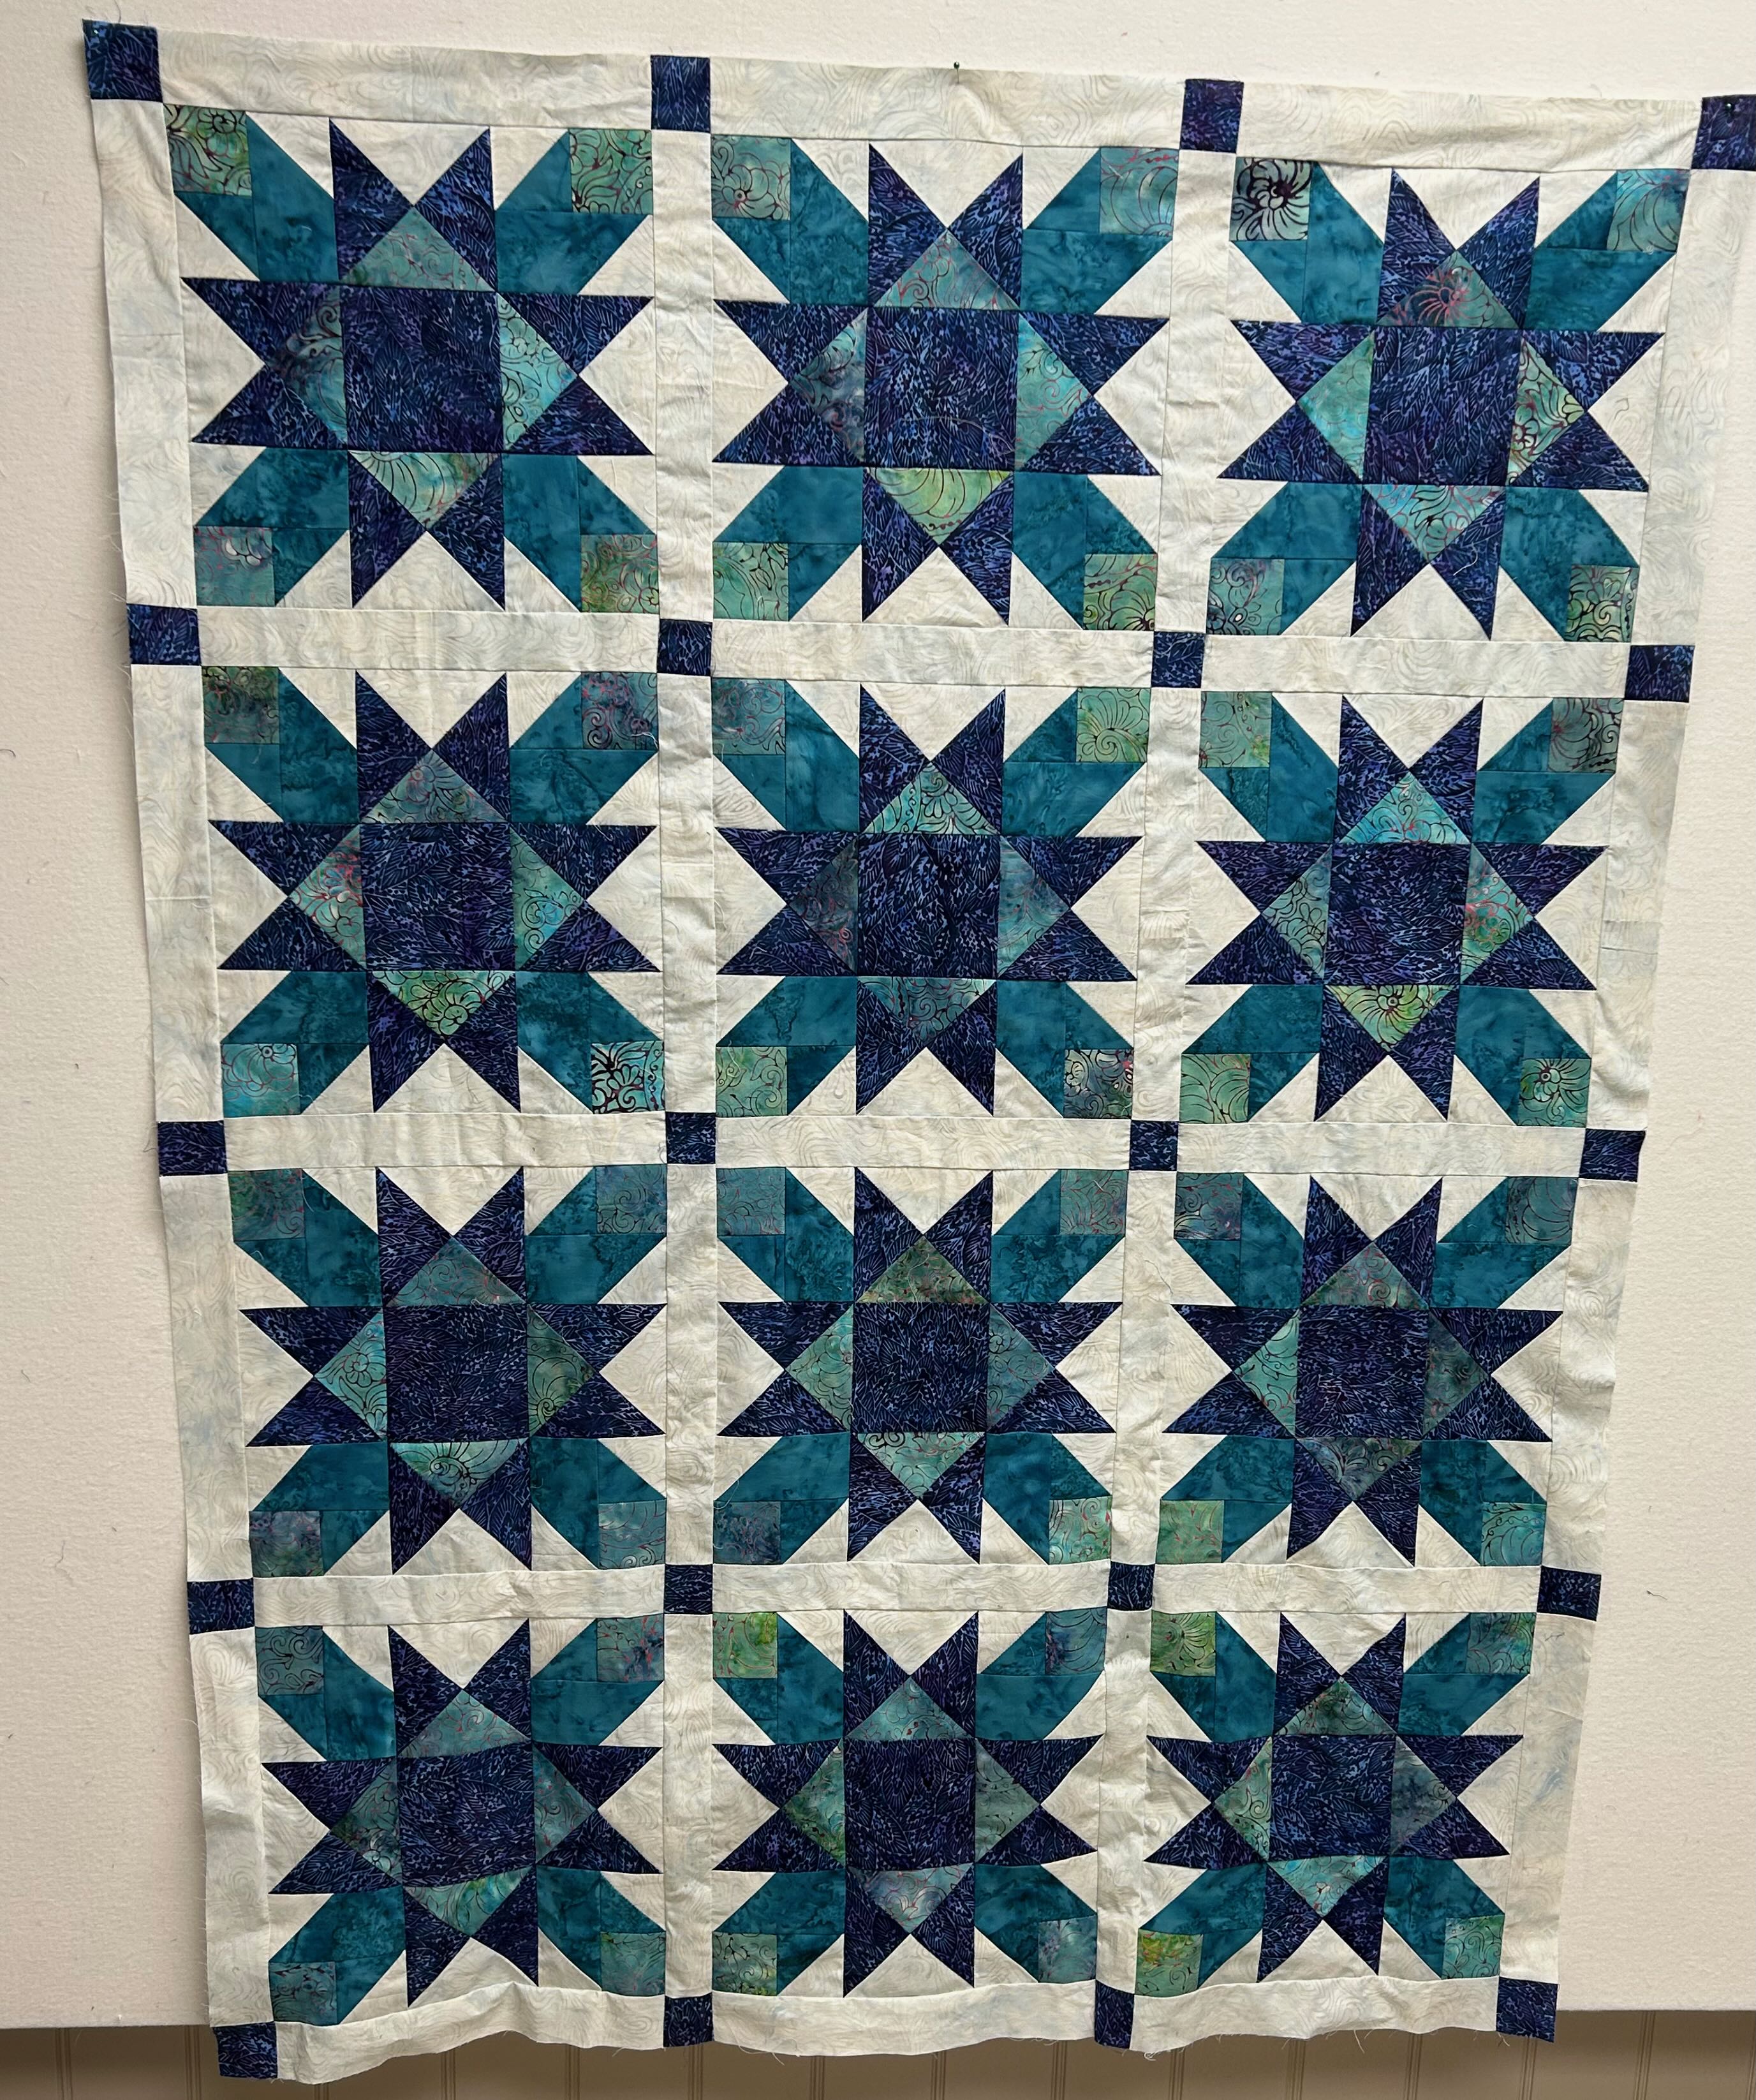
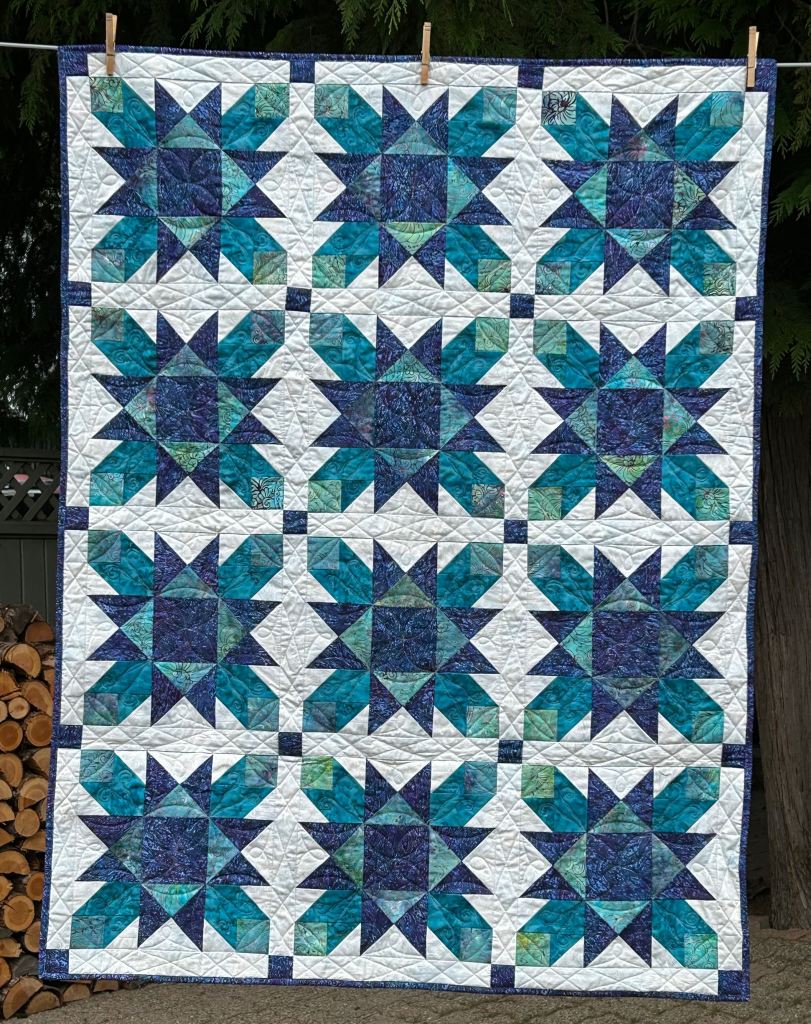
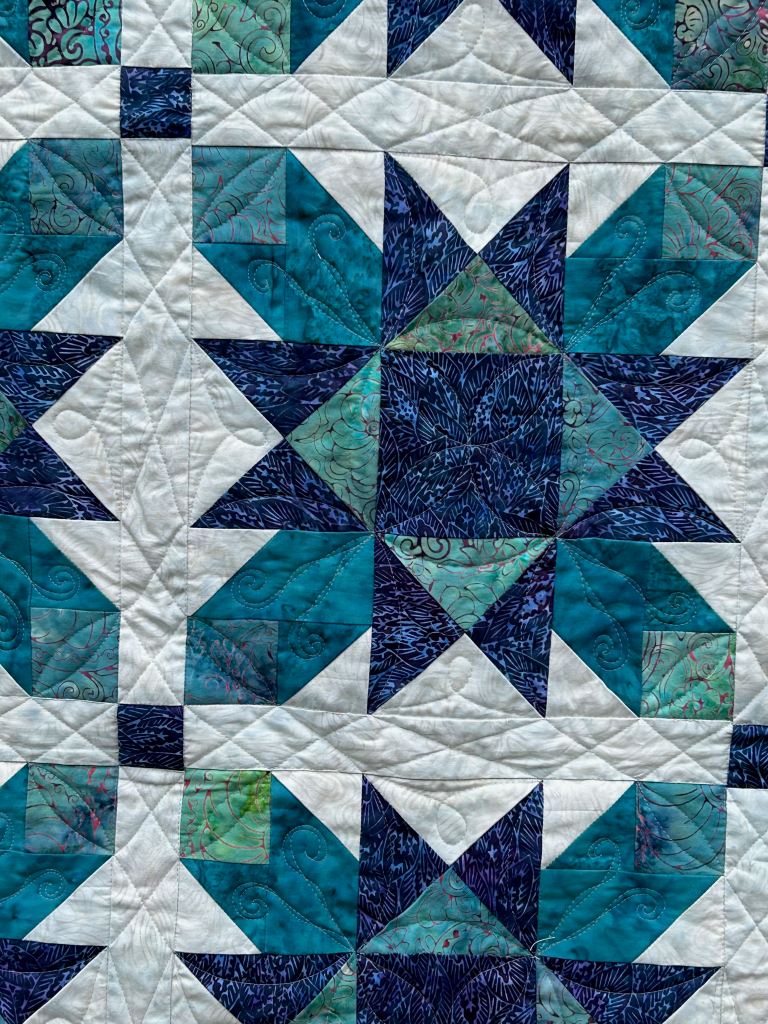
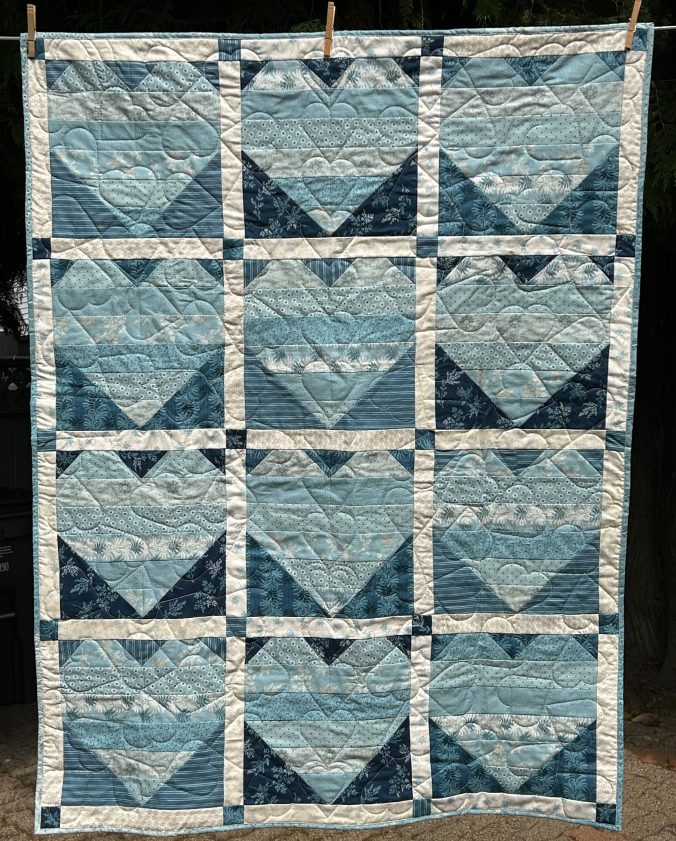
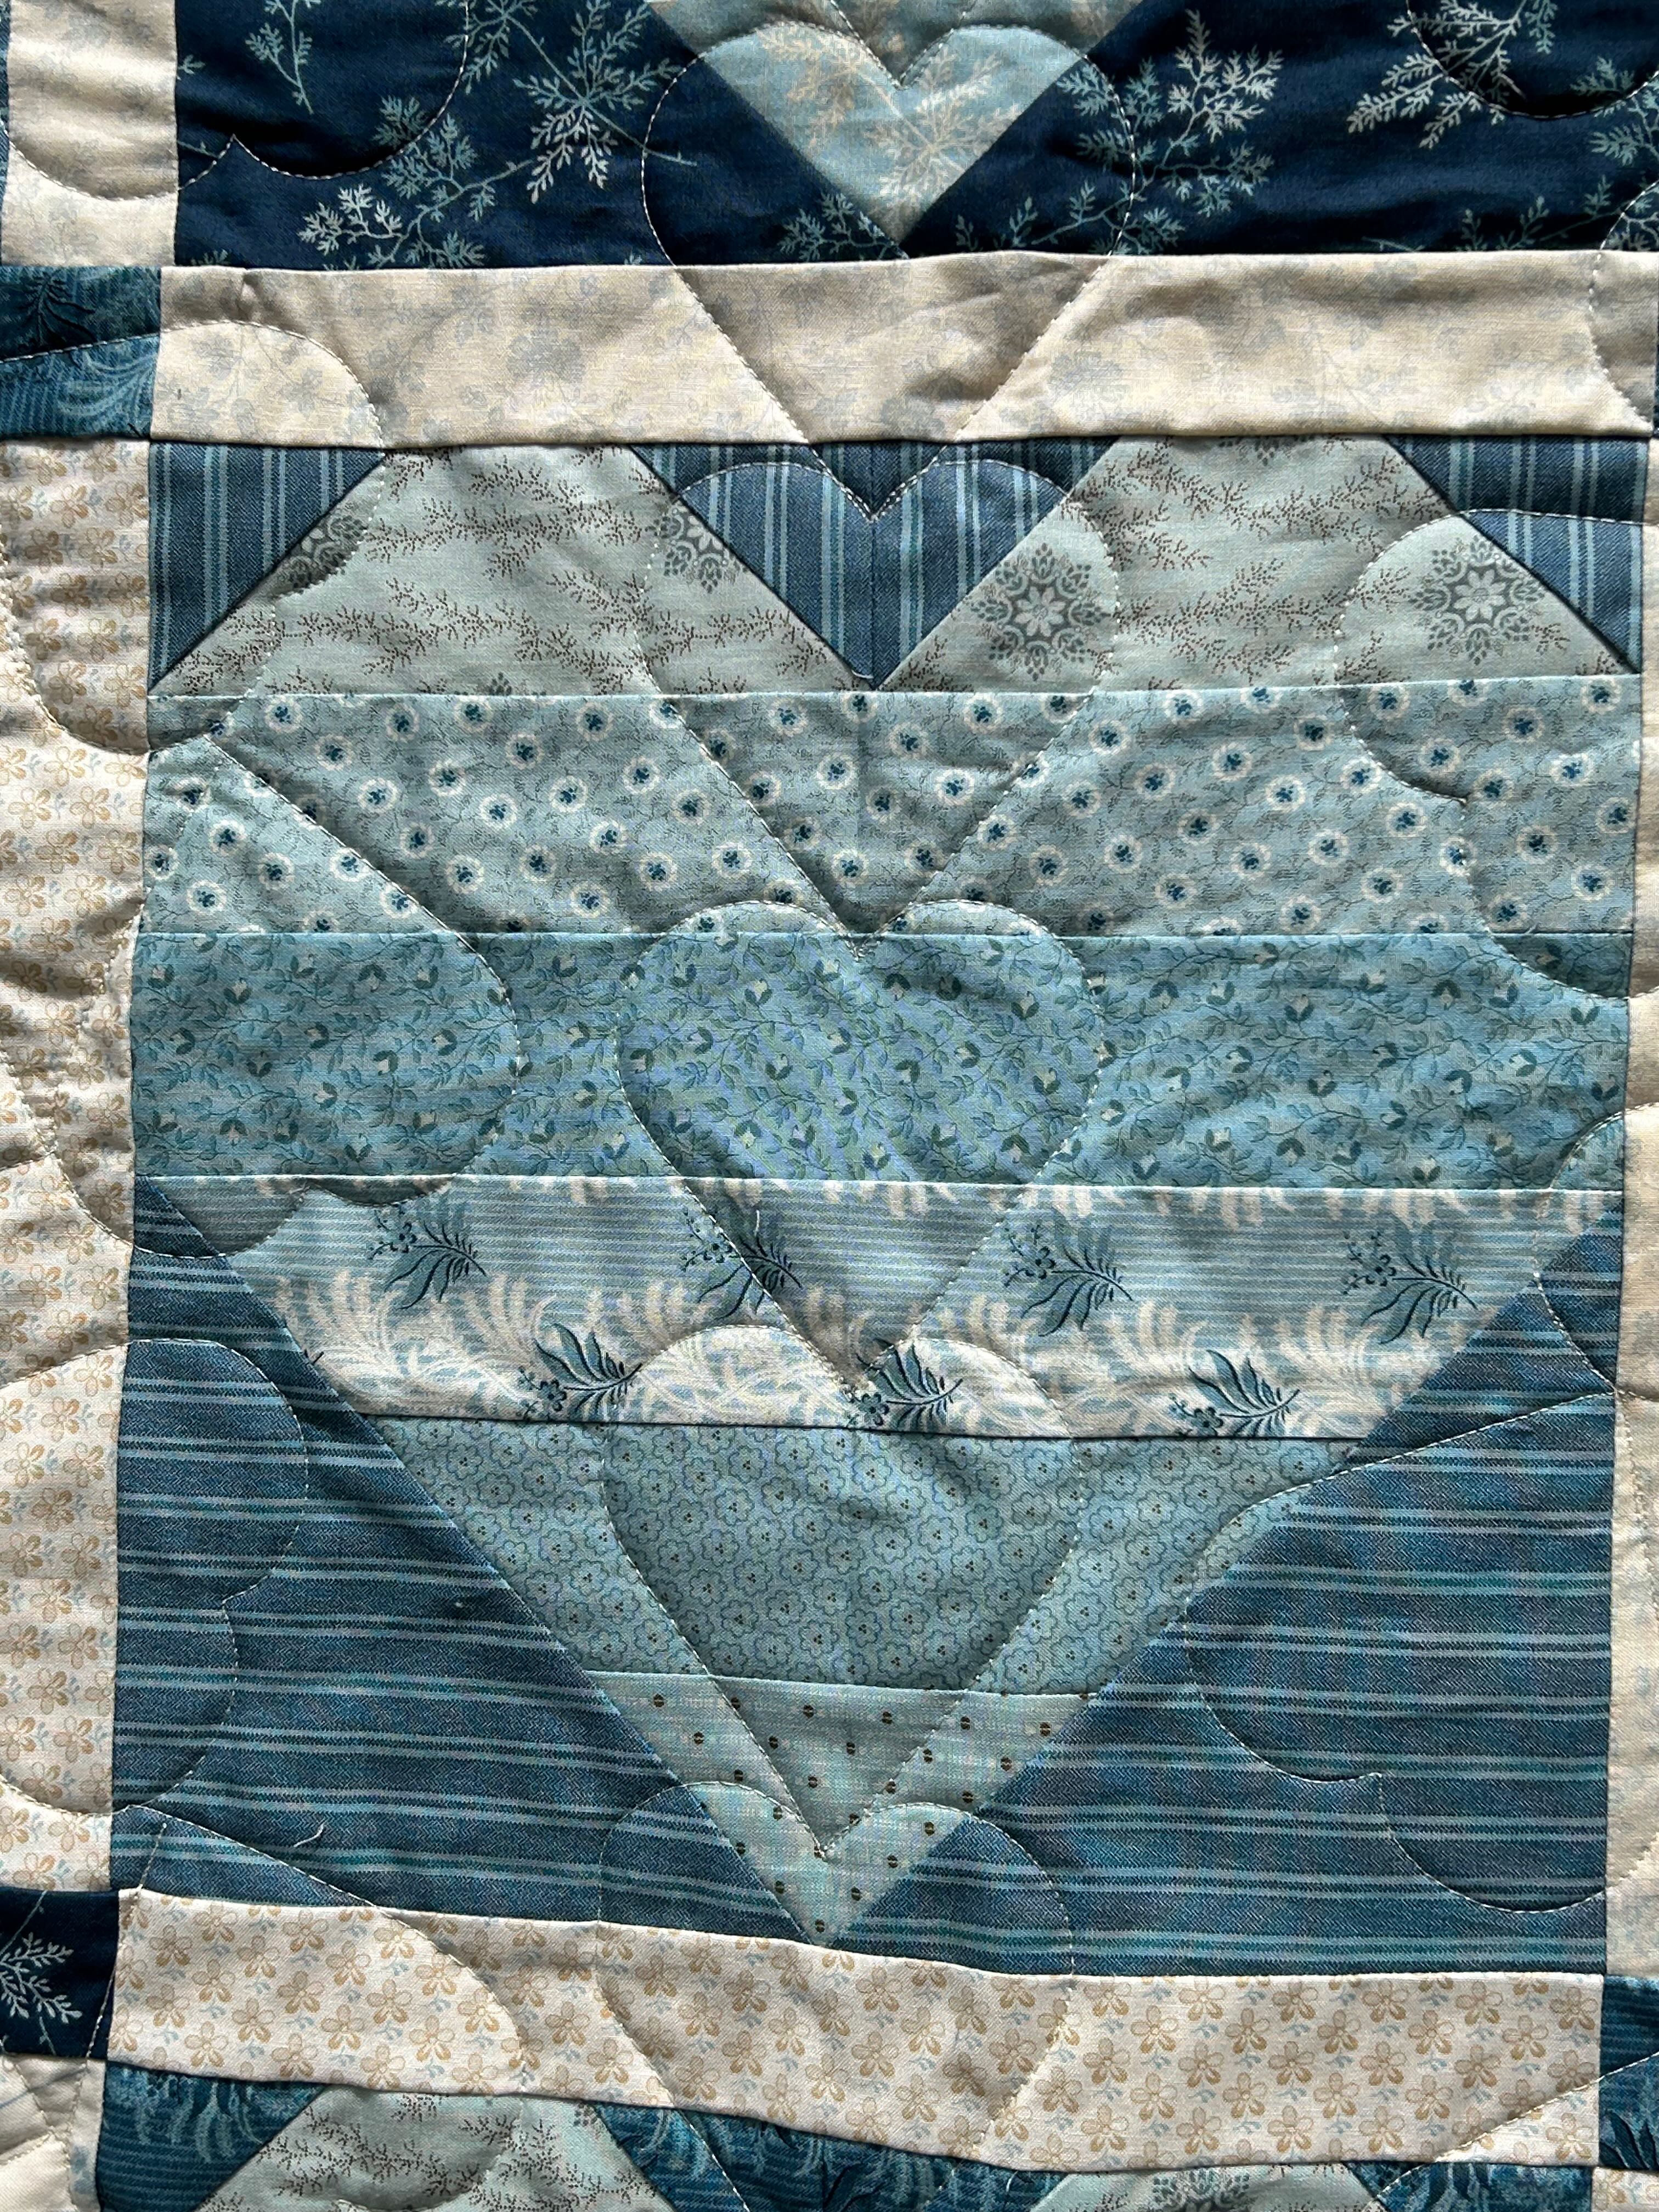
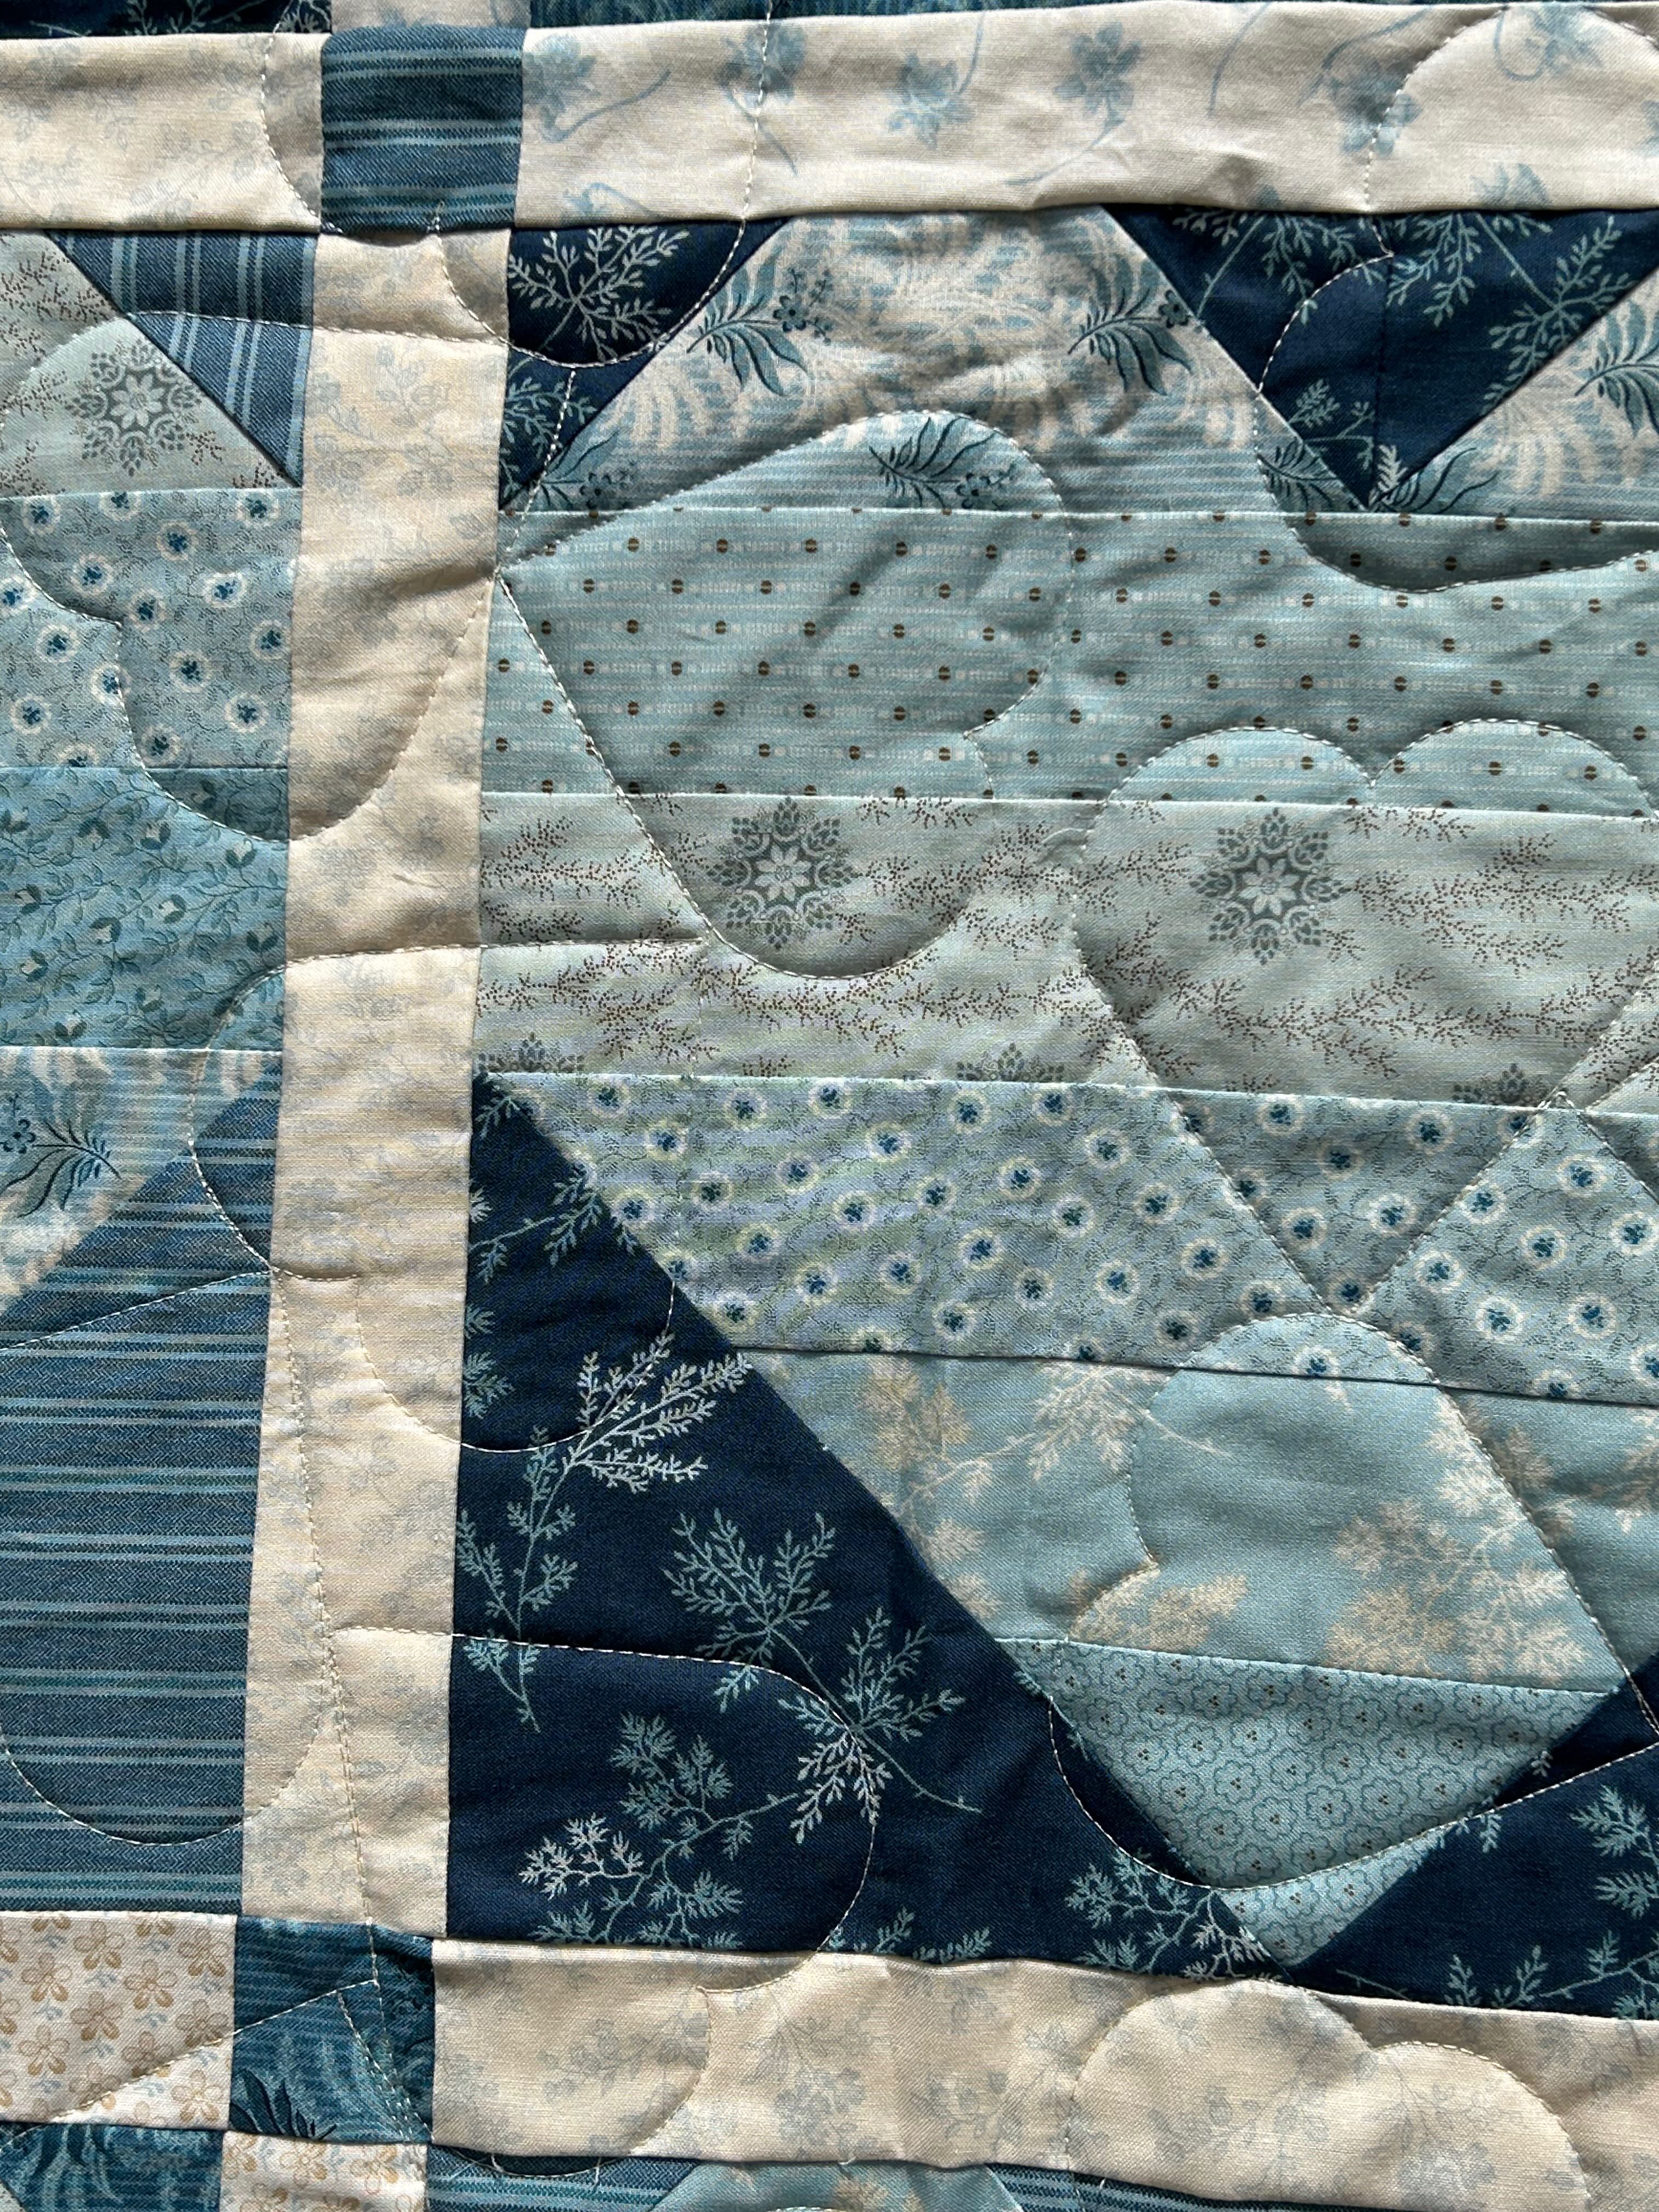
Day 6: Today’s prompt is “Beautiful Blues.” Blue is my favourite colour. This quilt was for an Island Batik challenge. I loved working with all the blue fabrics! Interestingly, I just changed out quilts and this went on one of the spare beds a few days ago!
And I love this picture with the reflection in the water. You can read more about this quilt HERE.
Biggest Quilt
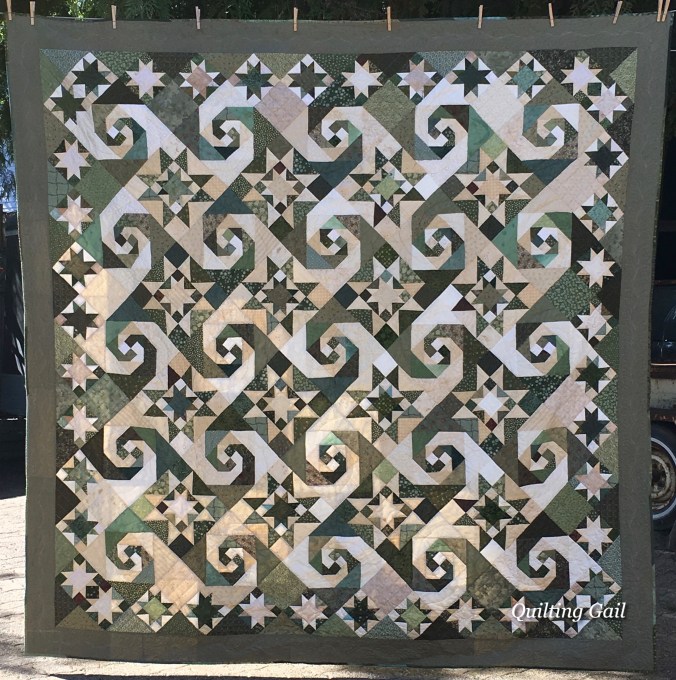
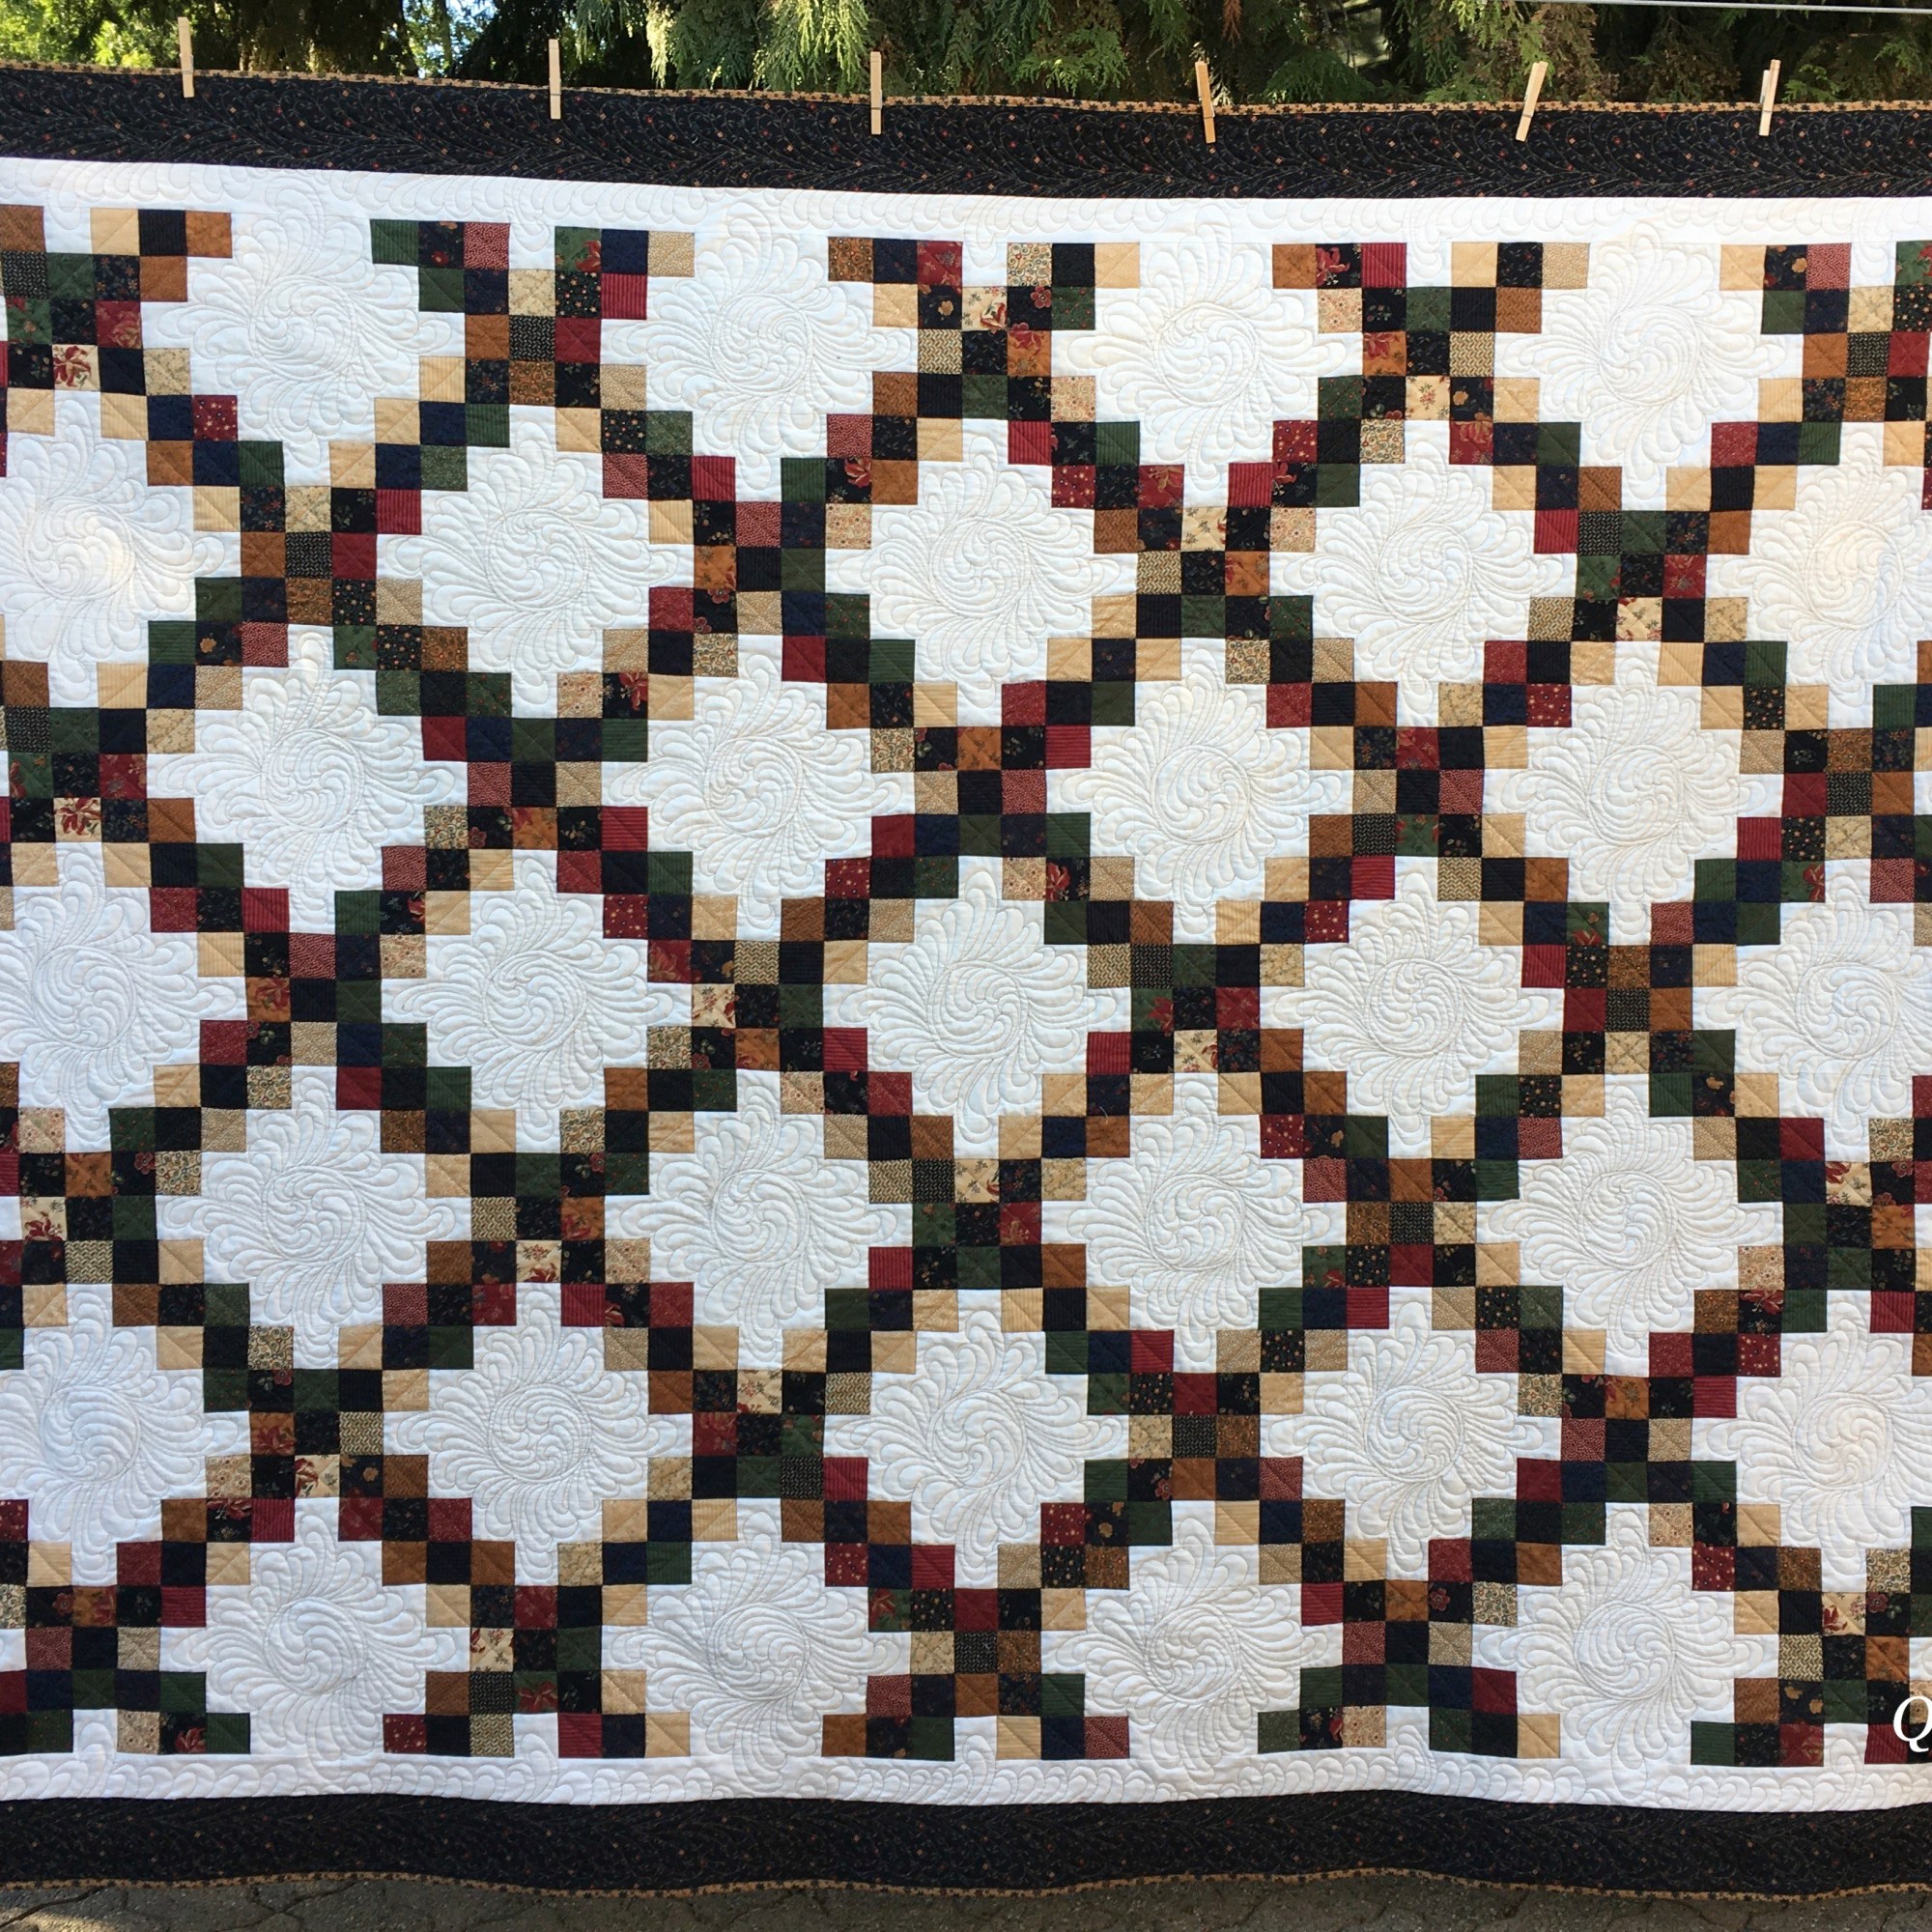
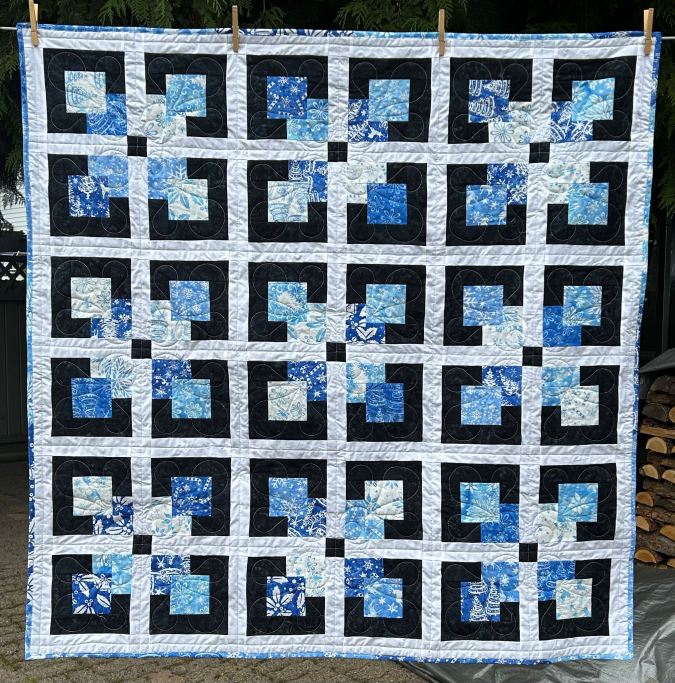
This quilt is the largest quilt I’ve ever made … and I won’t be making another king sized quilt ever again!! And yes, it was quilted on my domestic sewing machine. However, once the quilt was finished … I LOVED it! The pattern is “Shakespeare in the Park“ by Judy Martin in her book “The Creative Pattern Book.” Of course, I made it much larger than the pattern …
Don’t Forget!
I am now a Silly Moon affiliate! So what does that mean? When you use my affiliate code Quiltinggail2024 at Silly Moon, you will receive 10% off your order and I will receive a small commission.
Leanne, from Devoted Quilter is hosting the Lazy Summer Quilt Camp. She always has fun challenges and this one peeked my interest immediately!!!
Day 5
Day 5: Today’s prompt is “Sewing Along.” I have done several “Sew Alongs.” But my all time favourite is the Stay at Home Round Robin that 5 blogging friends and I do every year. It starts in January and ends in March … a perfect activity for the winter months! You might want to consider joining us in January! (THIS POST will give you details of how it works.) And yes, we’ve already had our planning meeting for 2027!
The following quilts are from 2026 – to 2020 (the last 2 I did on my own during Covid … blogging friends joined me in 2021).
Don’t Forget!
I am now a Silly Moon affiliate! So what does that mean? When you use my affiliate code Quiltinggail2024 at Silly Moon, you will receive 10% off your order and I will receive a small commission.
Leanne, from Devoted Quilter is hosting the Lazy Summer Quilt Camp. She always has fun challenges and this one peeked my interest immediately!!!
Day 4
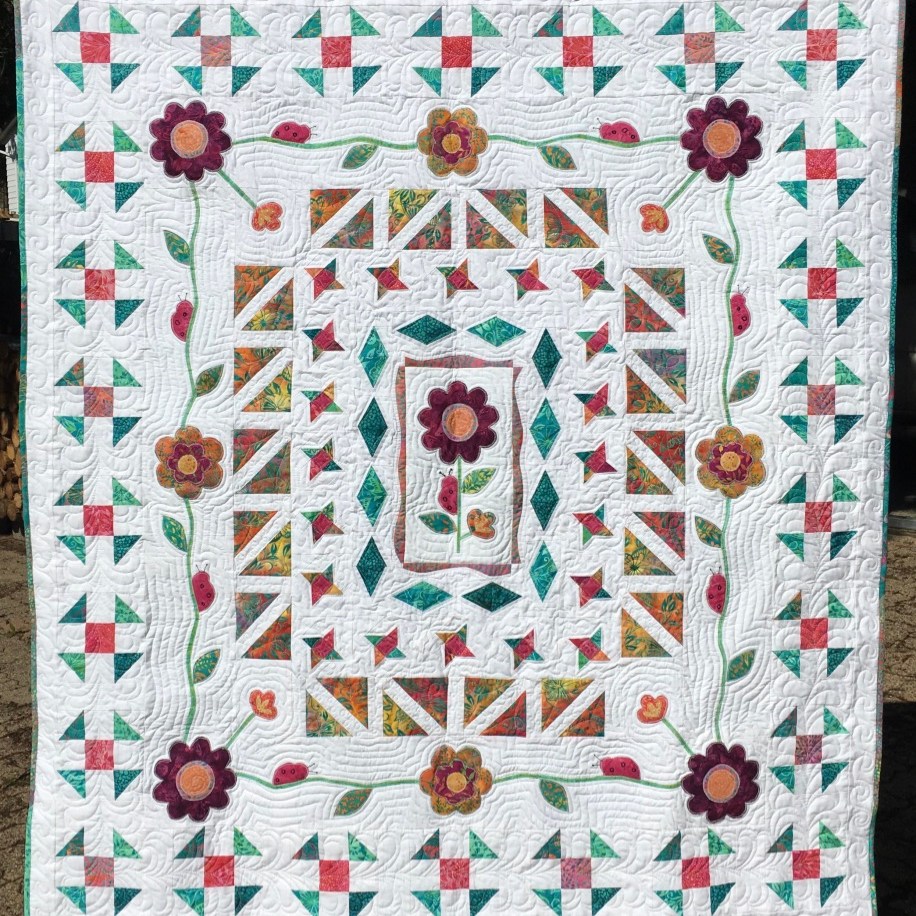
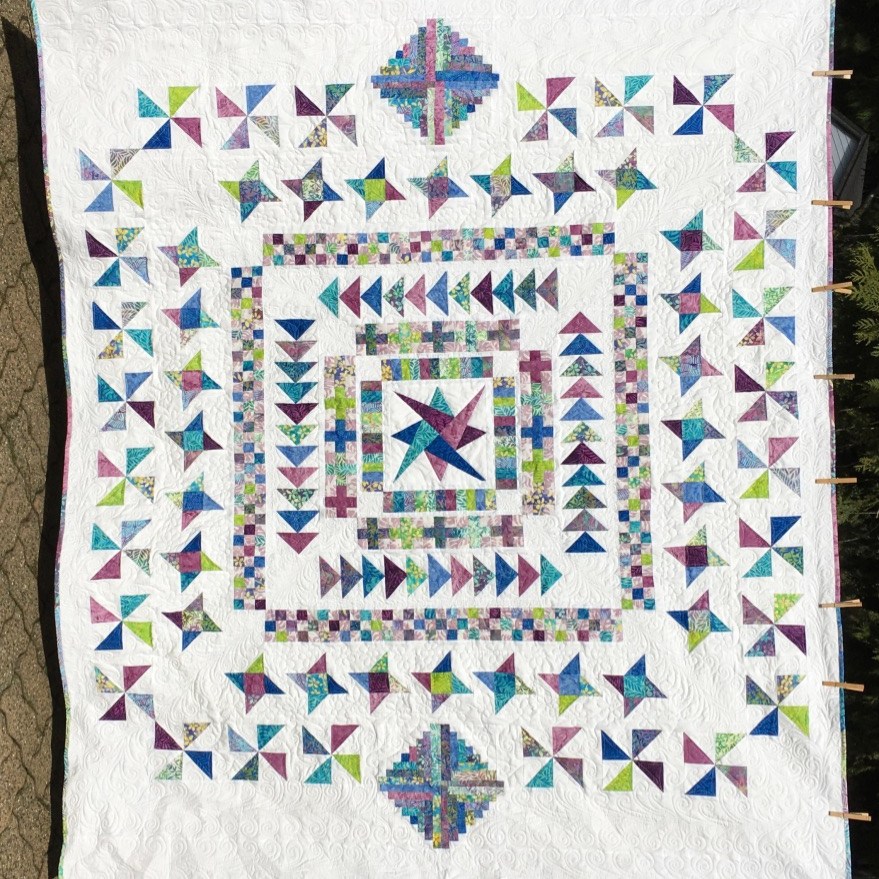
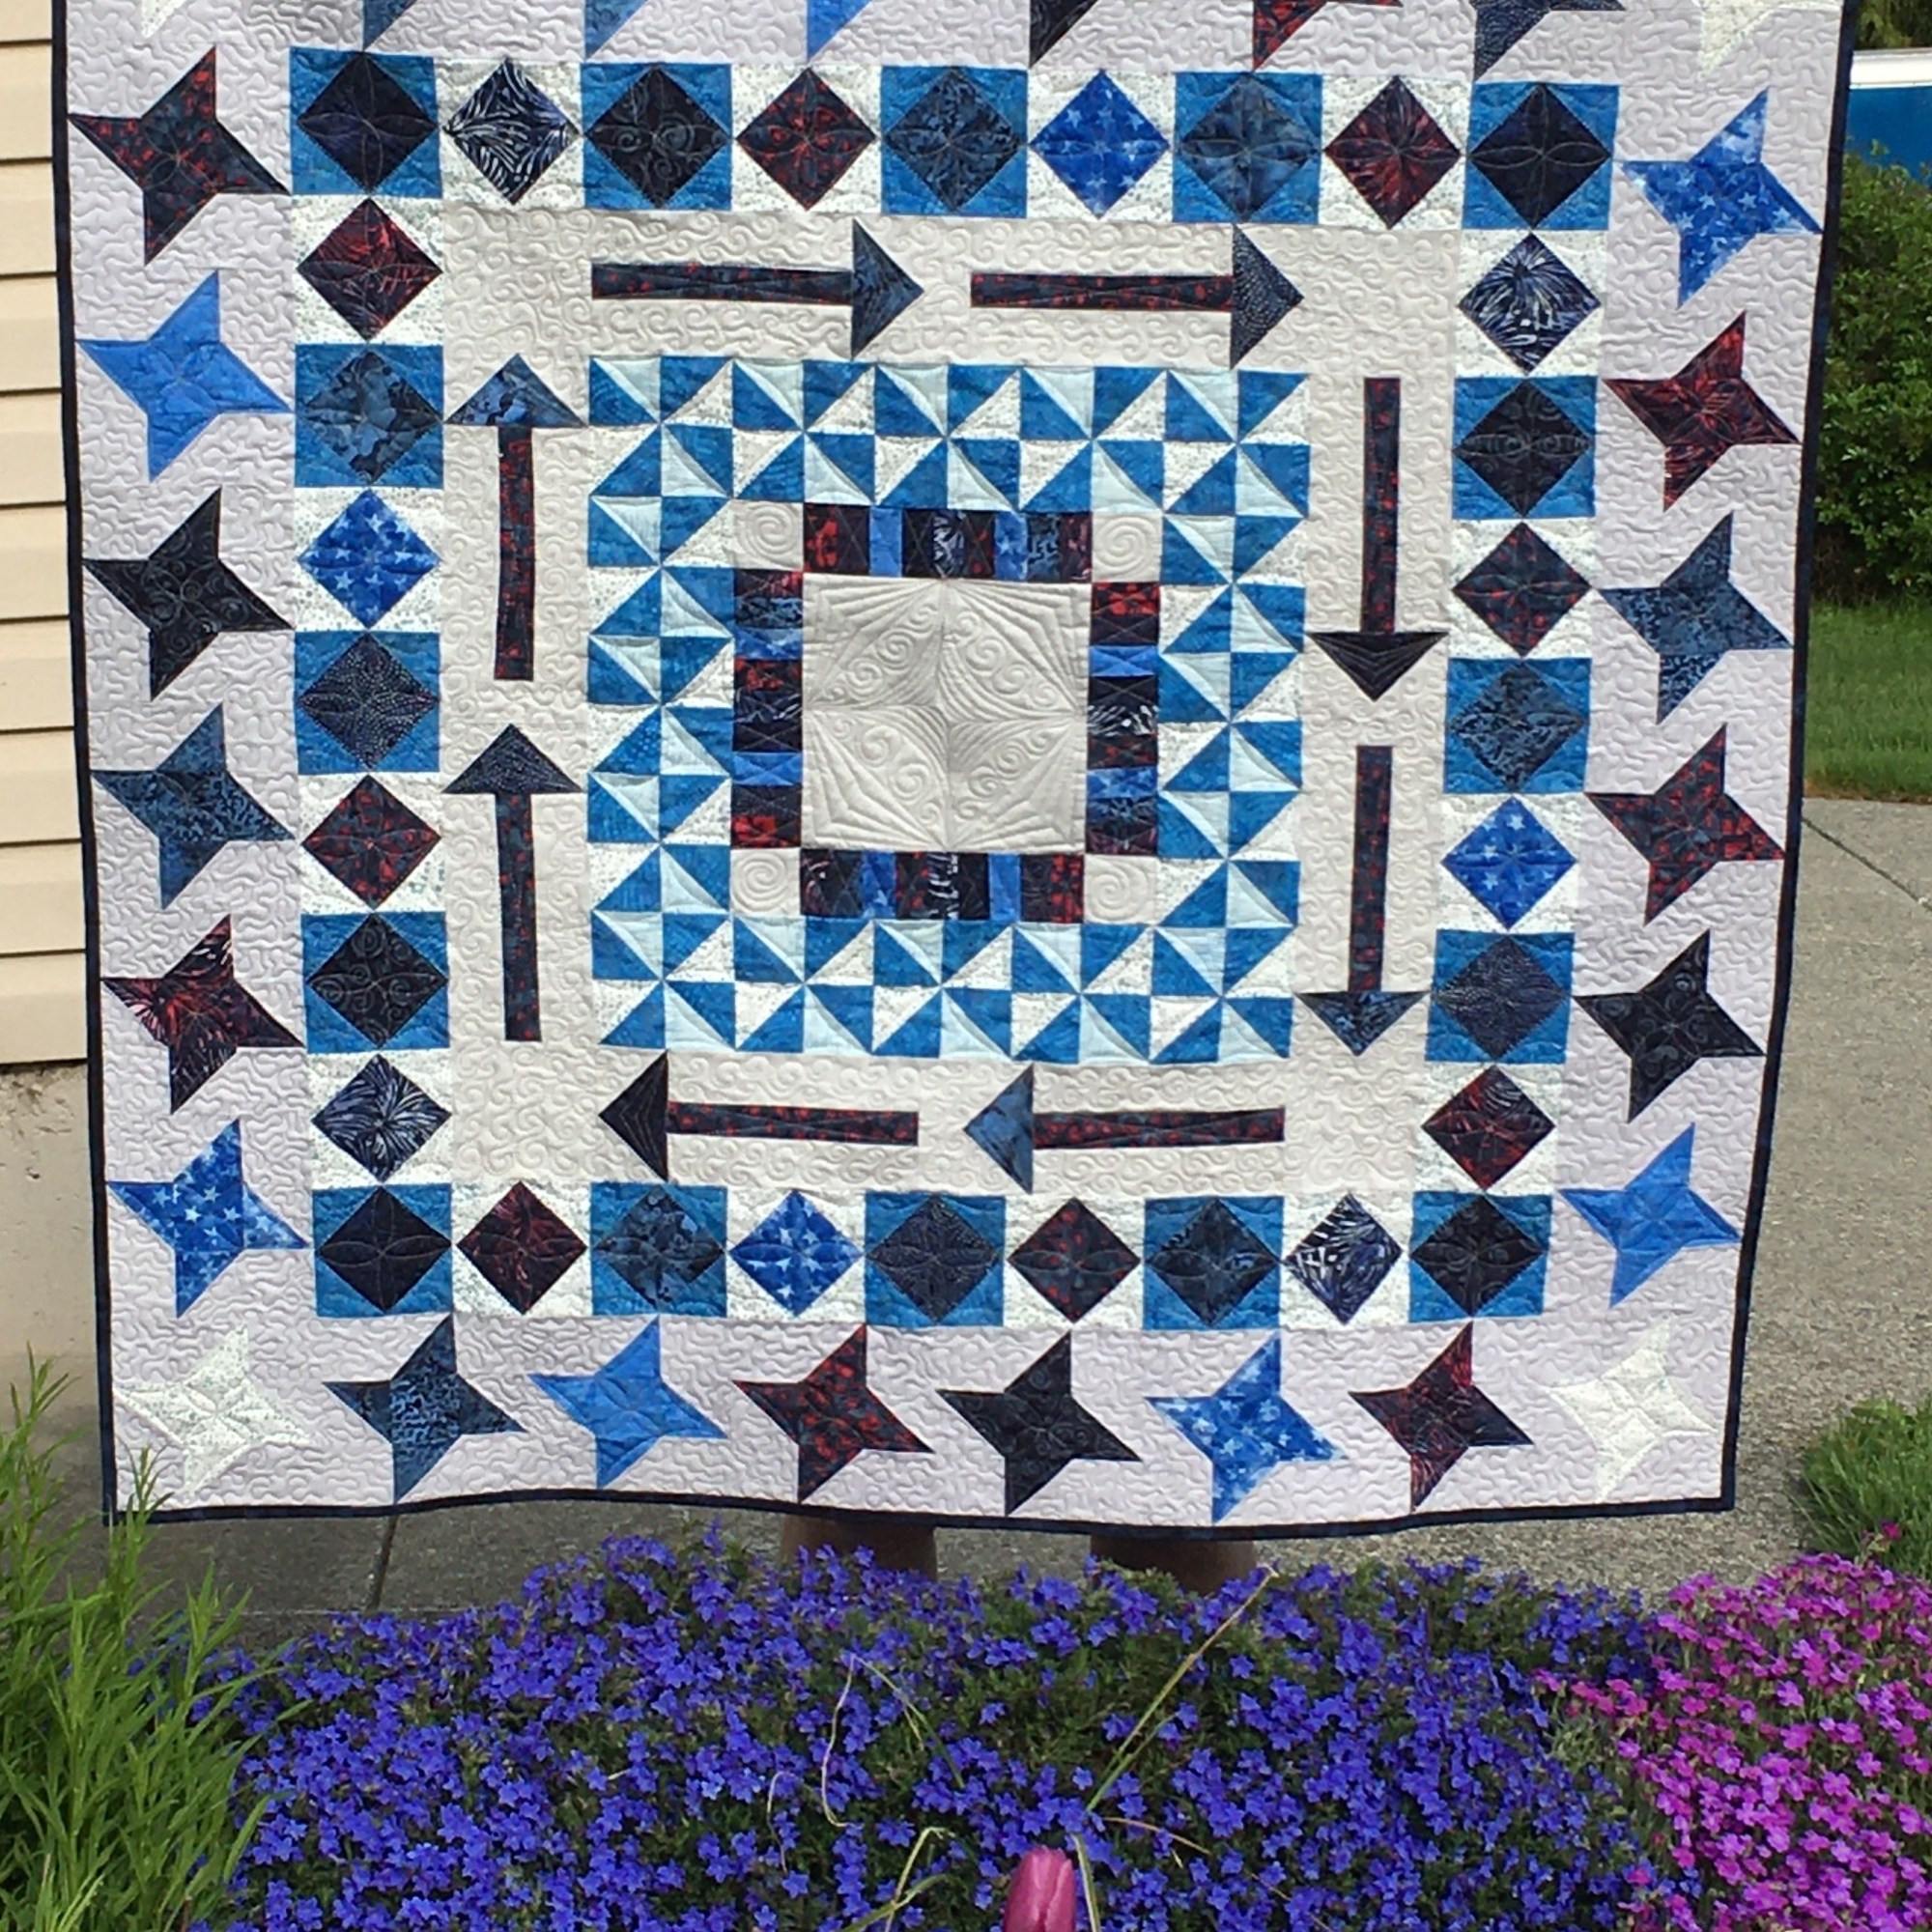
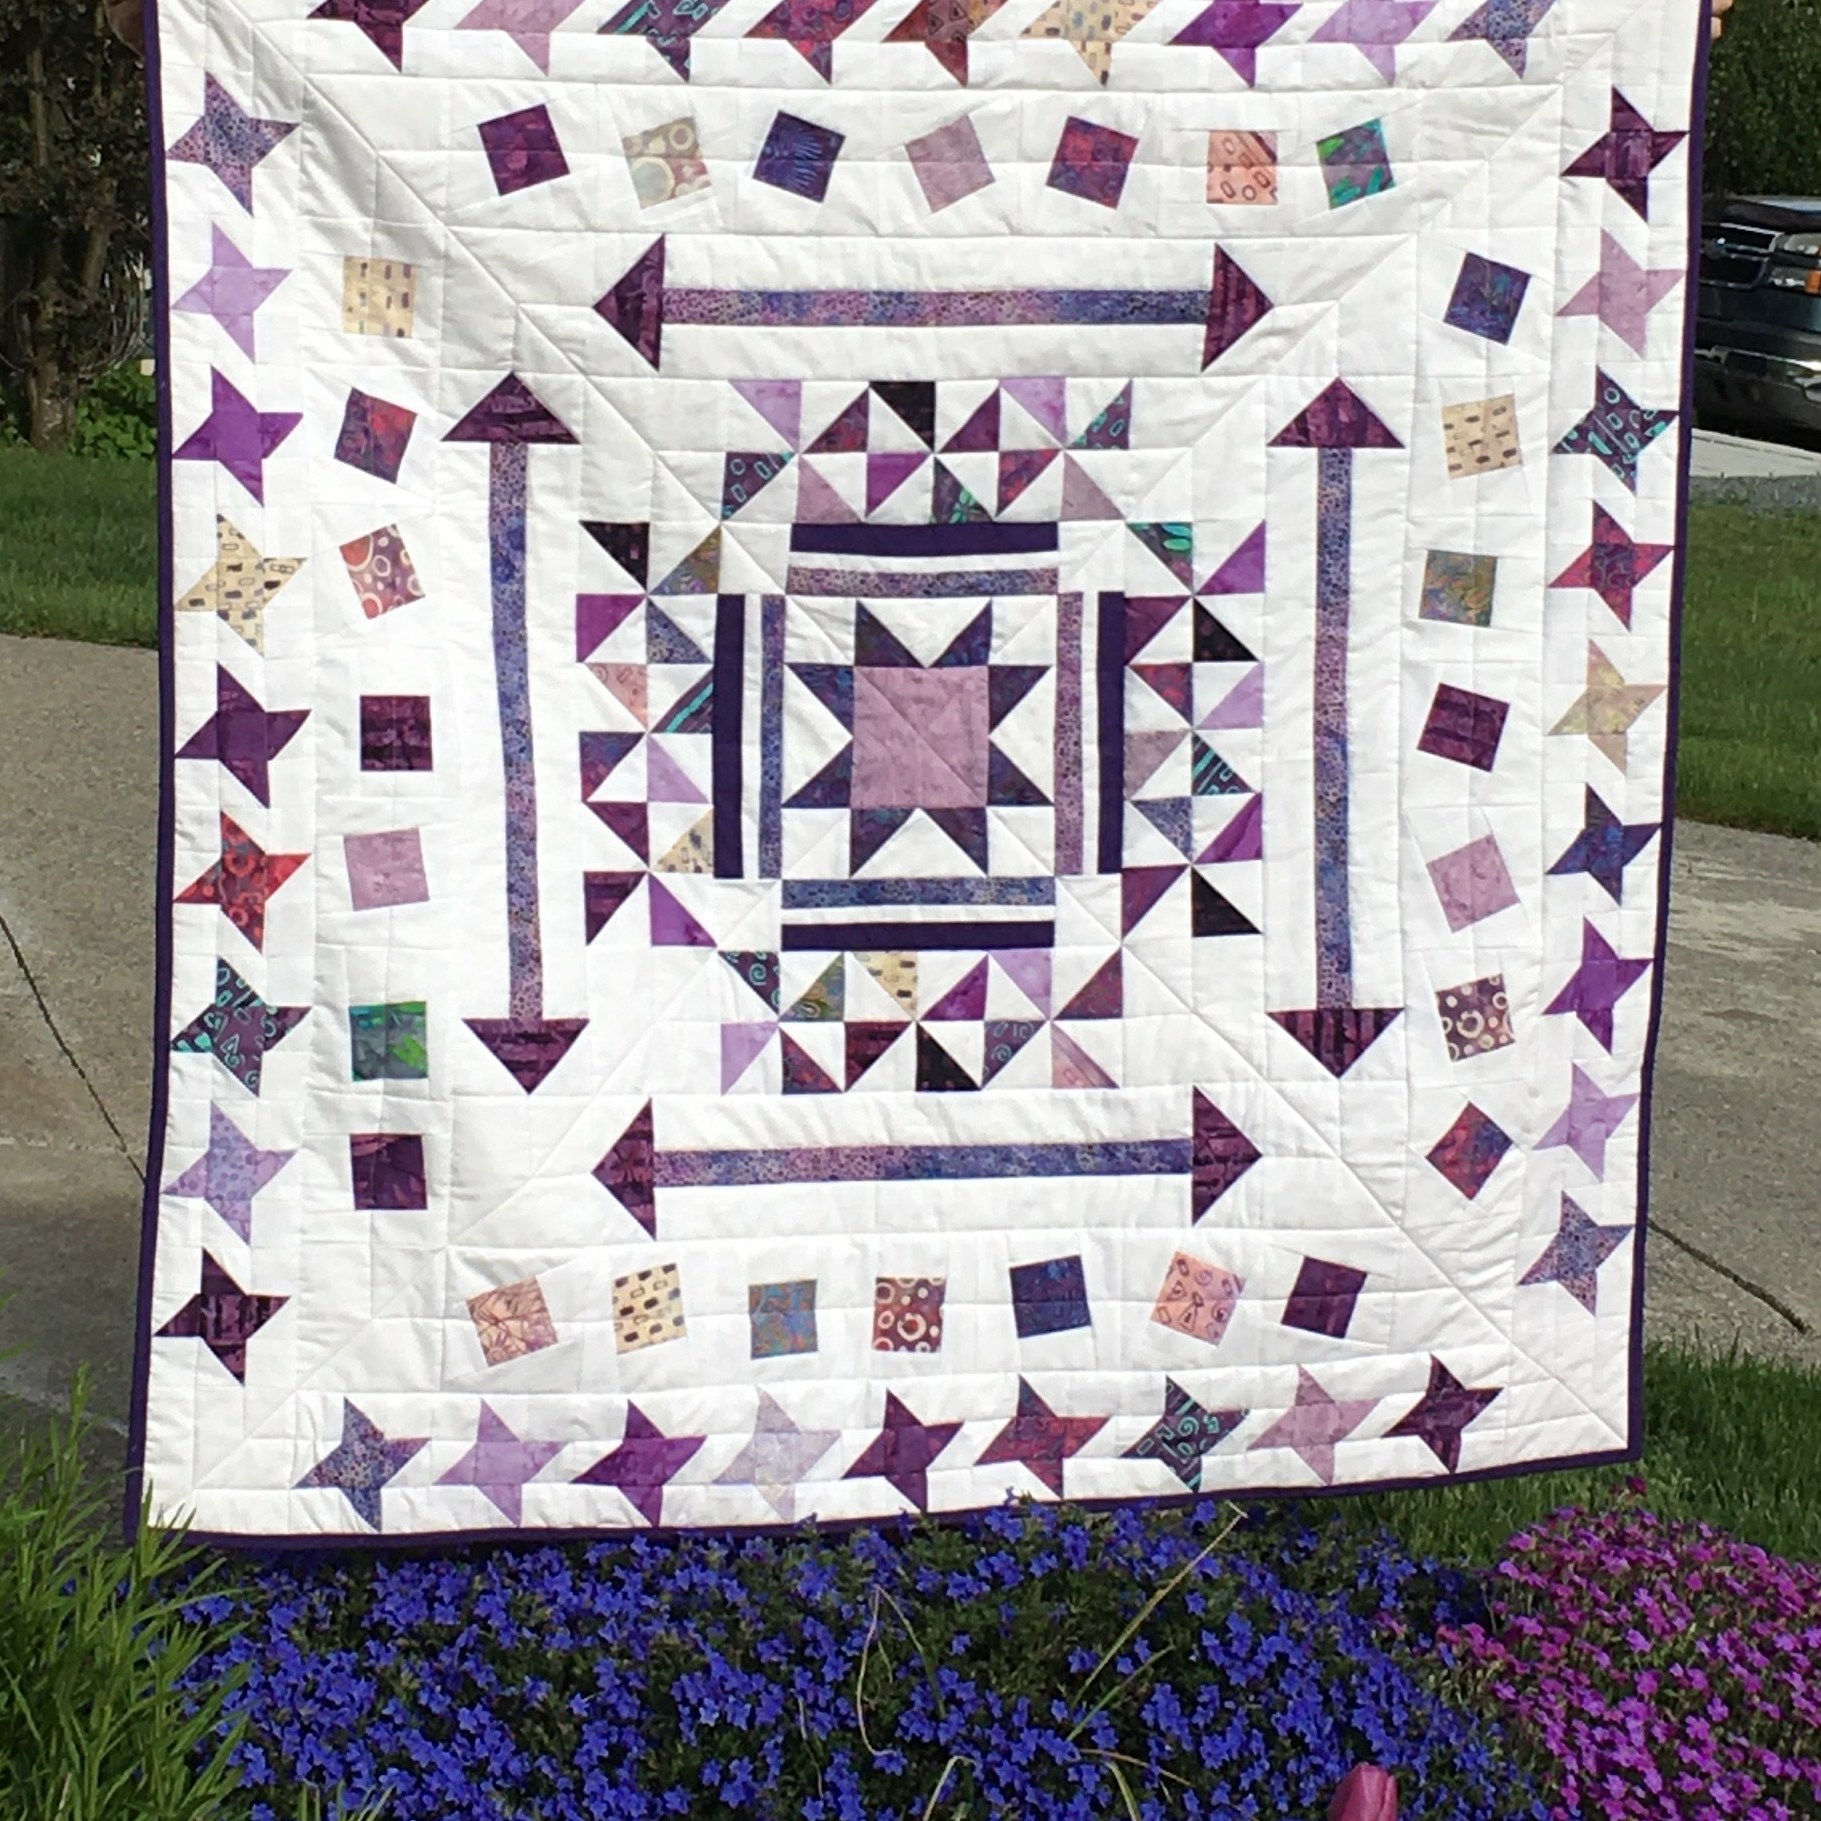
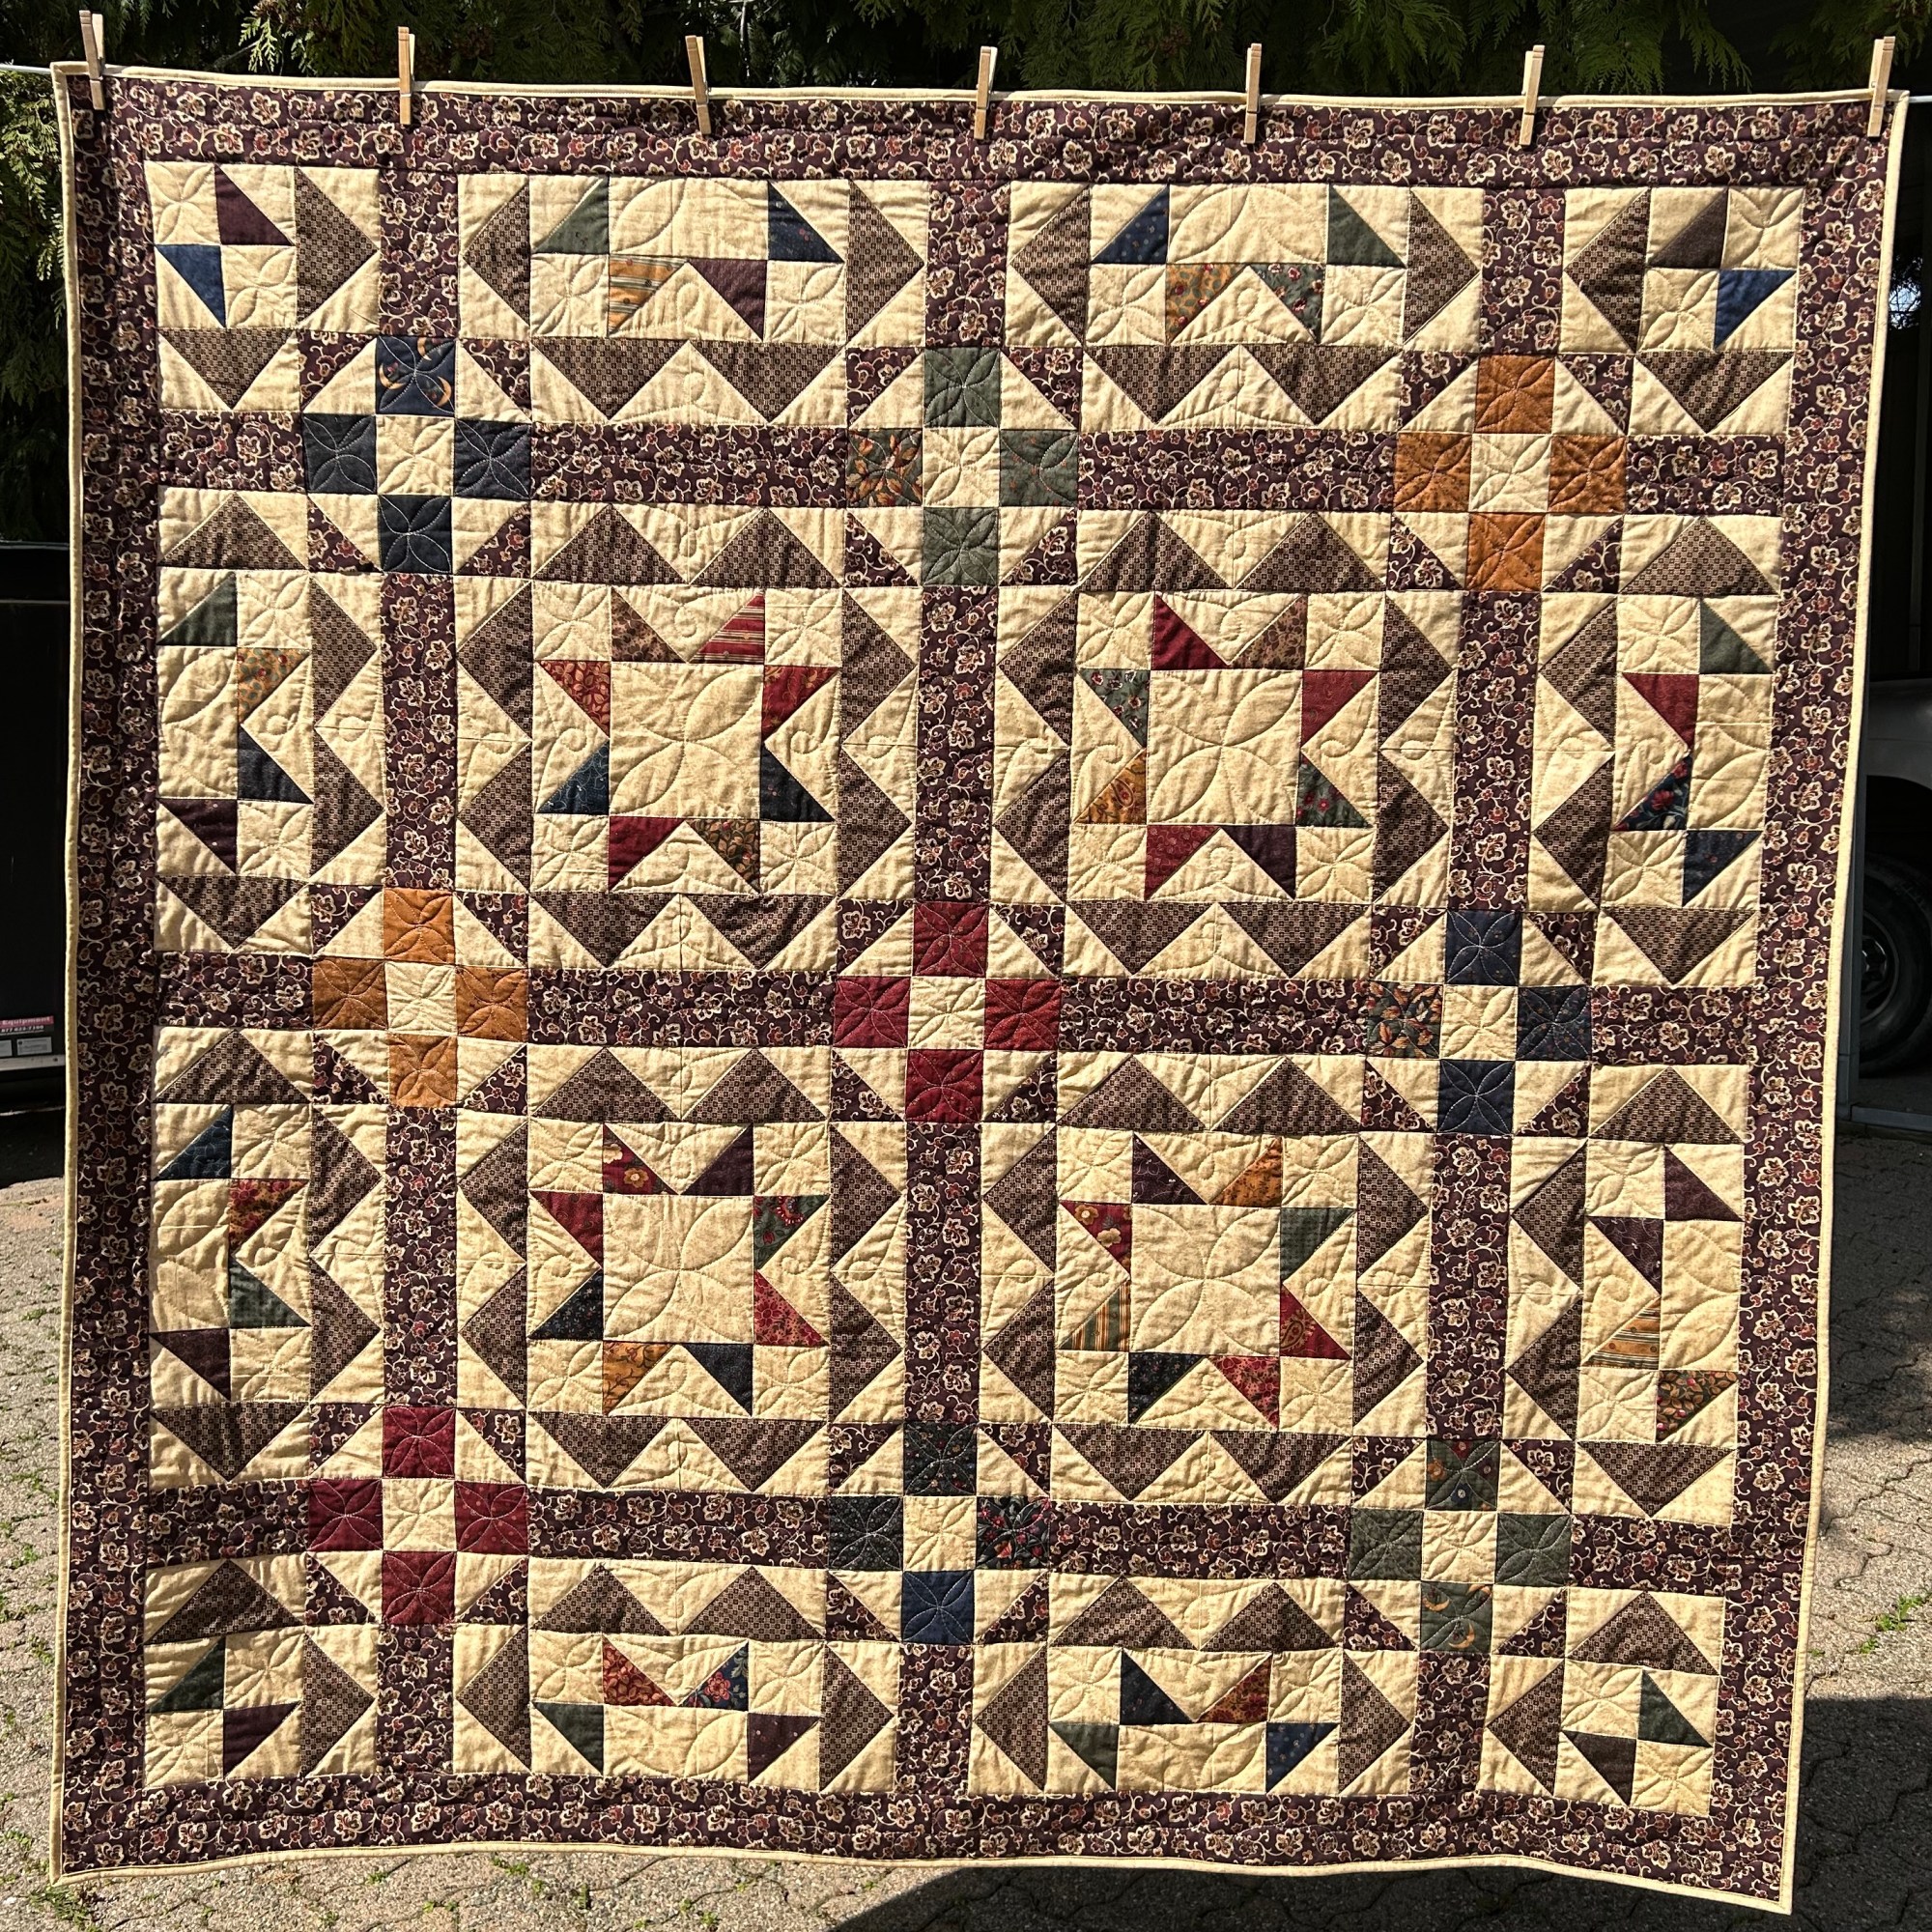
Day 4: Loved One’s Favourite. My husband absolutely LOVES Kansas Troubles fabrics!! The top one is his favourite and the other 3 run a close 2nd! The first and last quilts are all mystery quilts from Meadow Mist Designs … and yes, I’m doing her mystery again this year … but not with Kansas Troubles …
Don’t Forget!
I am now a Silly Moon affiliate! So what does that mean? When you use my affiliate code Quiltinggail2024 at Silly Moon, you will receive 10% off your order and I will receive a small commission.
Leanne, from Devoted Quilter is hosting the Lazy Summer Quilt Camp. She always has fun challenges and this one peeked my interest immediately!!!
Day 3
Day 3: Texture For Days
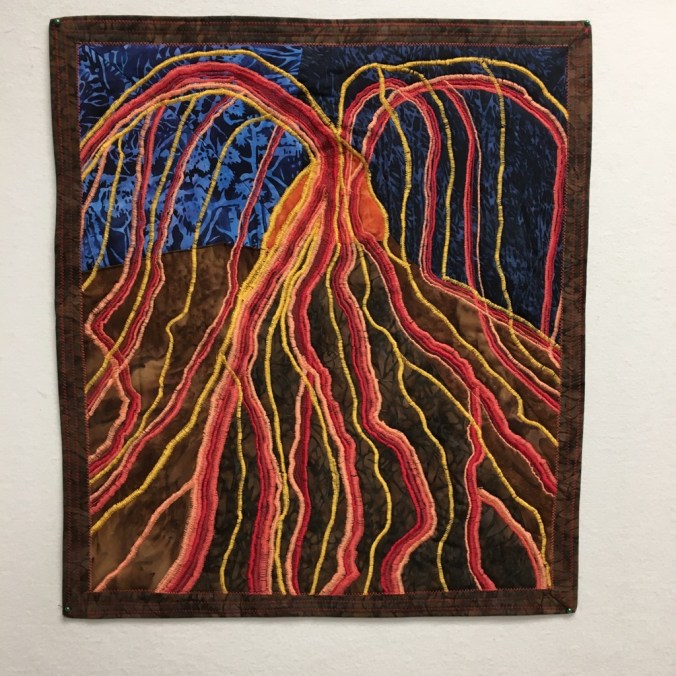
I wasn’t sure what to do for this prompt … until I read, “or some dense free motion quilting.” Well, yes, I have a quilt with dense free motion quilting. (To be honest, I no longer have it … a friend of mine loved it – so it’s hers!)
This quilt was done for an Island Batik challenge using “Pompeii Red,” a 3 colour builder pack. There was a LOT of heavy stitching … apparently I used 10 bobbins … It’s a small mini, 16″ x 18″. I named it “Mt. Vesuvius Eruption.” You can read more about it HERE.
Don’t Forget!
I am now a Silly Moon affiliate! So what does that mean? When you use my affiliate code Quiltinggail2024 at Silly Moon, you will receive 10% off your order and I will receive a small commission.
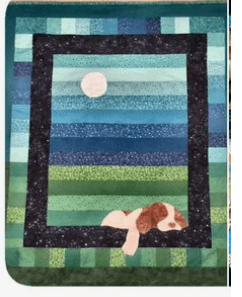
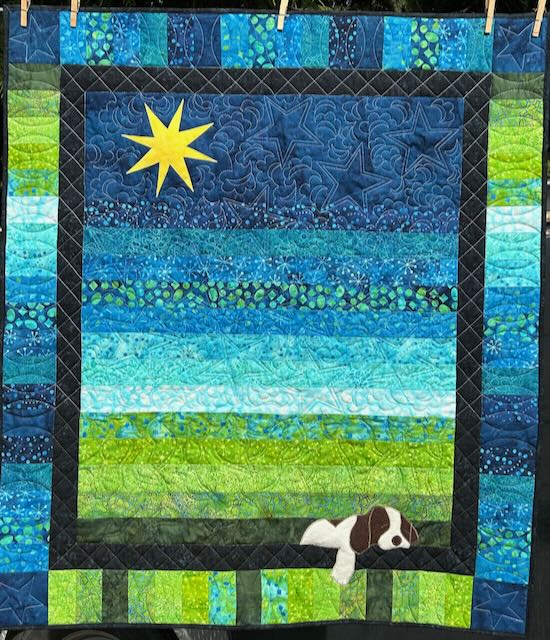
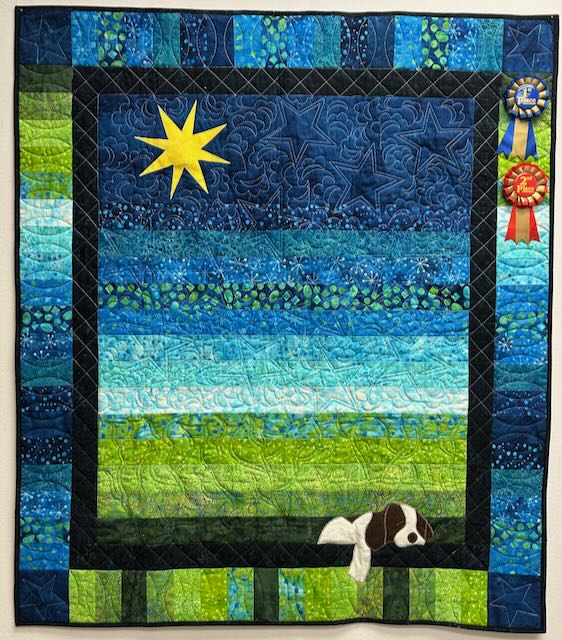
At the Boundary Bay Quilt show, there is always a baby quilt challenge. This year the challenge was “Twinkle Twinkle Little Star.” I pondered this theme for several weeks. My sister saw this quilt on Facebook, but neither of us could find the original designer or pattern.
Update: It appears that it might have been designed by Cozy Quilt Patterns.
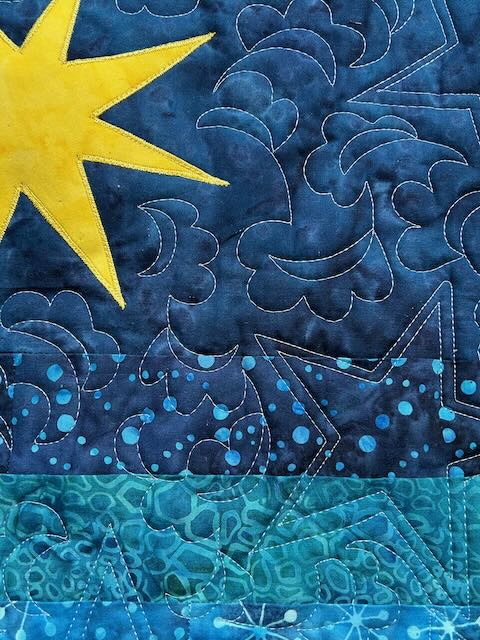
Obviously to fit in the theme of the quilt, I changed the moon to a star.
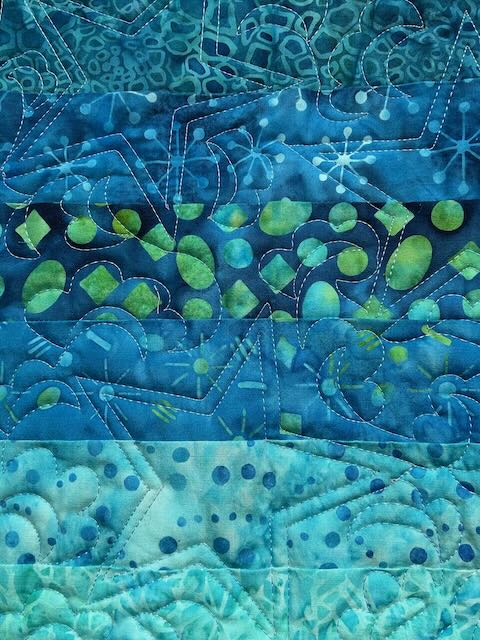
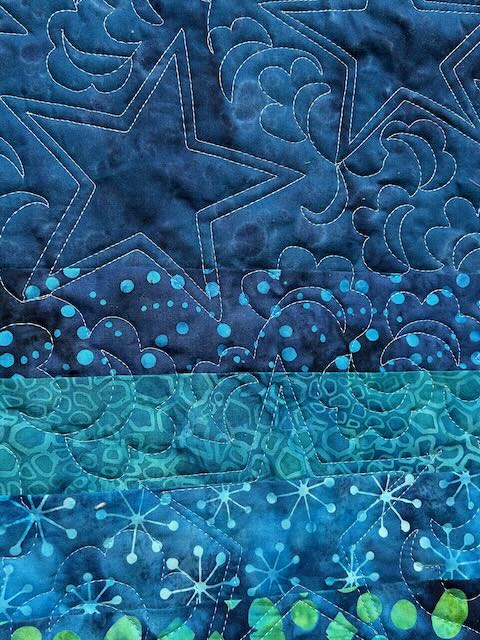
I used many fabrics from different Island Batik (Lumin Fabrics) collections. The main border and binding were “Midnight Blue.” The 2 1/2” strips were cut and sewn in an order that I liked. My thoughts were that stars often appear in the night sky before it’s totally dark on the horizon.
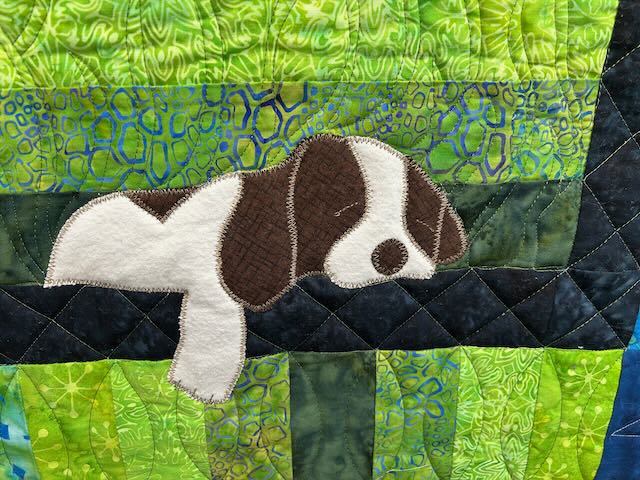
The 8 point star was drawn and the puppy was printed out and traced. After the strips and borders were sewn, the star and puppy were appliquéd on using a small zig-zag stitch.
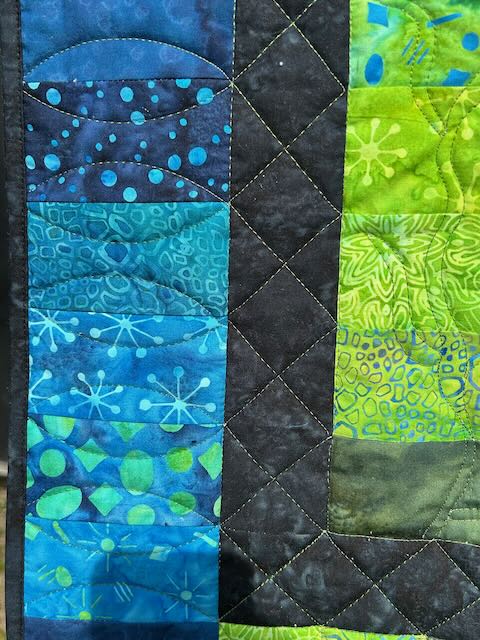
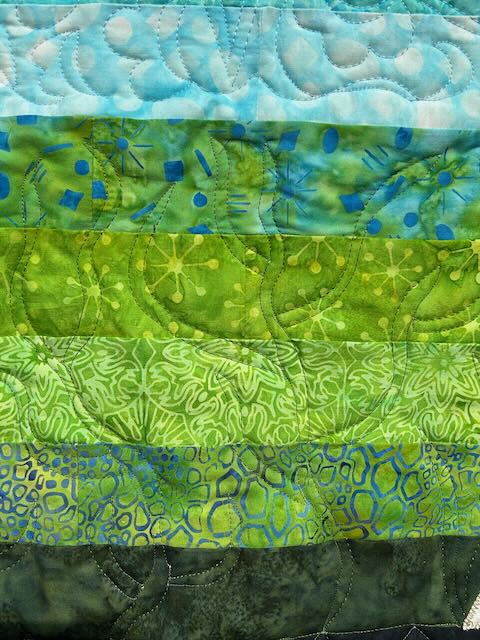
It was a fun quilt to quilt!! Clouds and stars in the sky, grass on the ground. And here are some close ups of the quilting.
Surprise!
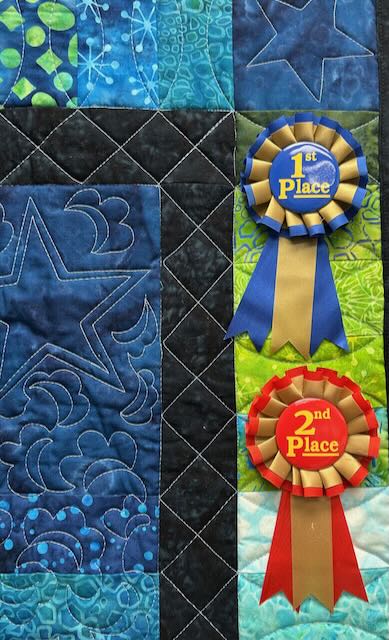
I was extremely surprised when it won both 1st and 2nd place in the challenge. The comments I heard was “it was the puppy dog!”
Quilt Stats:
Size: 39.5″ x 44″
Fabric: Island Batik: Strips from various collections plus a 10″ yellow square from “Opulent Oranges” (for the star) and “Midnight Blue” for border and binding.
I am now a Silly Moon affiliate! So what does that mean? When you use my affiliate code Quiltinggail2024 at Silly Moon, you will receive 10% off your order and I will receive a small commission.
Most of my friends know that I will NOT quilt their quilt(s). I always encourage them to do it themselves … or … quilt it by cheque! (ie send it to a long armer!)
However, when my dear friend (Heather) was in palliative care, I was told about a quilt that she started when her eldest daughter was 12 or 14. The quilt sat for many years, but Heather had worked hard that summer to complete the quilt … but alas, it didn’t get finished. Heather was a well known costume designer/sewer in the Abbotsford/Chilliwack area and she definitely knew how to sew. Her 1/4” seam was perfect! The blocks were all exactly the same size! Totally amazing for her first quilt!
Oh, and I must tell you that this eldest daughter is over 50 and a grandma herself! So, it’s obvious the quilt languished for many many years. Also, when the daughter was around 5 or 6, my husband and I babysat her and her sister … and they were so easy to take care of and such lovely kids, that it was soon after that when we started our own family!
I agreed to finish the quilt. It needed quilting and binding.
I was given the quilt in mid-November. No promises were made as to when it would be finished (this is when I was dealing with my fractured ribs). However, I managed to finish quilting and binding it by late December. They were having the memorial service for Heather on New Years Eve.
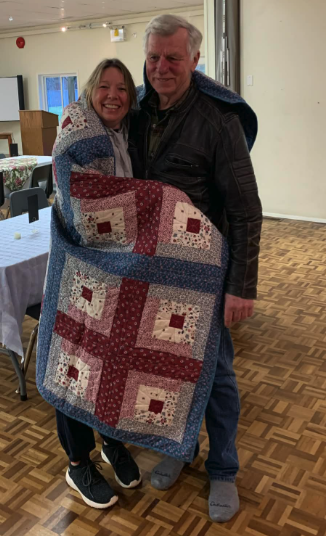
So, once the quilt was finished, my husband and I took the quilt and gave it to Heather’s husband a few days prior to the service. What a true honour it was to finish this quilt for them!!
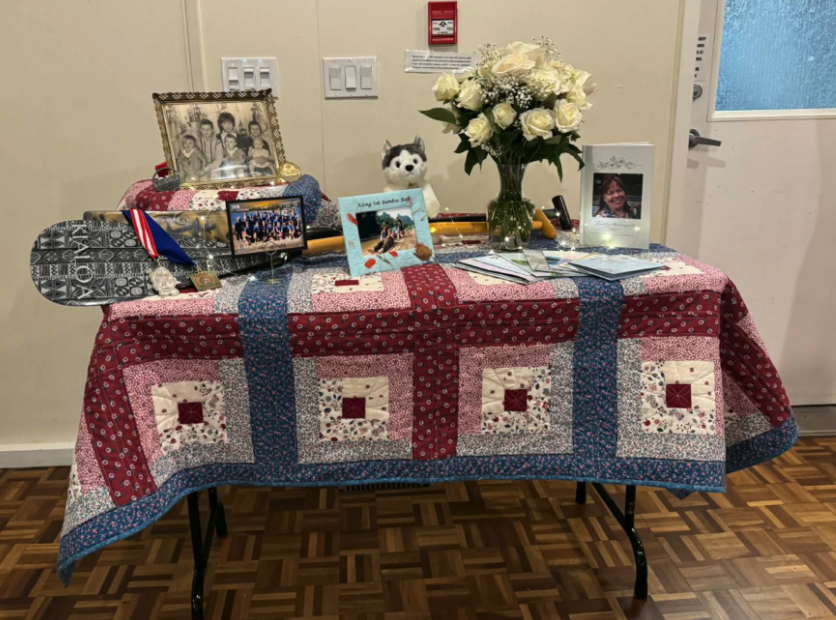
Here are some pictures of the daughter receiving the quilt and it’s place of honour at the memorial service.
And a picture of the completed quilt:
Here is a close-up of the back where I used Silly Moon’s “Drop” ruler for the flower and “Rocket” for all the straight lines.
As I said previously, it was a great honour to be able to finish this quilt for Heather.
Don’t Forget!
I am now a Silly Moon affiliate! So what does that mean? When you use my affiliate code Quiltinggail2024 at Silly Moon, you will receive 10% off your order and I will receive a small commission.
TGIFF is an acronym for Thank Goodness It’s FINISHED Friday. It is hosted by a variety of different bloggers that show their finished quilt or project for that week. You can visit THIS LINK to see who is hosting each week. This week, I am the host!
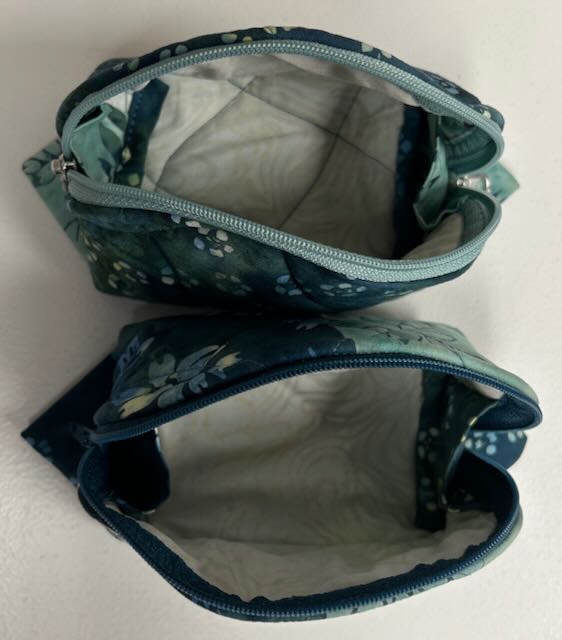
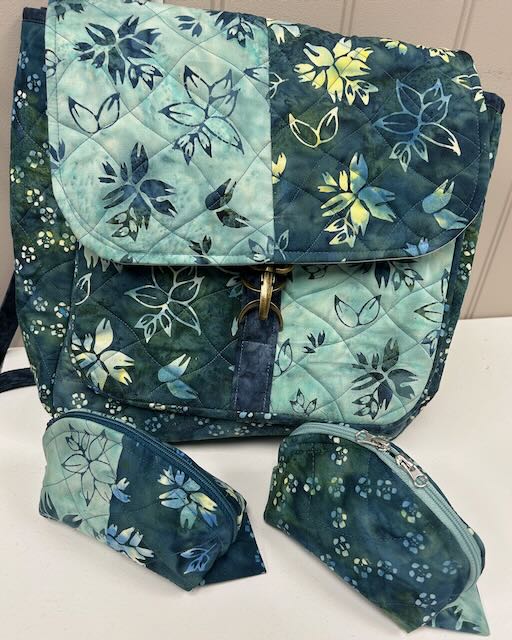
I made 2 of the Small Clam Up byAnnie bags. You can get the pattern HERE. When I made the Switchback bag in October (see THIS POST), there was some quilted fabric left over. I couldn’t just throw it out. These bags used the perfect amount of quilted fabric! I had used fabric from the “Frosted Folliage” collection by Tiffany Hayes of Needle in a Hay Stack and Whip Cream (an Island Batik foundational fabric).
I know that I’m biased, but I think they turned out so very cute! I will likely use one with my Switchback and will give the other as a gift in the future.
I am now a Silly Moon affiliate! So what does that mean? When you use my affiliate code Quiltinggail2024 at Silly Moon, you will receive 10% off your order and I will receive a small commission.
When I made the ‘Splish Splash’ quilt, I had a few partial blocks left- over. (See HERE to read more about this quilt).
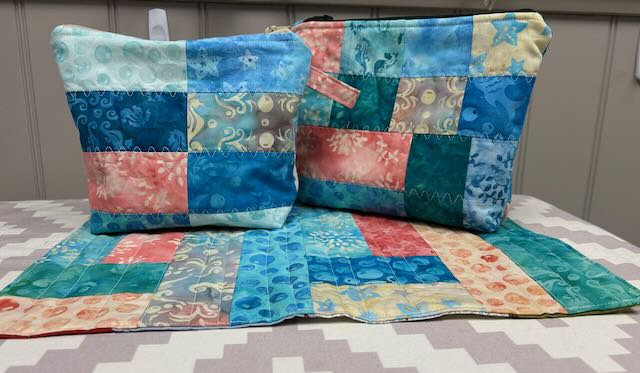
I’m really trying to use up the left-overs in a somewhat timely manner. It doesn’t always work, but in this case, I made a placemat and 2 zipper pouches as leaders and enders as I worked on my November Island Batik (Lumin Fabrics) challenge.
The fabrics are from “Splish Splash”. The inside of the placemat and the larger zipper pouch is scraps of Hobbs Thermore and the smaller zipper pouch has scraps of Hobbs 80/20.
Don’t Forget!
I am now a Silly Moon affiliate! So what does that mean? When you use my affiliate code Quiltinggail2024 at Silly Moon, you will receive 10% off your order and I will receive a small commission.
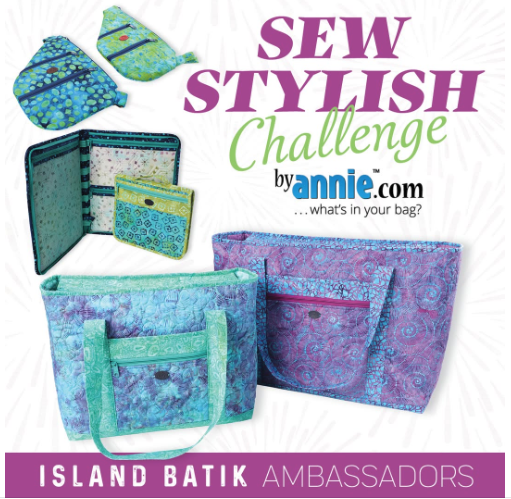
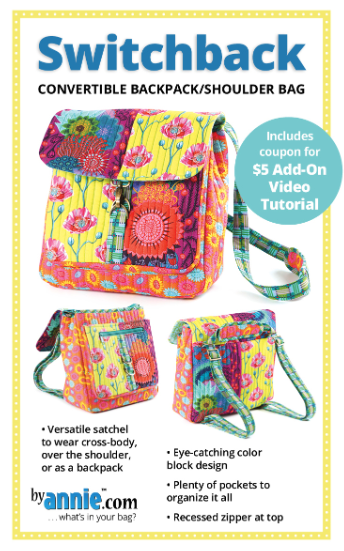
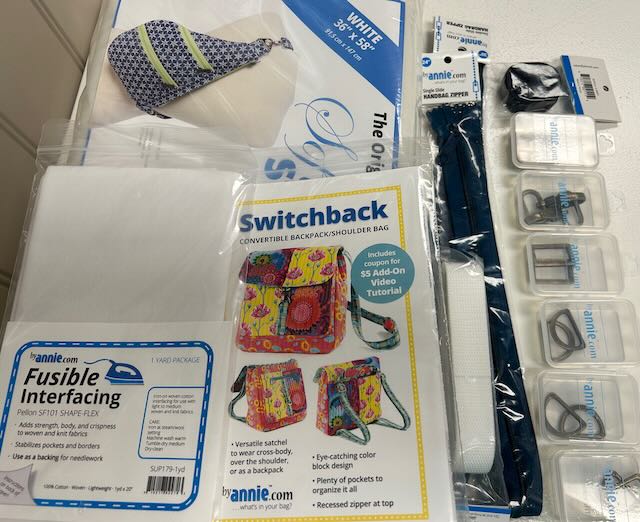
ByAnnie generously provided me with my chosen pattern and all the necessary hardware to make Switchback. The only criteria for choosing a bag was to make sure it had an Add-On Video!
Here’s a picture of everything I received from ByAnnie!
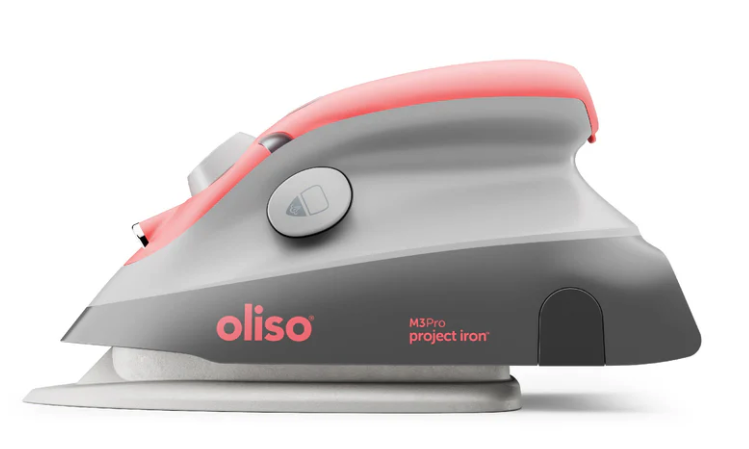
Before I began, I pressed all the fabrics with my wonderful Oliso m3pro iron!!! I LOVE this iron for quilting and used it during the making of Switchback when I needed to press a seam.
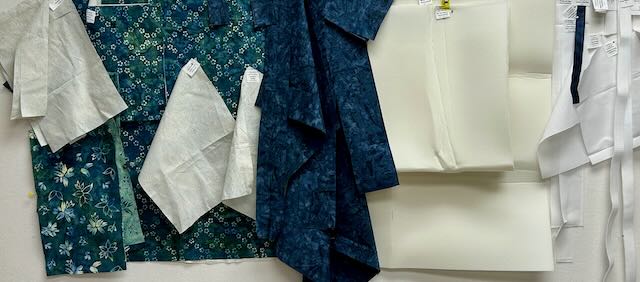
ByAnnie patterns come with a label sheet so you can label all of your cut pieces. This makes gathering the specific components easy. It is VERY important to do this. It saves lots of re-measuring and prevents future headaches. The picture below is of all my cut & labelled pieces. I pin these onto my design wall for easy access.
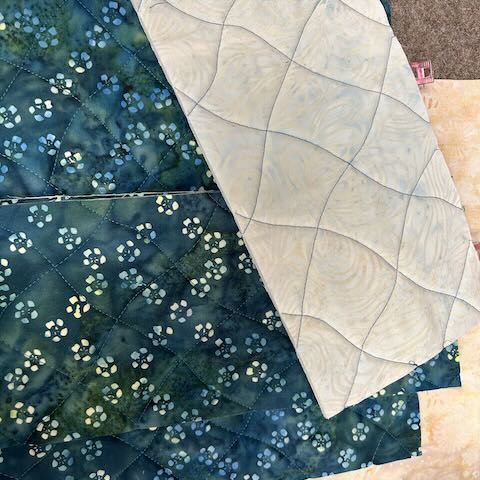
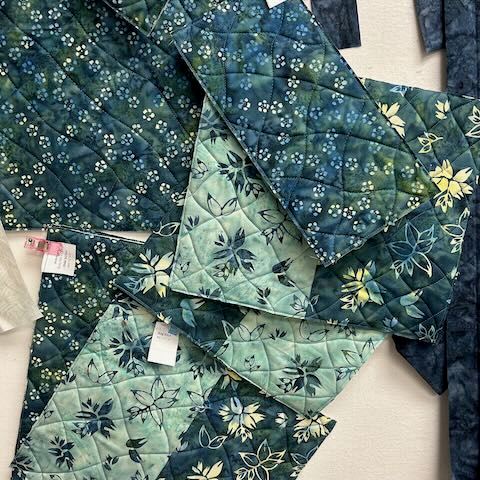
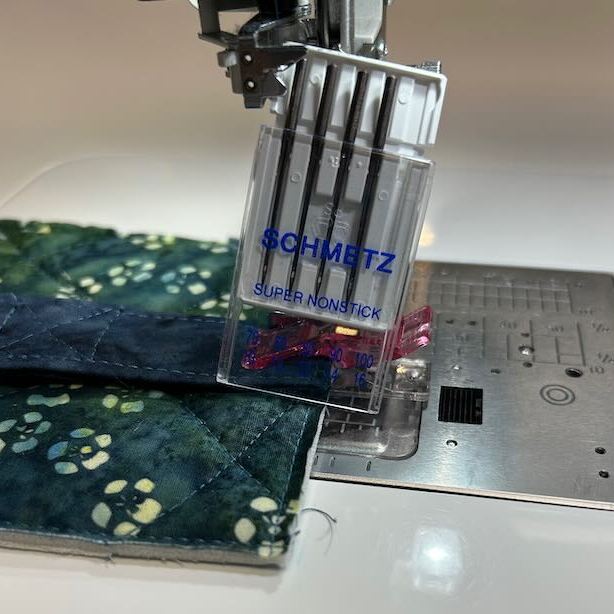
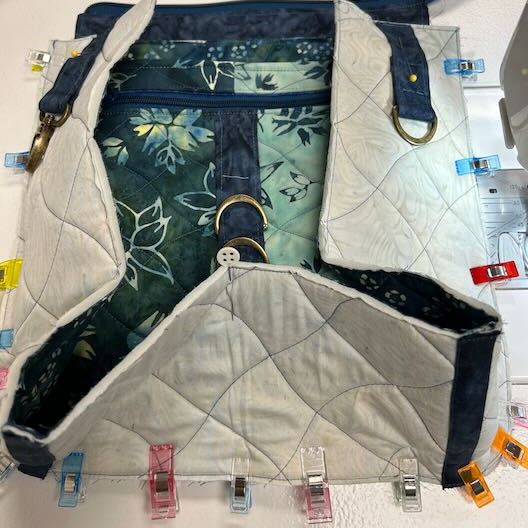
For the quilting, I did a wavy stitch with my walking foot. I used the same thread in the bobbin as in the top, that’s why you can see the quilting on the lining. The 2nd picture shows most of the quilted and cut pieces. Yes, I used a Schmetz needle! The 4th picture is close to the end … lots of clips to hold pieces in place! Unfortunately, I neglected to take other pictures as I went along.
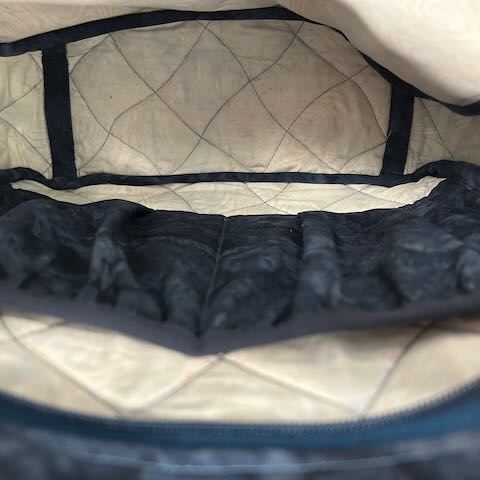
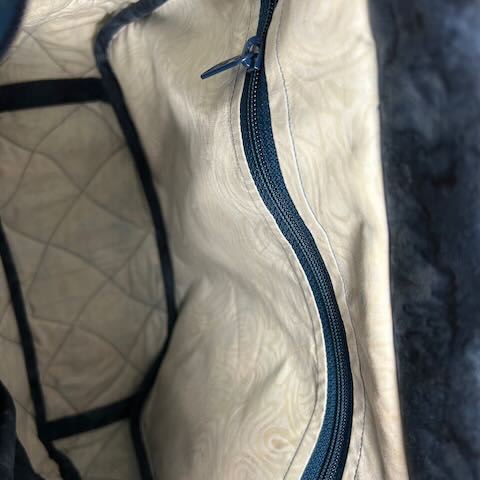
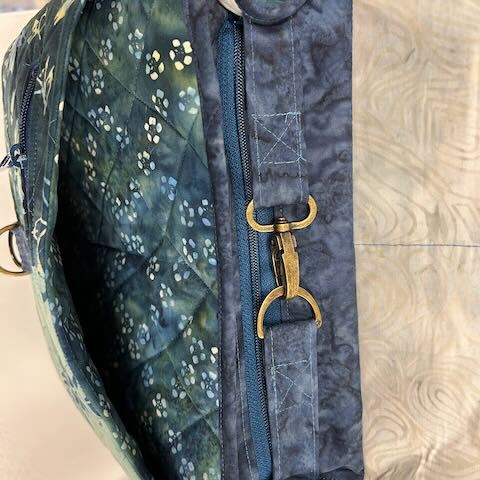
Here are some pictures of the inside of the bag: Lots of pockets and extra hardware for keys or a carabiner. The 3rd pictures shows the extra hardware being used for extra security for the bag.
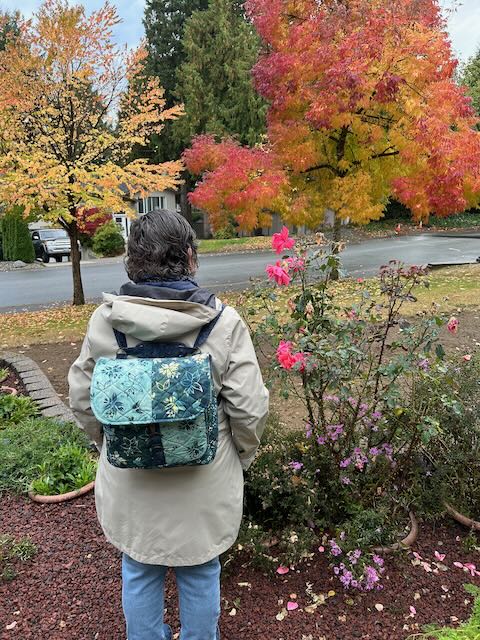
The Switchback can be worn as a backpack, an over-the-shoulder bag or as a cross-body bag.
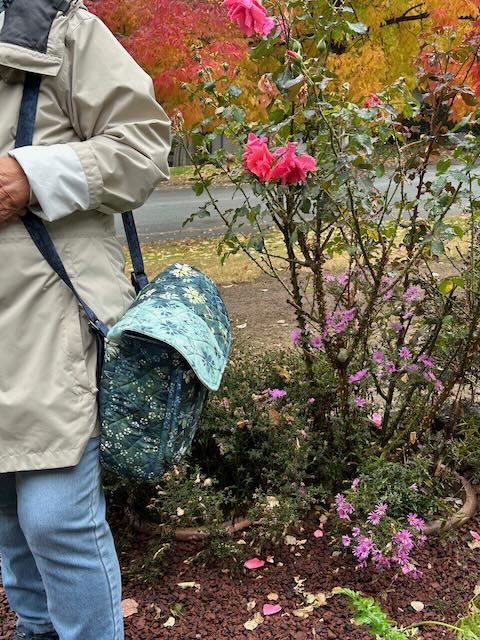
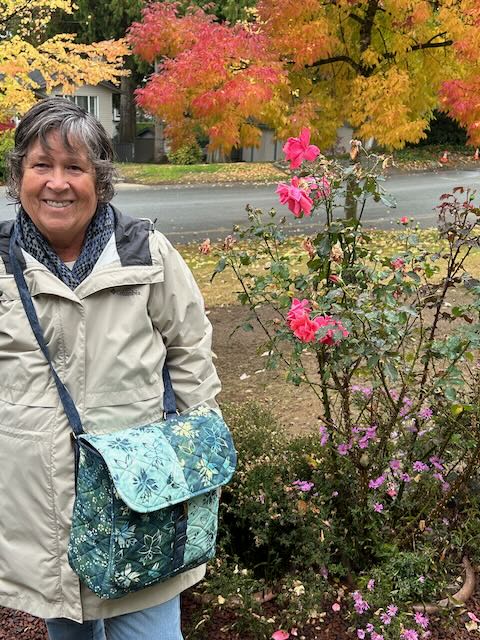
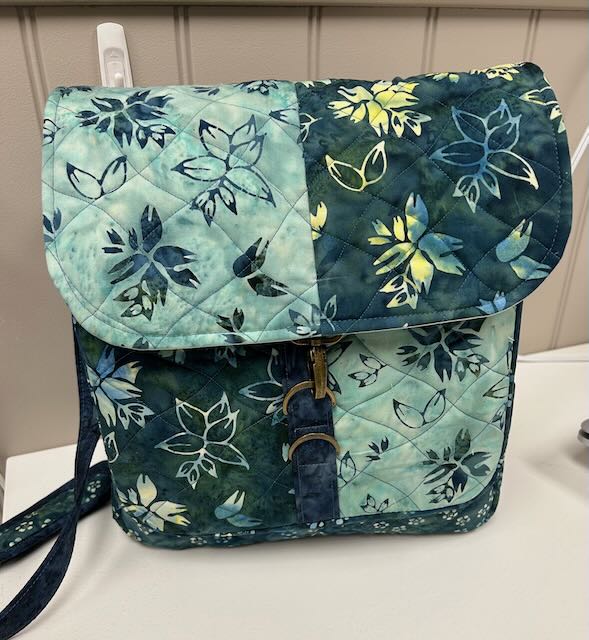
Here is a picture of the finished bag! I’m loving it!
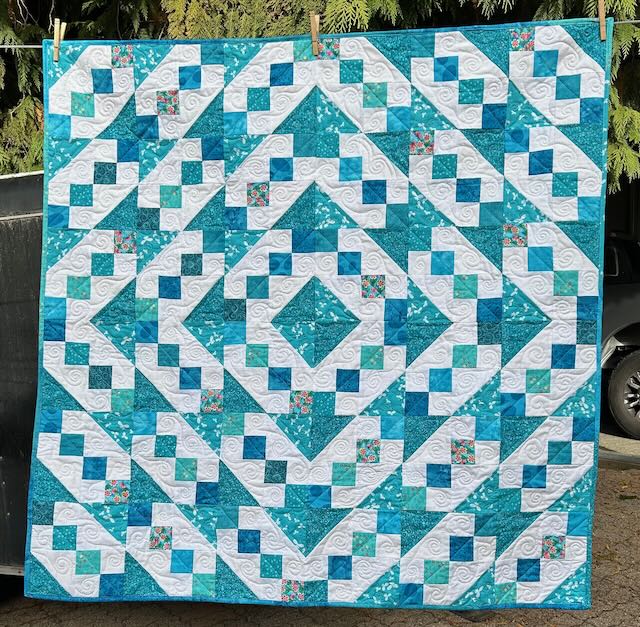
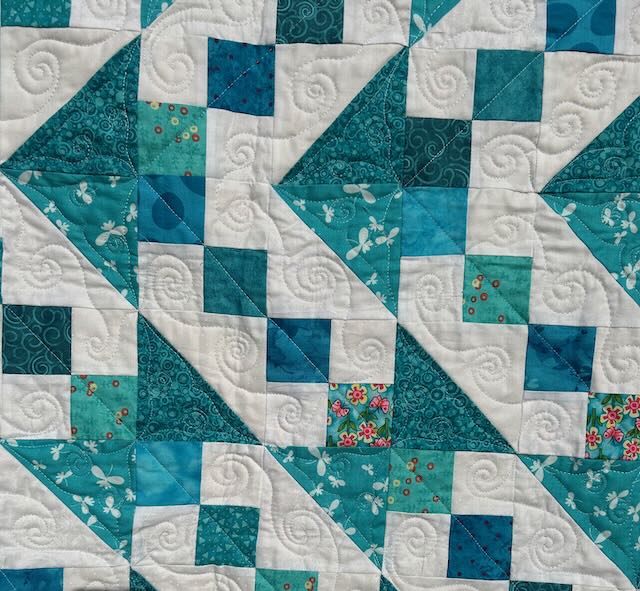
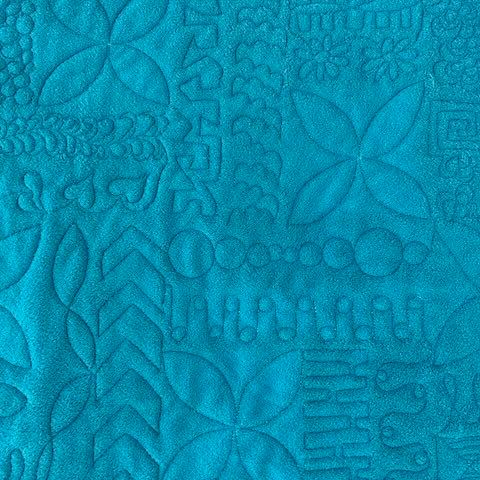
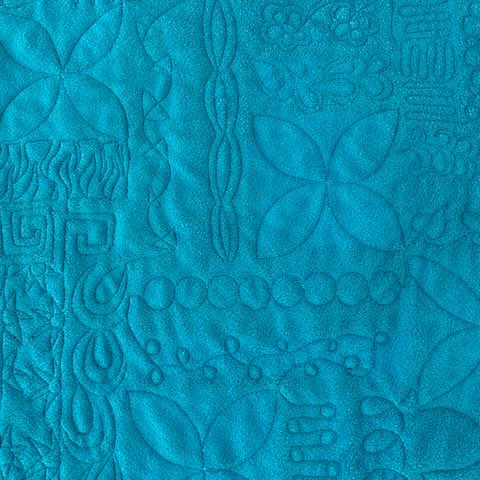
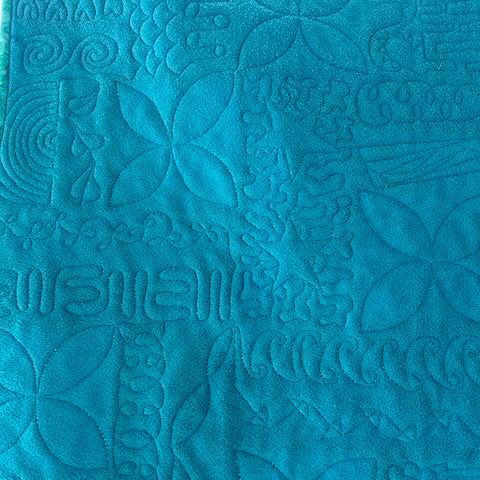
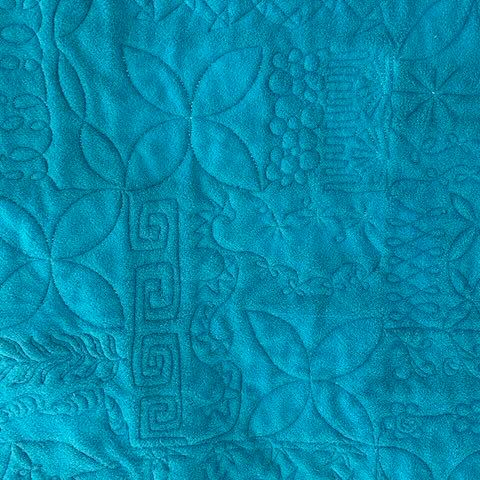
Well, teal isn’t exactly a fall colour, but it is a finish!!
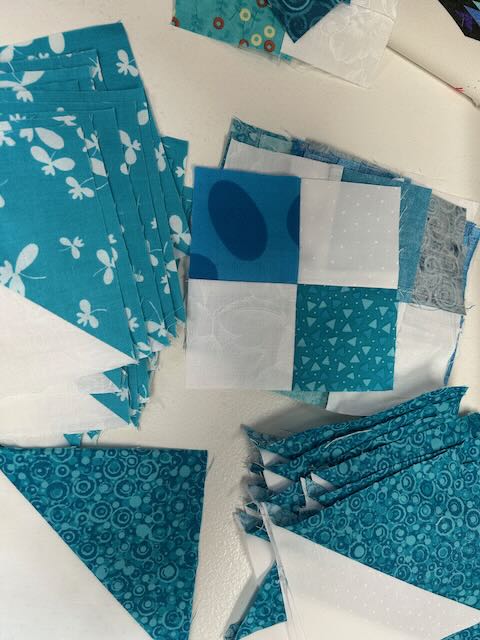
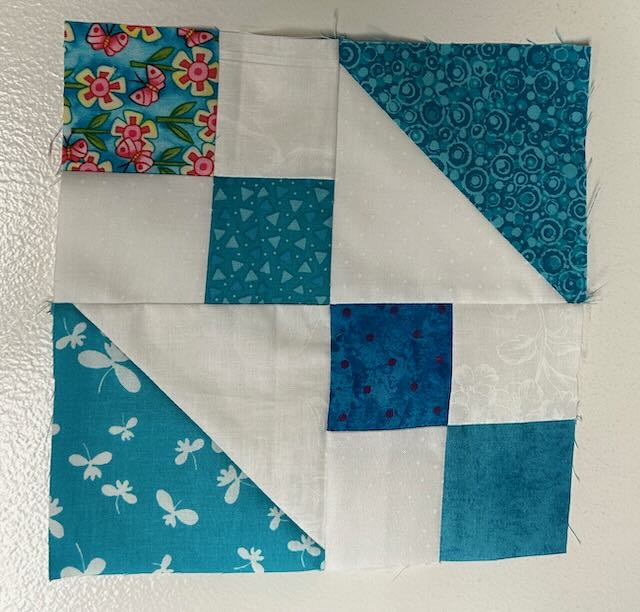
This started out as a Rainbow Scrap Challenge for August … although she called for Aqua. I asked Google what the difference was and Google said, “Aqua is a light, bright blue-green color, while teal is darker, more muted blue-green color with a greenish undertone.” Whatever … close enough in my book, plus mine is scrappy, so anything close goes!
I used 2 different teals for the half-square triangles and the squares were all scrappy teals and aqua (LOL!). The binding is scrappy and my teal container is almost empty!!! WOW!!! In some ways, that is sad because it’s a favourite colour of mine! But, in another way, it’s good: I’m using up stash!
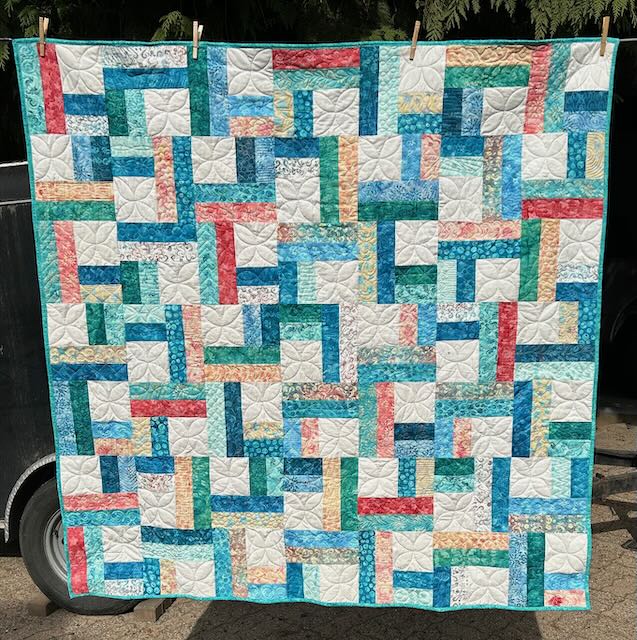
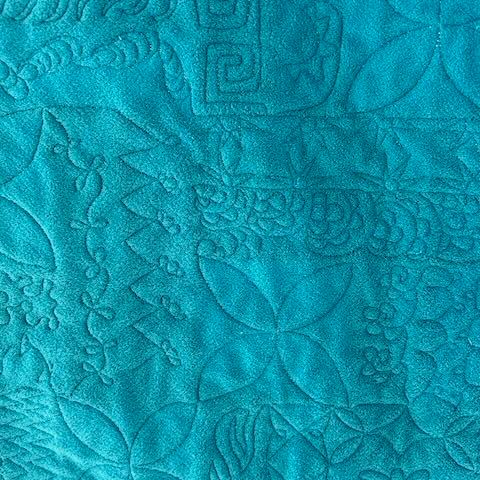
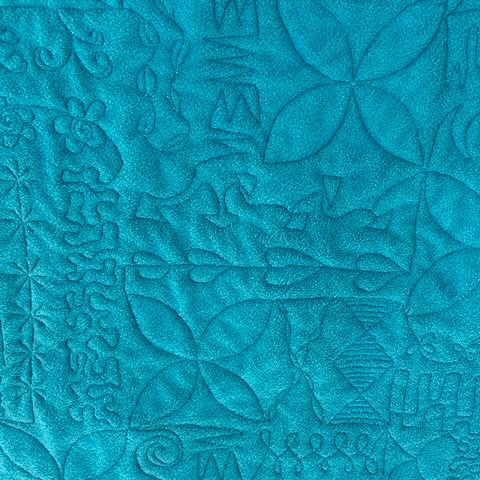
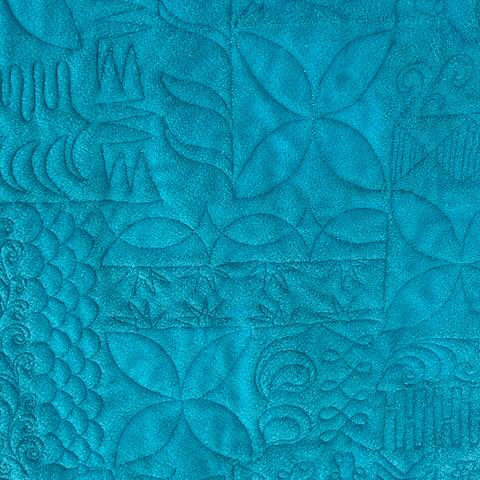
Here’s a picture of the quilting … and yes, the quilting was all free-motion on my domestic sewing machine … that’s why you can see so many inconsistencies in the swirls. I used Silly Moon’s “Rocket” for the straight lines through the squares.
Do you have lots of WIPS (Works in Progress)? If so, Leanne of Devoted Quilter has a fun way to track your progress. This is for October and November. You can download a form to colour in each day as you work your way through. You can go to Instagram and click on her post HERE and she will send you the link to the downloads. She also sends out motivational emails each Monday to inspire you to keep working on your WIPS.
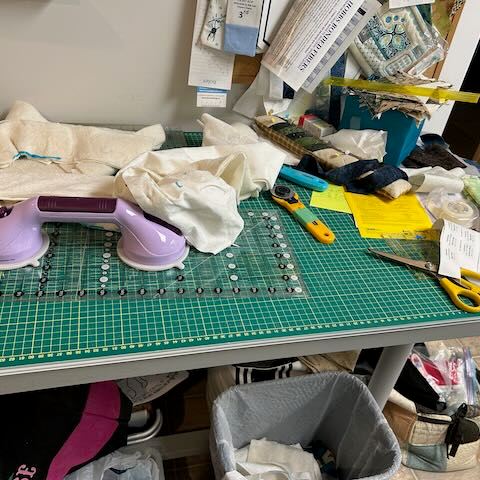
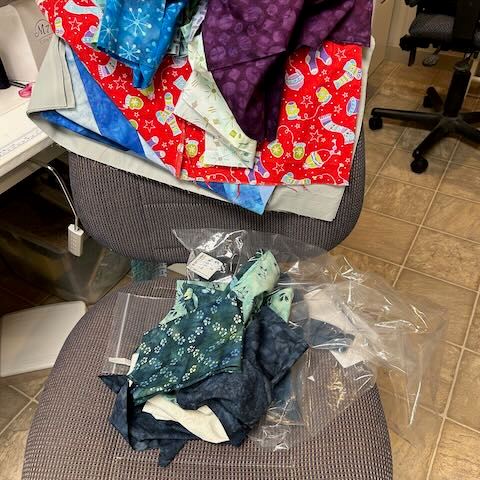
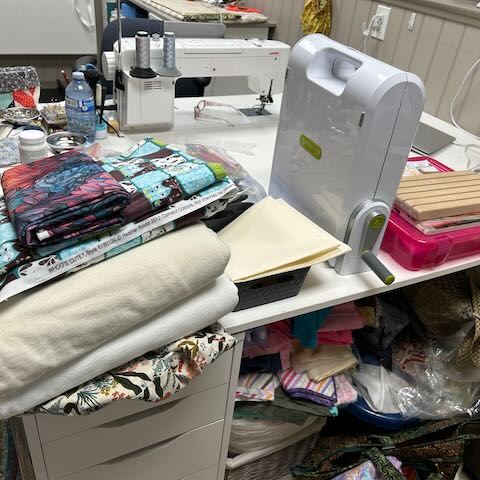
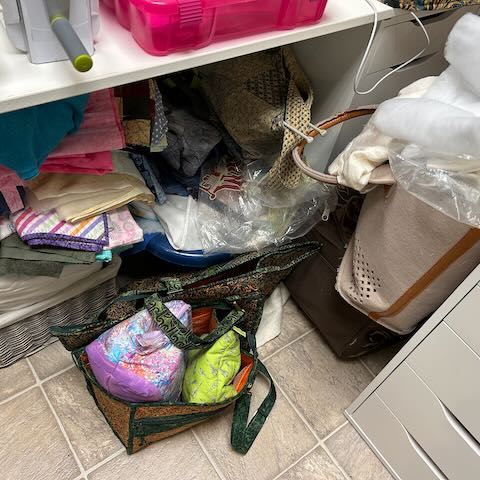
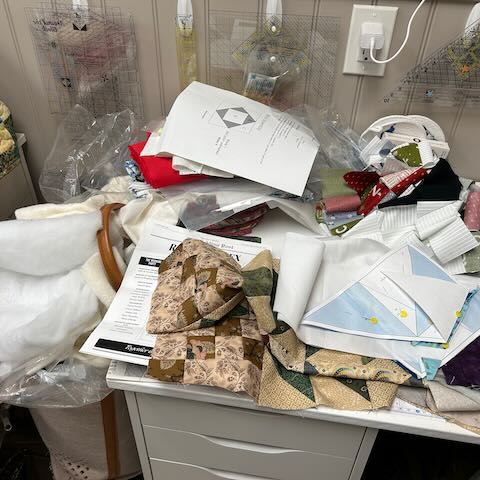
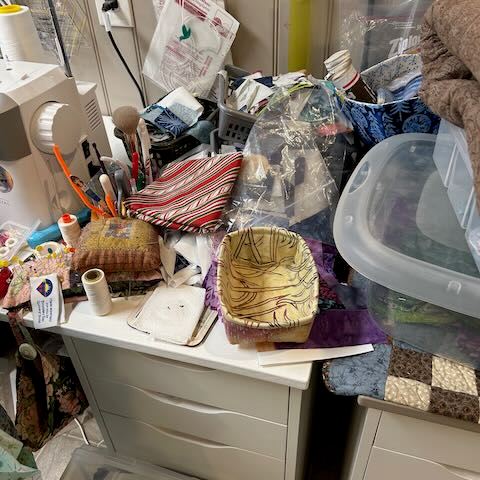
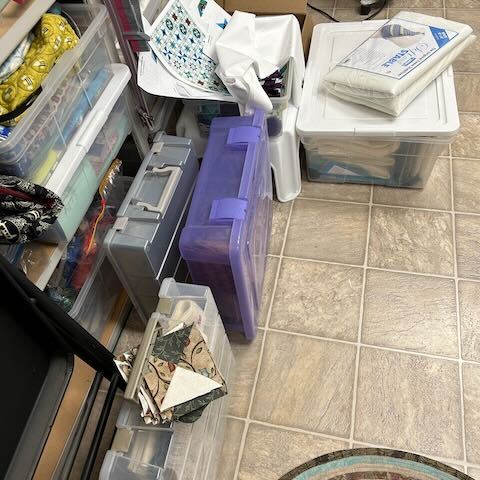
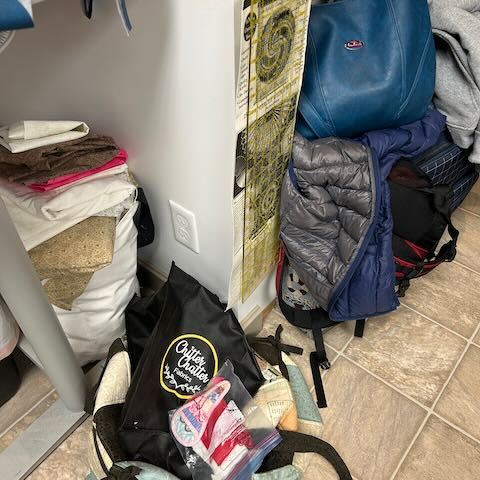
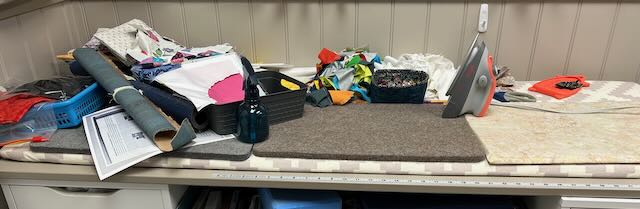
I’m joining her this year. Not only am I going to work on my quilting projects, but I’m going to work on tidying up my sewing room. It’s a MESS!!! I’ve chosen the 6 petal flower to track my progress and one petal each day is for 15 minutes of concentrated tidying. Here’s a few pictures of the current status of my sewing studio:
Favourite Finish for September!
I’m linking to Quilting Jetgirl’s Favourite Finish of the Month. As always, it’s HARD to choose a favourite!! I need to choose between these 2 quilts. The first is the Curved Crazy Quilt that I did for the Island Batik Blog hop (see HERE) and the 2nd is the Splish Splash quilt that I did for a wedding gift.
Don’t Forget!
I am now a Silly Moon affiliate! So what does that mean? When you use my affiliate code Quiltinggail2024 at Silly Moon, you will receive 10% off your order and I will receive a small commission.
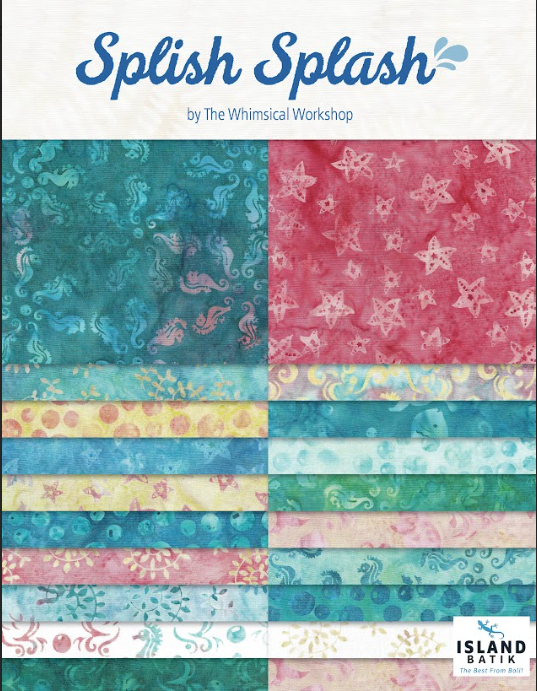
I’m not in the water … but I’m using a fabulous 2 1/2″ strip pack from Island Batik called Splish Splash by the Whimsical Workshop. It’s full of sea horses, fish, starfish, seaweed, bubbles and stars … just wonderful!
I chose a pattern by the Fat Quarter Shop called Jelly Roll Twist (see HERE). It’s a super easy quilt to make and sews up quickly.
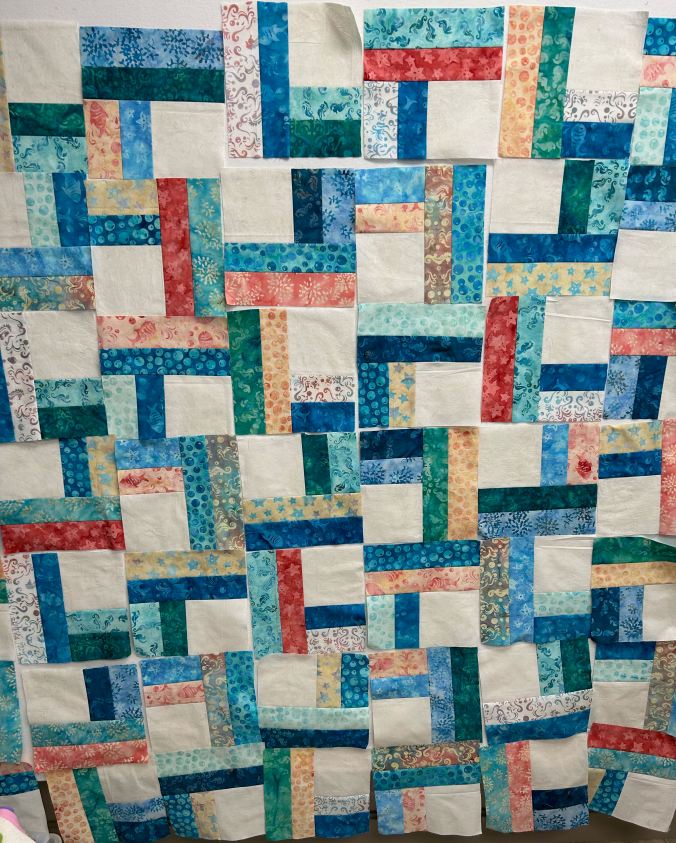
Here are the blocks on my design wall … but of course, I switched them around before sewing them together.
It was a very fun quilt to quilt on my domestic sewing machine. I used Silly Moon’s 4″ Beanie to create the orange peel flowers in the neutral squares. Each short and each long strip was quilted differently. I used rulers for some of them and free motioned many of them. There are swirls, loops, circles, feathers, flowers, hearts, squares, ribbons and many many more.
Here are some closeups of the quilting (one on the front, the rest on the back.) I used a product called “Fireside” which I recently learned is only available in Canada (although some shops may ship internationally). It’s wonderful for the backs of quilts. It’s nice and cozy, but doesn’t stretch or make as much of a fluffy mess as Minky. This took awhile to quilt, but I had fun quilting it!
And the best part: The wedding is on Saturday and the quilt is done!!!
Quilt Stats:
Size: 60″ square
Fabric: Island Batik: “Splish Splash” by Heidi Pridemore of the Whimsical Workshop and the neutral is Milk Shake (an Island Batik basic that is available year round). The binding is Small Pointed Floral-Tu -a blender.
The blog hop is over and there have been a LOT of wonderful and creative crazy quilts featuring new collections and Aurifil thread.
Make sure to check Lumin Fabrics FB and IG post for a round-up of this week’s Threaded Chaos Quilts and enter to win some fabric!
Don’t Forget:
I am now a Silly Moon affiliate! So what does that mean? When you use my affiliate code Quiltinggail2024 at Silly Moon, you will receive 10% off your order and I will receive a small commission.
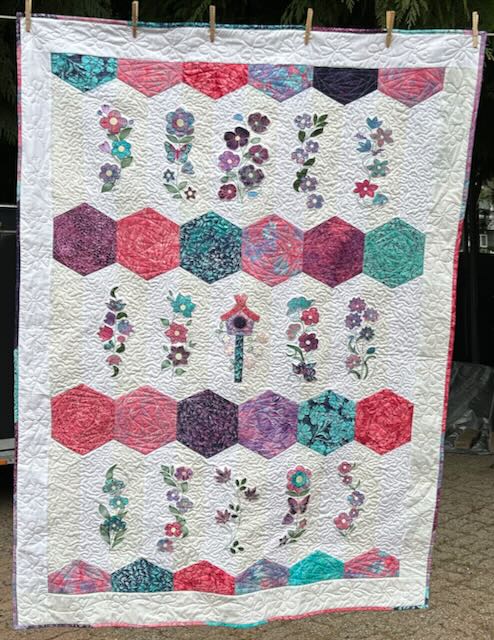
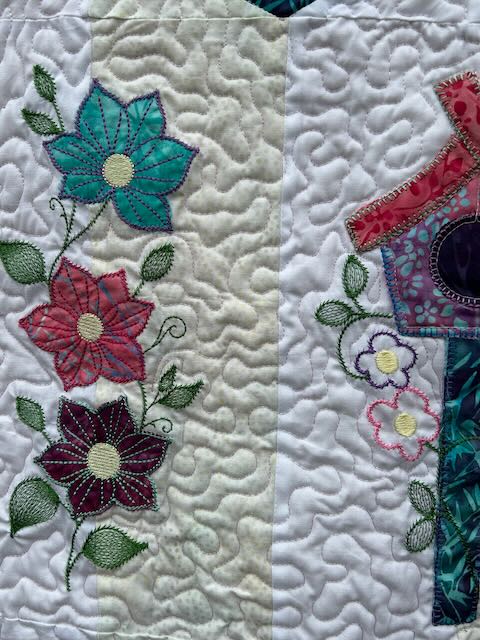
This beautiful quilt was designed by Denise of A Quiltery. It’s a sew along with free blocks every 2 weeks. Or, you can get the embroidery designs and make it in your embroidery machine. That is what I did! I used fabric from the “Radiant Burst” collection by Jerry Khiev, along with the Egg White neutral and solid white. The binding is scrappy fabrics from the collection.
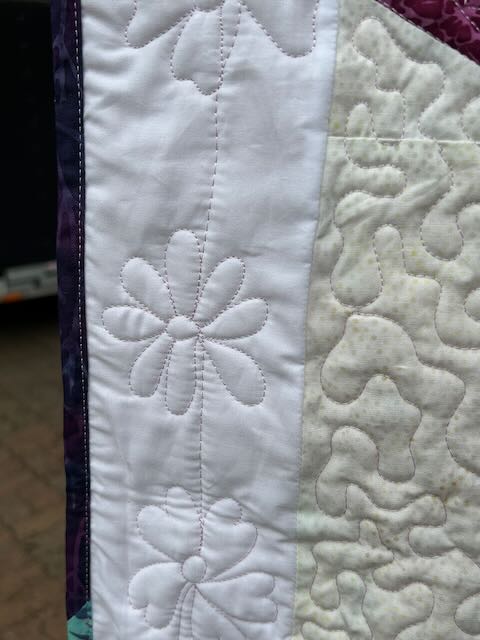
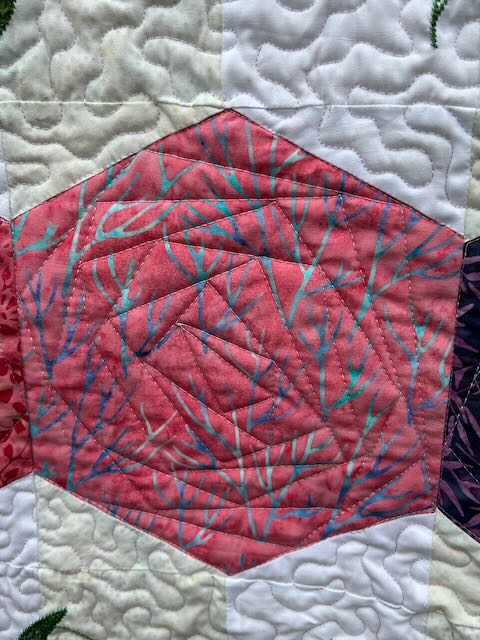
It was free motion quilted on my domestic machine (Janome M7). I stippled around the flowers, used Silly Moon’s Rocket to do paradox lines in the hexies and half hexies. On the border, I free motioned flowers with different petals.
Quilt Stats:
Size: 48″ x 77″
Fabric: Island Batik: “Radiant Burst” by Jerry Khiev, with the Egg White neutral and solid white.
Thank you very much, Denise for the wonderful pattern!!! I’m in LOVE ♥️ with it!
Don’t Forget!
I am now a Silly Moon affiliate! So what does that mean? When you use my affiliate code Quiltinggail2024 at Silly Moon, you will receive 10% off your order and I will receive a small commission.
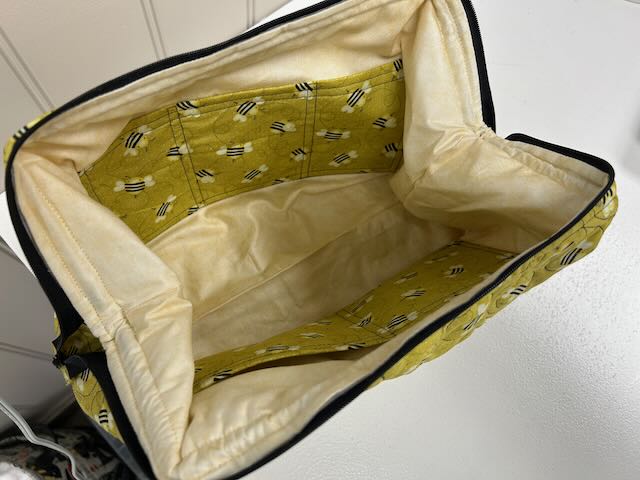
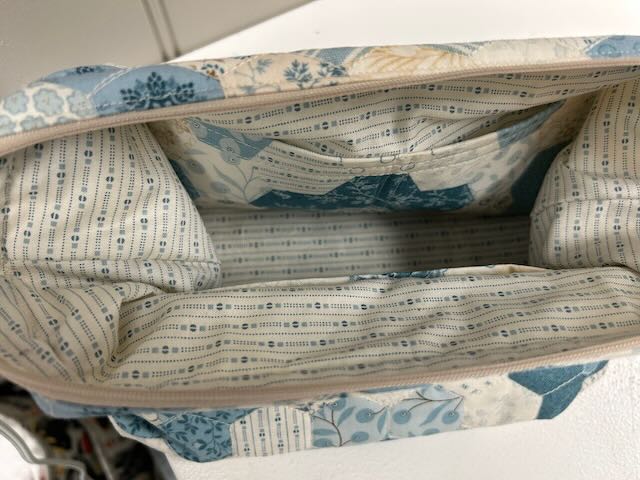
I finished 2 retreat bags … one small and one large. This is a free pattern from Emmaline Bags. You can find the pattern HERE. If you insert the hardware, the bags stay open. However, if you choose to make the bag without the hardware, you will still end up with a nice zipper bag. Or if you use Soft & Stable or Bosal foam for the interfacing (instead of fusible fleece), you actually do not need the hardware.
This is the Large one. I used left-over fabric from the backing of the “yellow” quilt, see HERE. For the interfacing, I used left-over pieces of Hobbs 80/20. I used Aurifil black thread to do the loop-d-loop quilting and top stitching.
This is the small one. I used a couple of fat quarters left from when I made the Glowing Hearts Quilt. I purposely saved the Hexi fabric for a bag!
Don’t Forget:
I am now a Silly Moon affiliate! So what does that mean? When you use my affiliate code Quiltinggail2024 at Silly Moon, you will receive 10% off your order and I will receive a small commission.
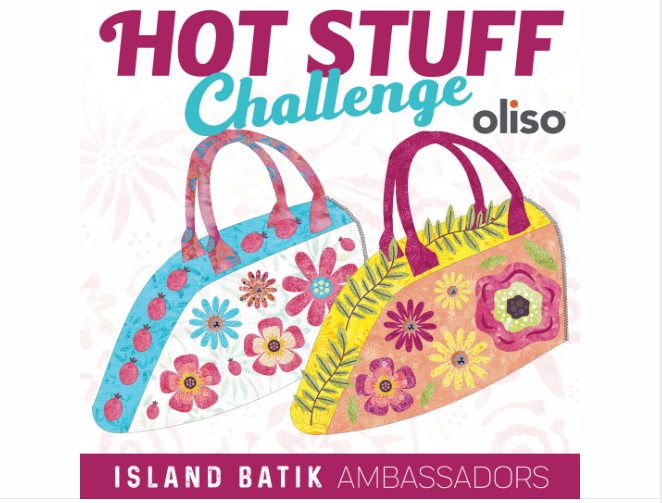
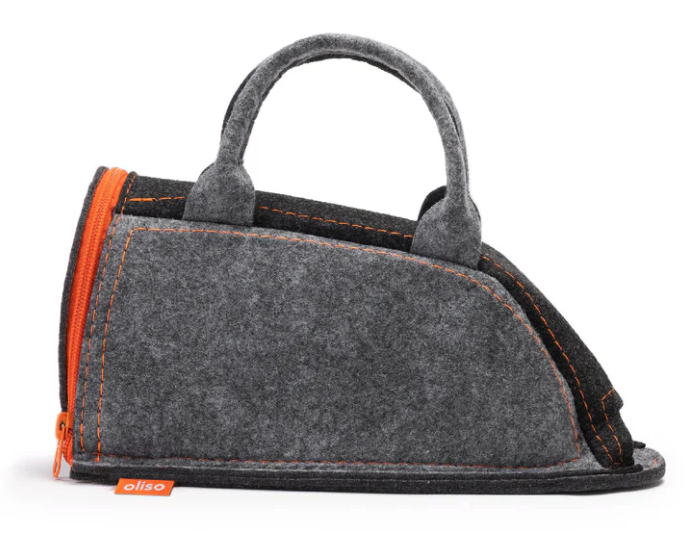
Way back in January, the Ambassador’s all receive an Oliso M3 Pro Iron. I received the coral iron and matching carrying bag. I LOVE ❤️ LOVE ❤️ LOVE ❤️ this iron. It heats up quickly and is easy to handle. My wrists don’t get sore! And the light at the front is awesome. But that’s not what this challenge is about!
Here’s what Island Batik said about the challenge:
It’s time to turn up the heat and give your iron cover a fabulous makeover! In the Hot Stuff Challenge with you will “Glitz-Up” your carry bag. You get to transform your plain iron carry bag into a creative masterpiece using any techniques you like – quilting, embroidery, appliqué, painting, buttons or even a mix of them all!
Show off your unique style, experiment with colors and textures, and make your iron cover as bold or elegant as you like. Whether you go for fun and funky or sleek and sophisticated, the goal is to create something that sparks inspiration every time you press!
Are you ready to give your iron carry bag a glitz-up? Get carried away and turn your carry bag into a work of art!
For those of you that know me, you KNOW that this is not a challenge I would excel at!
So what to do????
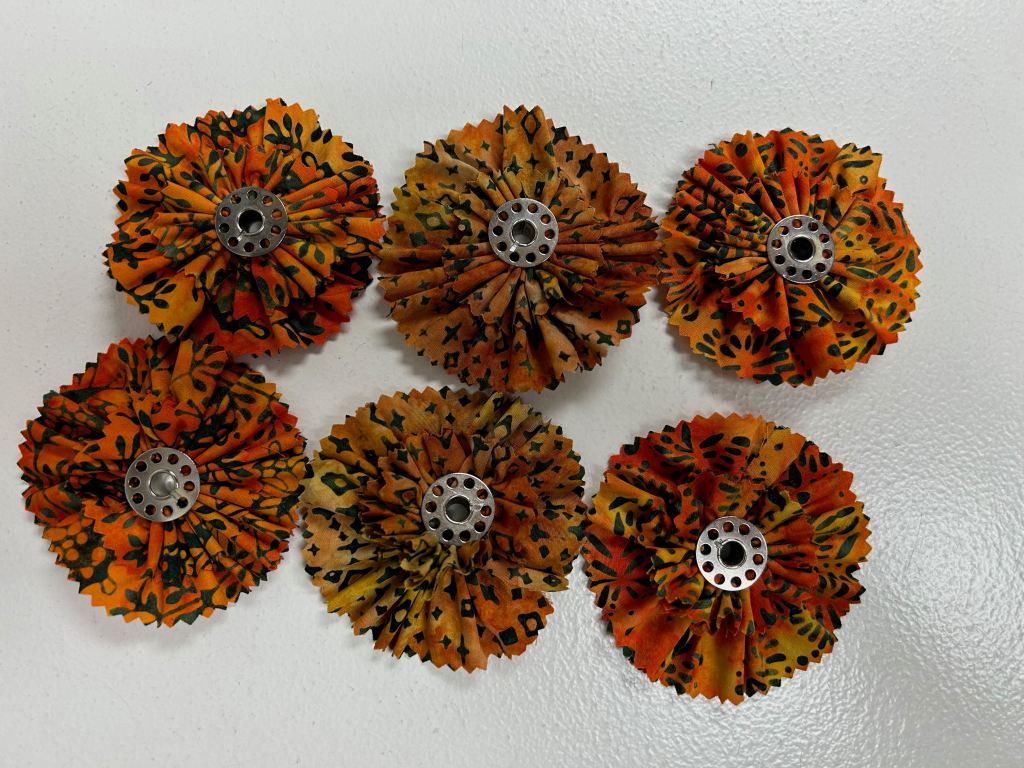
I was on Zoom with some quilting friends and was lamenting about this project! I looked up to my magnetic board and saw a flower that was made with a strip of fabric (edges pinked) and a bobbin in the centre. I had made this many years ago and used a magnet and it became a pin. Then, inspiration hit!! What if I covered my iron case with these cute flowers? And I could also use fabric to make leaves … And, using a glue gun to put the flowers and leaves in place, the project suddenly became doable! YAY!!!
I decided to use fabric from the Flutter Fields collection by Jerry Khiev. I thought the oranges/corals coordinated well with the trim on my carrying bag. I used this collection last fall to make Dresden Plates (see THIS POST).
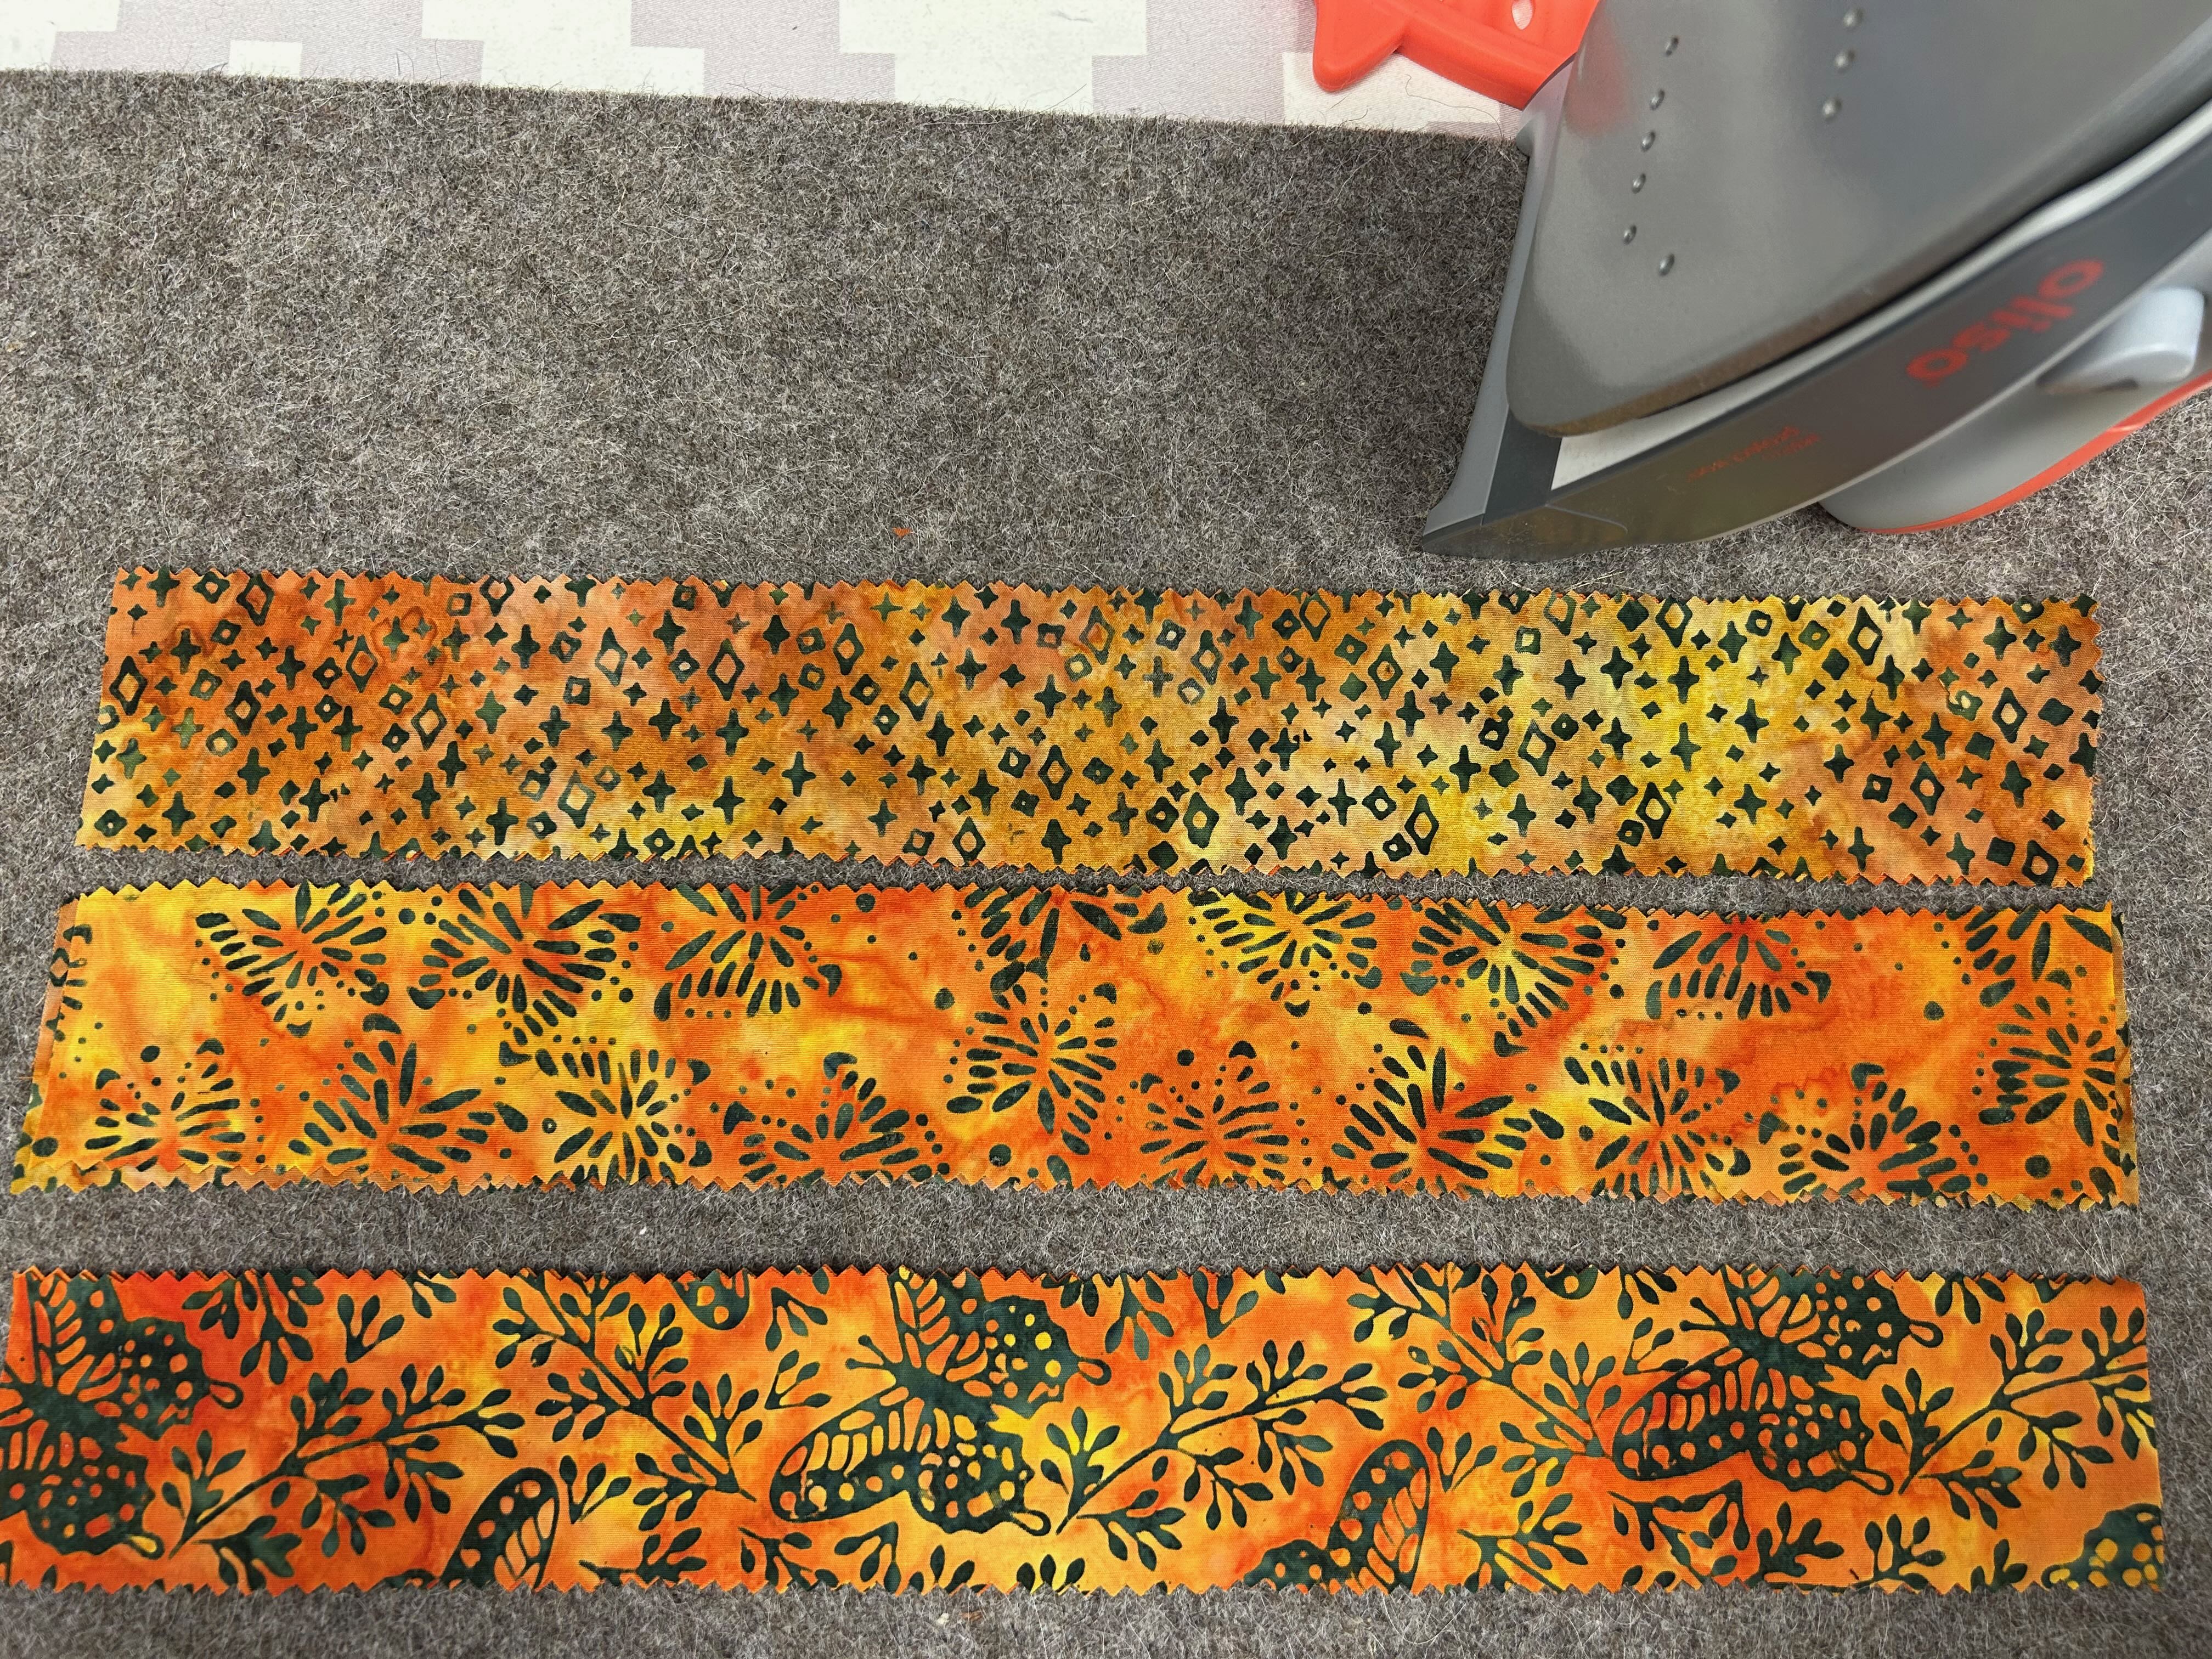
So, with vacation holidays approaching, it was something I could do without a sewing machine. I can’t hand sew for long periods of time, but it was something I could do while travelling, in small bits of time. I prepared all the fabric, pinking the edges … gathering my thread, needle and a thimble … I was all set to go. I prepped 6 strips for 6 flowers.
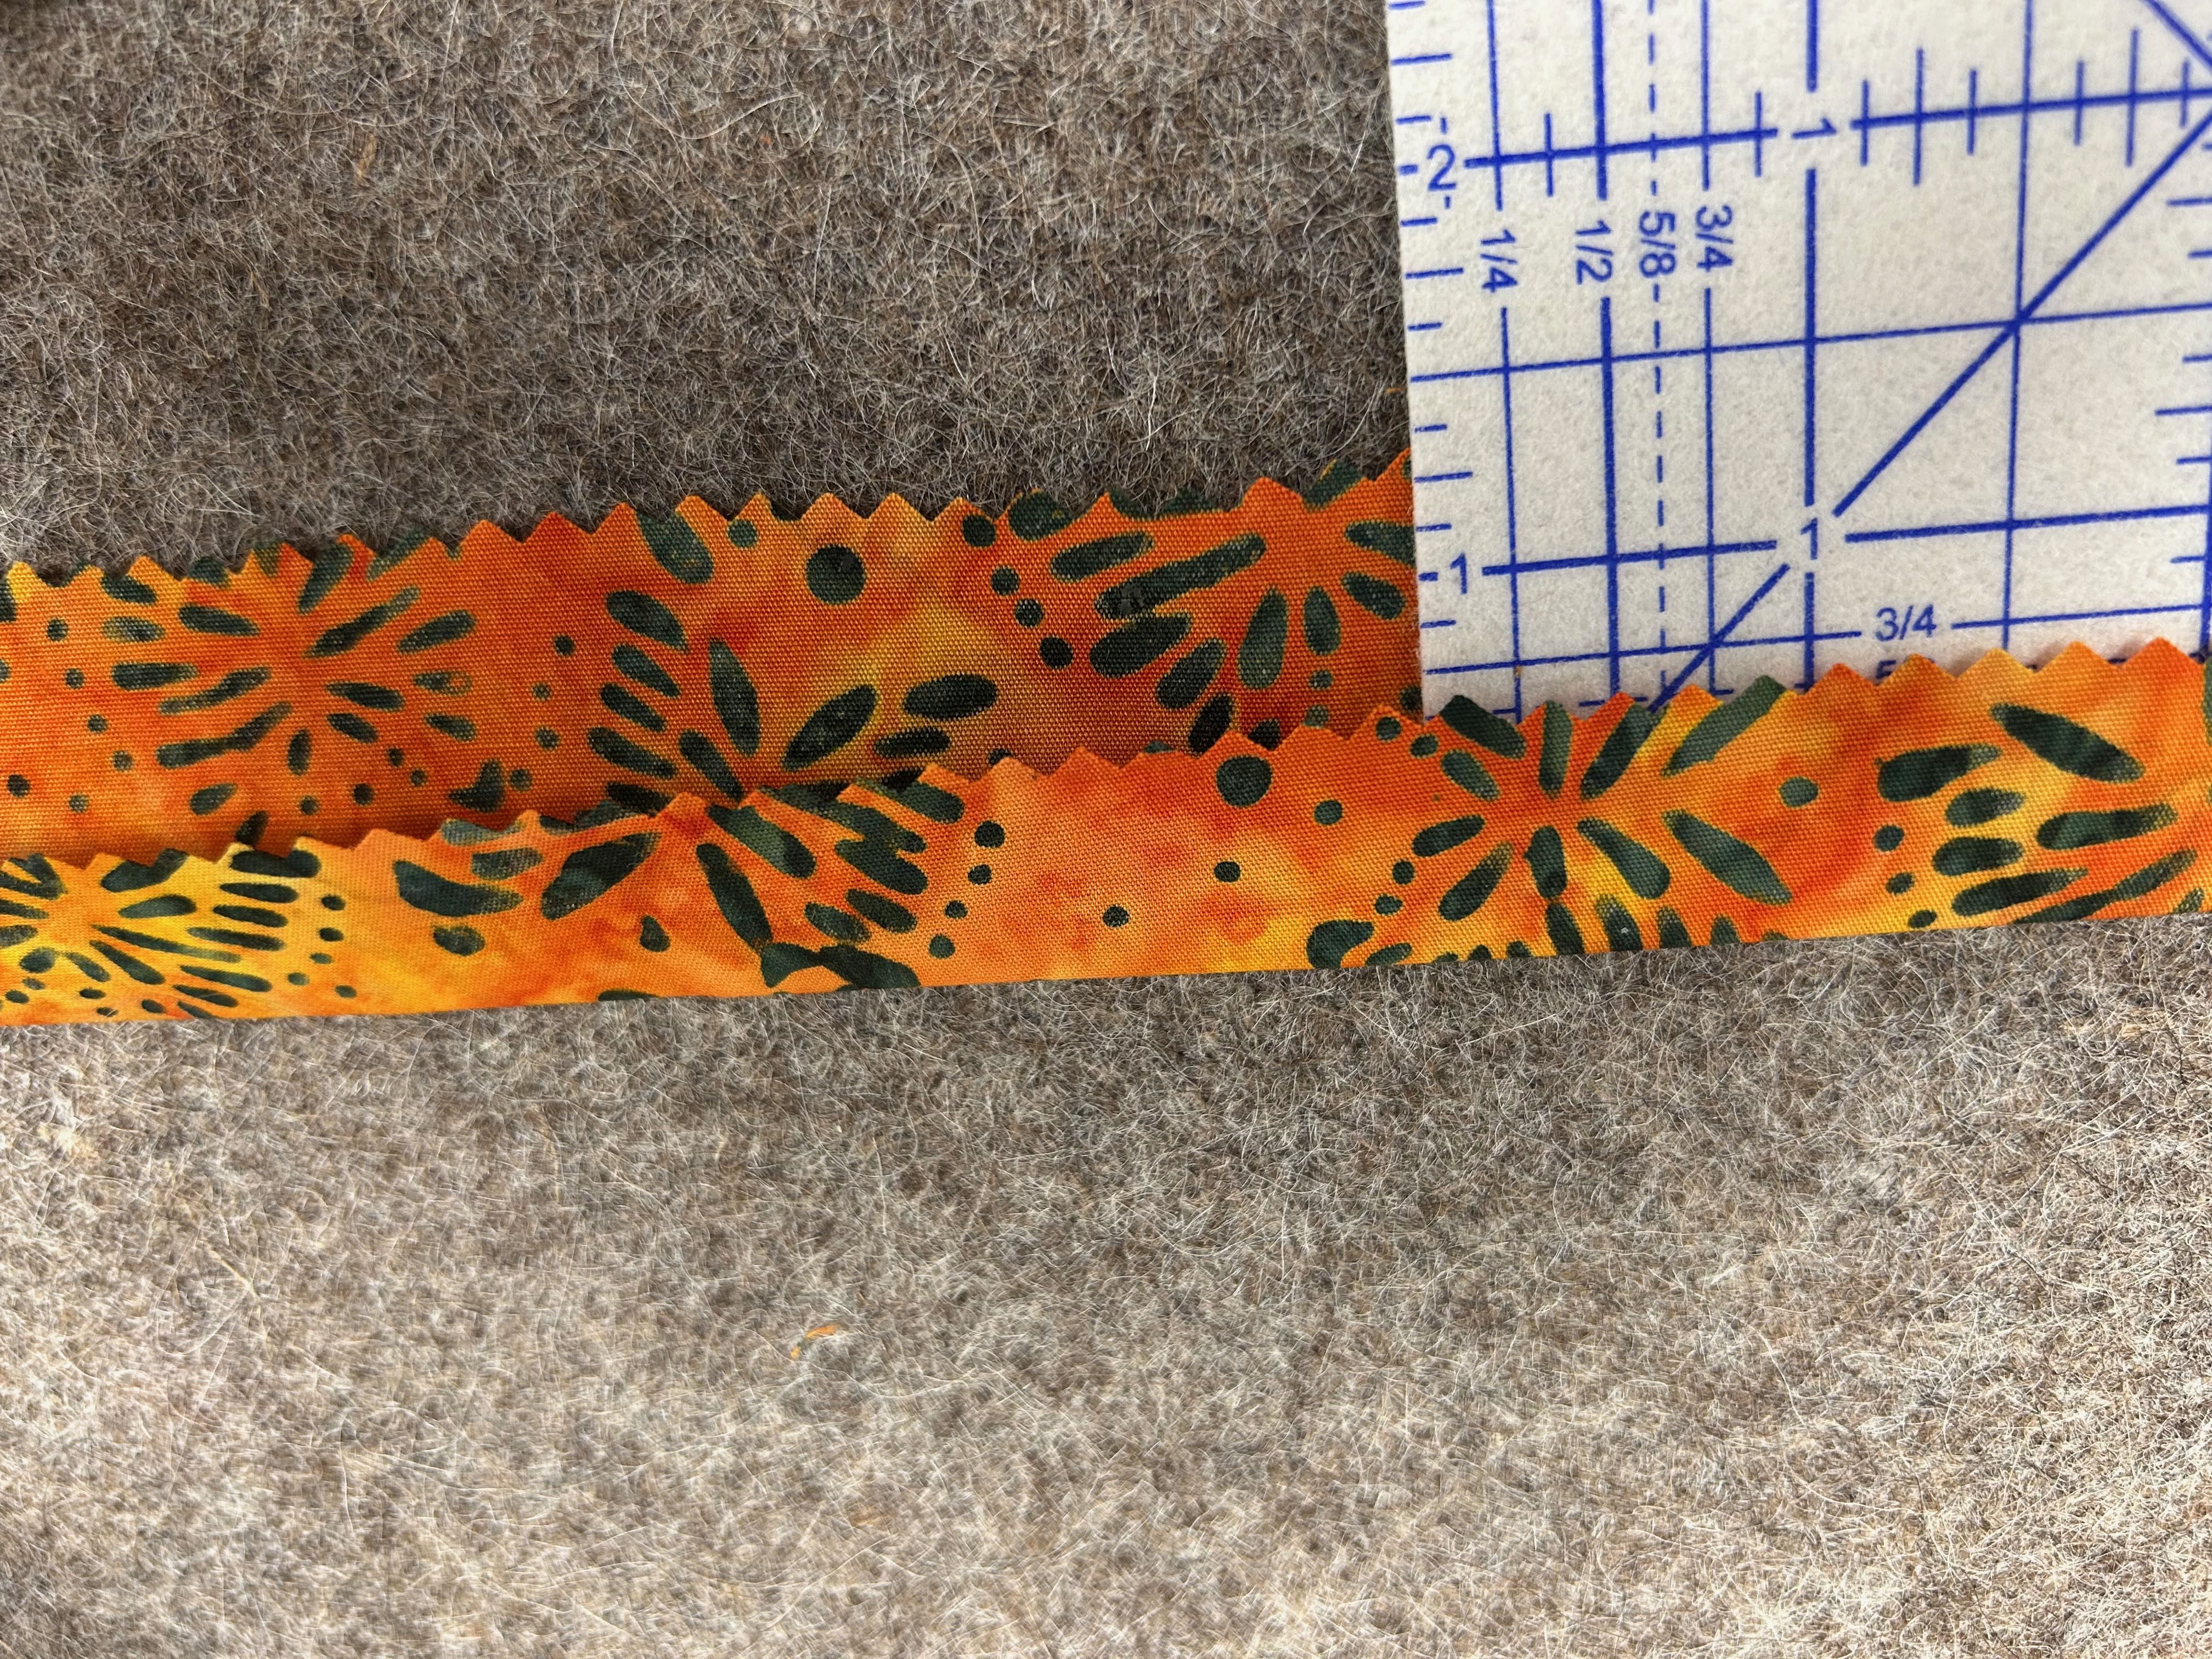
I cut 6 strips at 15″ x 2 1/4” and used my pinking sheers to pink the edges. The goal was for the strips to finish at 2″. It worked!! Using my Oliso Iron, I pressed a fold in each strip at 3/4” . (This left the opposite side at 1 1/4“.
I made a total of 6 flowers by gathering the folded edge and sewing it onto the bobbin.
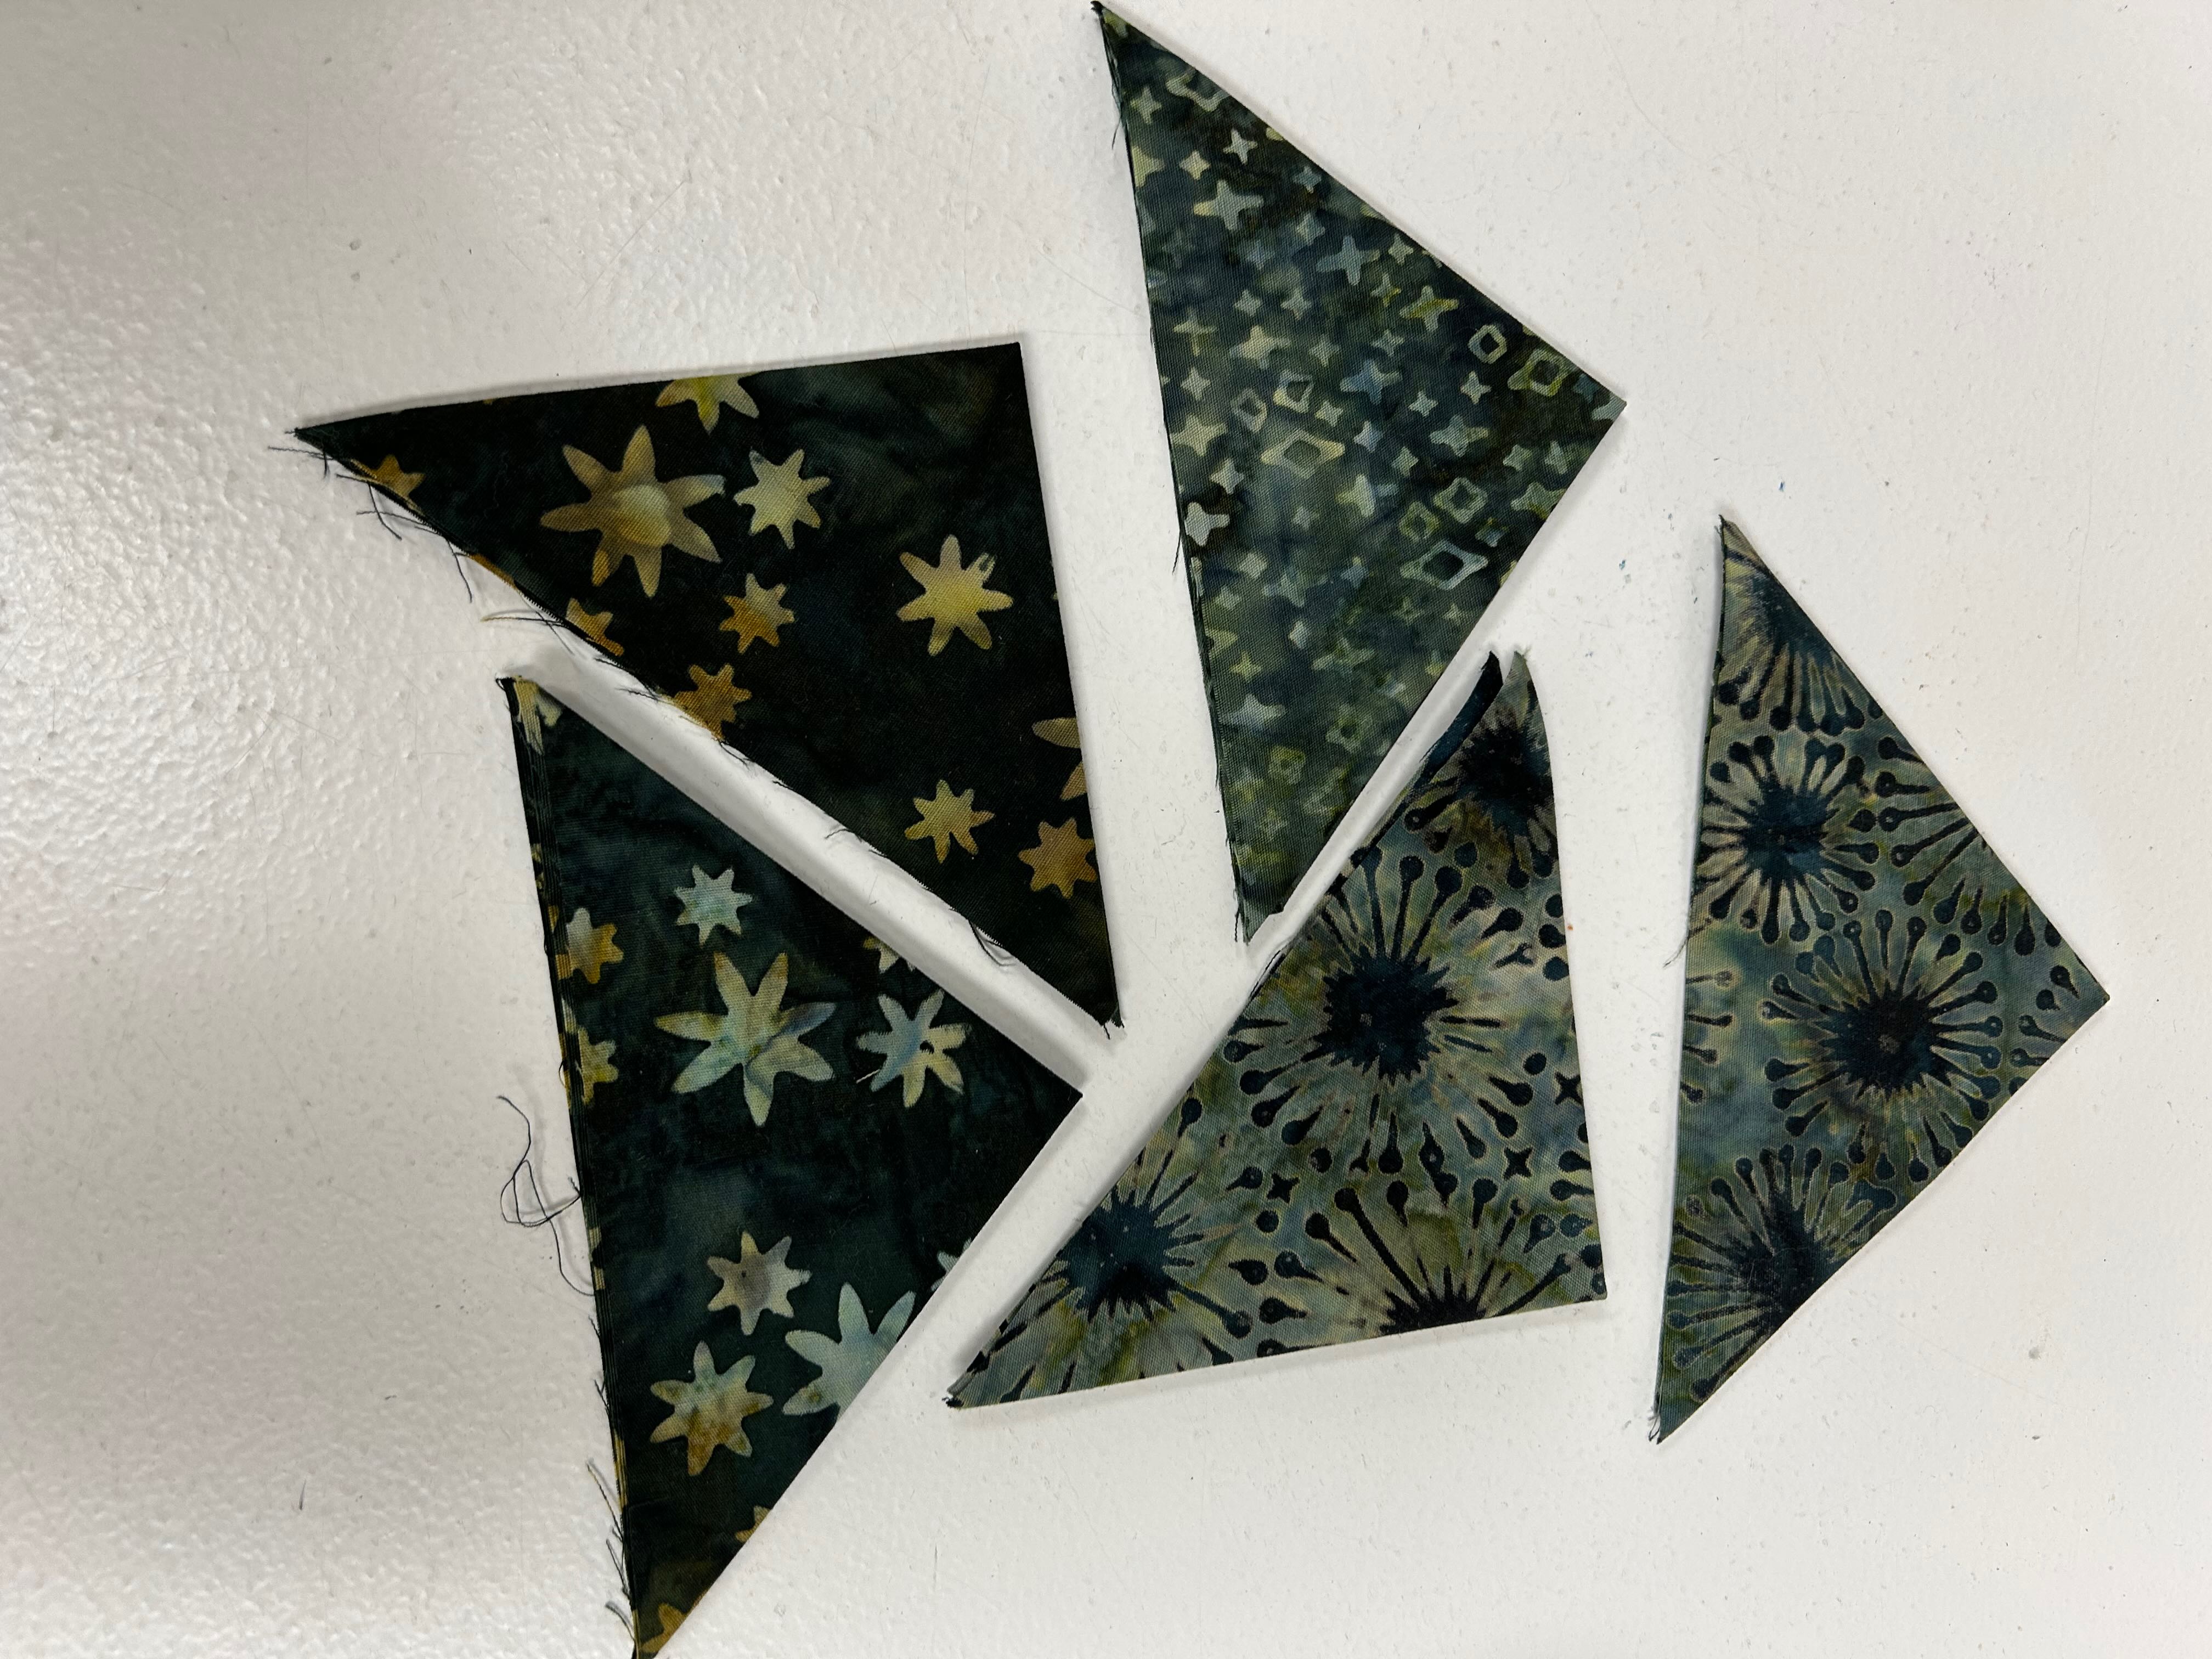
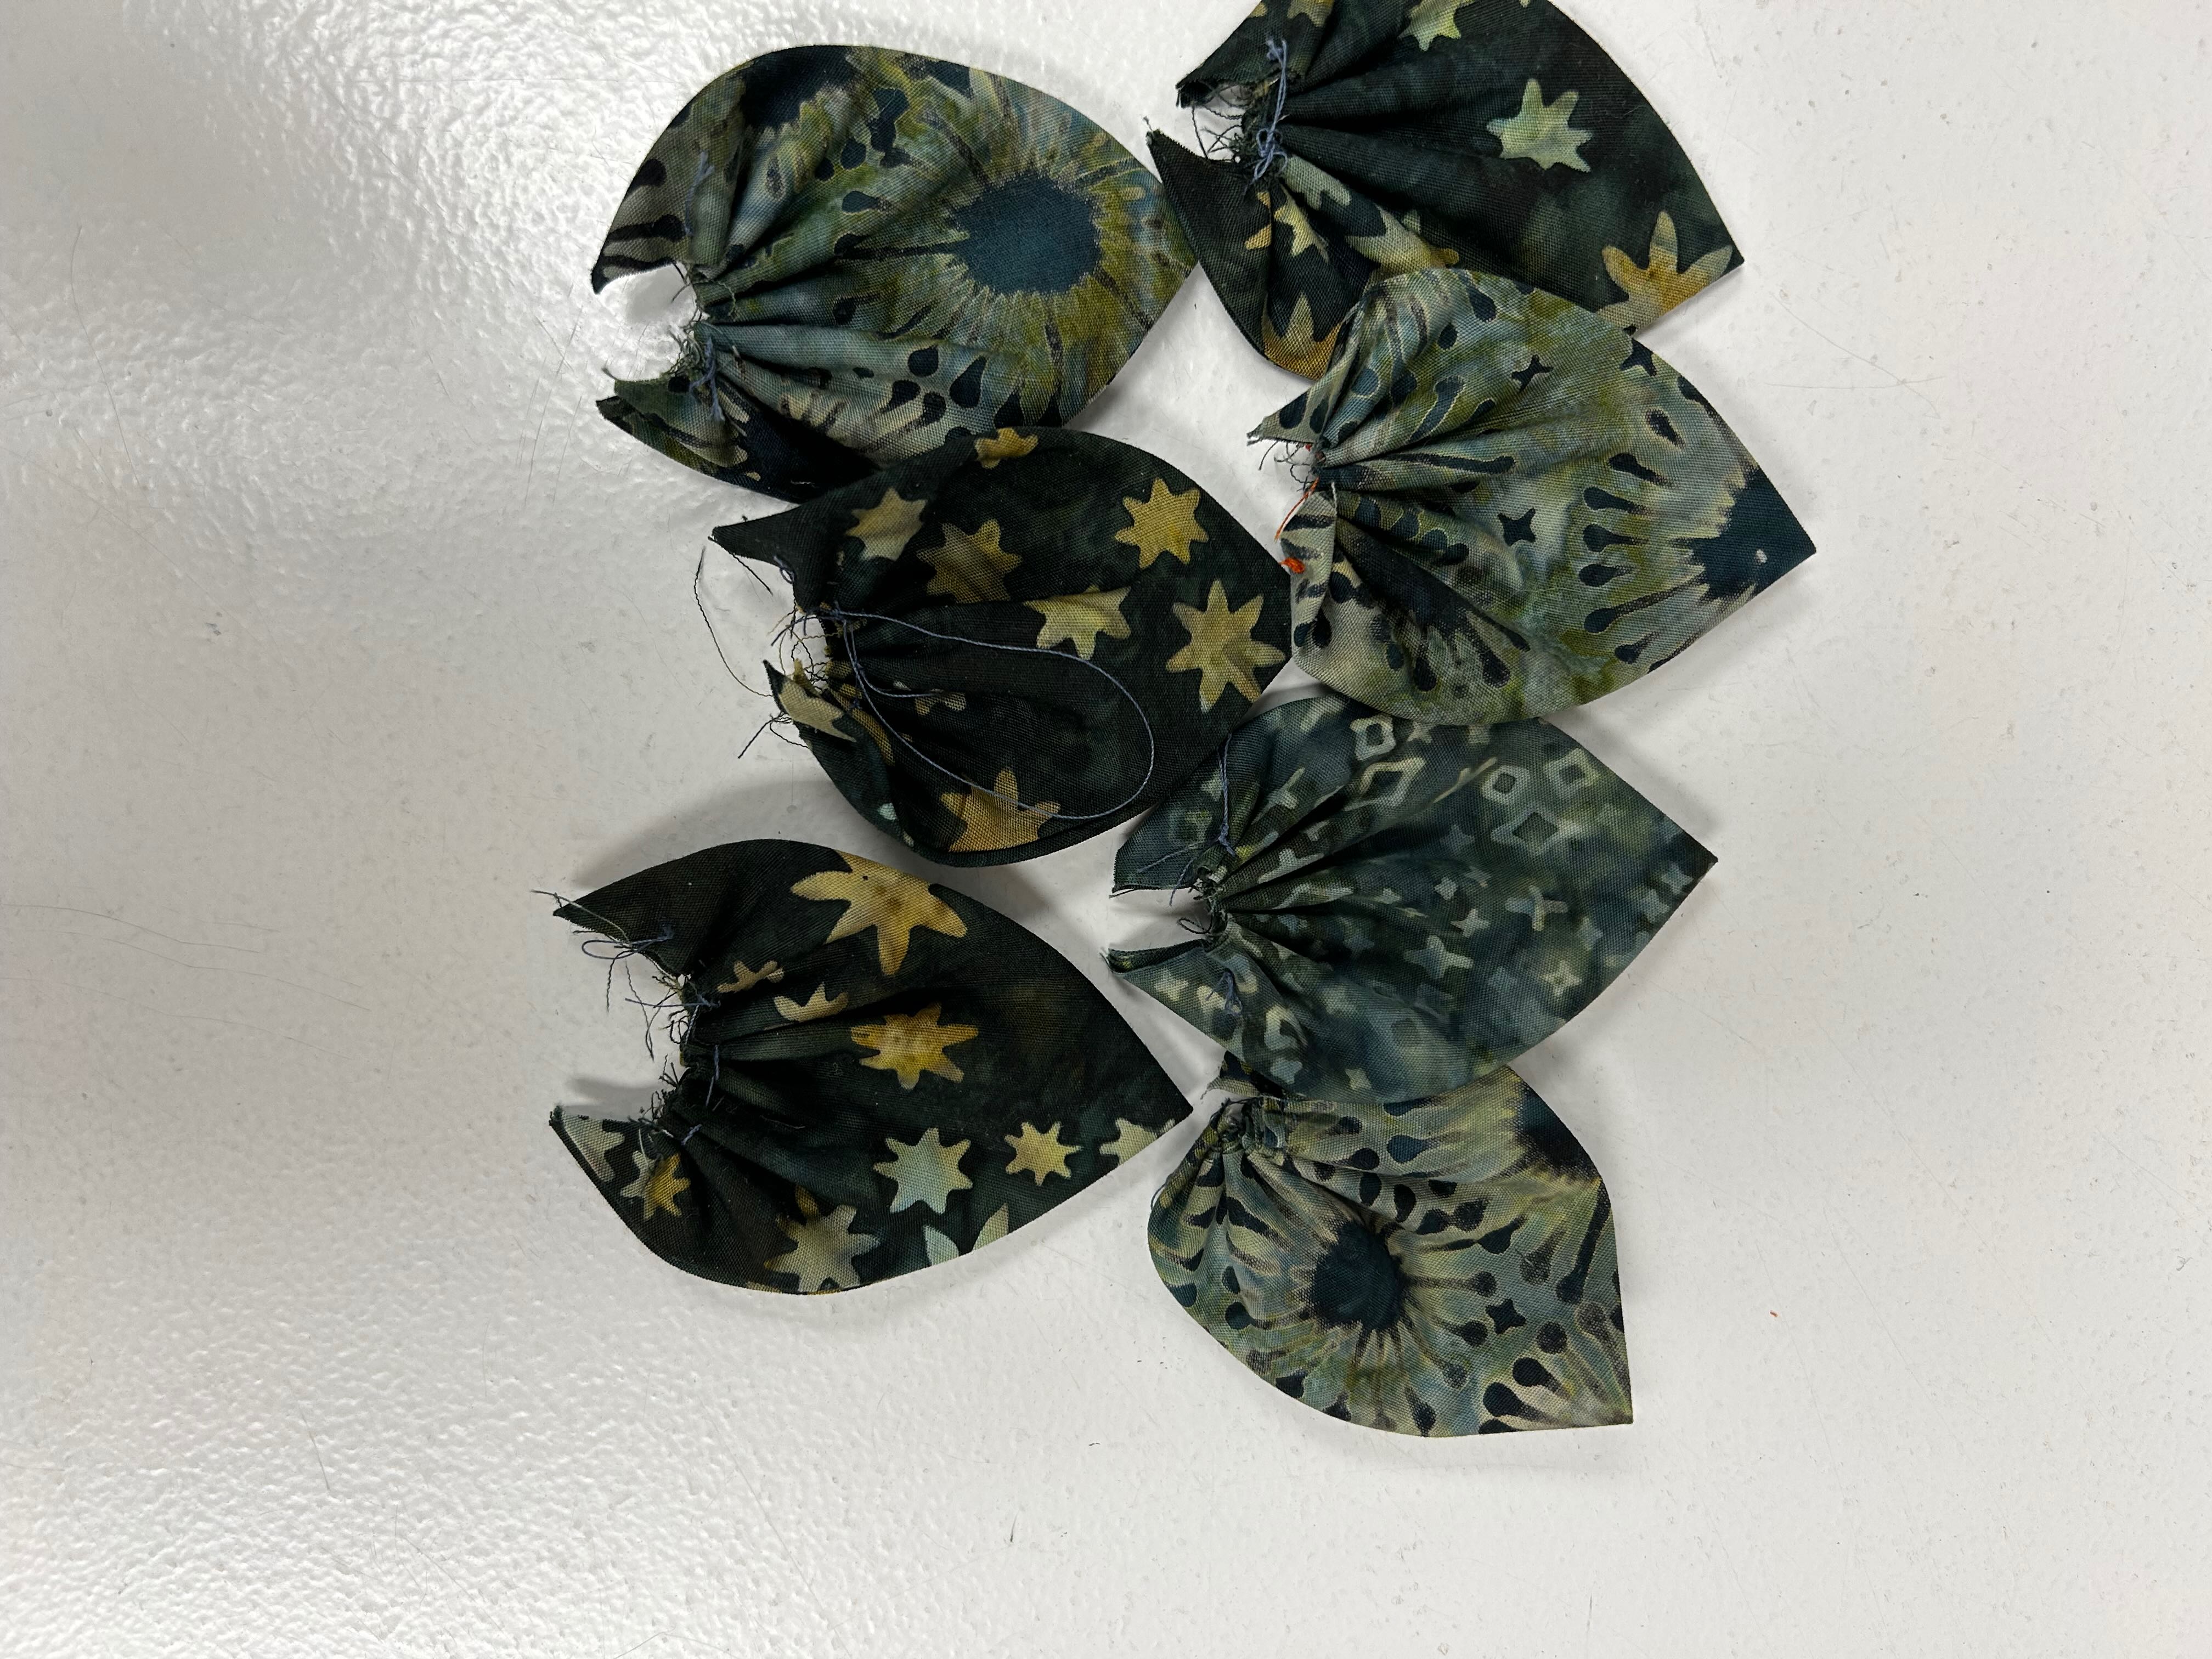
For fabric leaves, I found this visual tutorial HERE. There are no instructions regarding size or other details, but I think I figured it out. I cut the squares at 5″ and double folded them on the diagonal. Then, I gathered the ends.
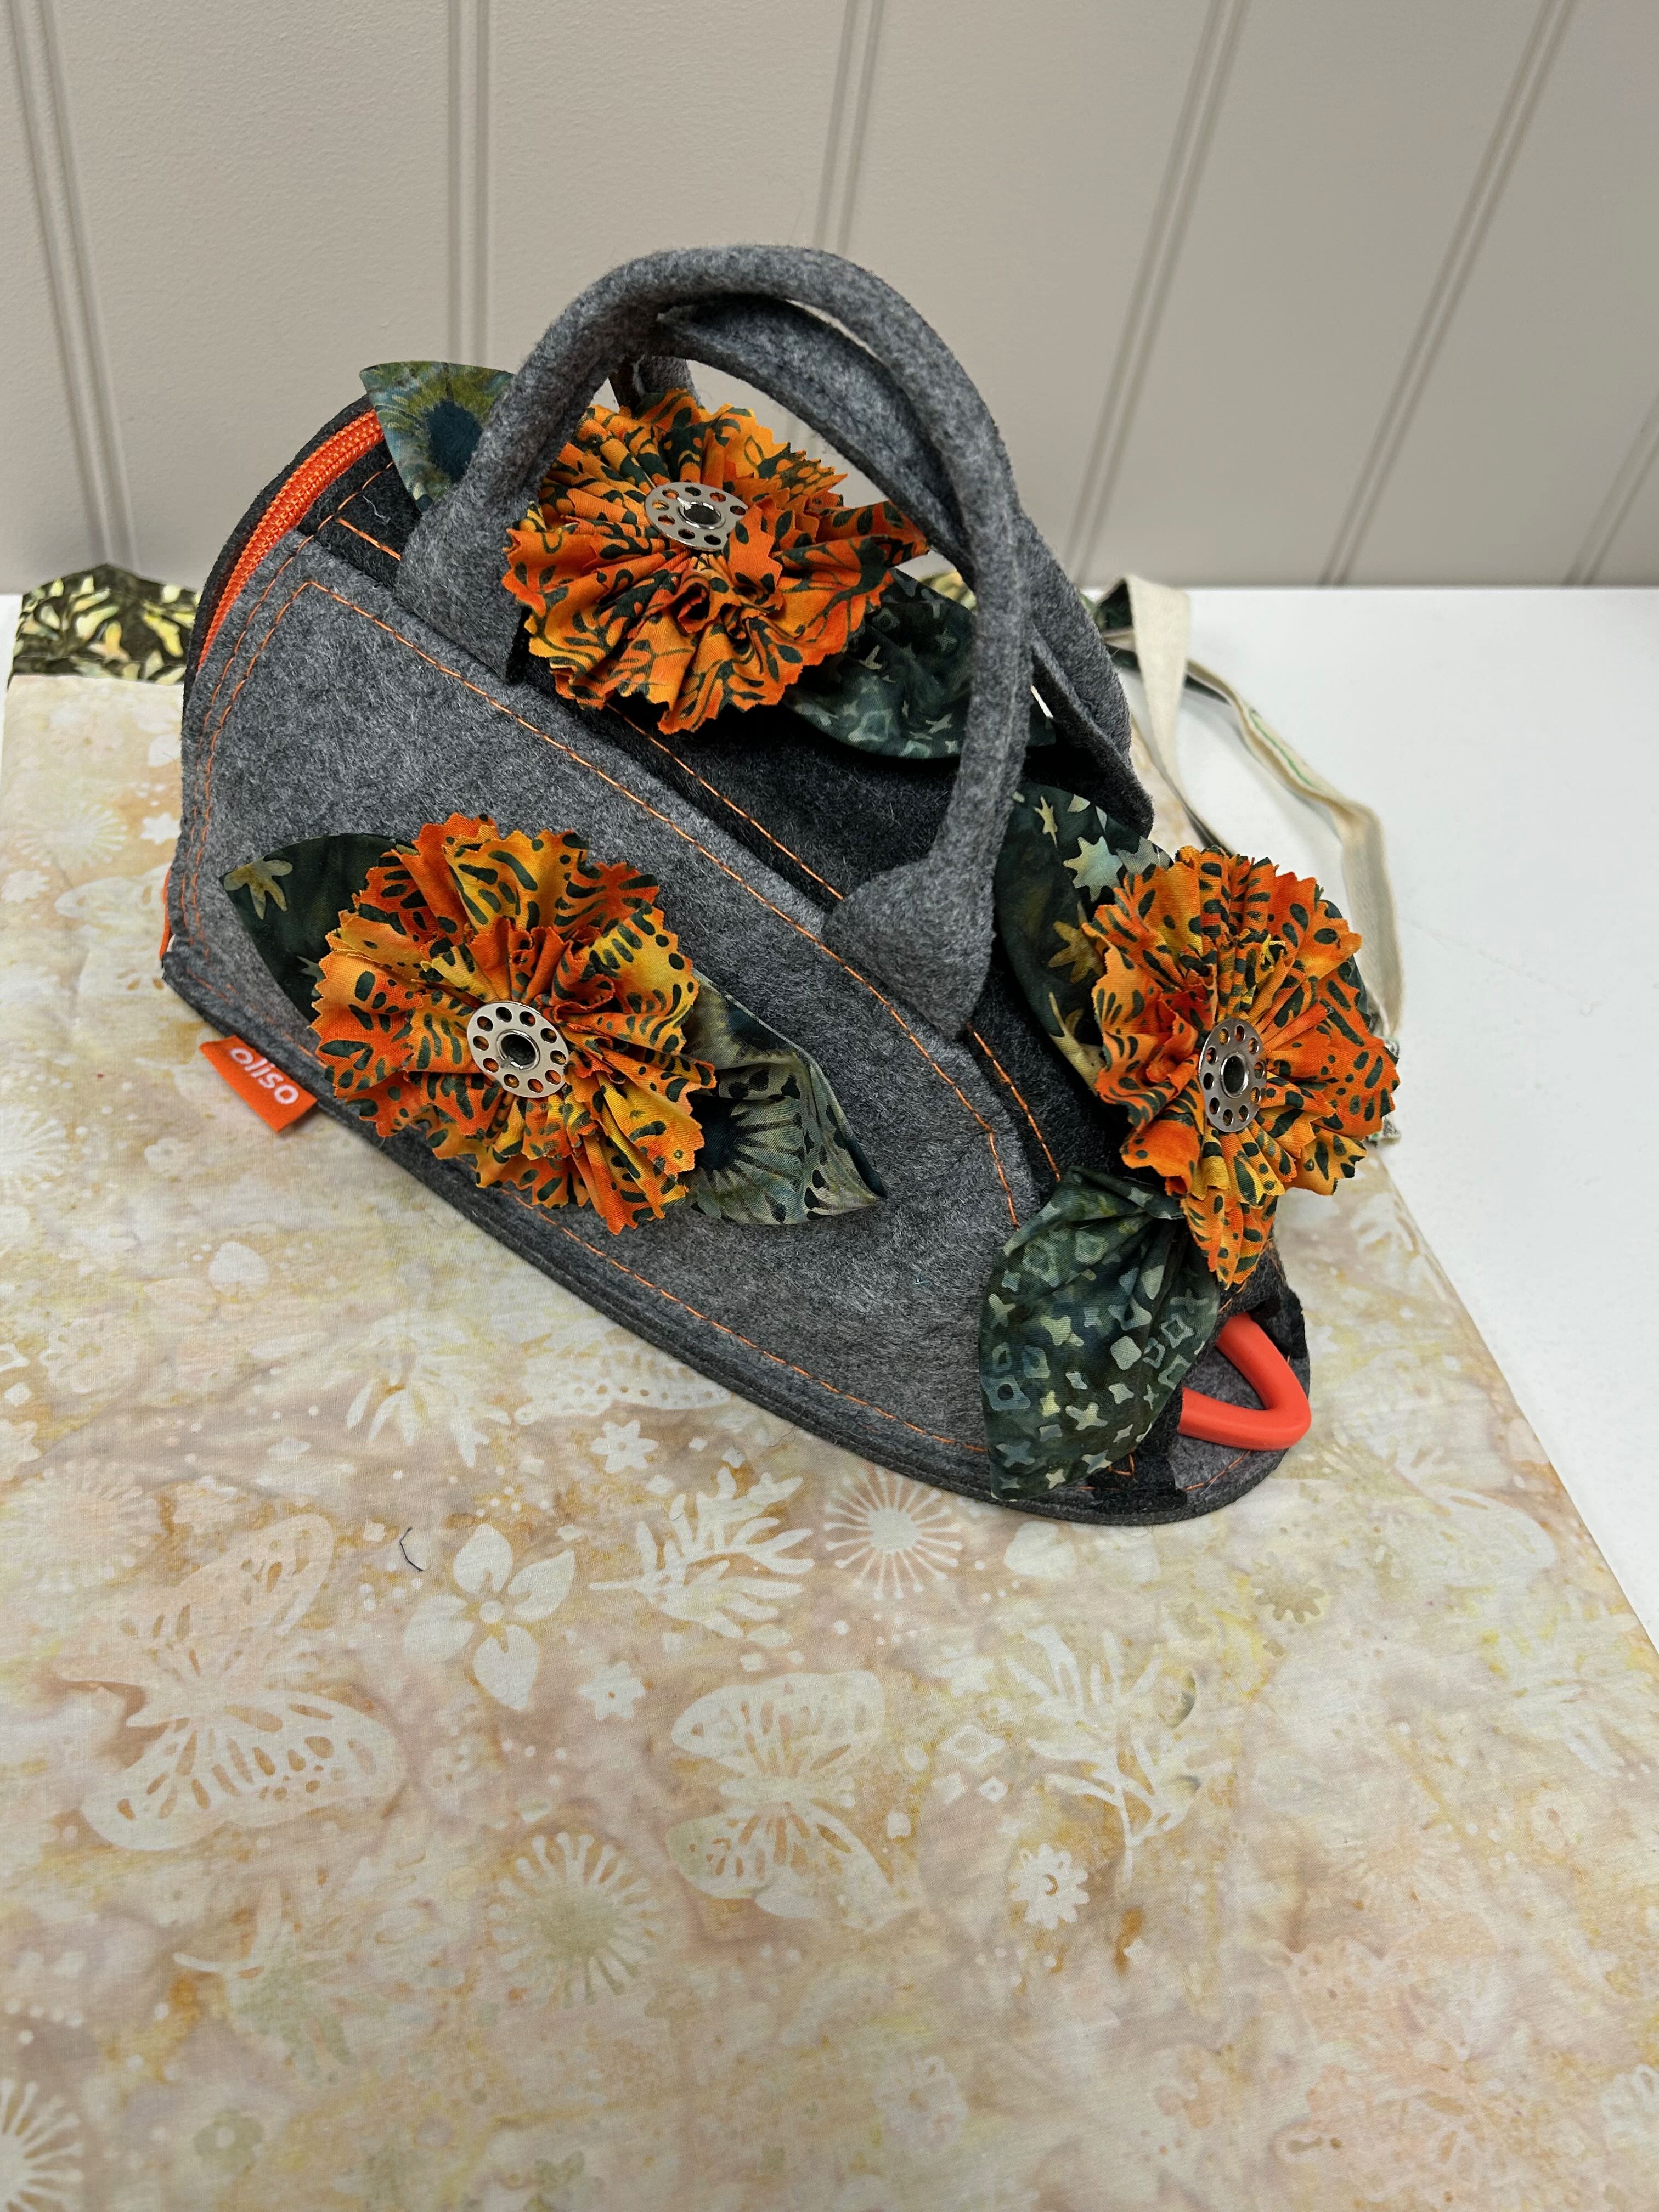
Then, using a glue gun, I glued the bobbin flowers and leaves in place!
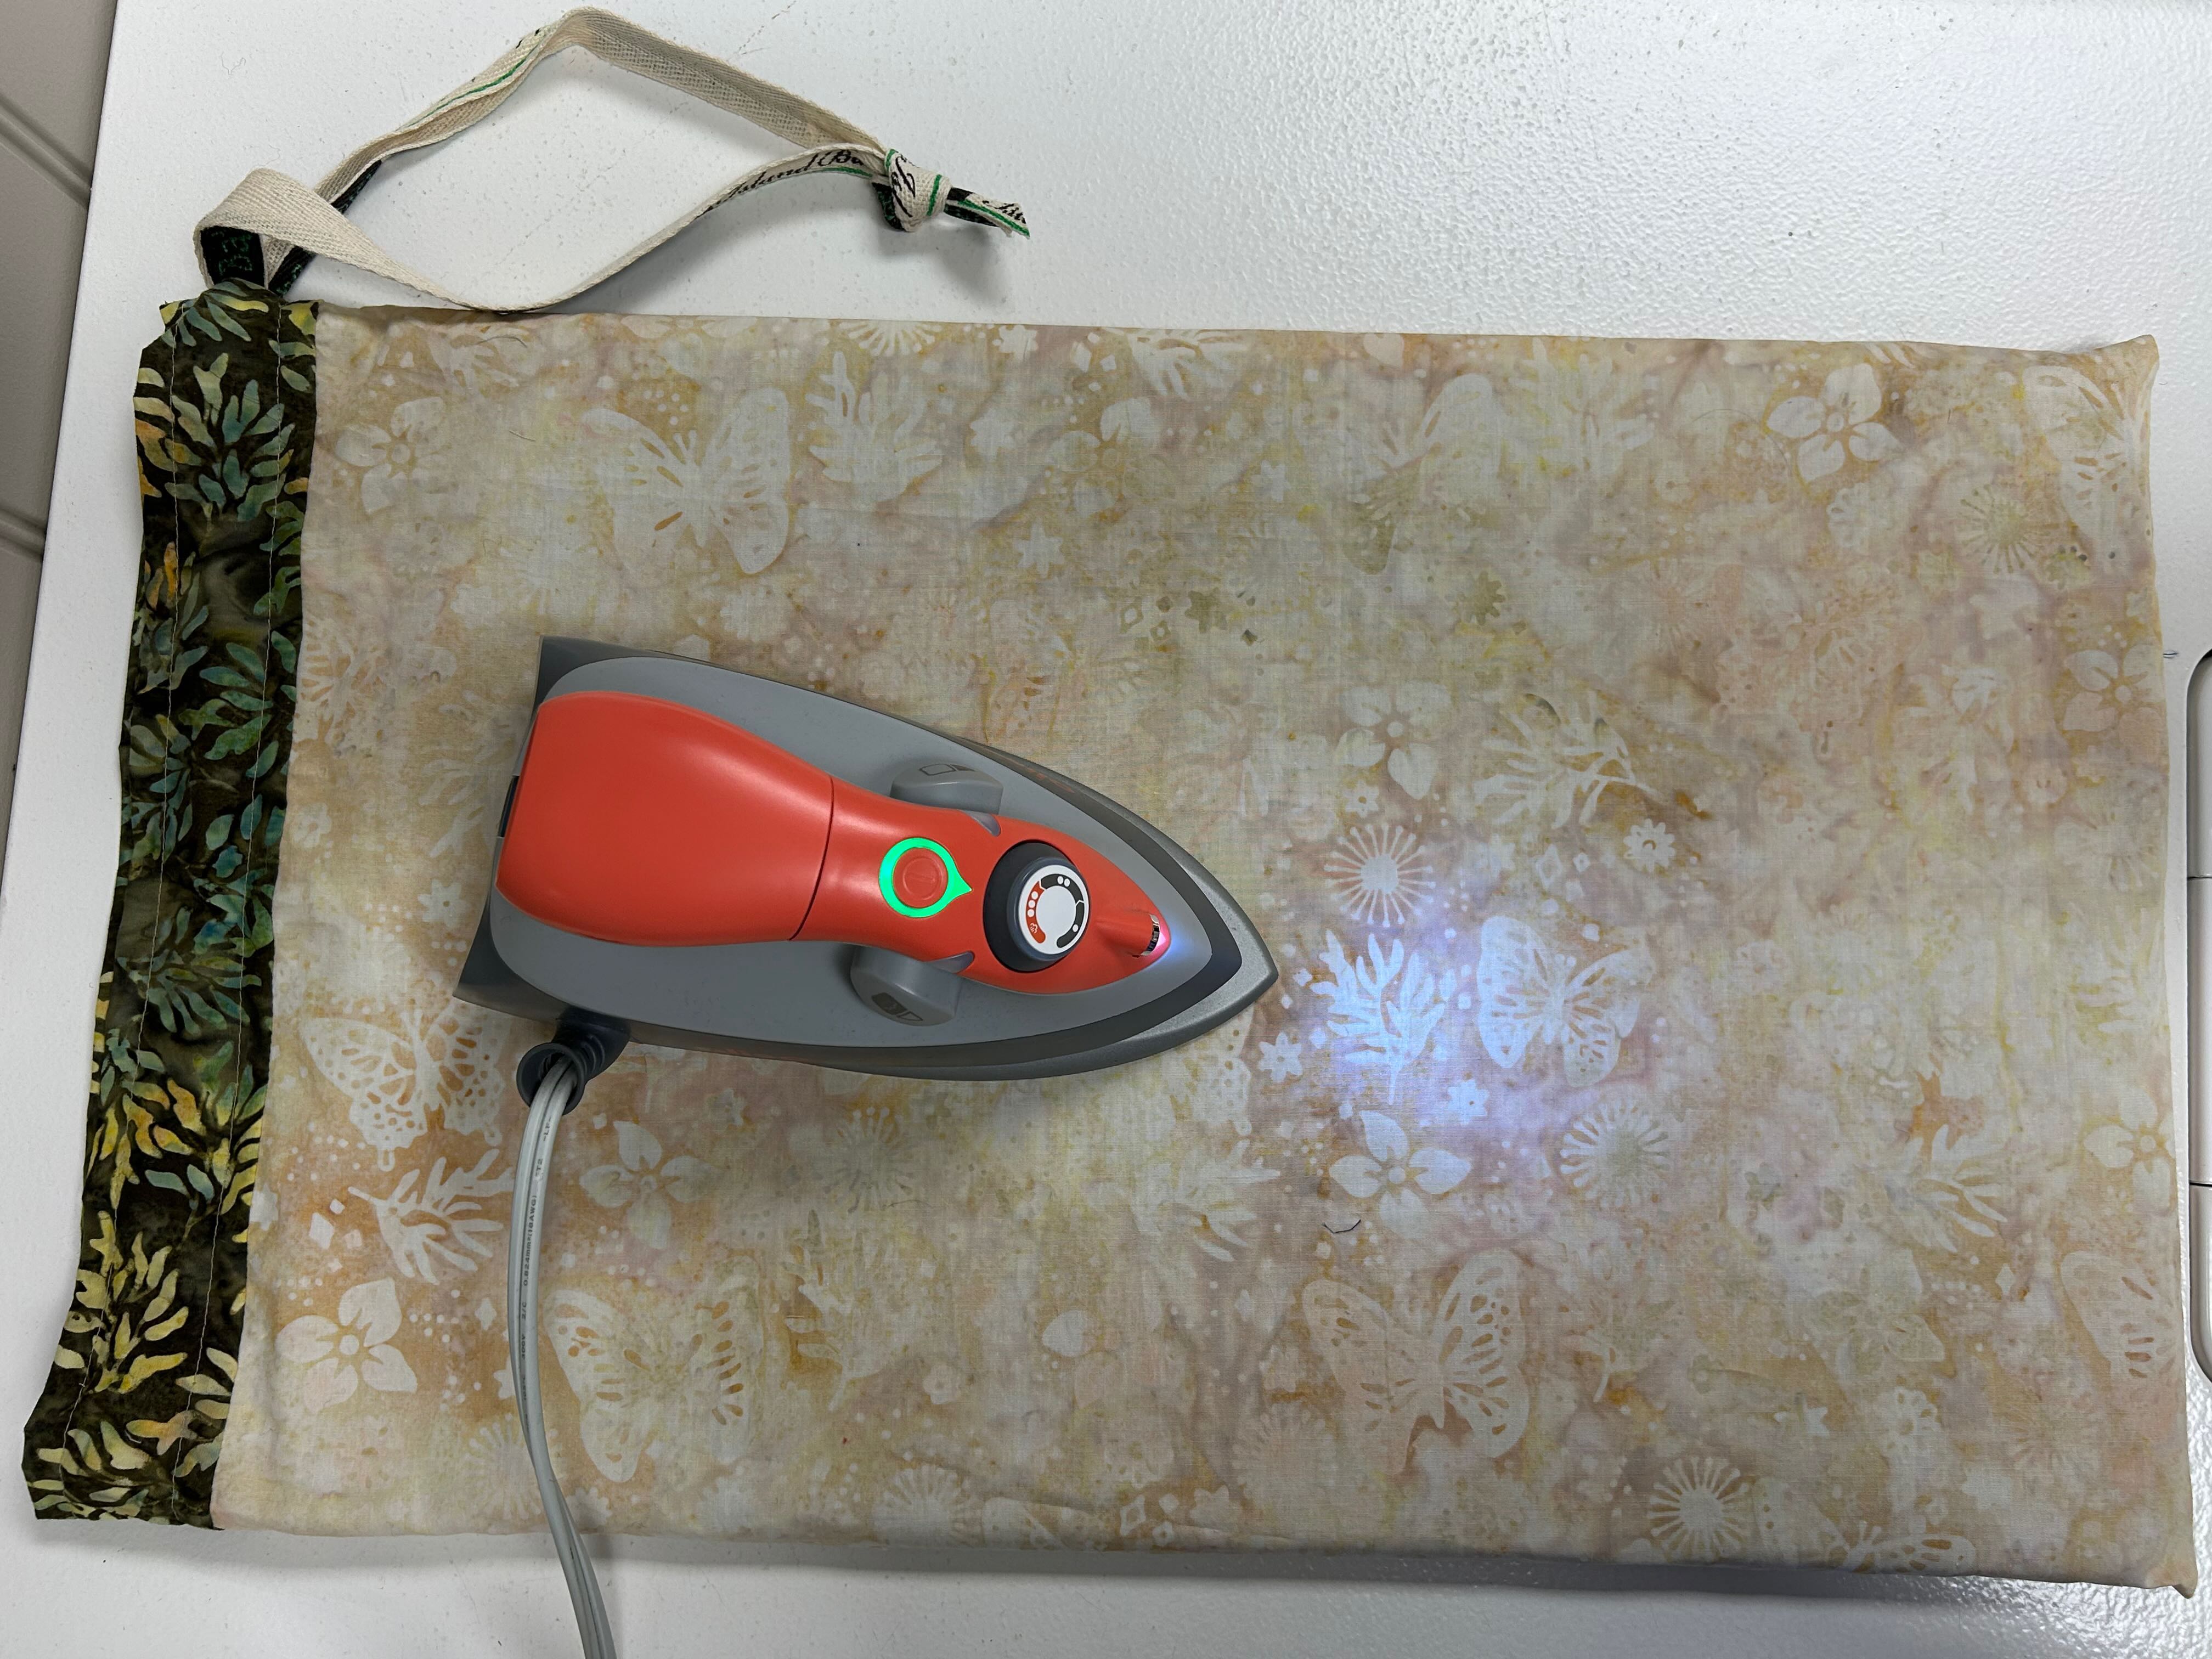
Here’s a picture of both sides of the iron caddy, on opposite sides of the pressing mat cover (see below). I ended up using only 4 of the bobbin flowers. When I was positioning the flowers on the side, having 2 on each side was too crowded!
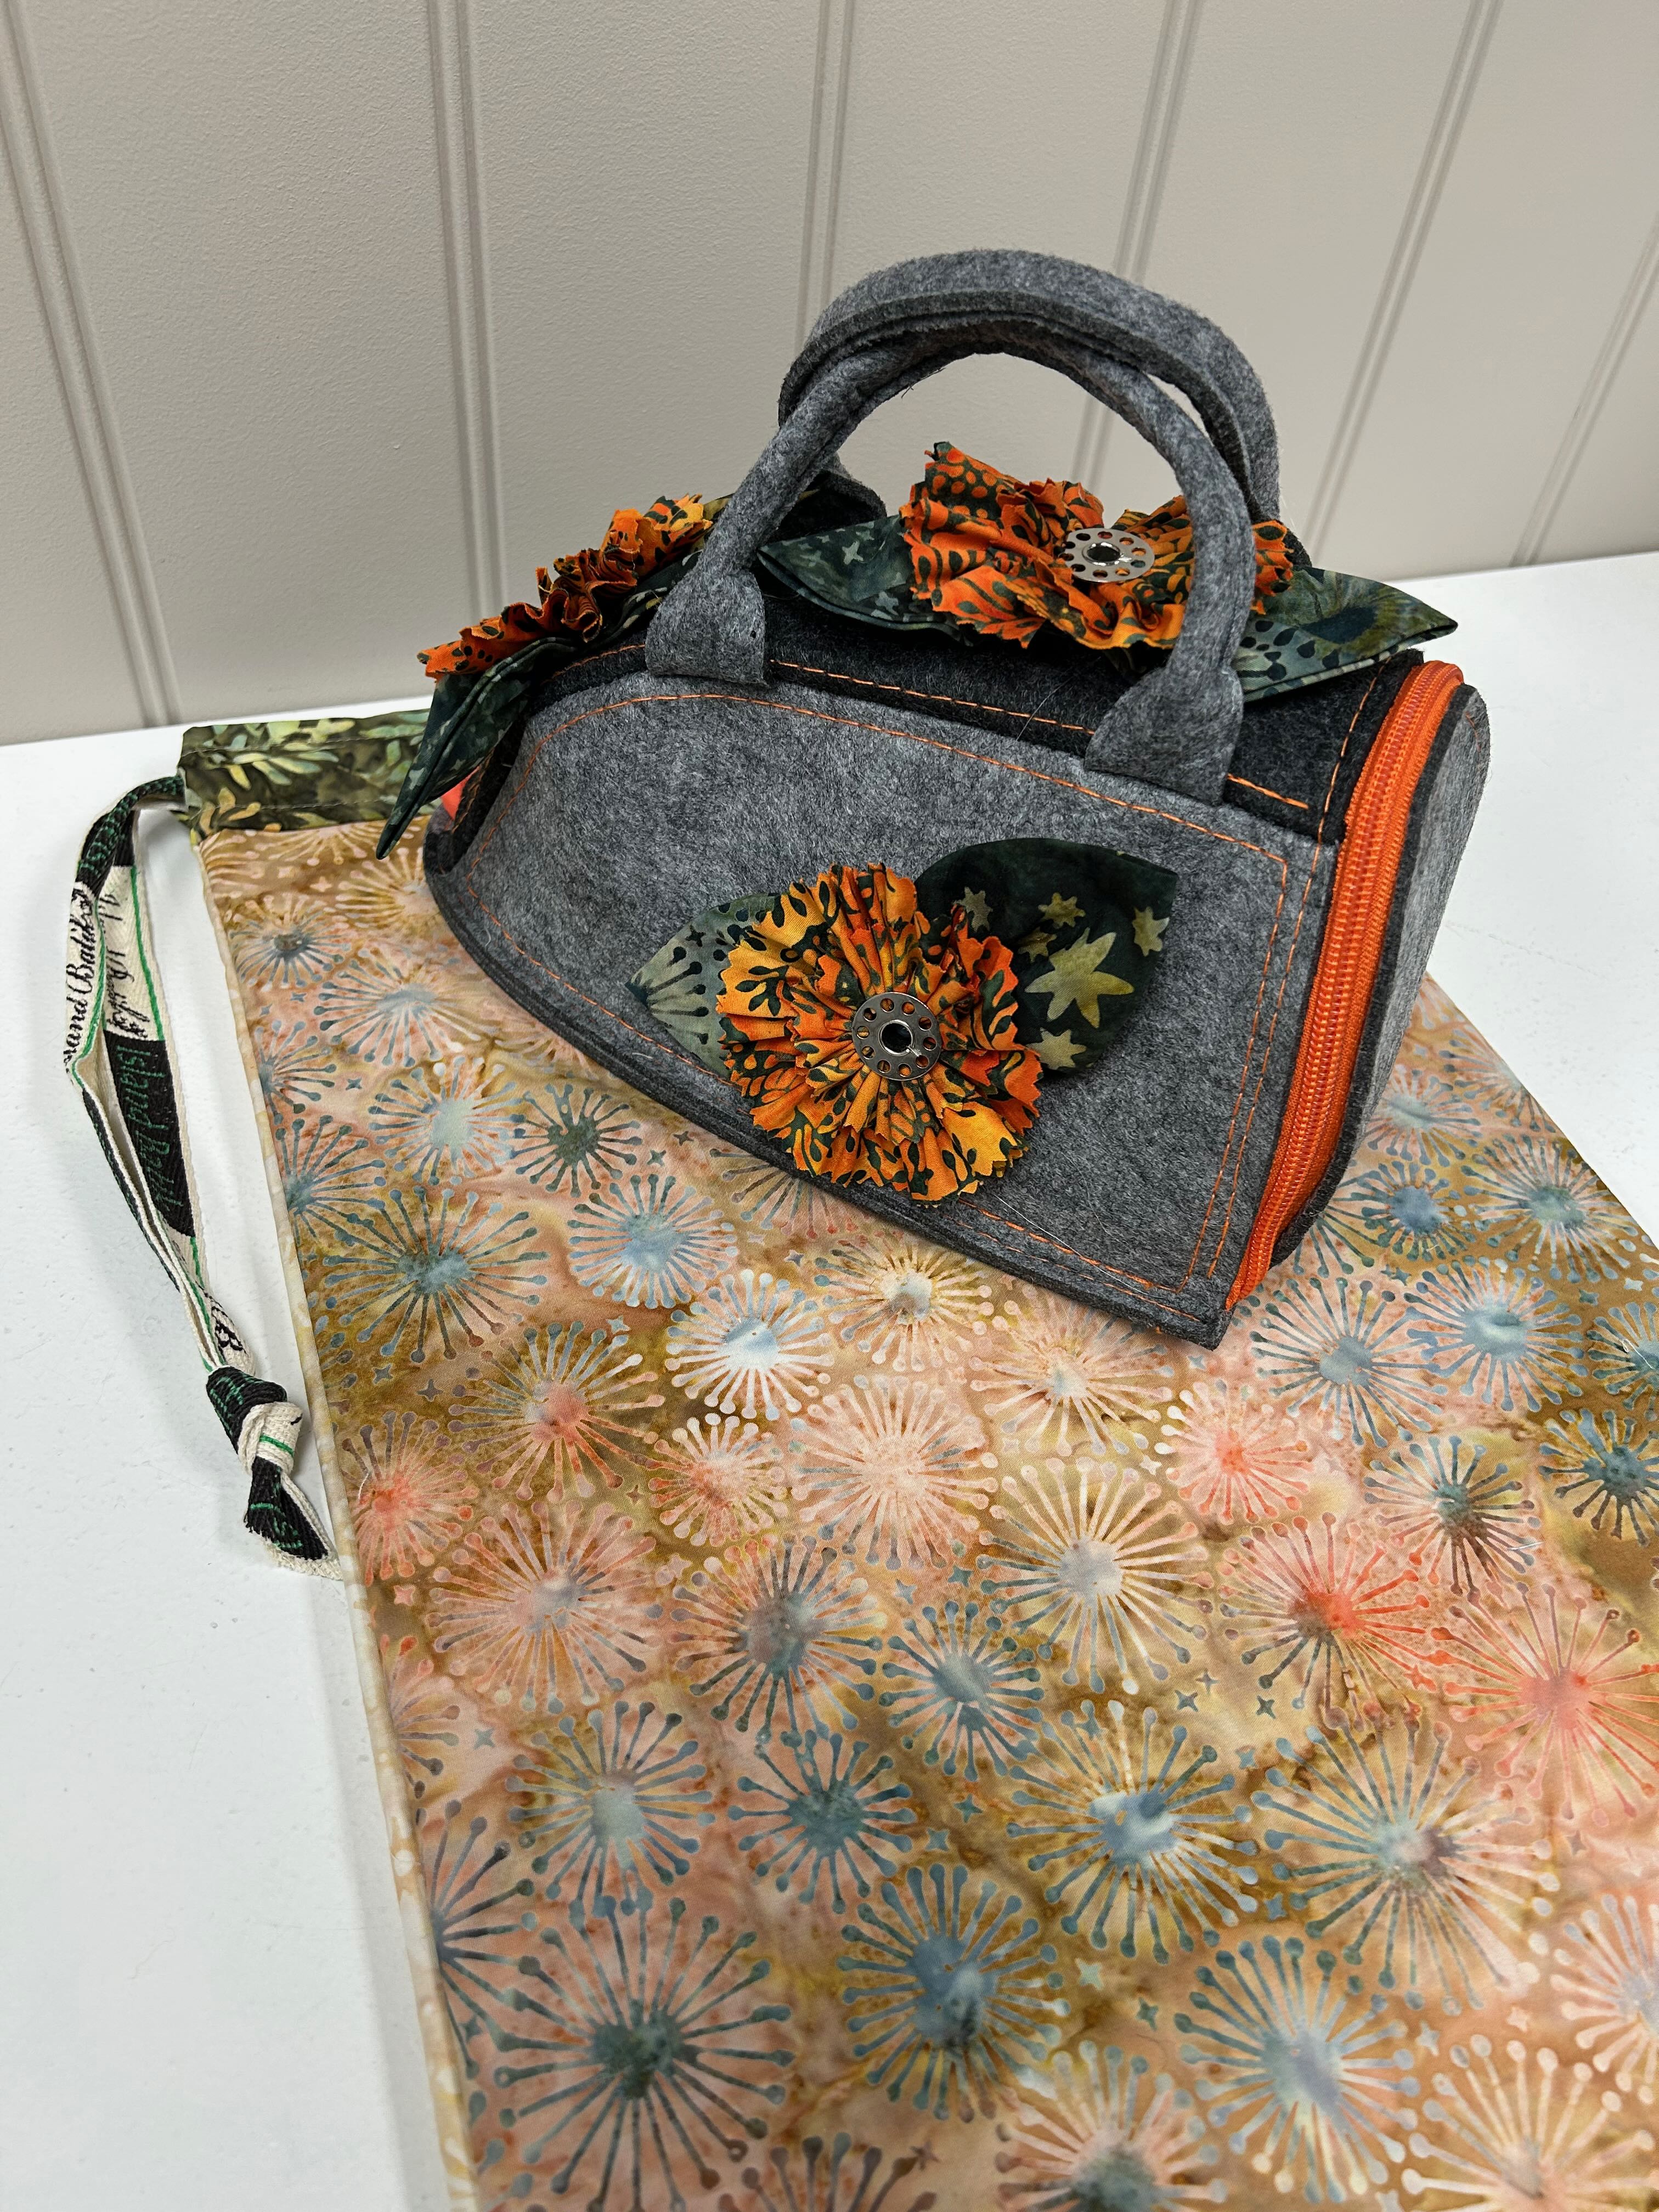
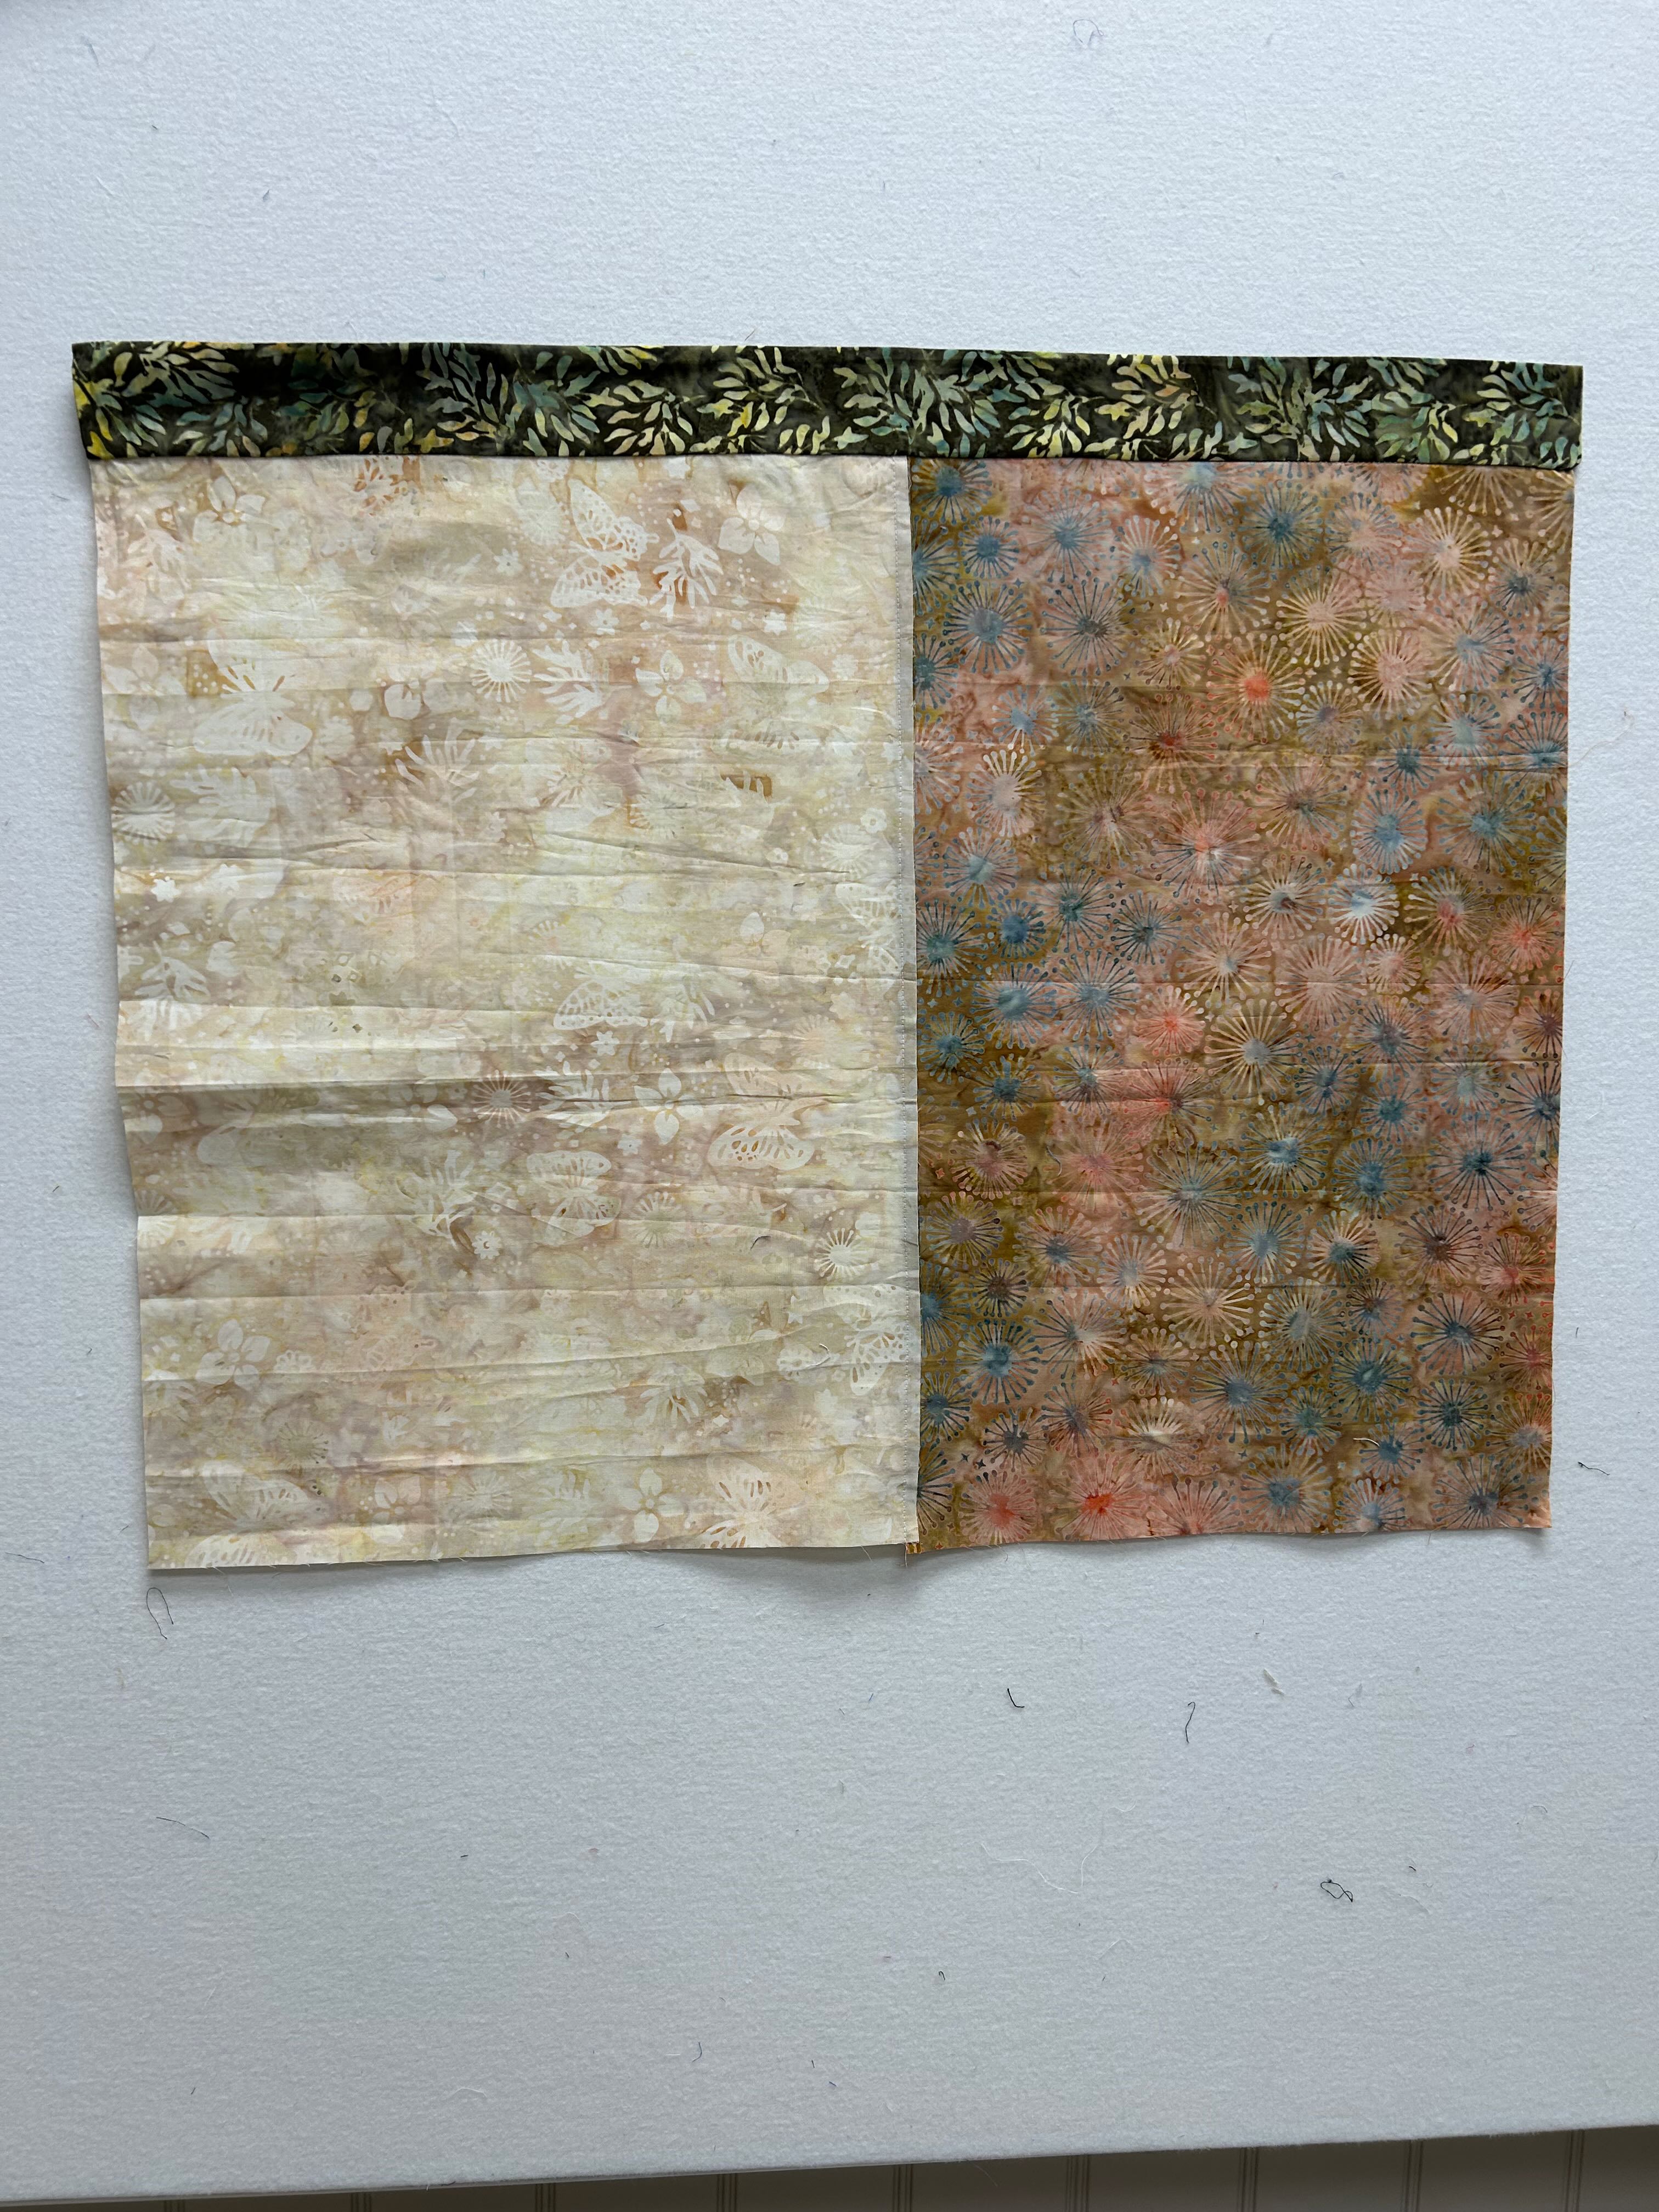
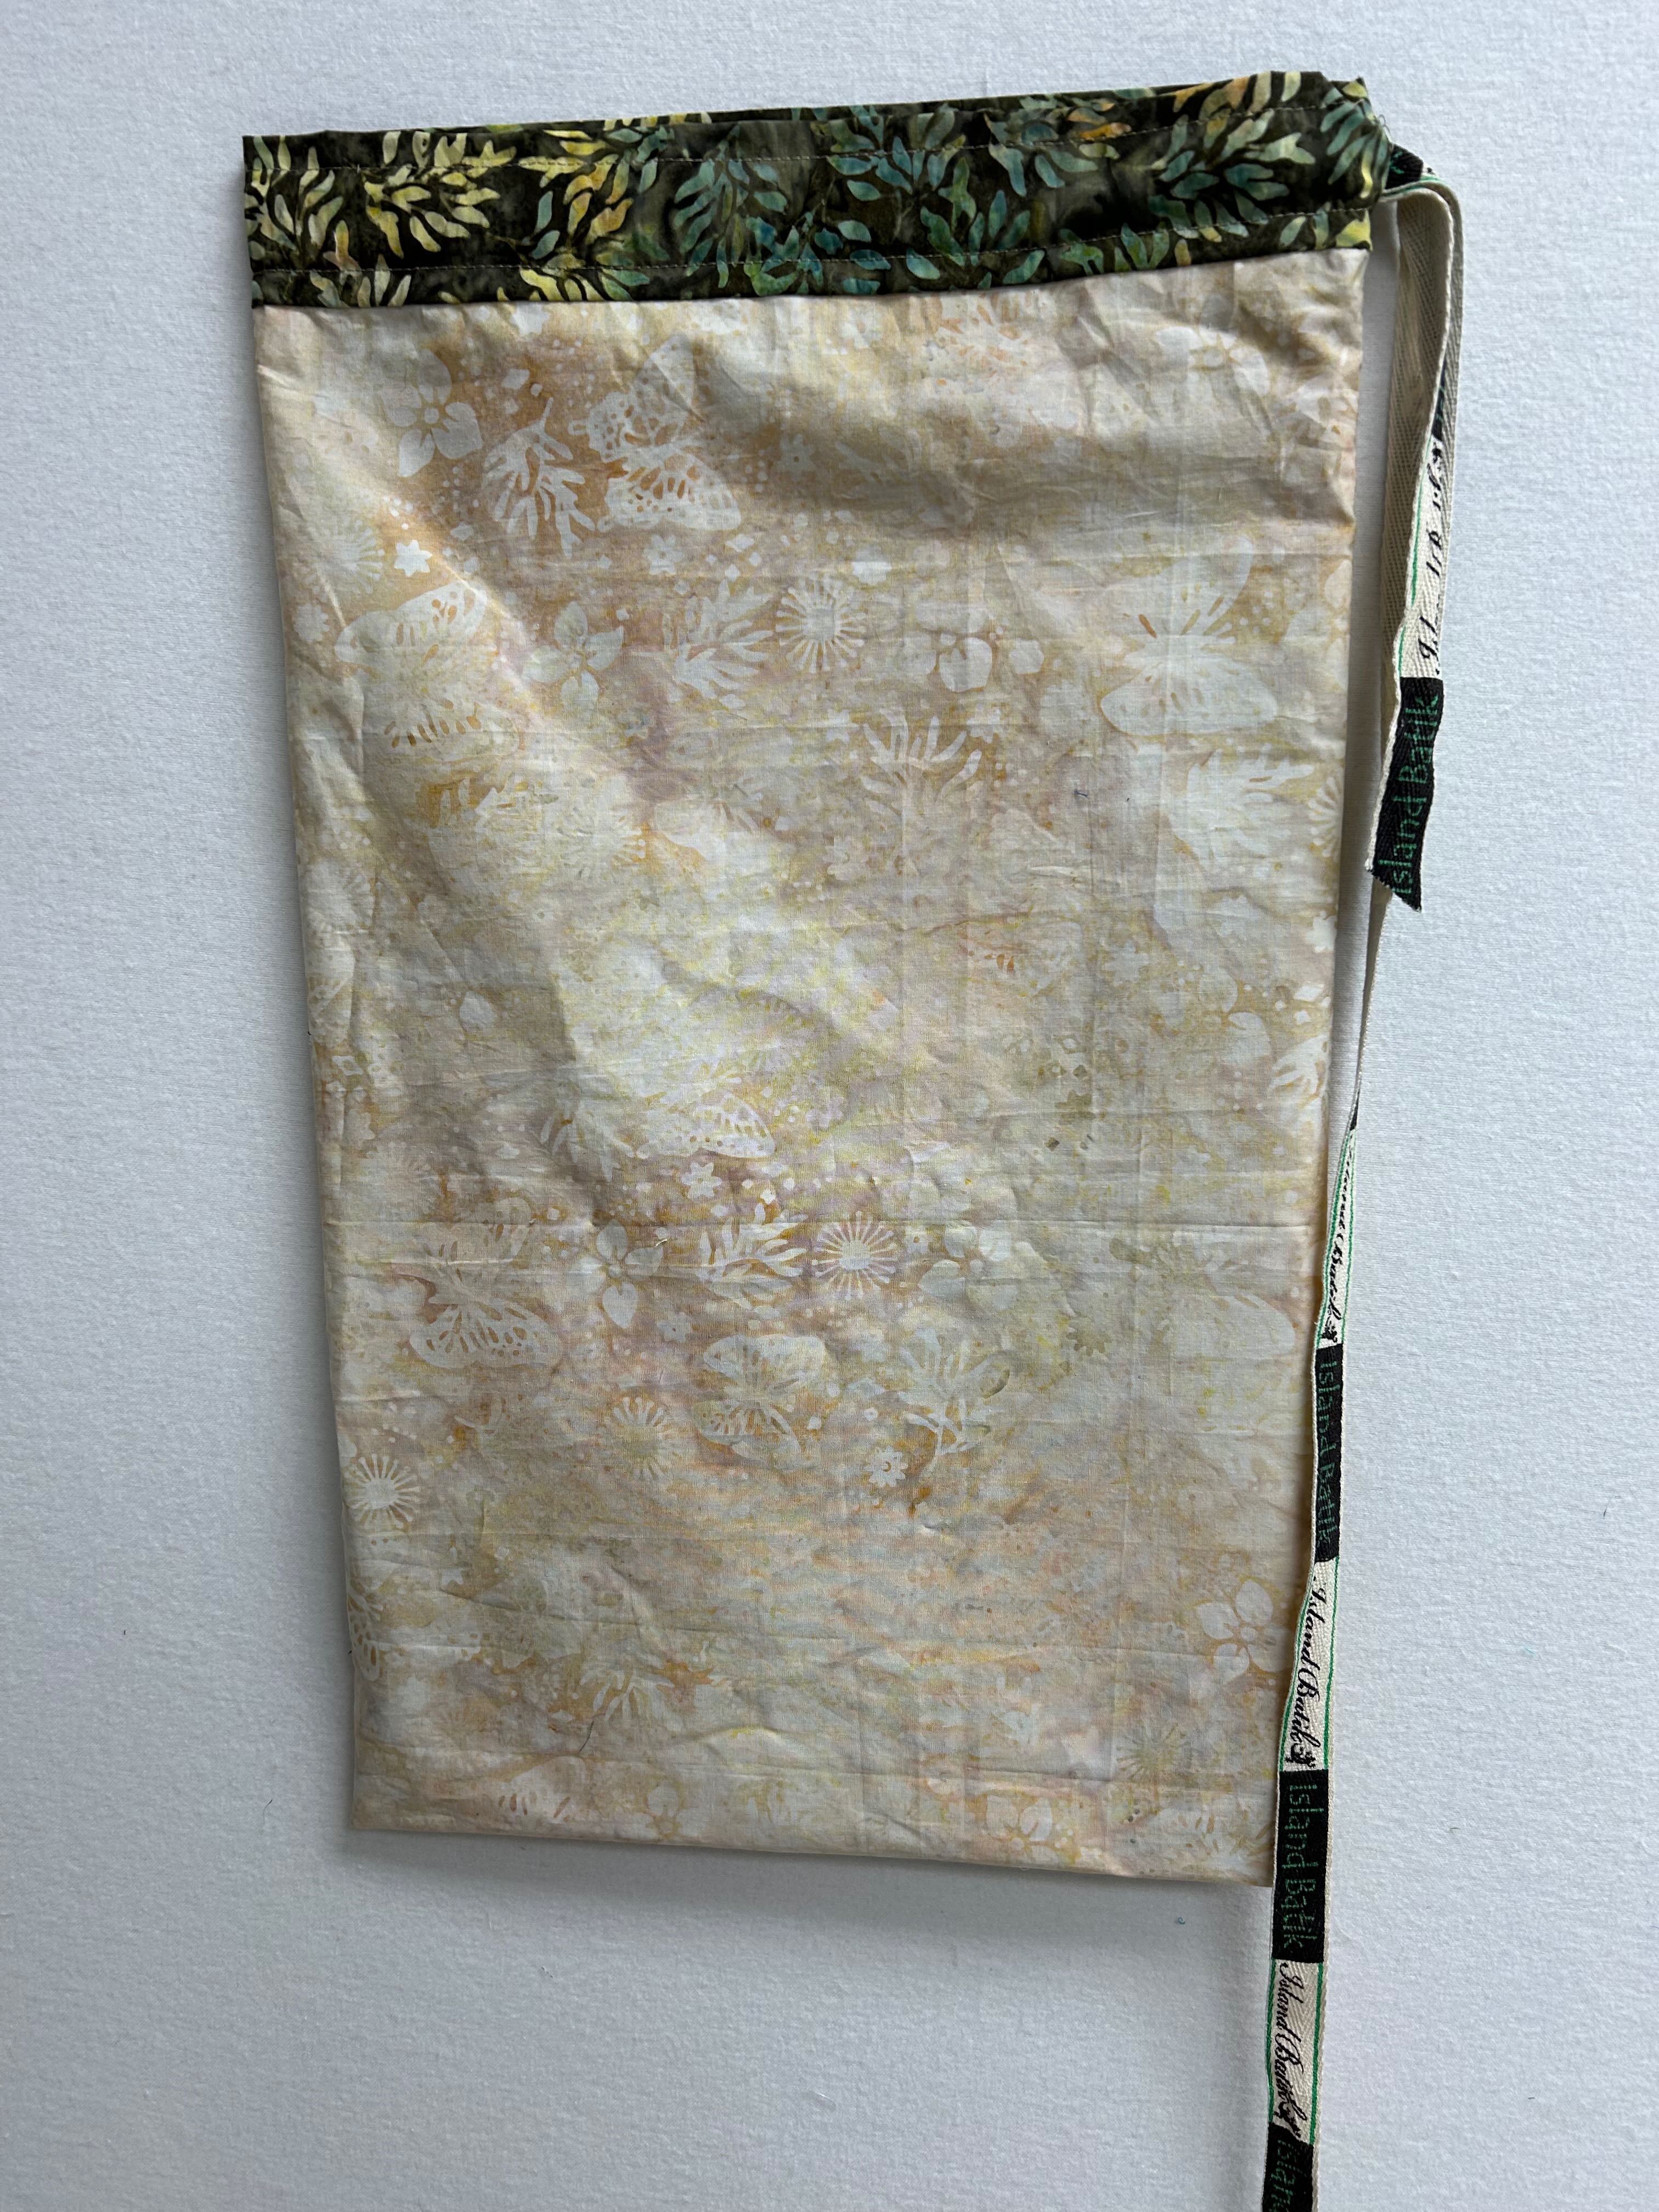
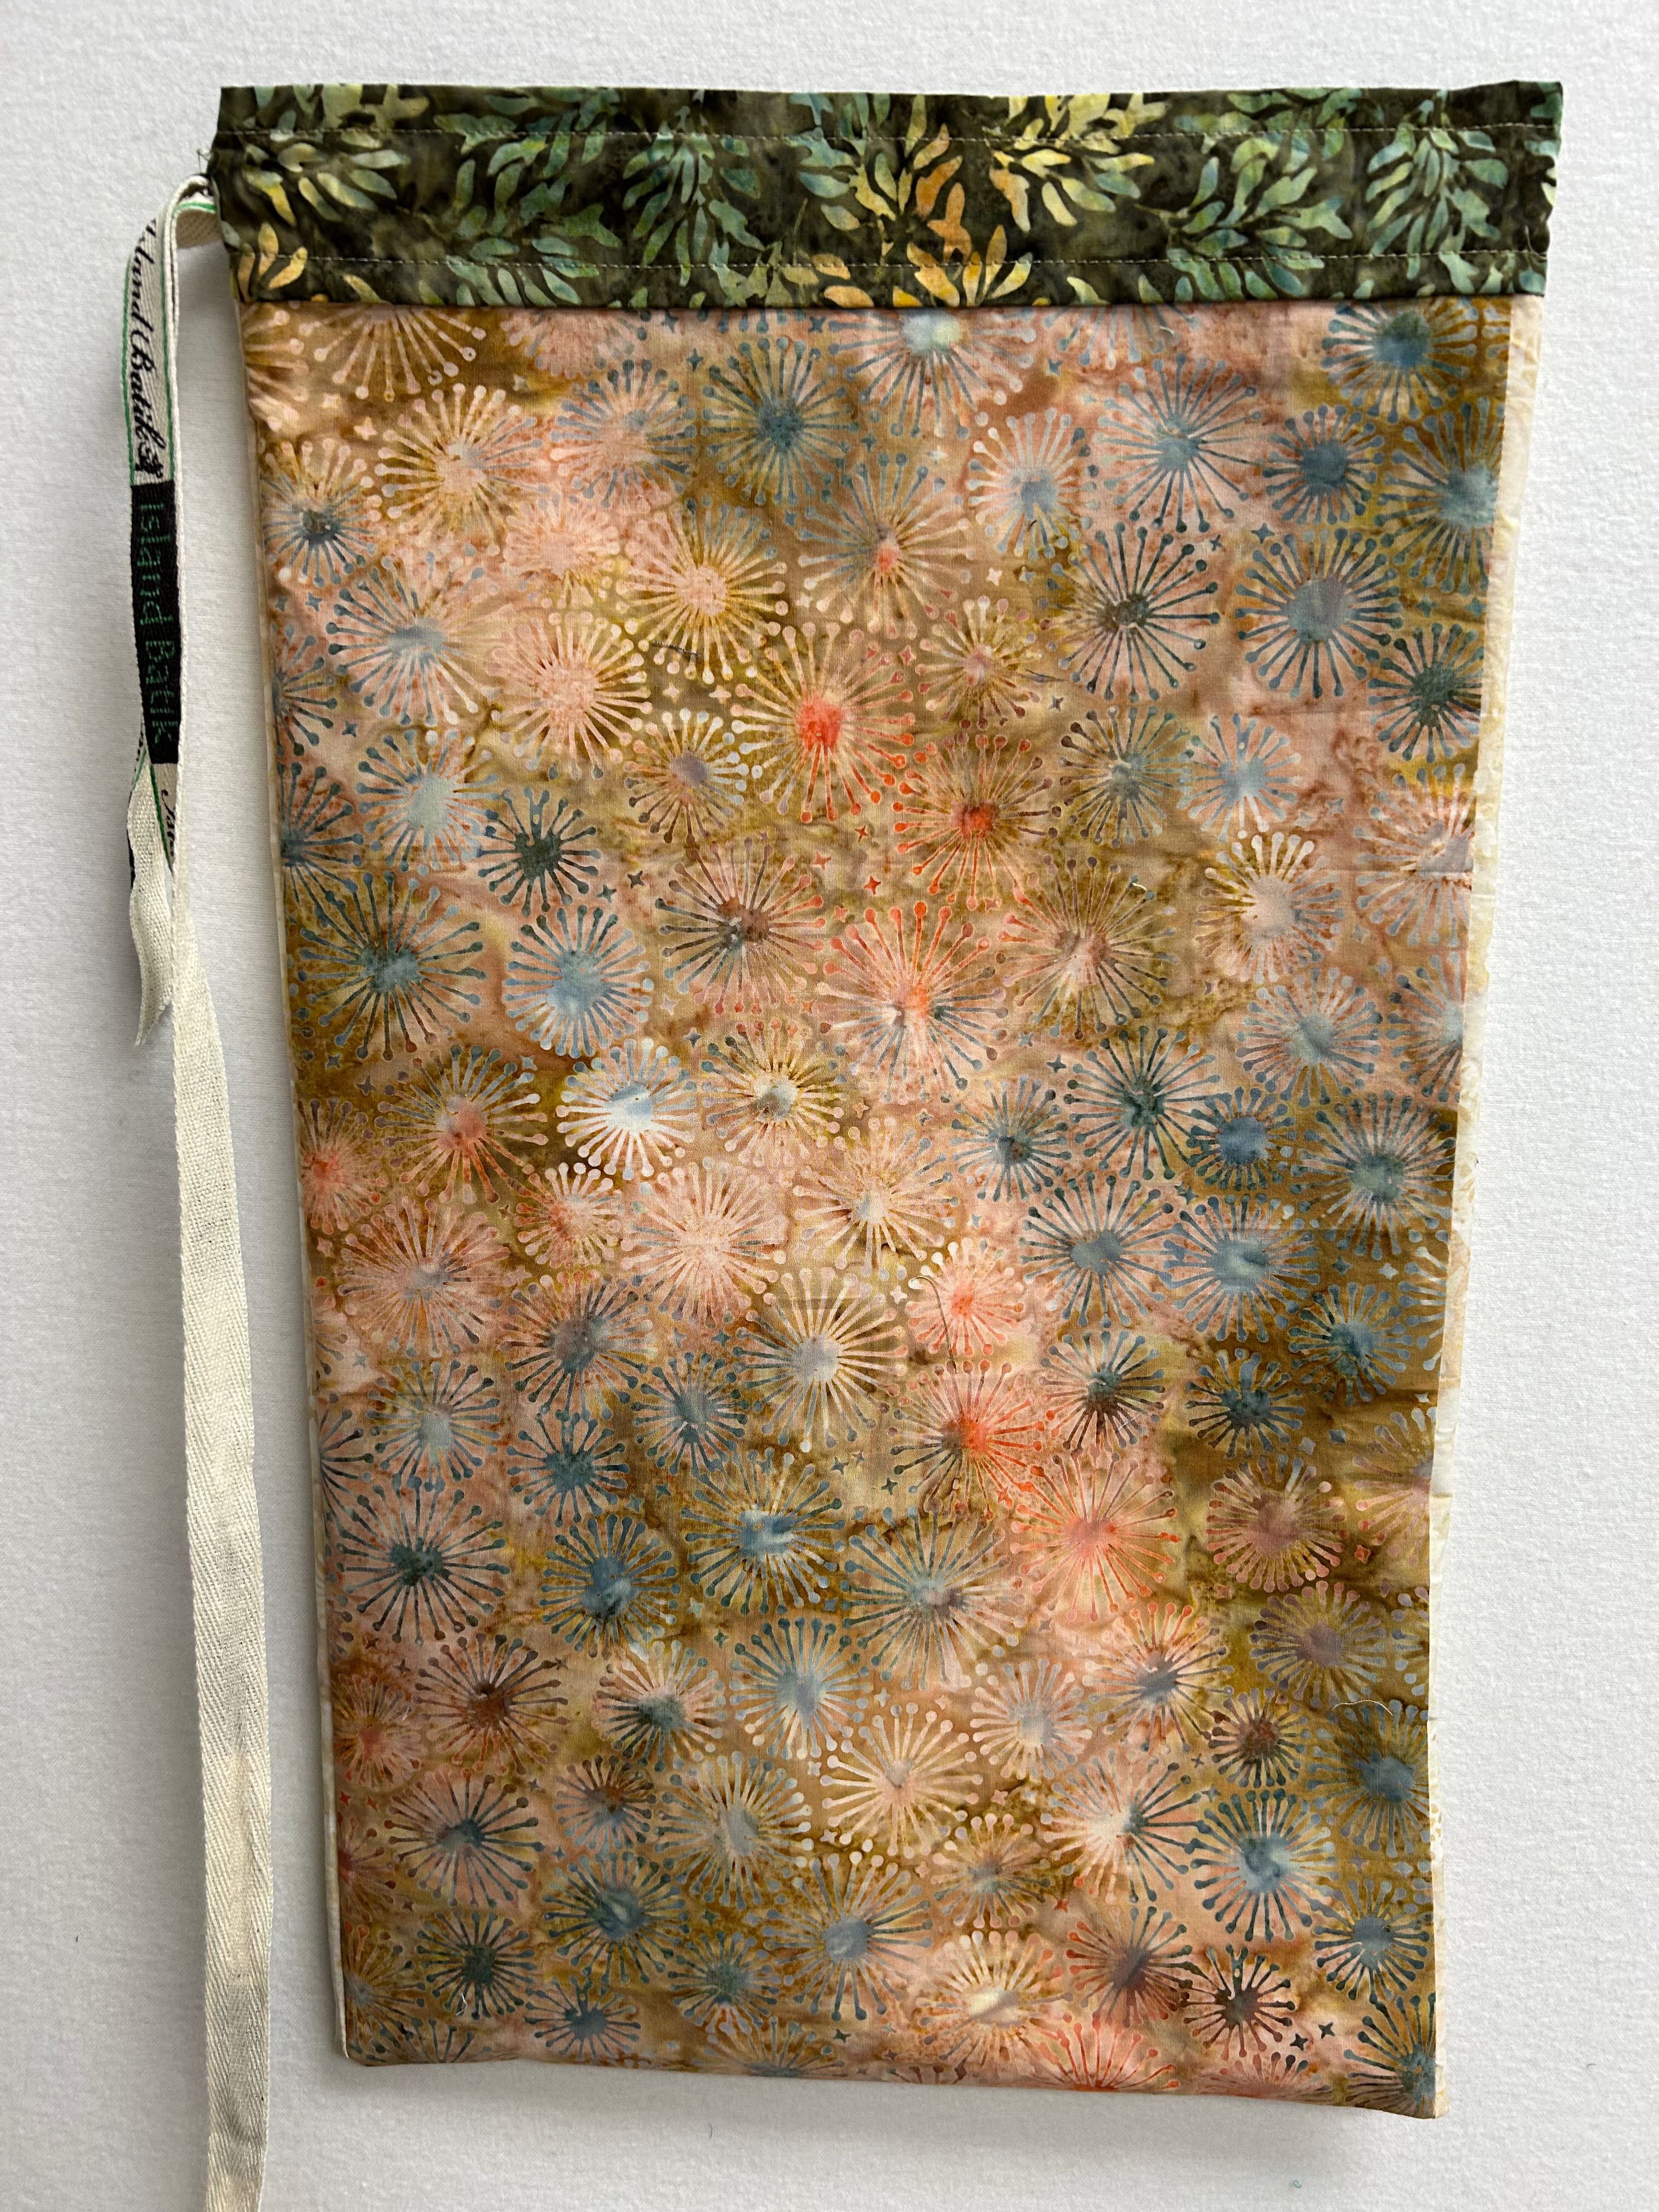
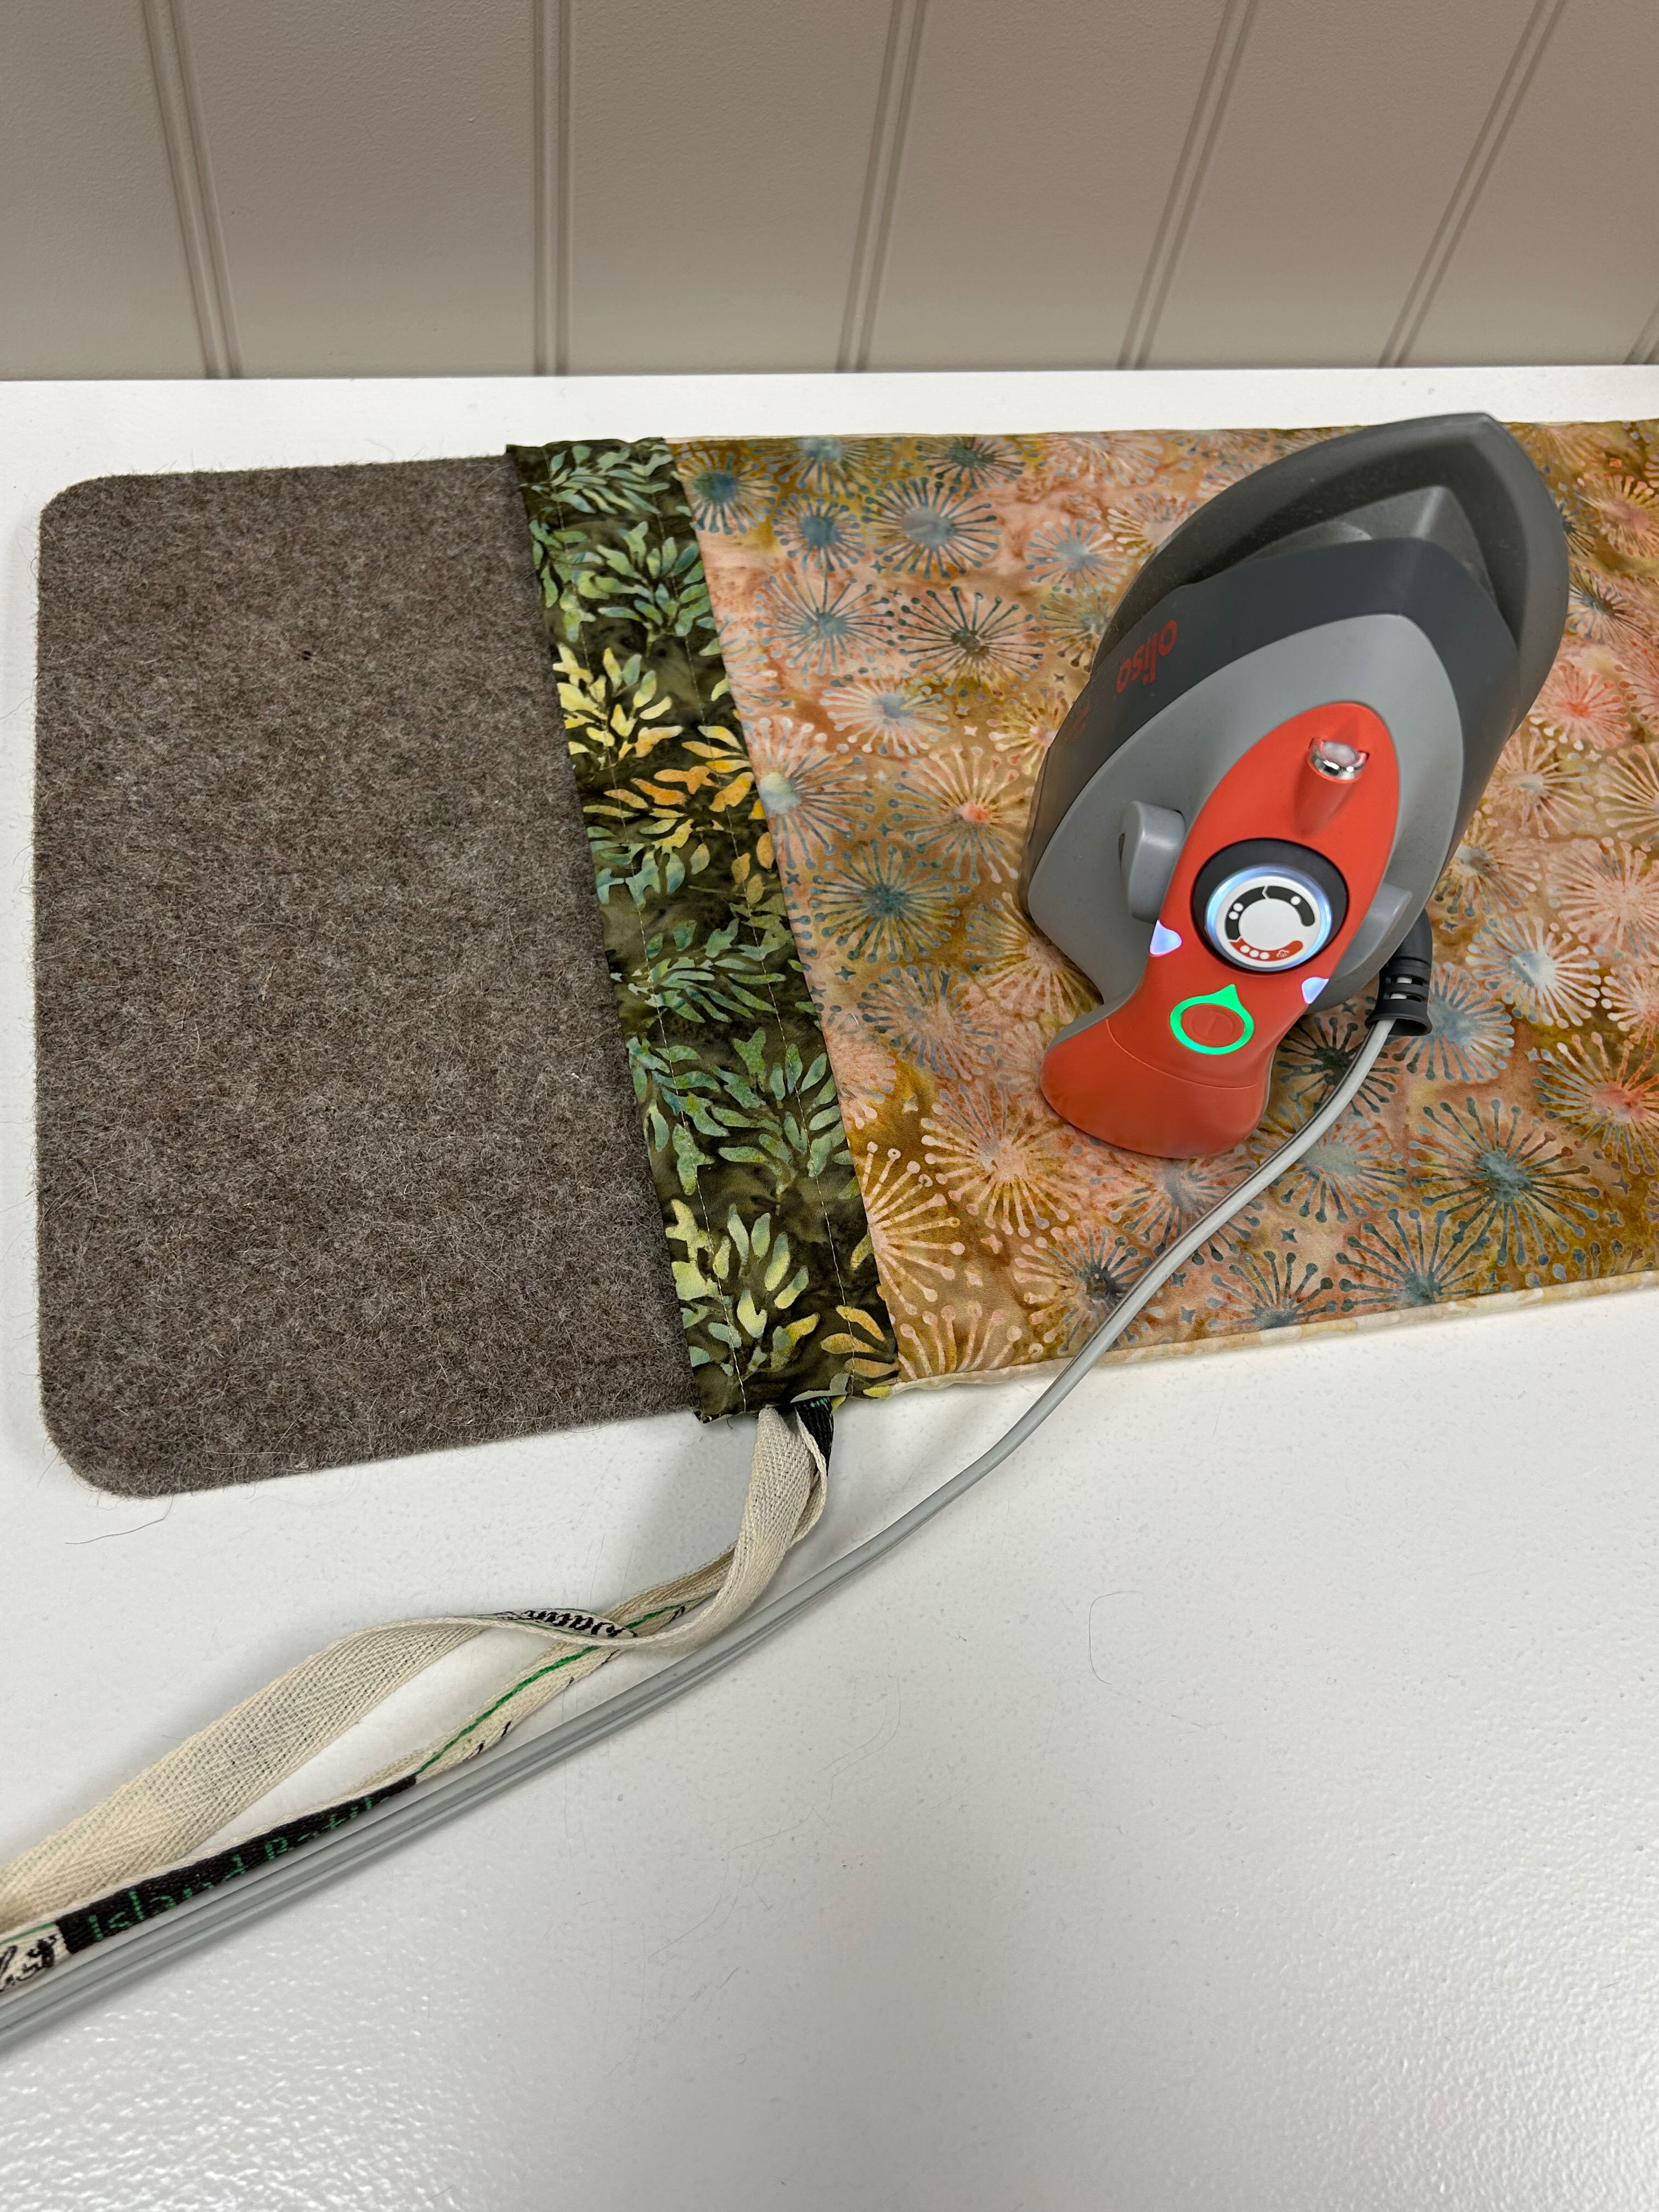
Another friend suggested that I make a matching carrying bag for my Alpaca/wool pressing mat (from Prairie Spirit Alpacas). I started out with these beautiful fabrics from the collection. I decided to do a ‘burrito’ style pillow case. Boy – was that a mistake!!! The ‘cuff’ was only 4 1/2” wide, when usually on a pillow case it is MUCH larger. The 4 1/2” was really skinny. I had to work at it and eventually got it turned right side out. Note to self: Make the cuffs much larger! For the ‘tie,’ I used the gross-grain Island Batik ribbon that comes with many of the collections.
The following pictures show the piece with the front & back joined together, one side and then the other.
Pictures of the Coral Oliso M3P Iron on the iron covering bag: (can you see the light?)
Stats:
Island Batik fabrics from the Flutter Fields collection by Jerry Khiev
Orange was the Rainbow Scrap Challenge colour for the month of June.
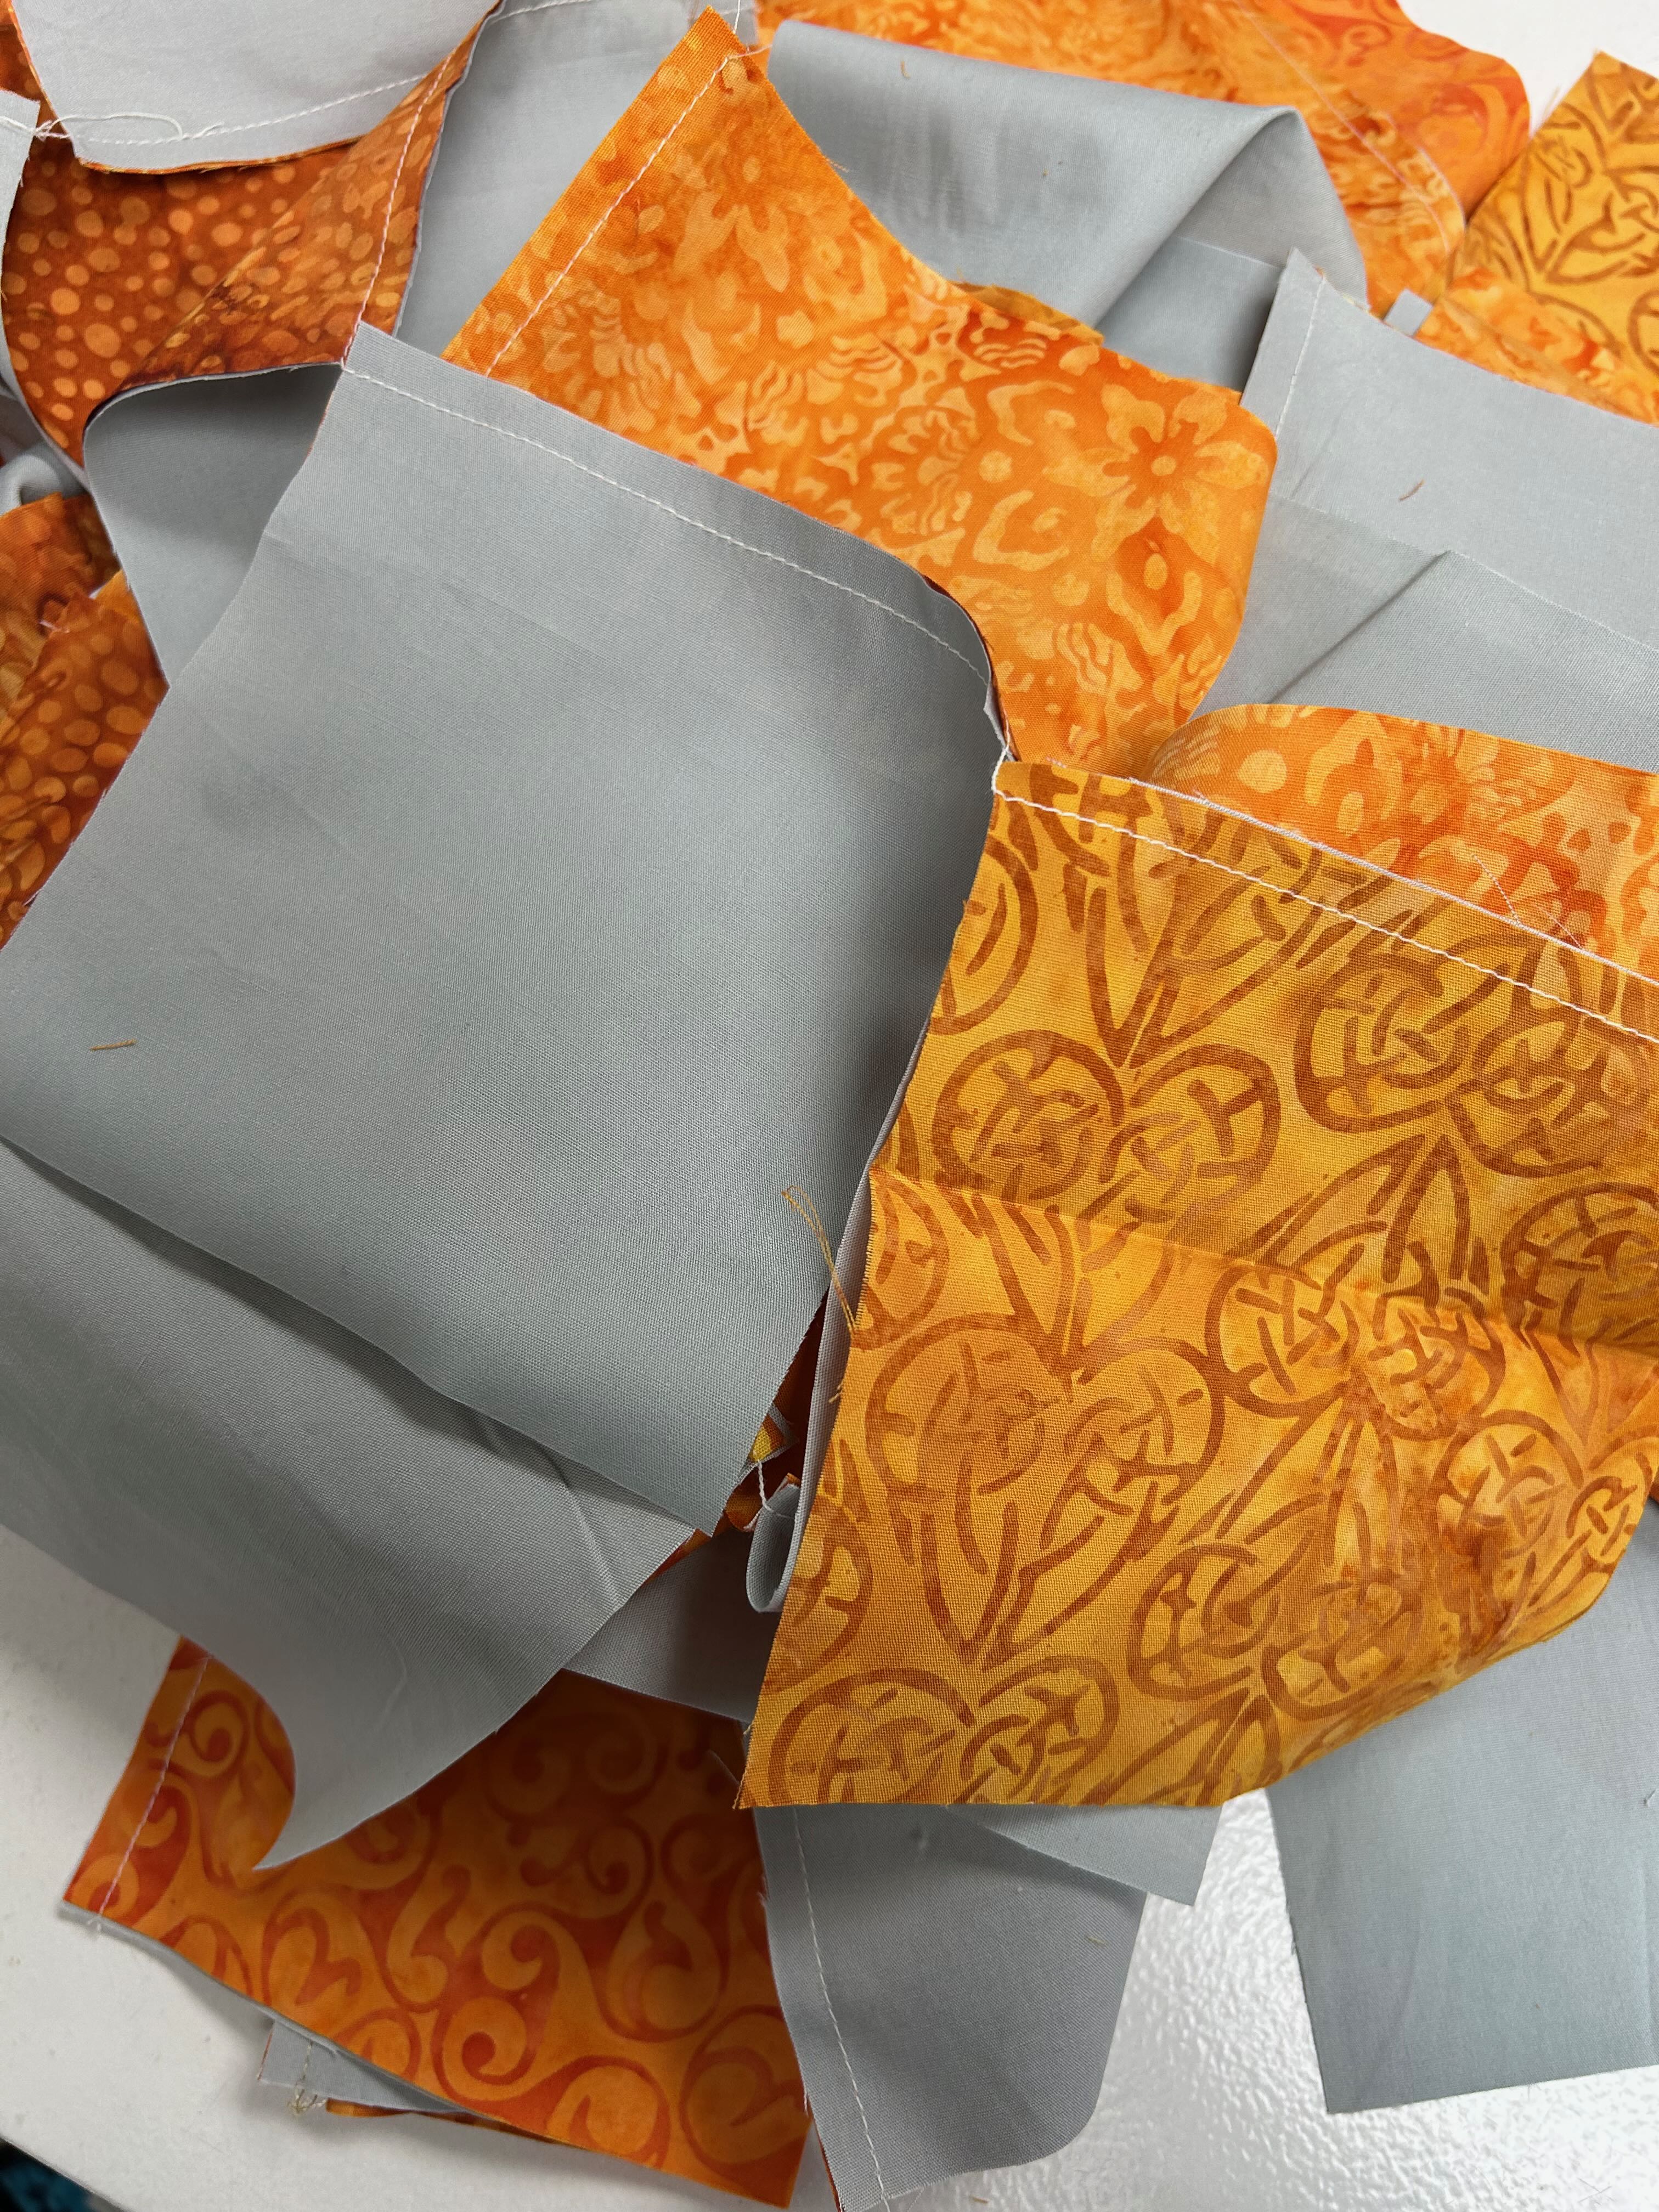
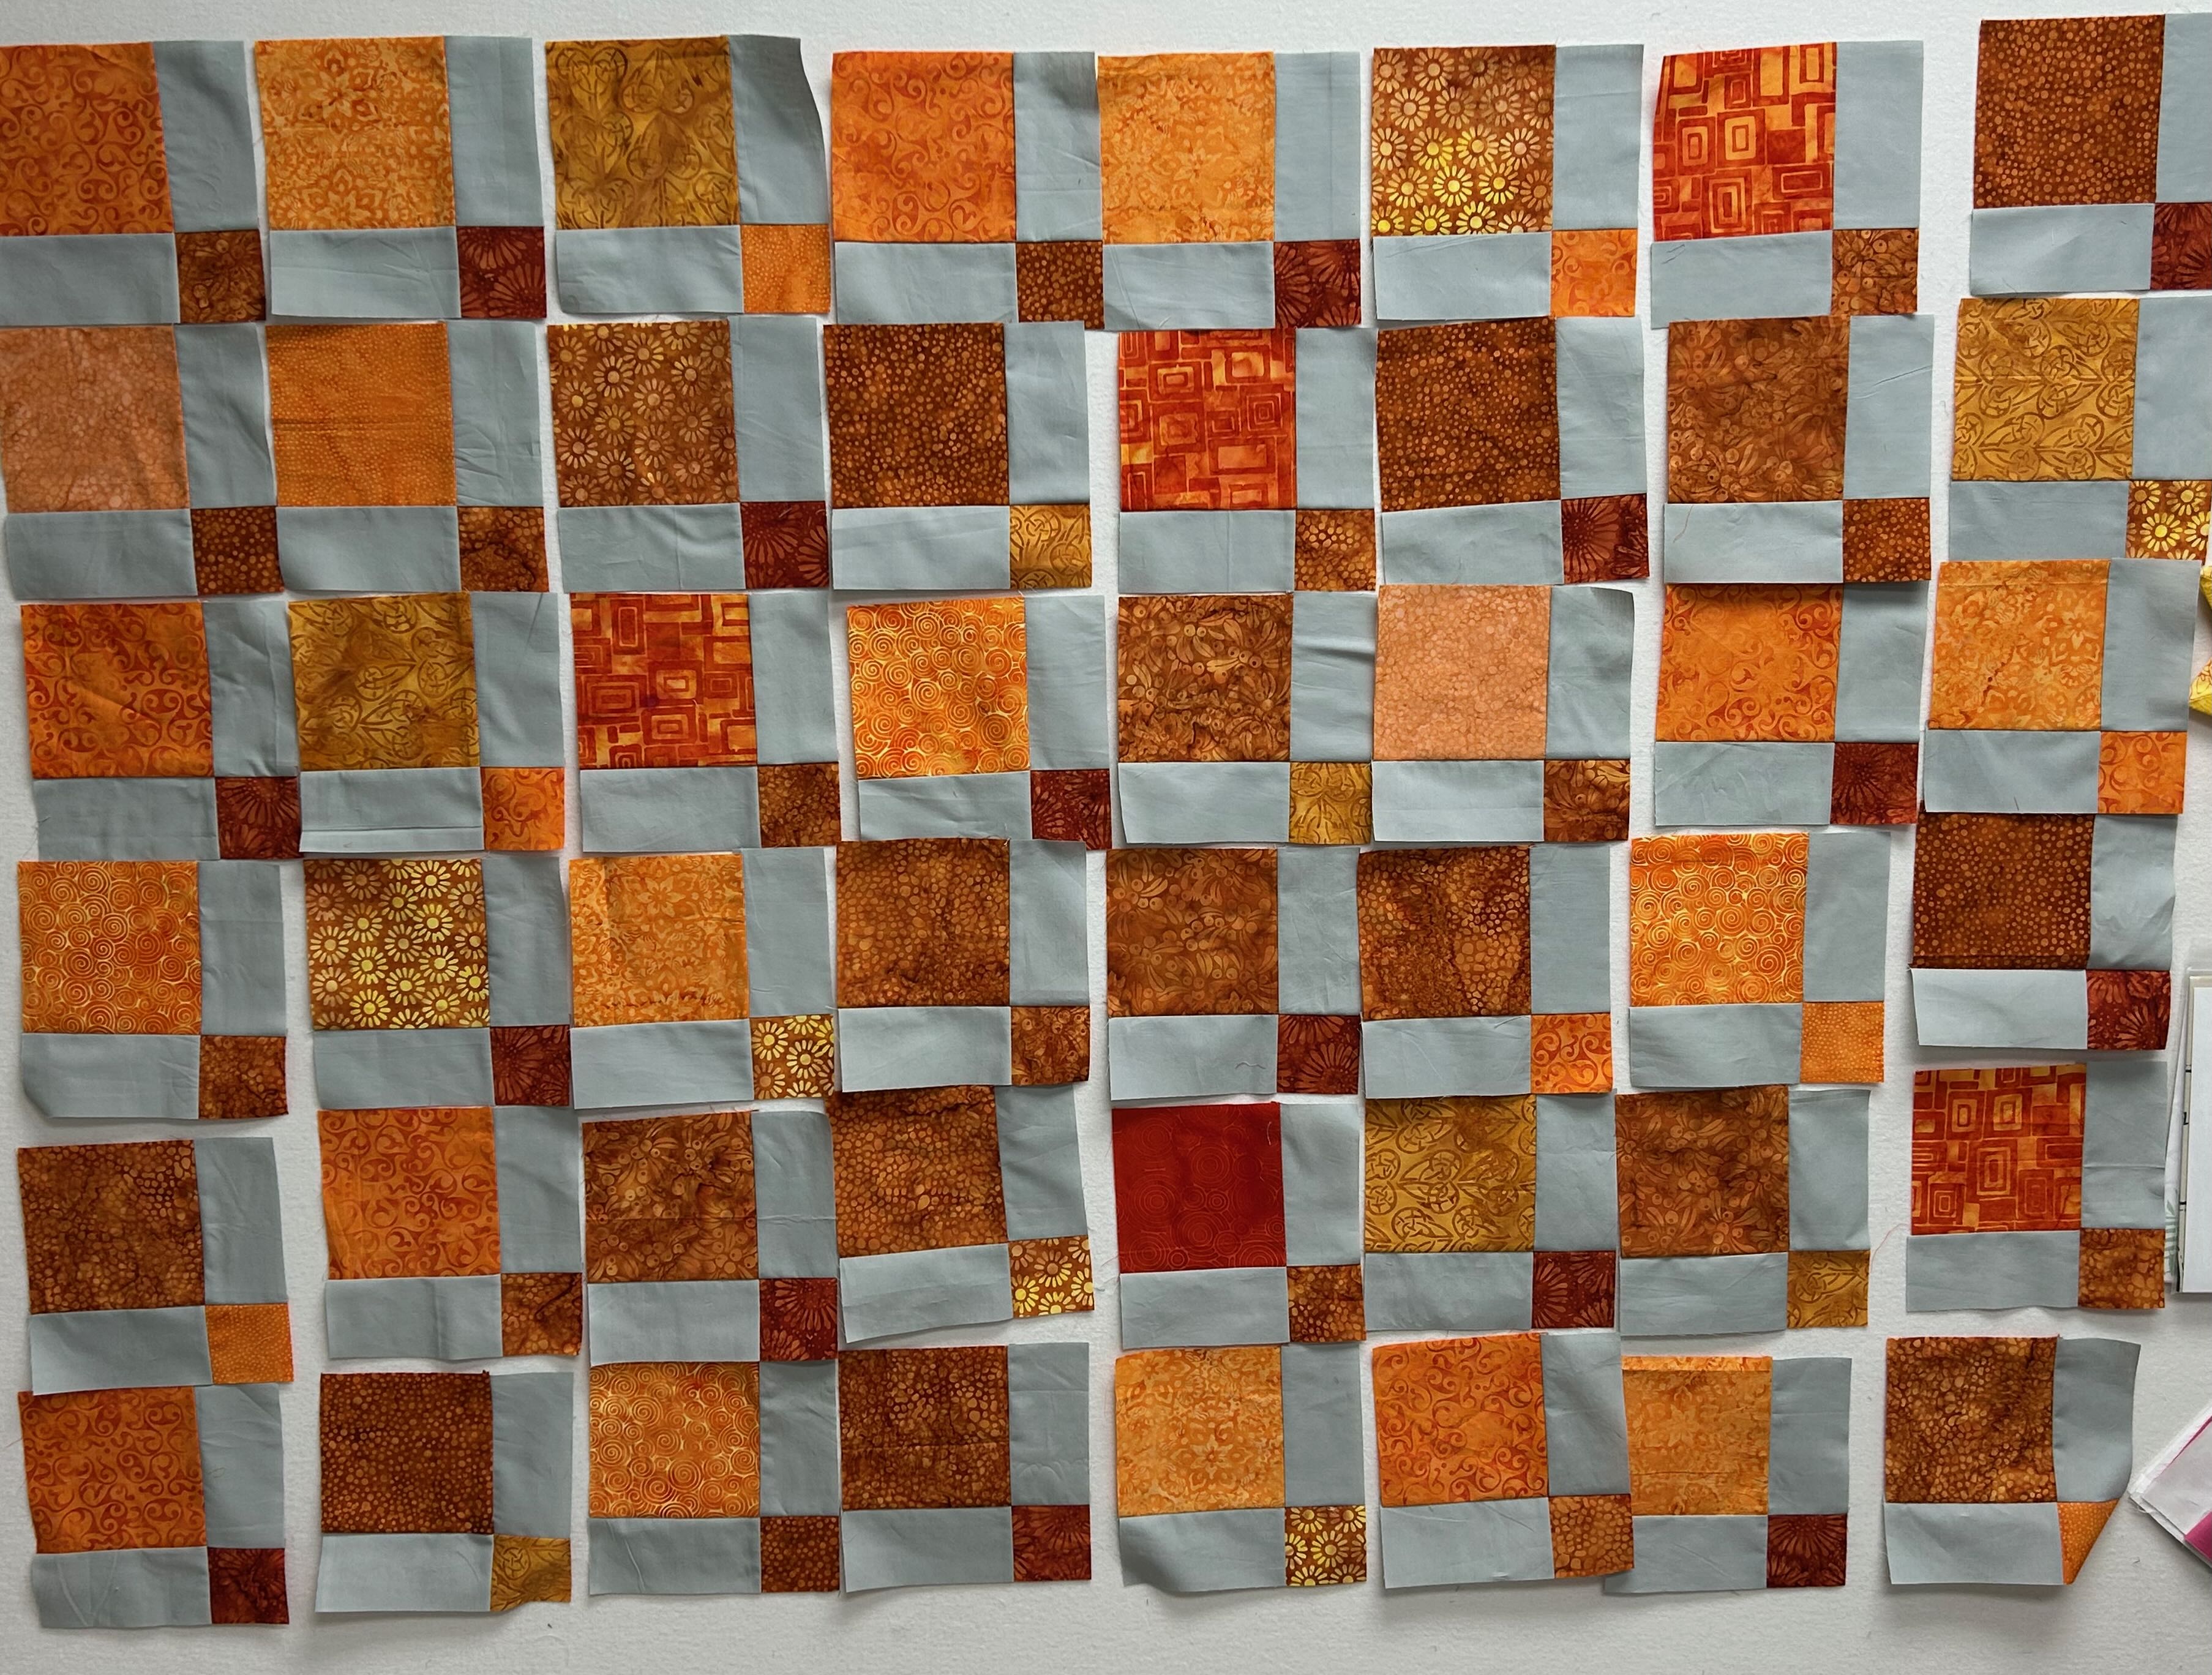
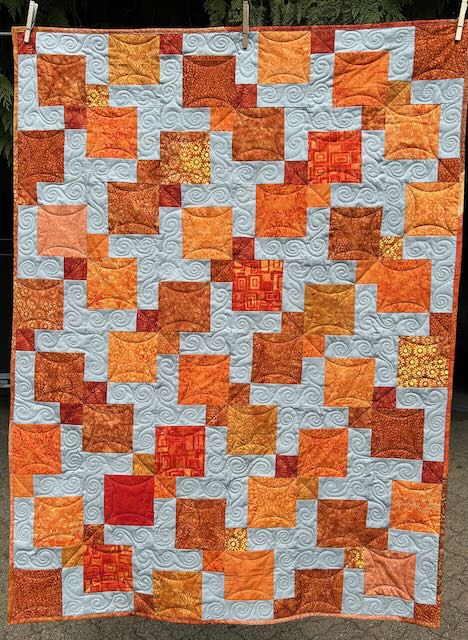
I showed you a few pictures of this quilt in progress. I used scraps of Island Batik orange and Island Batik solid grey (Lumin Fabrics).
Here is the finished quilt. It was obviously re-arranged from when it was on my design wall. That’s one of the beauties of a disappearing 9 patch!
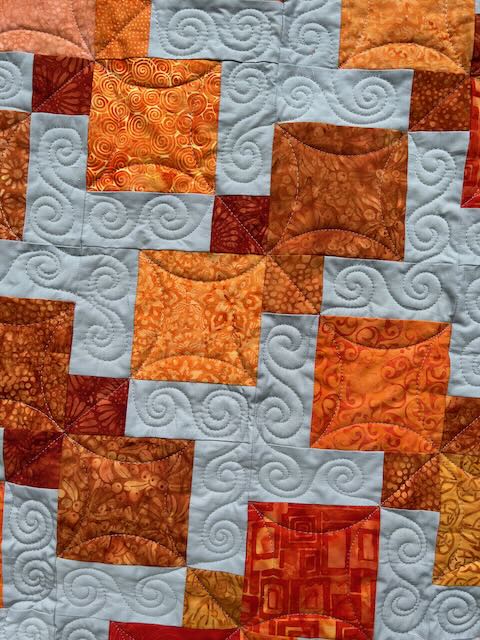
And a close up of the quilting … I used Silly Moon’s Charming ruler for the big orange squares and the straight edge for the smaller squares and free motioned swirls in the solid grey sections. All quilting was done on my domestic sewing machine (Janome Continental M7).
Quilt Stats:
Size: 40″ x 50″ square
Fabric: Island Batik (Lumin Fabrics): orange scraps and solid grey
I am now a Silly Moon affiliate! So what does that mean? When you use my affiliate code Quiltinggail2024 at Silly Moon, you will receive 10% off your order and I will receive a small commission.
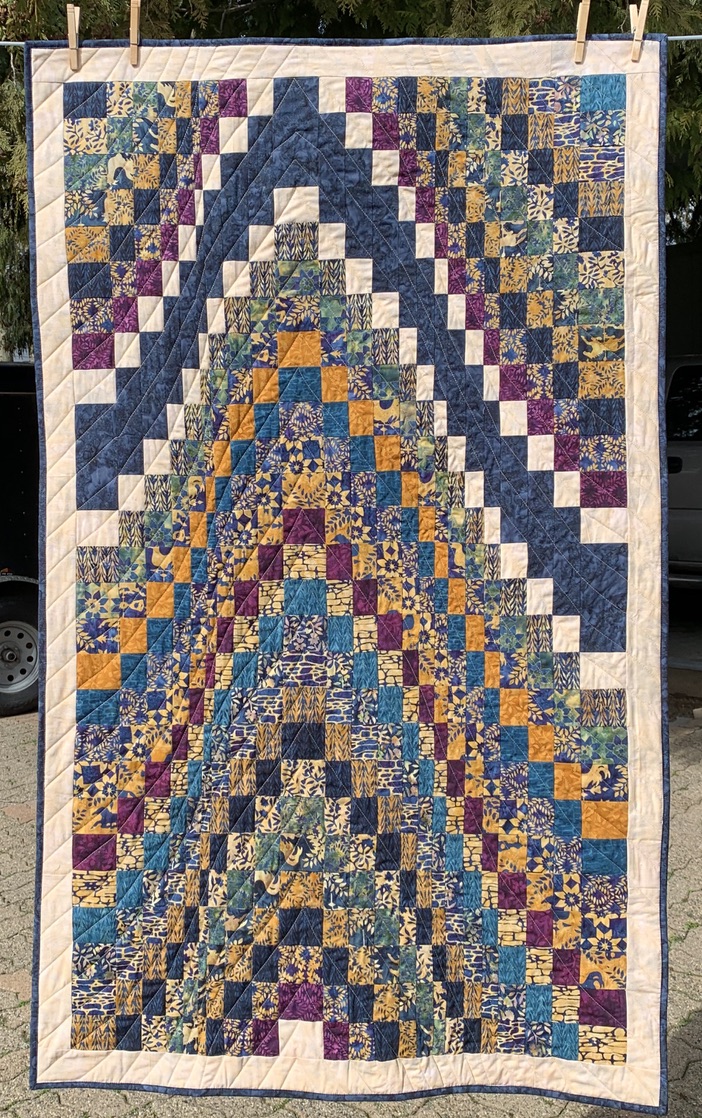
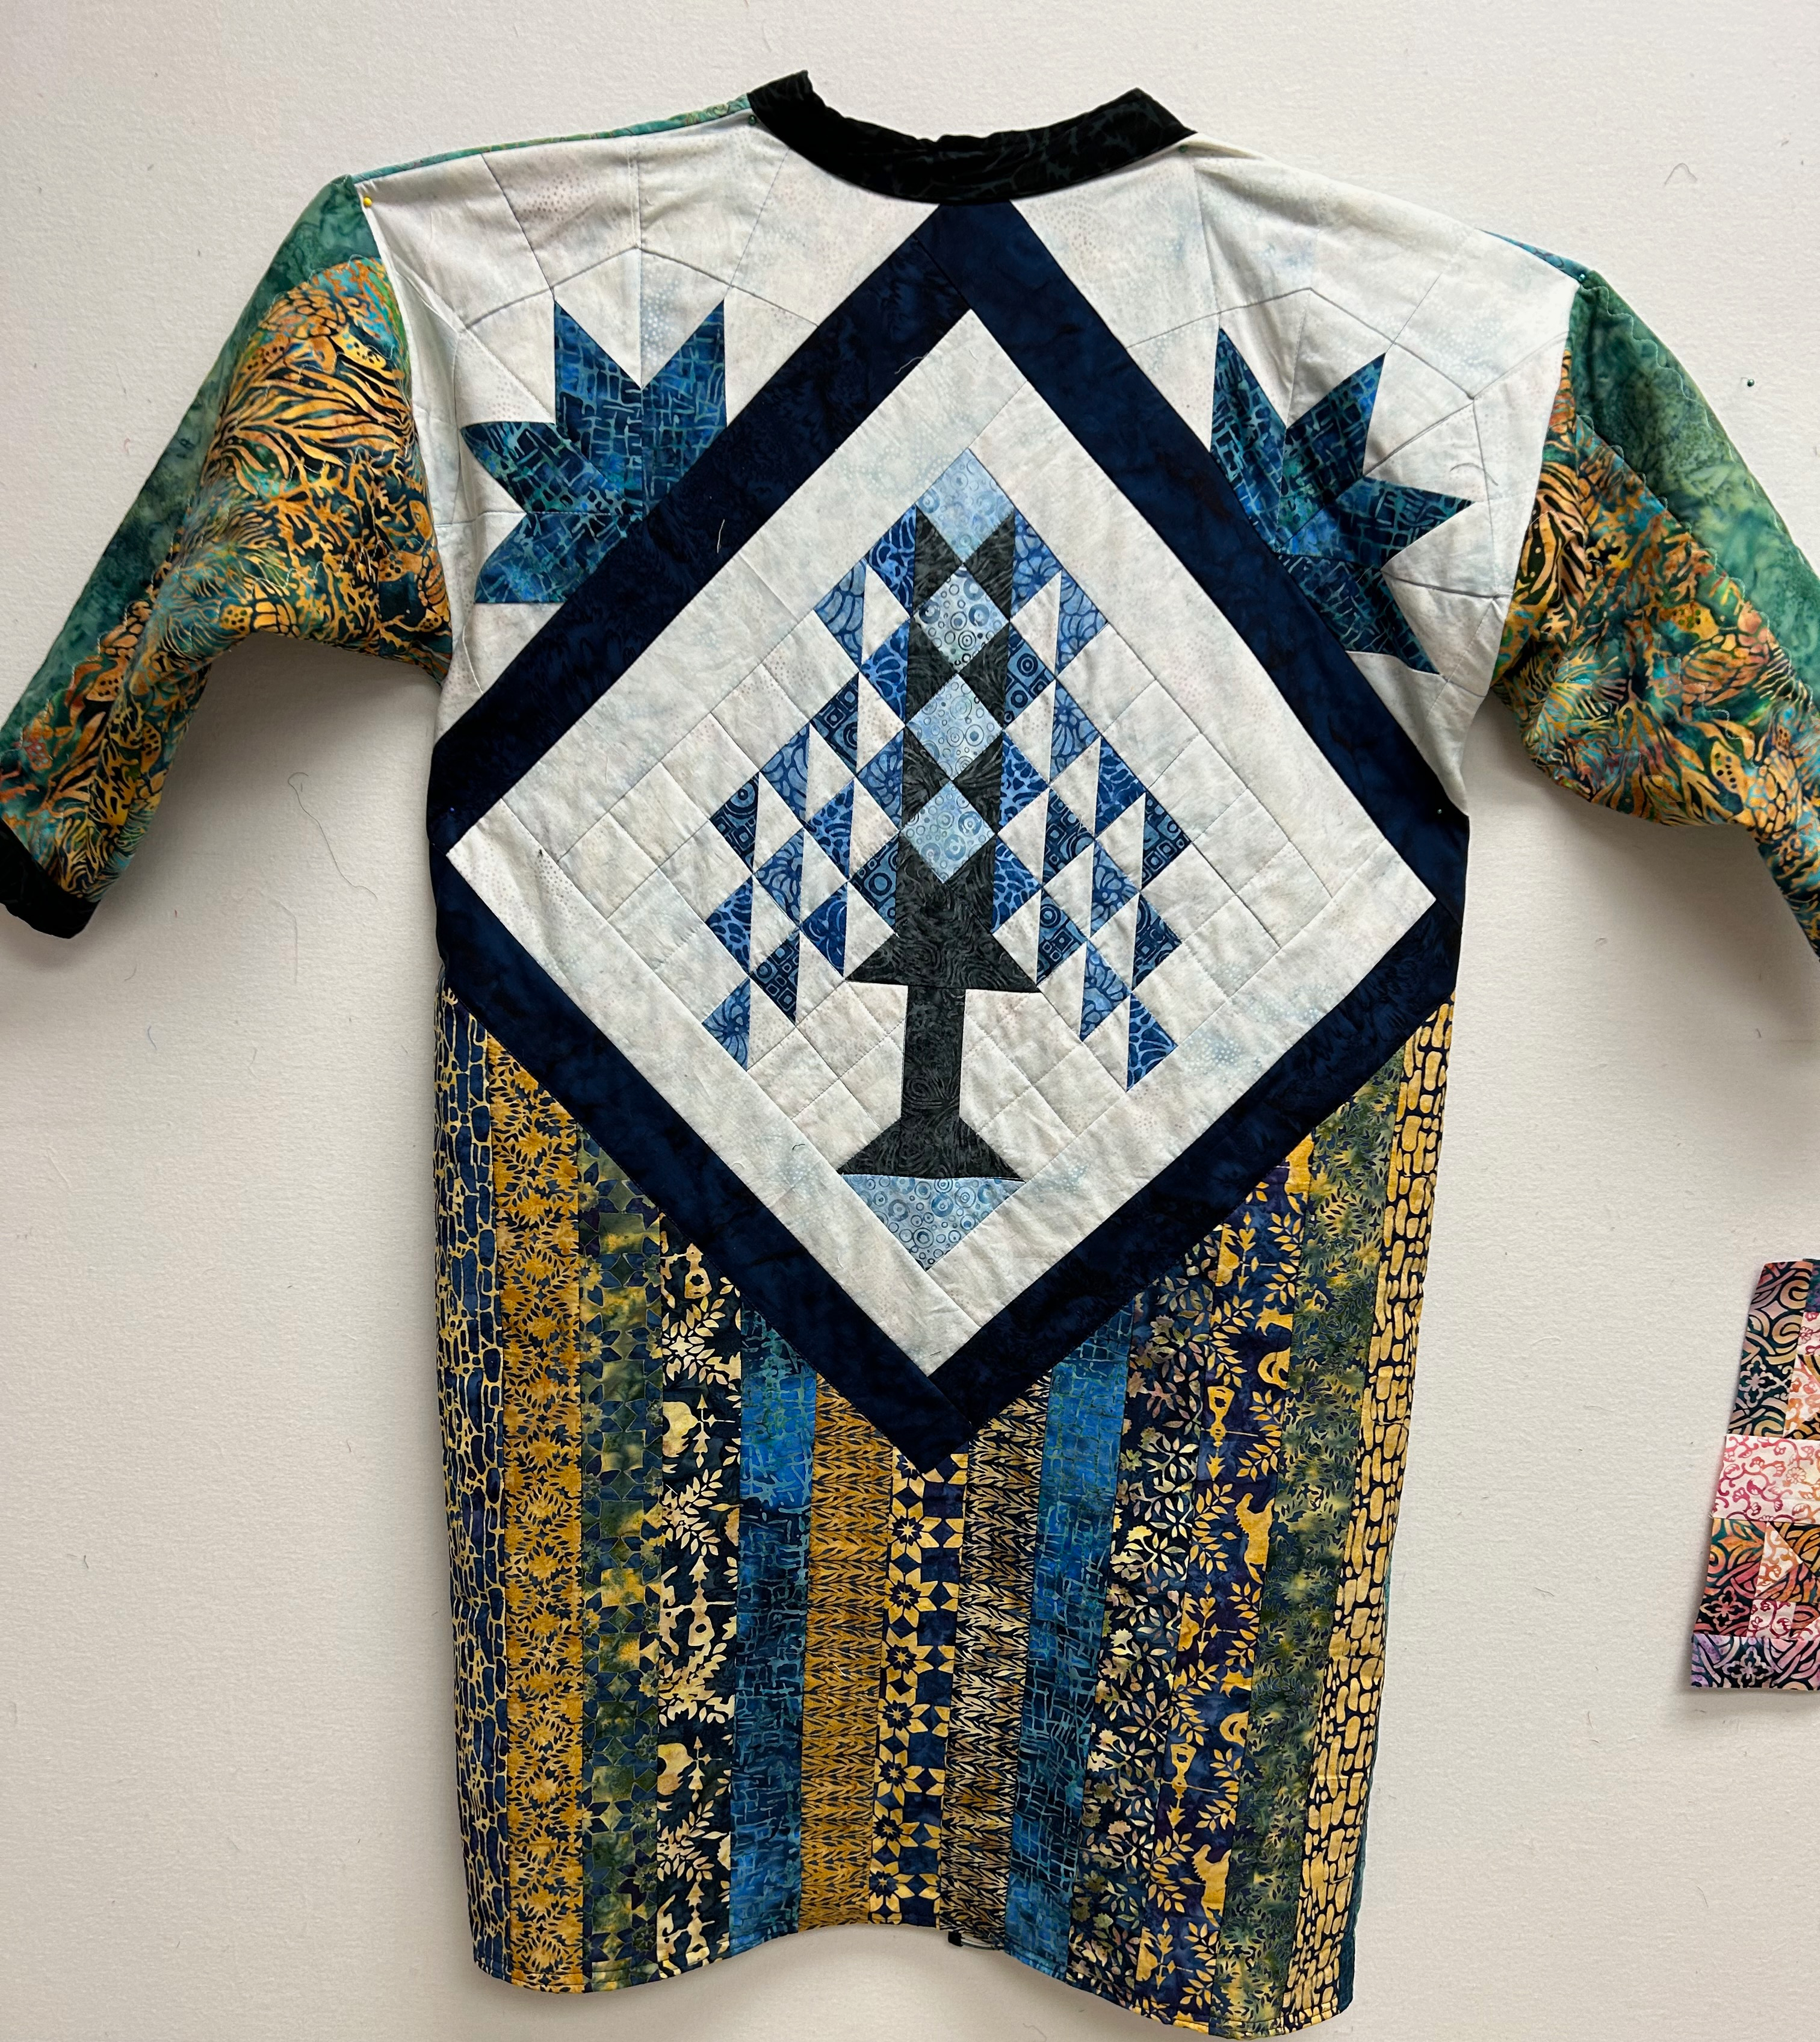
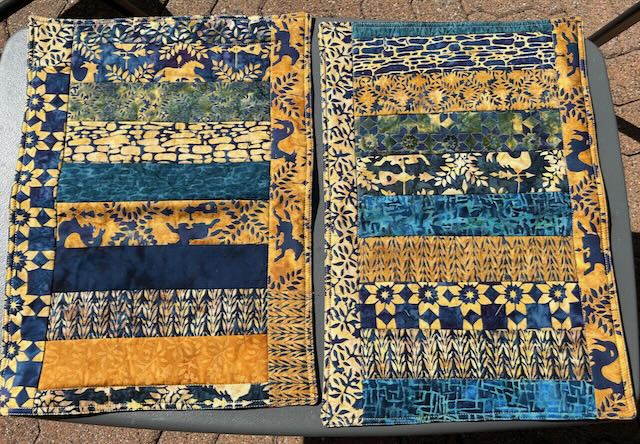
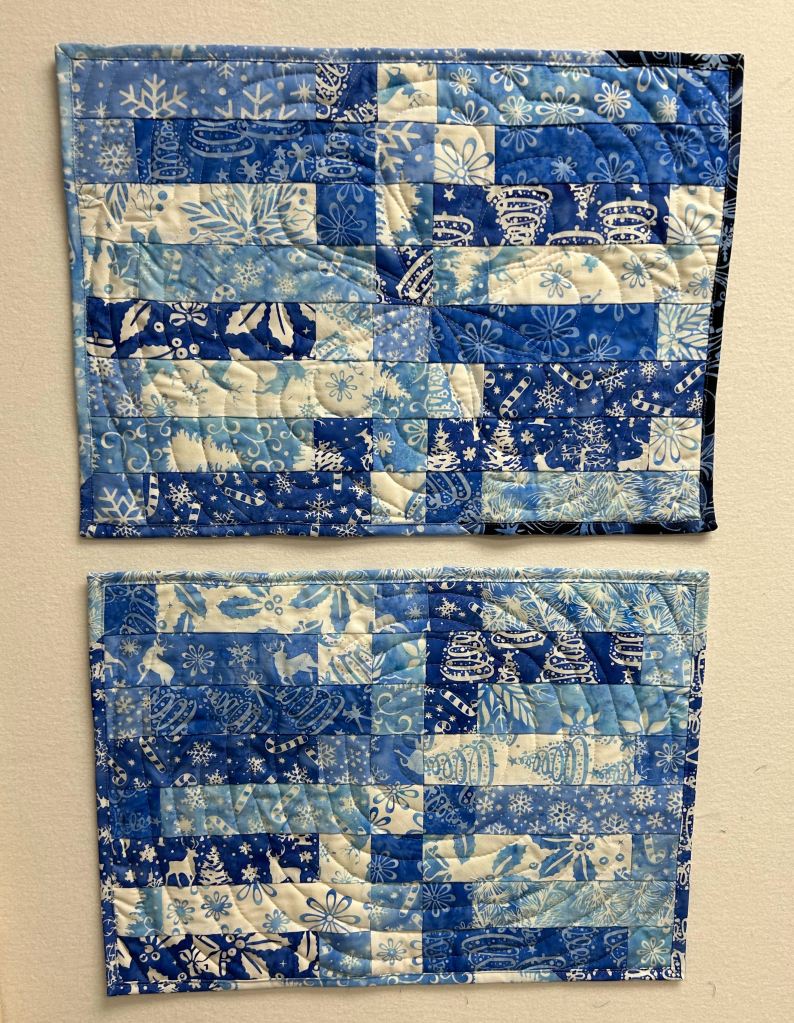
Every year, just before Christmas, the Boundary Bay Quilt Guild collects placemats for Meals on Wheels. I try to participate … This year, I’ve used up some ‘left-overs’ from projects to make the placemats. These are from an Island Batik strip pack called Prairie Dreams that I received 2 years ago. First I made a bargello quilt using the strips (see HERE) and then I used some on the bottom of a robe (THIS POST).
There was STILL some left over, so I made these place mats. They are backed with different Christmas Fabric. There are leftover pieces of Hobbs 80/20 batting in the middle and they are pieced and quilted with Aurifil thread. There was STILL some left over, so I made these place mats. They are backed with different Christmas Fabric. There are leftover pieces of Hobbs 80/20 batting in the middle and they are pieced and quilted with Aurifil thread. There was STILL some left over, so I made these place mats. They are backed with different Christmas Fabric. There are leftover pieces of Hobbs 80/20 batting in the middle and they are pieced and quilted with Aurifil thread.
These will double as an everyday placemat and a Christmas placemat.
Blog Hoppers
Visit all the other blog hoppers to see what their “Christmas in July” projects are!
I am now a Silly Moon affiliate! So what does that mean? When you use my affiliate code Quiltinggail2024 at Silly Moon, you will receive 10% off your order and I will receive a small commission.
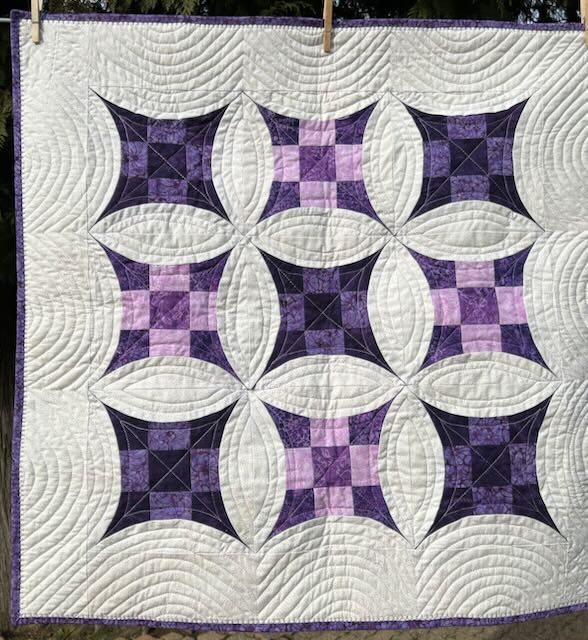
I finished this quilt awhile ago, but I waited until the Rainbow Scrap Challenge featured purple for the month!!! I used the Accuquilt die, “Glorified 9 Patch.” This quilt was originally started as a demo on how to use the Accuquilt. The store offered the class and my intent was to use the pieces to demonstrate how easy it is to sew curved seams. However, apparently it was bad timing and the class was cancelled. I ended up sewing the quilt together. It definitely did not take long. The quilting was easy, I just followed the curves at approximately 1/2” intervals.
I am now a Silly Moon affiliate! So what does that mean? When you use my affiliate code Quiltinggail2024 at Silly Moon, you will receive 10% off your order and I will receive a small commission.
Joanne Kerton from Canuck Quilter Designs offered a mystery quilt this spring. I’m a sucker for mystery quilts and couldn’t resist doing it! She called it a “Colour Value Mystery” and offered 2 options: Modern or Traditional. I opted for the Traditional. I’ve done a few of Canuck Quilter’s Designs and they are always well written!
Here’s a few of the progress pictures: Fabric cut out, blocks ready to assemble and on the design wall prior to sandwiching.
And the Finished Quiilt:
Close up of the Quilting: A little free motion, but mostly ruler quilting.
Thanks Joanne for the fantastic mystery sew-along!
I am now a Silly Moon affiliate! So what does that mean? When you use my affiliate code Quiltinggail2024 at Silly Moon, you will receive 10% off your order and I will receive a small commission.
I joined Sandra Walker’s (MMM Quilts) Glowing Heart Quilt-a-long this spring. I originally was going to make a baby quilt, then I changed my mind and made it bigger. I used 7 fat quarters from a bundle of “Bluebird” by Editya Sitar for the hearts. 3 for the background of the hearts and 3 for the sashing. My intention was to alternate the ‘backgrounds’ with light and dark, but I wasn’t paying attention when I cut the darks and all of a sudden, I had enough for all the backgrounds. The light fabrics then became the sashing. The extra pieces were used for the scrappy binding!
To quilt this quilt, I used Silly Moon’s 4″ Cupid ruler. I started off in the middle, doing half hearts in a vertical row. It was OK … but once I got back to the top, I decided ‘enough of that!’ Then I filled out the sides of the quilt with random hearts. I did a heart, back-tracked on the ruler and started the next heart. In a few spots, I used the 3″ Cupid to fill in.
I’m joining in the Glowing Hearts Parade! There are already several quilts posted … it’s quite the variety and well worth going to check it out. HERE. Thank you Sandra for the easy paced, wonderful sew-along!
I am now a Silly Moon affiliate! So what does that mean? When you use my affiliate code Quiltinggail2024 at Silly Moon, you will receive 10% off your order and I will receive a small commission.
I love using Left-over pieces and blocks from quilts. And the sooner they can be used, the better. When I made one of the quilts using Tinsel Treasures for my May Island Batik challenge, I had a design change that left me with lots of the longer Irish Chain pieces.
Where all the white sashing is, I originally had pieces from Tinsel Treasures. But, oh my! It was WAY too busy and did not look good at all! I swapped them out and used Island Batik’s solid white instead. It was much better, giving the eye places to rest!
I put all of the longer pieces together and joined in lots of the smaller blocks to make these 2 place mats. I had the extra smaller blocks because I had miscounted. Yup, I do that often!
These placemats will be donated to the guild for Meals on Wheels at Christmas time.
They were pieced and quilted with Aurifil Thread #2600 (Dove Grey). I used Hobbs fusible batting in the middle.
TGIFF
Here’s the link for you to add your Finished project for this week!
I am now a Silly Moon affiliate! So what does that mean? When you use my affiliate code Quiltinggail2024 at Silly Moon, you will receive 10% off your order and I will receive a small commission.