Part 1
If you need an explanation of a Round Robin quilt see HERE.
Each Friday, I will post a short video of what my Round Robins are looking like. Also, I will give you the guidelines for the next round. There will also be a weekly Linky Party where participants can post their Round Robin progress.
Fabric:
#1: I am using a variety of purple / mauve Island Batik scraps, ½ yard cuts, along with Island Batik solid white. You can use whatever fabric with whatever colour, that you want. I do not know how much fabric I will use … if I run out of what I’ve set aside for this quilt, I may start adding in another colour or 2 … I know it will all work in the end. Please remember that this is YOUR quilt and you get to make a lot of the decisions!
#2: I will be using a variety of blue Island Batik fabrics. A lot of them came from the “Freedom” stack that I received last year for a Quilt of Valour. I’m Canadian and made a red and white Quilt of Valour, so most of the blue stack was left over. Over the Rainbow is a fabulous on-line store that delivers world wide. They will be recieving Freedom stacks soon (if they don’t have them already). They also have lots of other Island Batik fabrics!
Here is what I’ve pulled for my blue Round Robin. In the centre is my 8 ½” square of Island Batik grey solid that will be my centre block. I may embroider or applique it at a later date.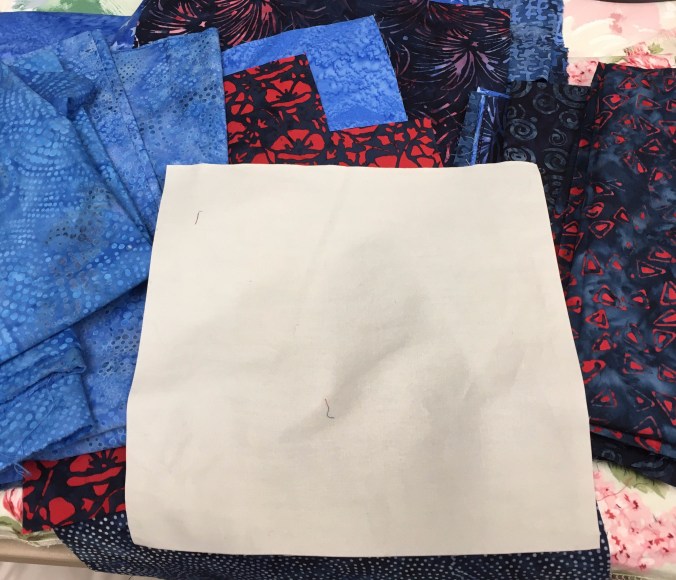
Centre Quilt Block:
First, you need to make a centre block. It can be any size you want it to be. My centre block for the purple is an 8 ½” (unfinished) Sawtooth Star. Just make sure that the centre is either a square or rectangle. Please note that if you make a block that is not an 8 ½” square, I will not provide you with measurements. You’ll have to figure it out on your own. (Which is what happens with most Round Robins …)
I used my AccuQuilt Go! to cut out the pieces … using the 8″ GO Cube dies. It was pretty quick to cut the pieces and then sew them together. If you wish to make the same block and you don’t have the AccuQuilt Go! dies and AllPeopleQuilt.com has the pattern for an 8″ Sawtooth Star.
I’m also doing 2 Stay-at-Home Round Robins. One (the purple one) is going to be a tQuilt as you Go. The 2nd (blue) will be a flimsy and has the potential to be a bigger quilt. As you can see in the picture of blue fabric above, the centre block is an 8 ½” square of grey.
Quilt as You Go:
With this being a small quilt, I took left-over Hobbs 80/20 batting and zig-zagged the pieces together to make the batting big enough. A flannel backing that is 42″ x 42″ was prepared. The batting was cut to the same size and they were spray-basted together using 505 spray. I then folded the backing/batting in half and gave it a good press. I folded it in half the opposite direction and pressed again. Using a large stitch, I stitched down these 2 lines. This gave me some registration marks so it will be easier to align the quilt as I add borders.
The Video of Part 1
As you watch this video, you will see me being me … I stumble over things, but eventually, I get it right! (I think). As well, I said I wouldn’t give you the clue of what the next round was to be until next week, when I show you what I did. After the filming, when I was thinking of that: I thought about what I know of Round Robins that friends have participated in. They are given directions, but they are not exact and they need to figure out what they are going to do for each round. SEW ,,, after the video, I will give you the clue for the first round.
The First Round
Are you ready?
The first round, which will circle around all 4 sides of you centre block is “Piano Keys.” You can do piano keys any way you want … Google it if you need to find out what they are. You can make them bigger or smaller or do a variation of piano keys.
I will tell you that mine will probably be scrappy on both quilts. And the border will measure at 2 ½” unfinished, and will finish at 2″ once all the seam allowances are in place. Because of the nature of piano keys … mine may have a solid block in each of the corners … I’m not sure, I haven’t made them yet!
Now … onto other things:
Quilt Qwazy Queens Blog Hop

It stated on Wednesday … and here are the participants for this week. These are FUN!!! I will be sharing mine next week!
One who sleeps under a quilt is covered by LOVE!
Happy Quilting!
Gail
*****************************
Linking to:
- Midweek Makers @ QuiltFabrication
- Wednesday Wait Loss @ Inquiring Quilter
- Happy Needle and Thread @ My Quilt Infatuation
- Andrée / Free Motion Mavericks @ Quilting & Learning – What a combo!
- Put your Foot Down @ For the Love of Geese
- TGIFF @ Anja Quilts
- Can I get a Whoop Whoop? @ Confessions of a Fabric Addict
- Finished or Not Friday @ Alycia Quilts
- Sherry @ Powered by Quilting
- Michelle @ From Bolt to Beauty
- Off the Wall Friday @ Creations – Quilts, Art, Whatever
- Peacock Party @ Wendy’s Quilts and More
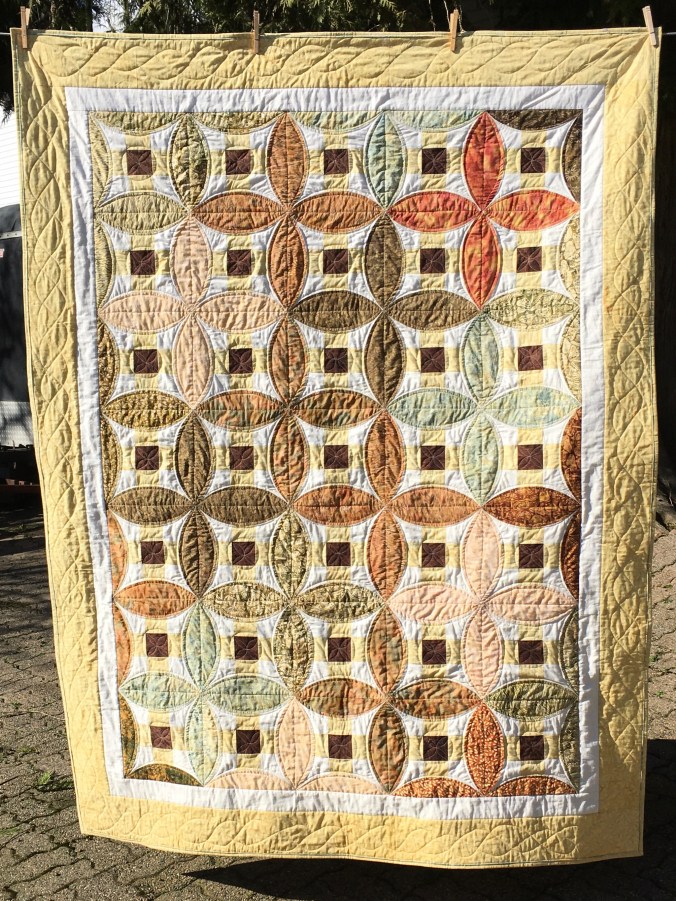 This month’s Island Batik challenge is to use the Accuquilt die we were given in January.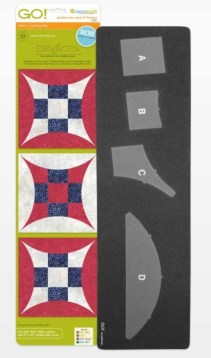



 Tracking your progress is a great way to see encourage yourself and to know that you are getting a project done. Which is our goal, right? Enter the Link Party to help you track your progress! Also, using the Excel sheet




 to join in PHD in 2020!


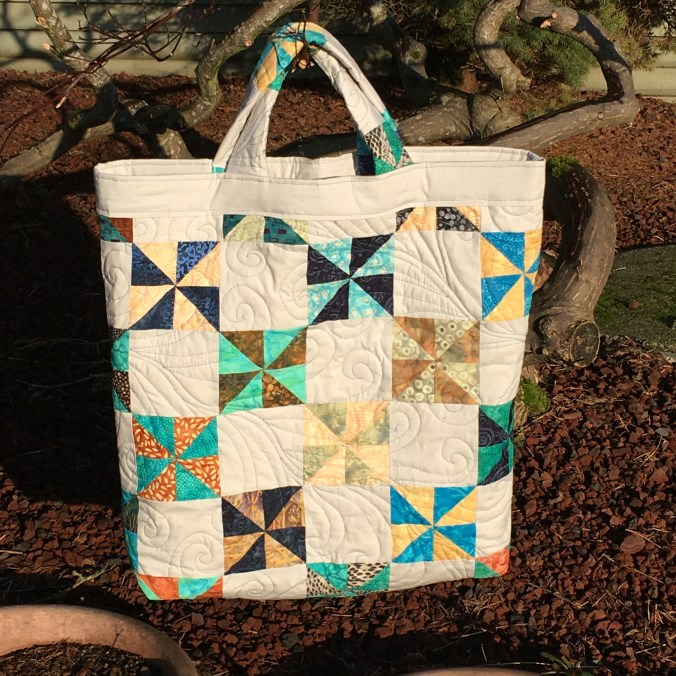
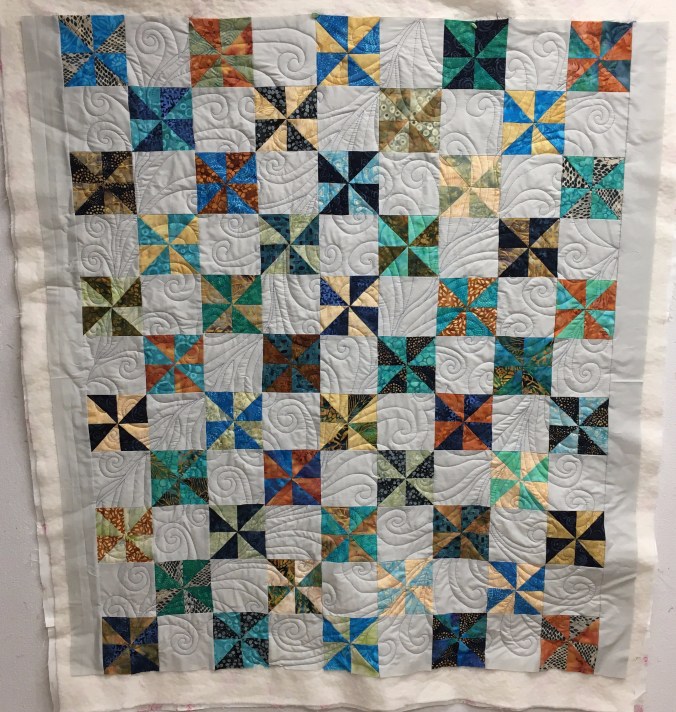
 This is the quilt that had the left-overs that I used for the above quilt. There were 2 fat quarters that I did not use in the original quilt … one was a mini panel with the blocks of animals and the other was the white /with leaves that is on the outside of the quilt … it was a perfect place to use these fabrics up!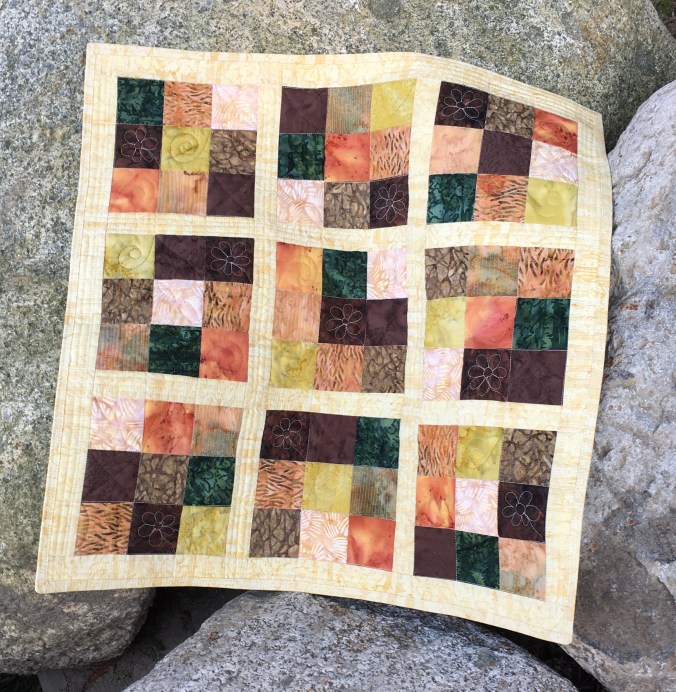
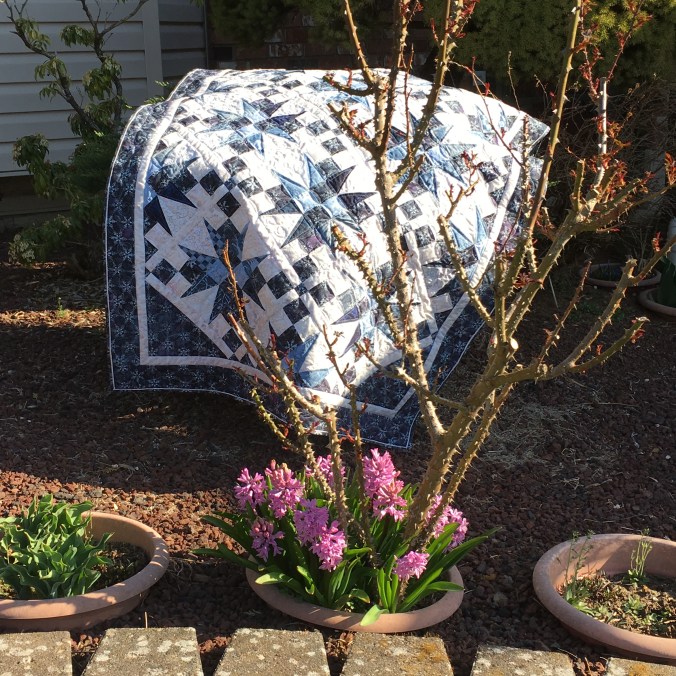
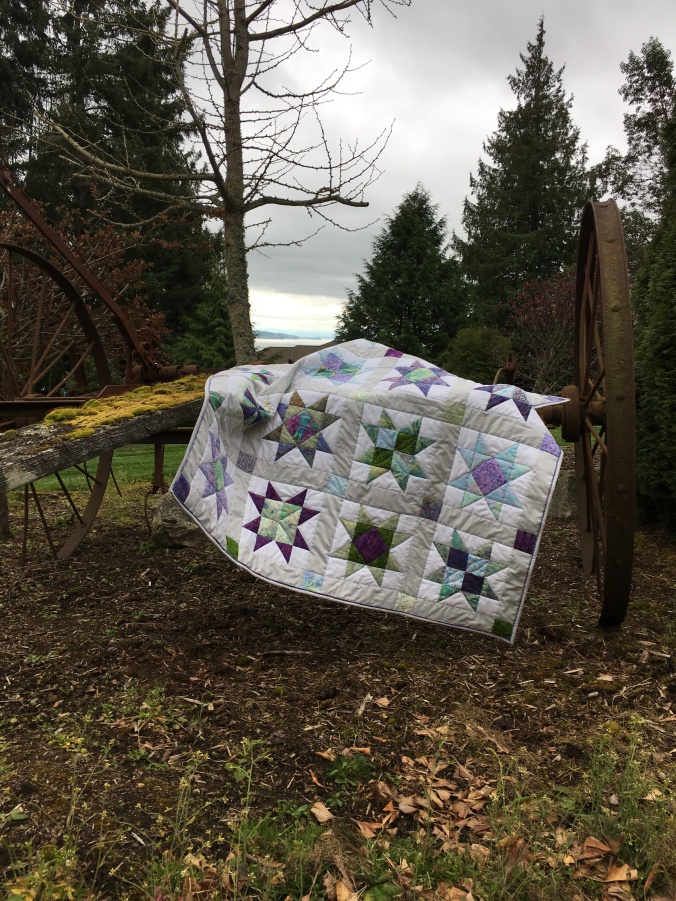
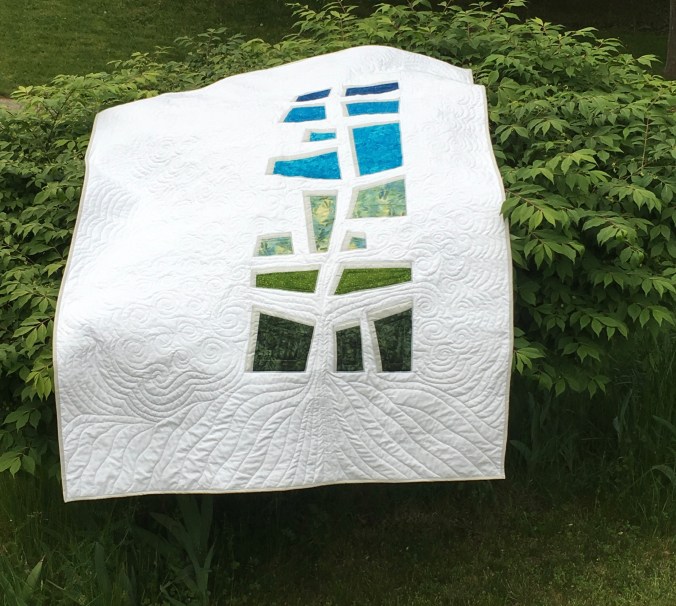

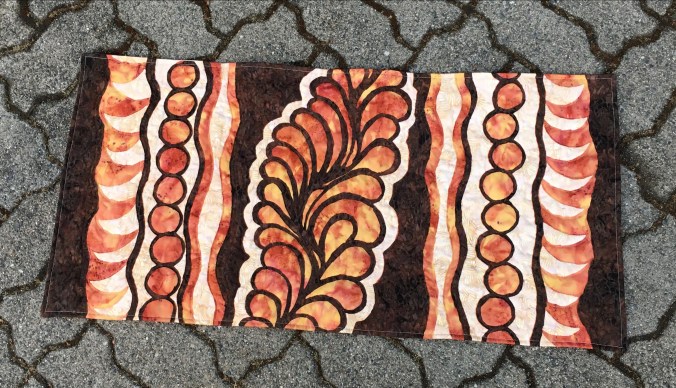
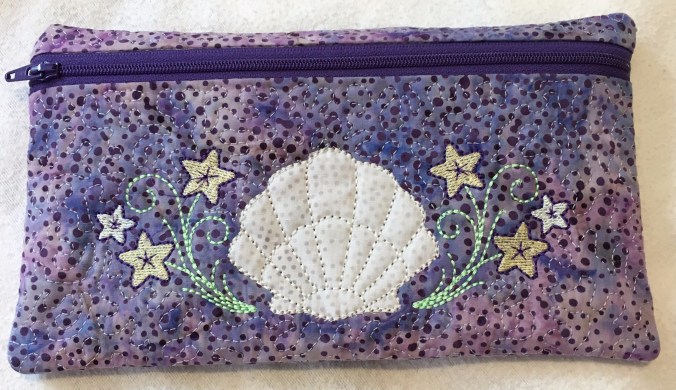


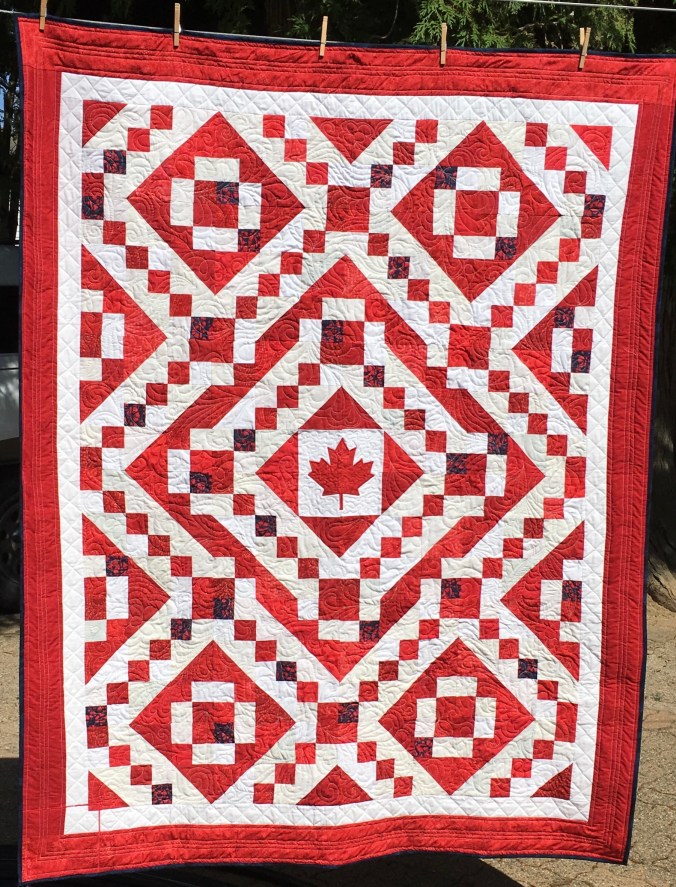


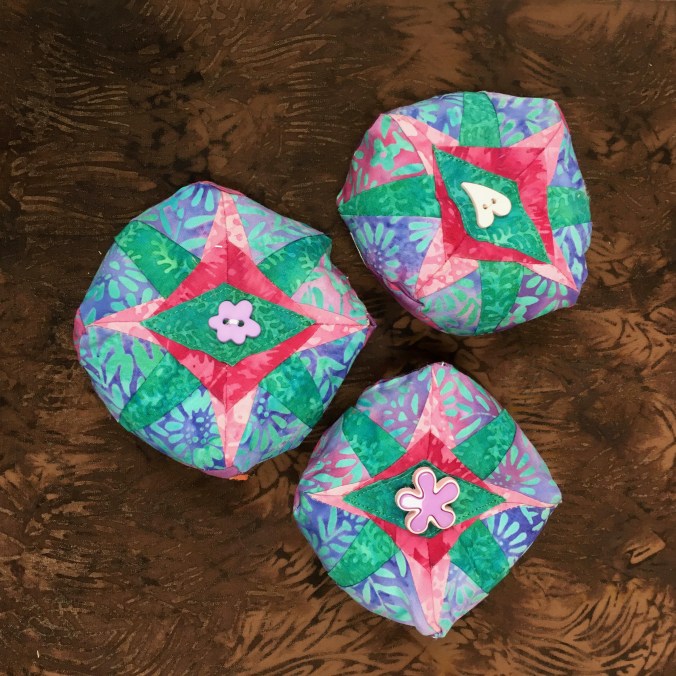
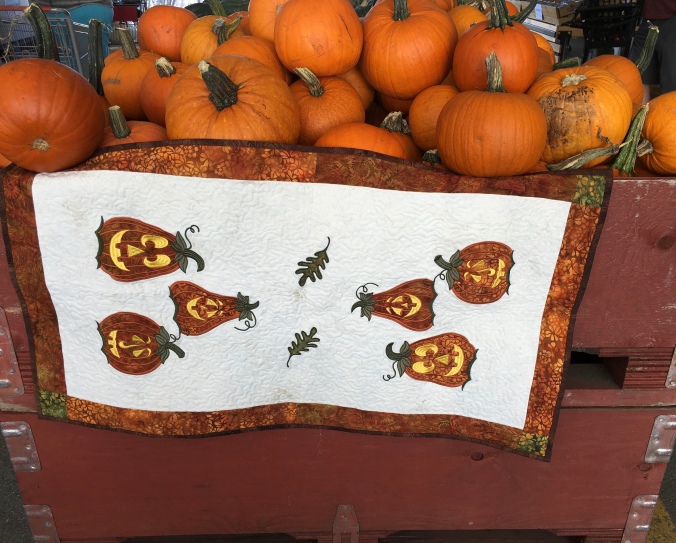
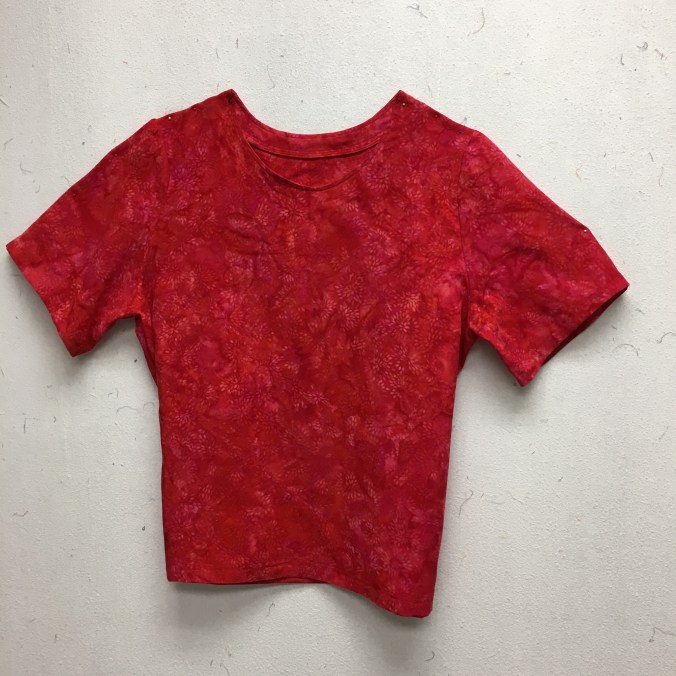
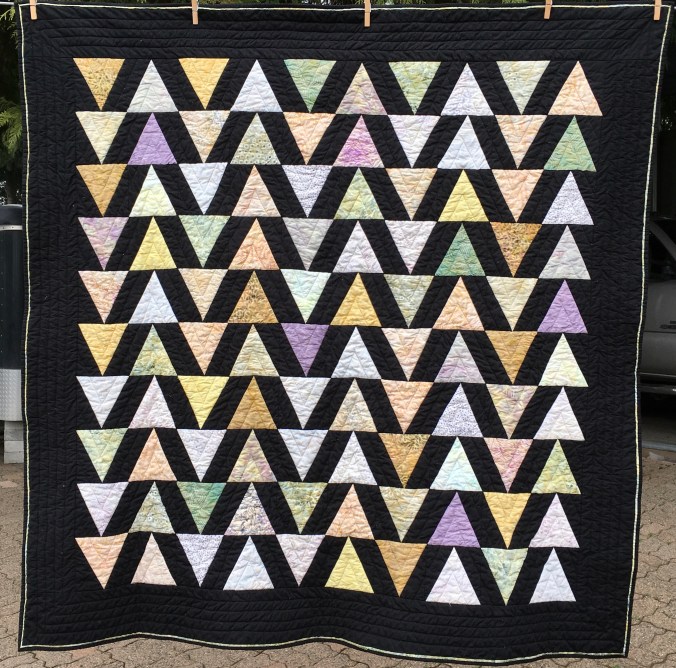
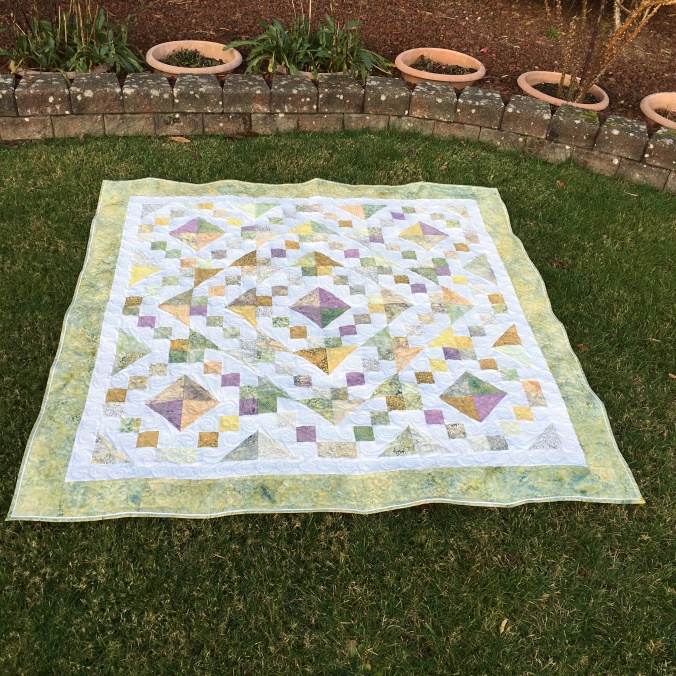



 I completed 2 UFOs this month! YEAH!!! To see close-ups of these 2 quilts visit the original blog posts



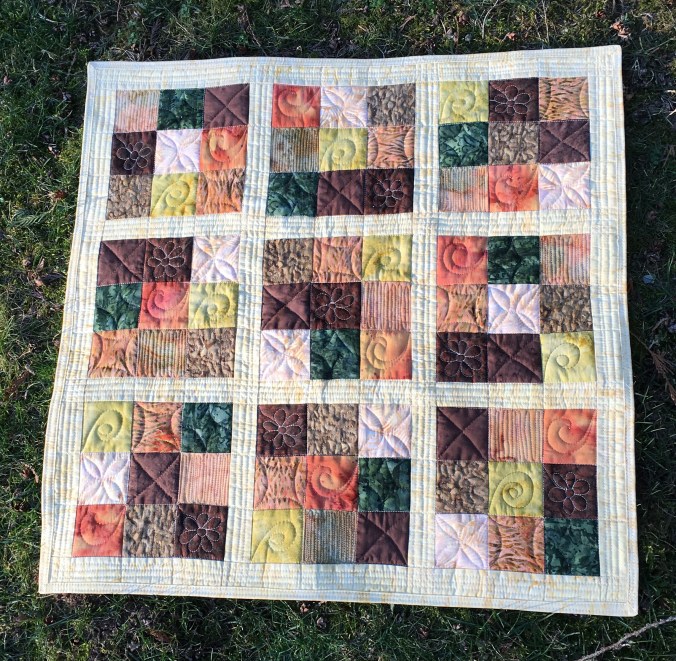
 I stitched in the ditch along each seam and extended out into the borders. In the sashing, I sewed wonky ¼” seams. (I call them wonky because they were not all perfectly straight! grin!) I thought I was done quilting, until I looked at it closely and saw that the 2 brown fabrics, although quite different, read almost the same colour. As well, one of the oranges had a lot of green in it, and definitely did not read the same colour throughout. No Problem! I decided to just quilt a tiny motif in each block to hopefully define each colour … Thankfully, I have lots of Aurifil thread in many colours … SEW that was easy. Then I had to decide which motif to use. Eventually, they all spoke to me and soon it was done! This little mini measures 22″ x 22″.