I thought I’d let you know what plans I have for the next little while …
Holiday Seclusion Mystery
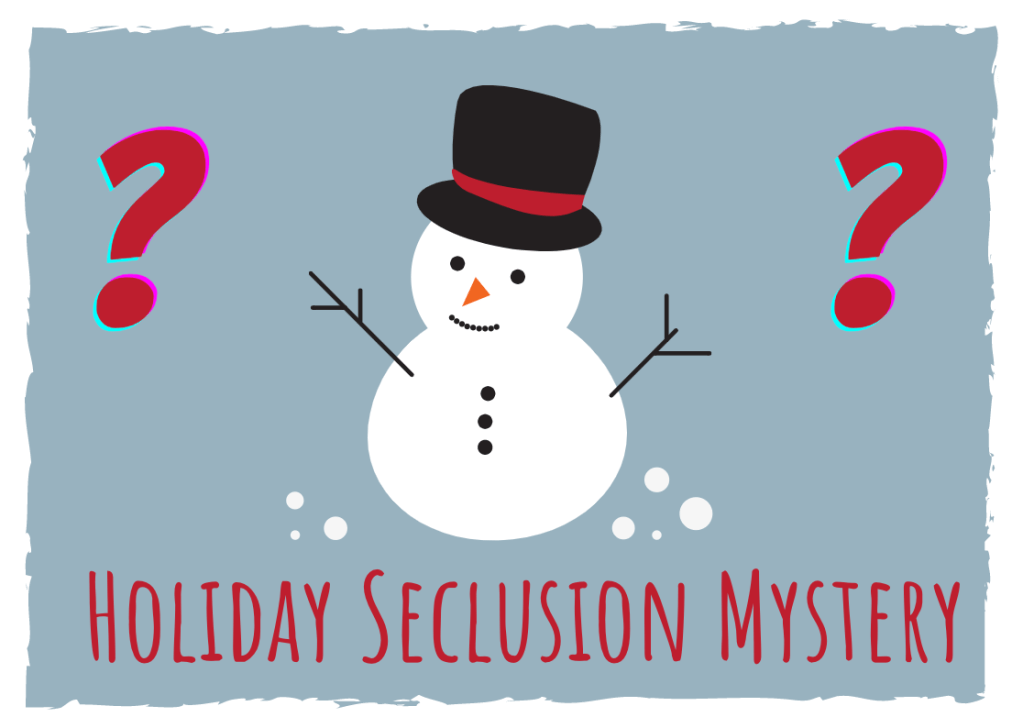
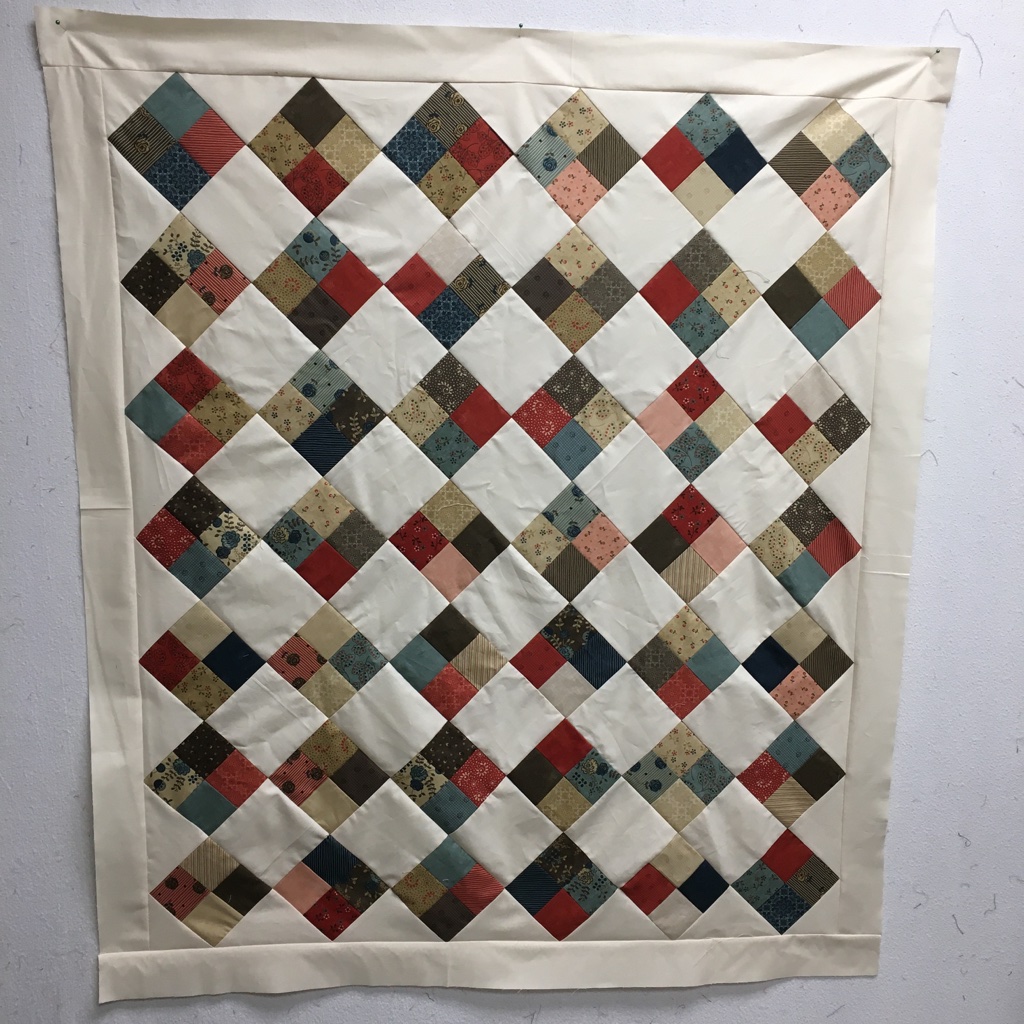
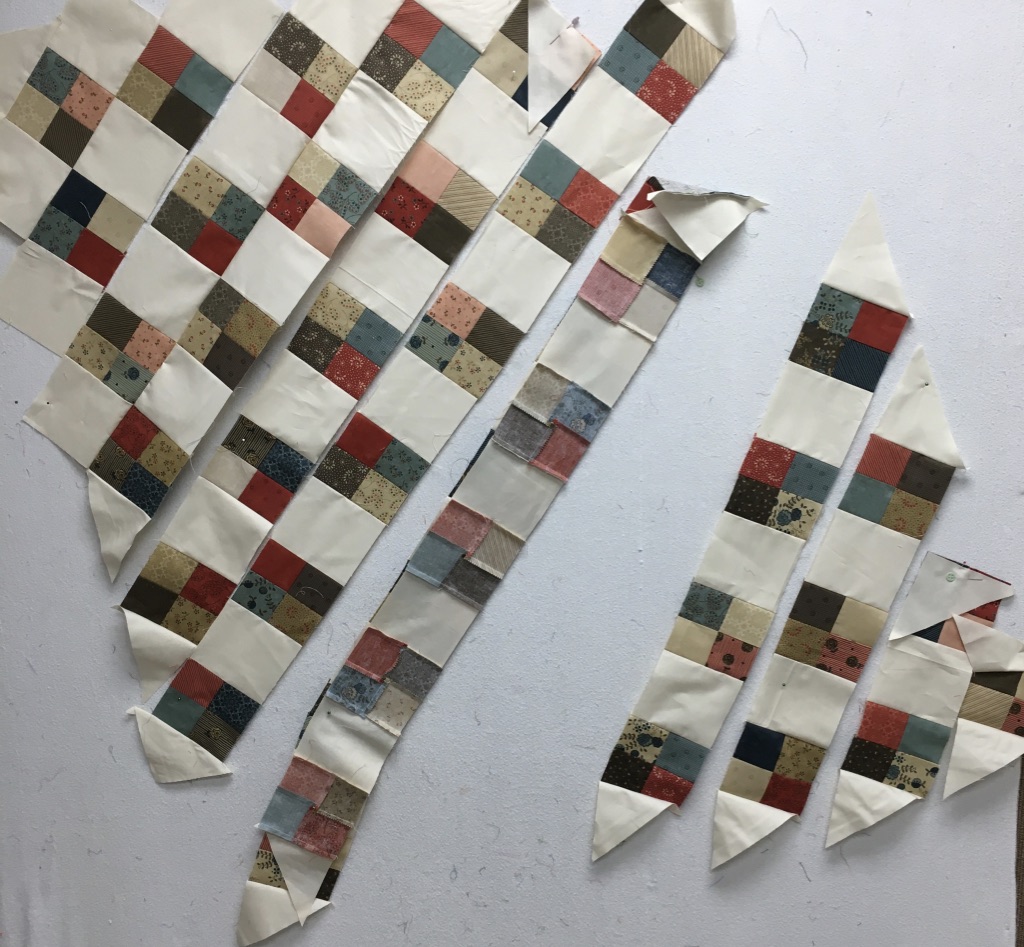
Holiday Seclusion Mystery will start on December 26 and end on December 31. It’s a fun and simple mystery. This mystery is not related to the holidays – except for when it’s occurring. However, if you use holiday themed fabric, then it will relate to the holidays.
I’m busy sewing up the mystery and 2 tester s are also sewing up a storm.
Fabric Requirements
- Background: 1 ½ yards
- Scraps: 1 – 1½ yards …. (if making a 2 colour quilt, 1 yard)
Come join us!
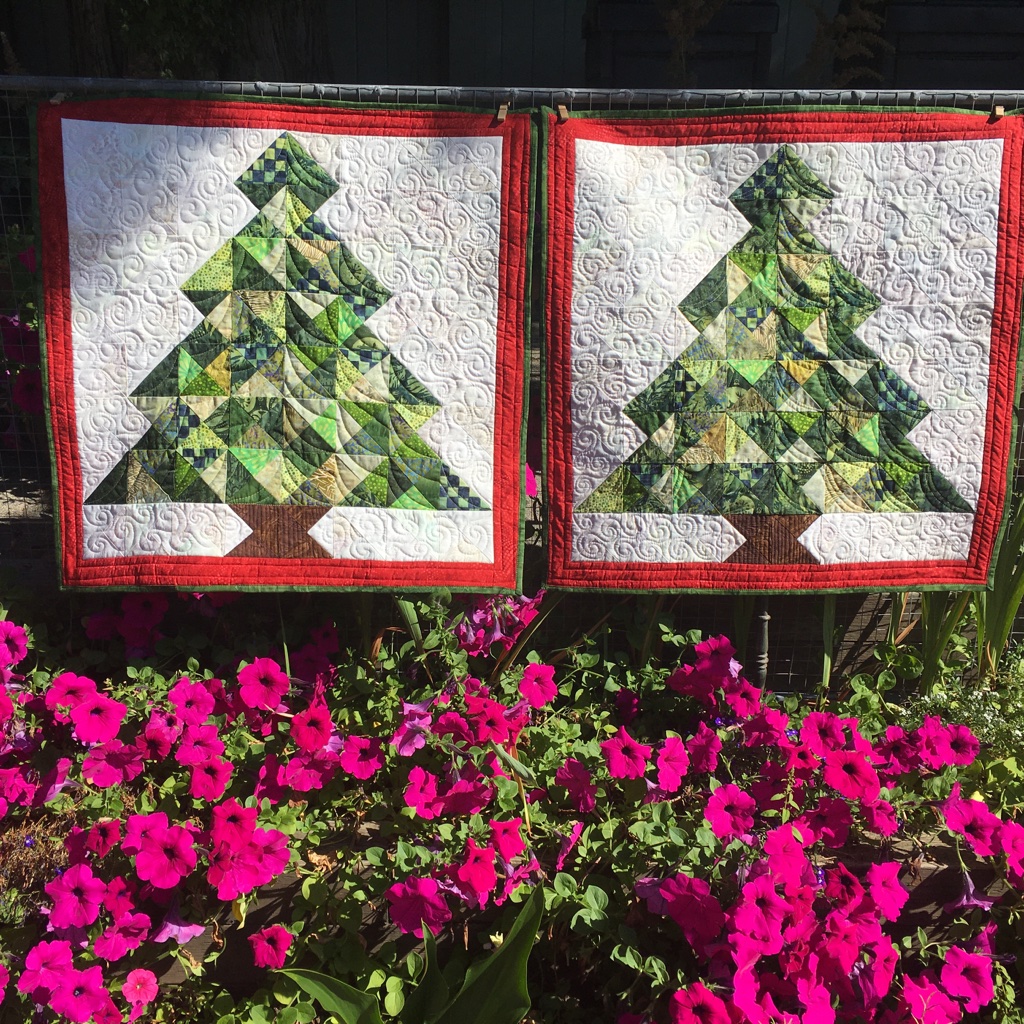
Island Batik Projects of 2020
There will be a post of all the projects I’ve made with Island Batik fabrics in 2020.
The Best of 2020 Linky Party

This is a fantastic linky party!!! Everyone post links to their 5 BEST posts in 2020. How they choose the posts is an individual choice! It starts after Christmas Day.
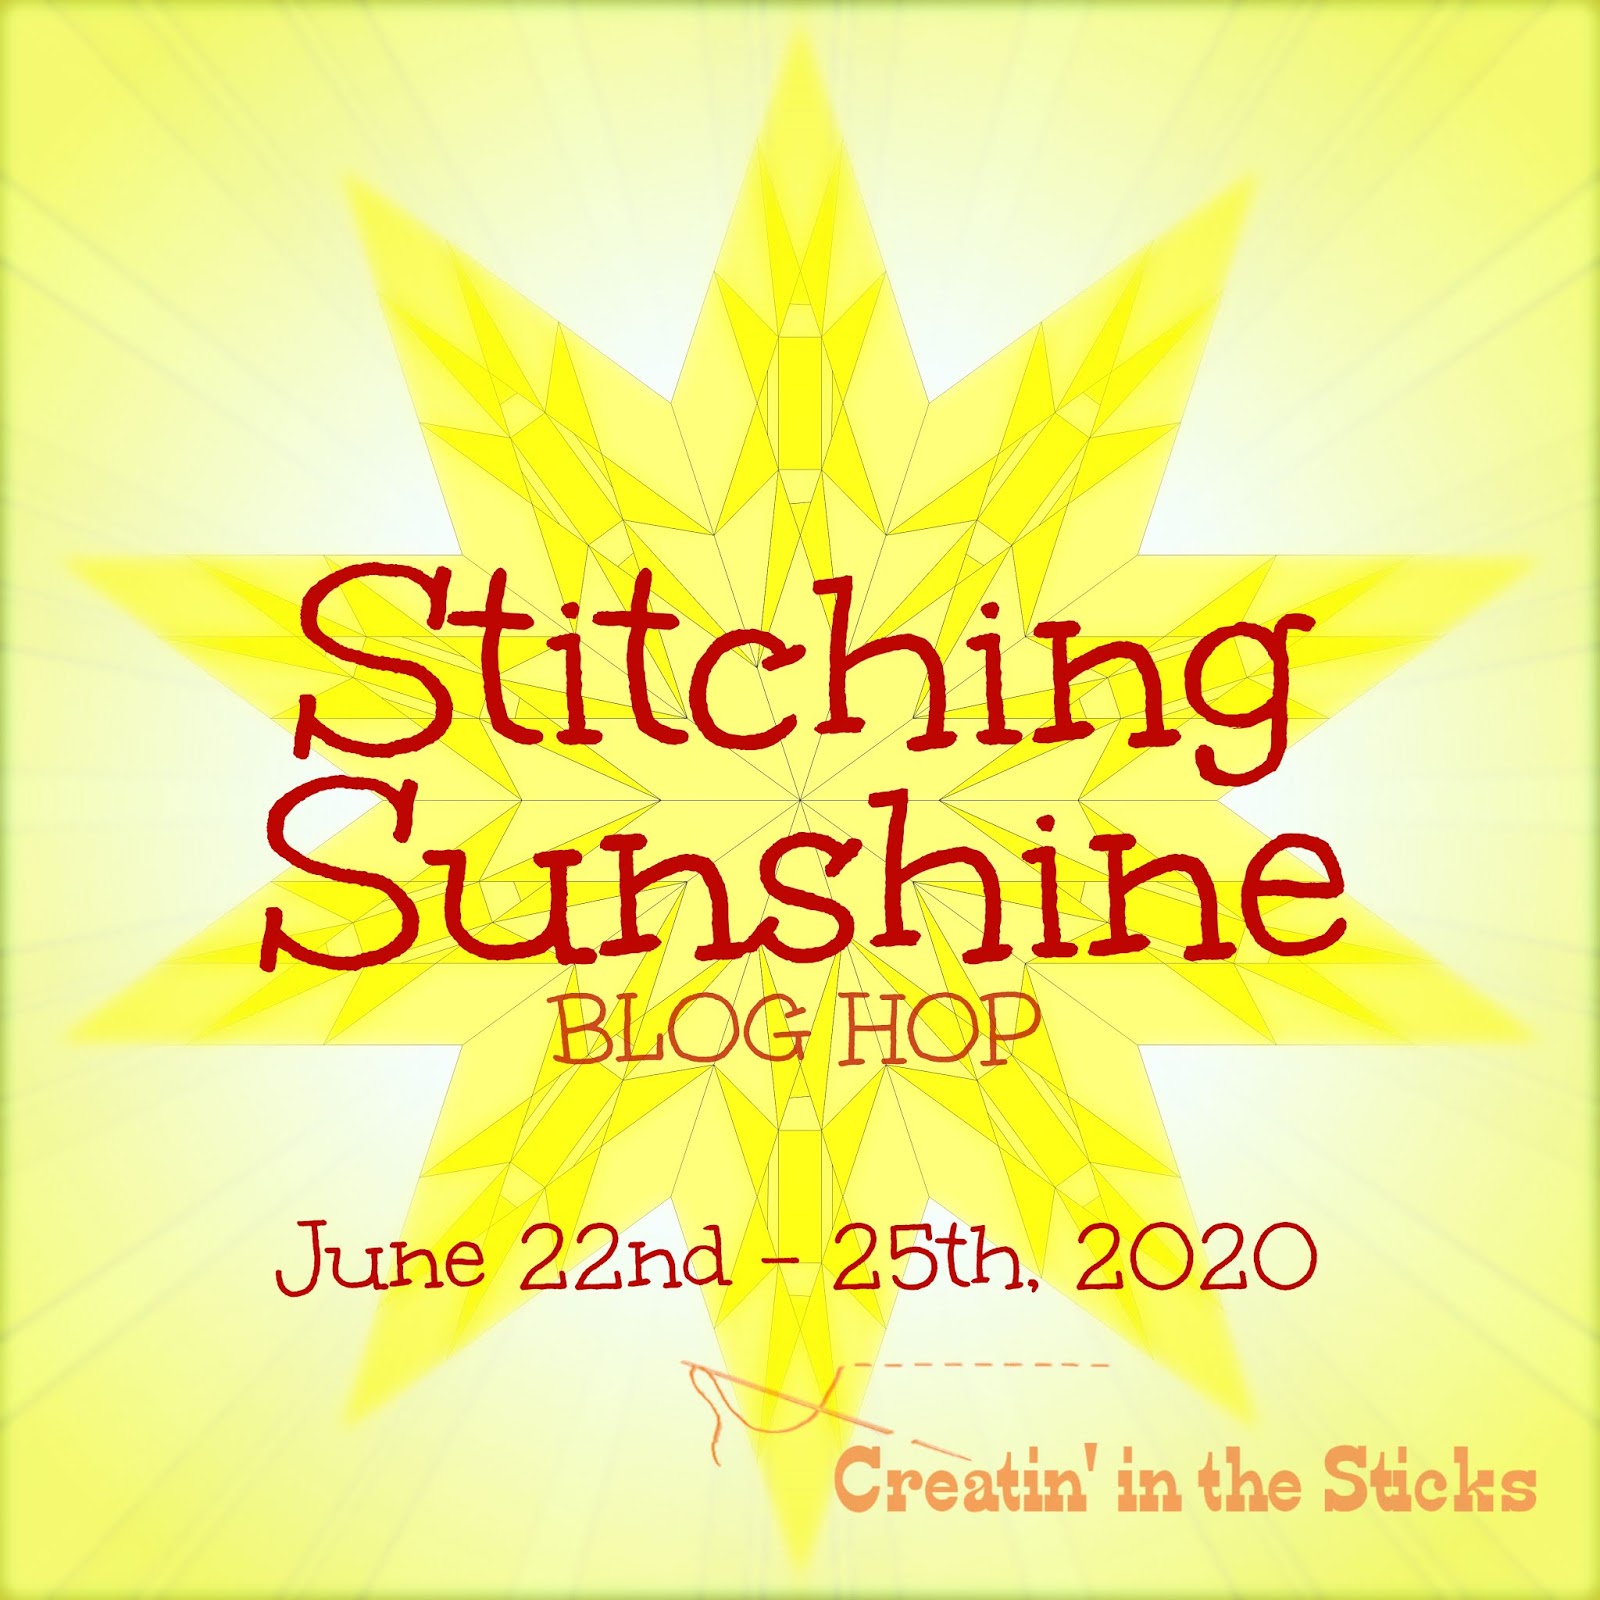
My Stitching Resolution Blog Hop December 30th

Carla, from Creatin’in the Sticks is hosting a ONE day blog hop. And the challenge is about our stitching plan for 2021. Carla says “Let’s share new ideas and inspiration. All you have to do is finish this statement in a blog post:
My stitching resolution for 2021 is _____________________________.“
It will be fun to see what everyone comes up with.
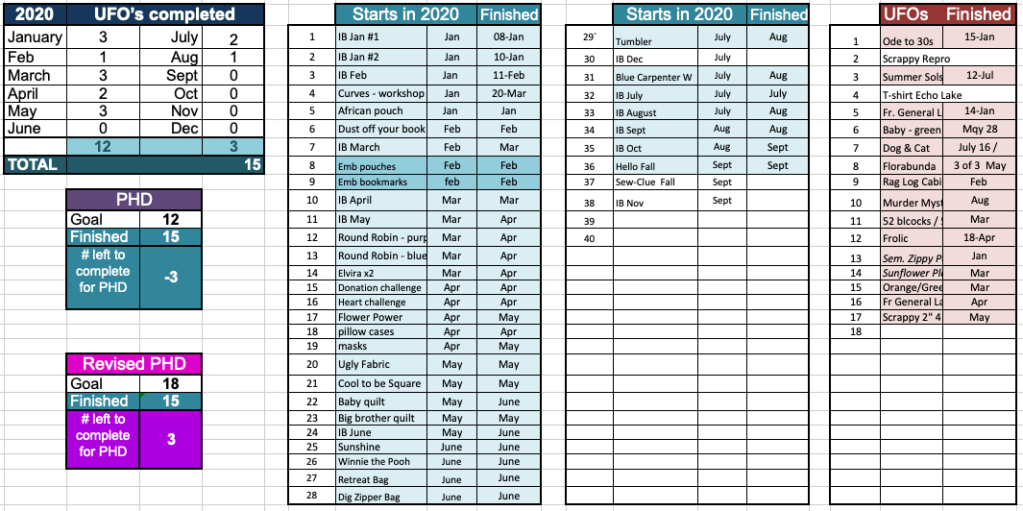
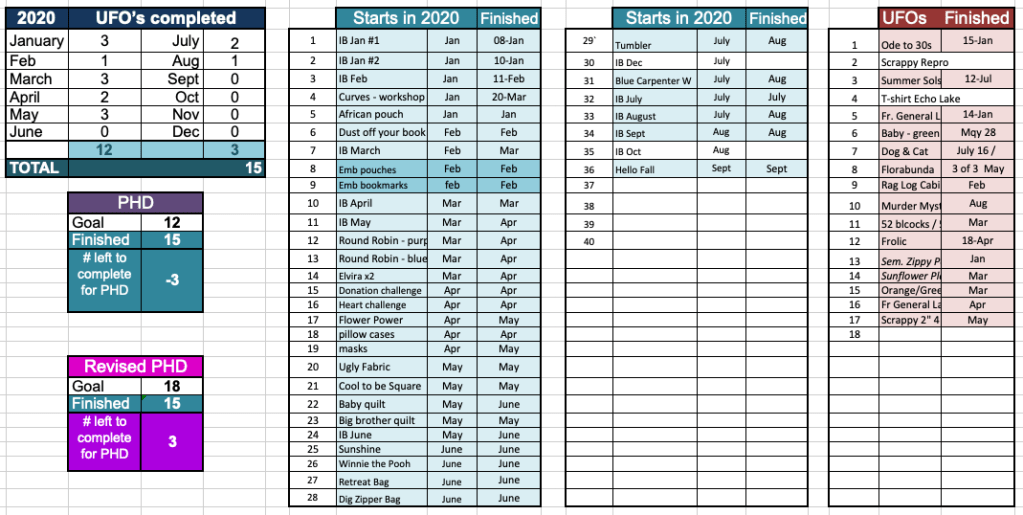
PHD in 2021

This will be the 4th year that this program has been running. I started it to decrease the number of UFOs that I have. In 2018, I had over 60 UFOs and I keep finding more, tucked away in containers with other stuff. I will be starting 2021 with 17 UFOs … will I get them all completed? I hope so, but who knows. My goal is to finish at least 12!
When I started the PHD in 2018, I realized that I have a passion for starting new projects and not finishing them. Well, the passion is for starting projects and passion for finishing them just didn’t exist. That’s how the number of UFOs grew. SEW … for me, one important aspect of the PHD in 20?? is to complete the new projects that are started. It’s working!
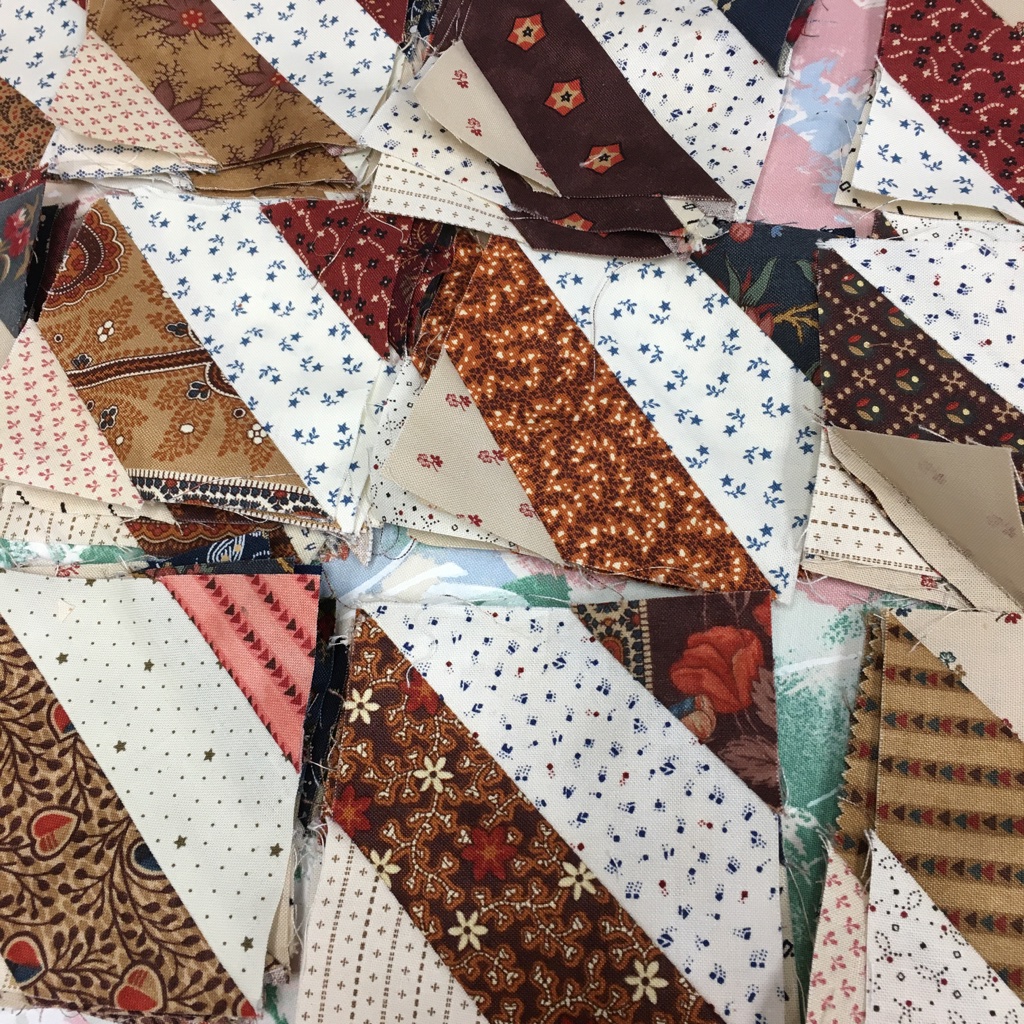
Stay at Home Round Robin with 6 Blogging Friends

The Stay at Home Round Robin that I hosted in the spring was a LOT of fun! This time, 6 blogging friends and I are hosting it together. It will start on January 11. Each week, one of us will post which border our Round Robin is suppose to have and there will be pictures! We’ll be giving you more information soon.
My blogging friends (in alphabetical order) are:
- Anja @ Anja Quilts
- Chris @ Chrisknitssews
- Emily @ The Darling Dogwood
- Roseanne & Sue @ Home Sewn by Us
- Susan @ Quilt Fabrication
- Wendy @ Pieceful Thoughts of my Quilting Life
Heart’s on Fire Blog Hop … Jan. 21, 2021
Carol, from “Just Let Me Quilt” is having “Heart’s on Fire” blog hop. She states that the challenge for this hop is “Make something with a heart in any color, BUT NOT RED…get creative!” SEW … I need to make something with a non-red heart … what will it be??
One who sleeps under a quilt is covered by LOVE!
Happy Quilting!
Gail
Linking to:
- Tish @ Tish’s Adventures in Wonderland
- Oh Scrap @ Quilting is More Fun than Housework
- Frédérique @ Quilting Patchwork Applique


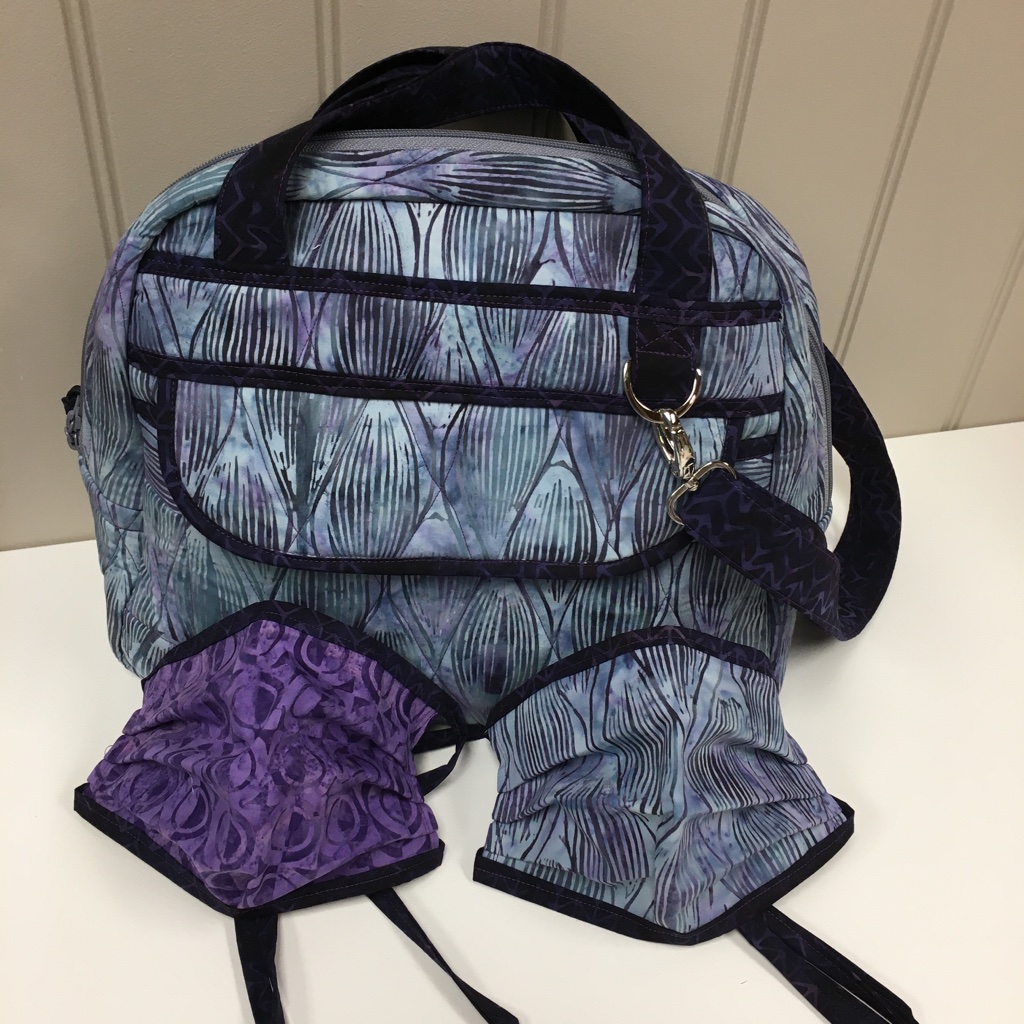


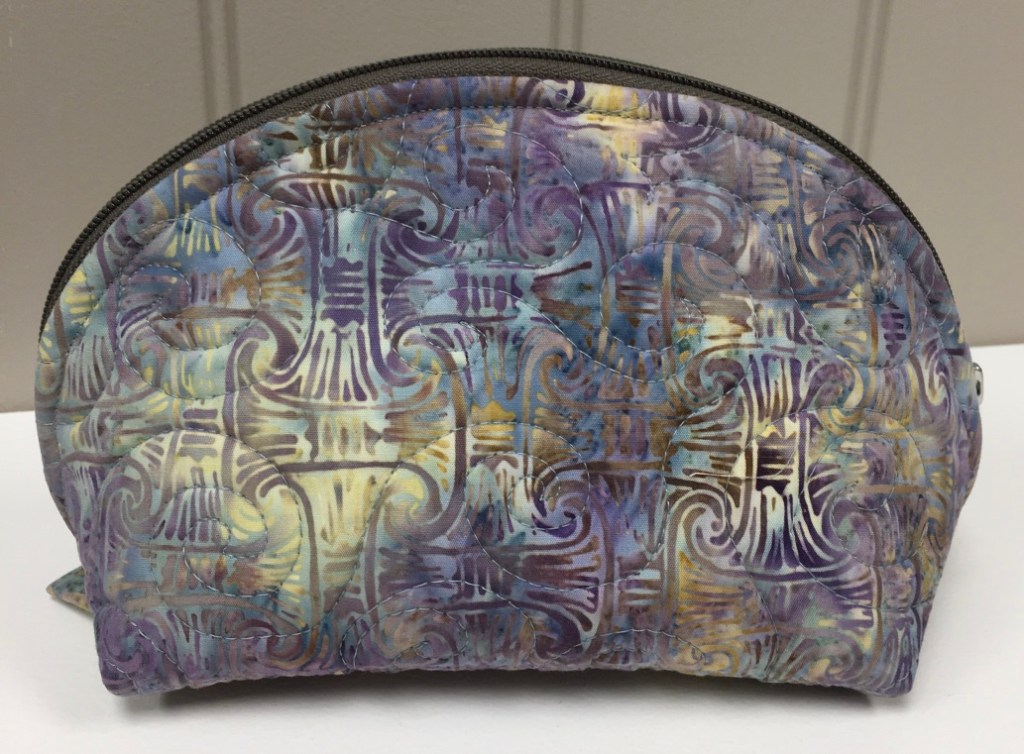


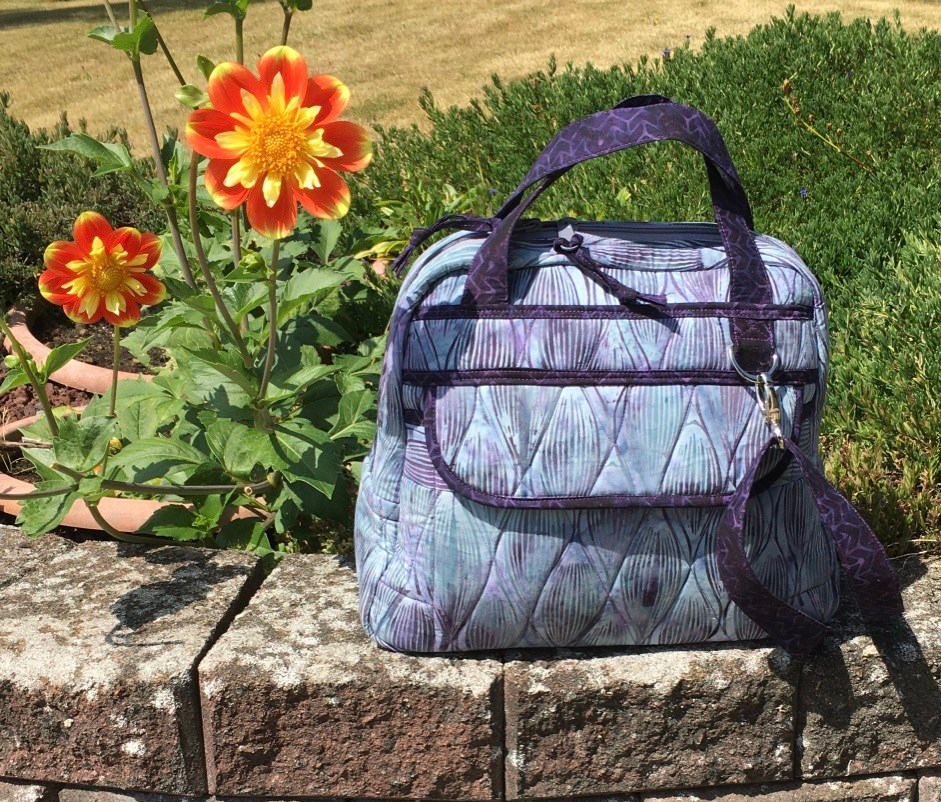


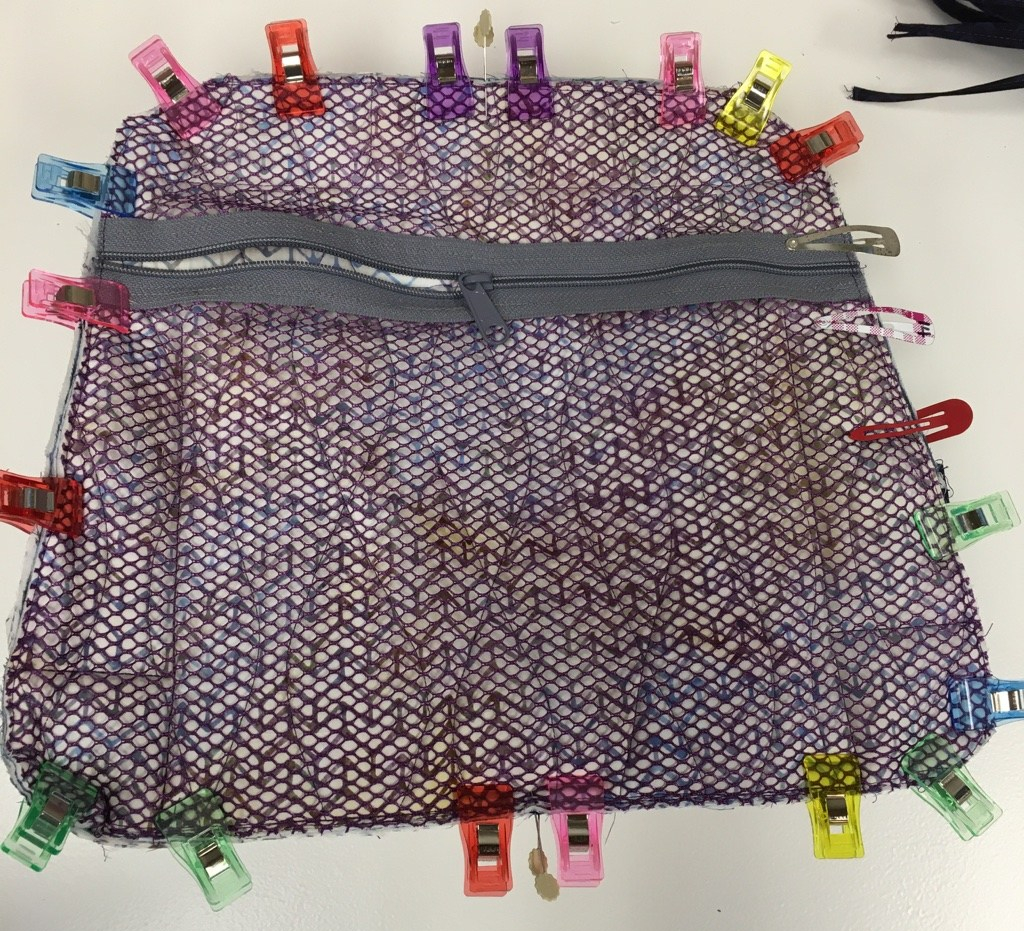
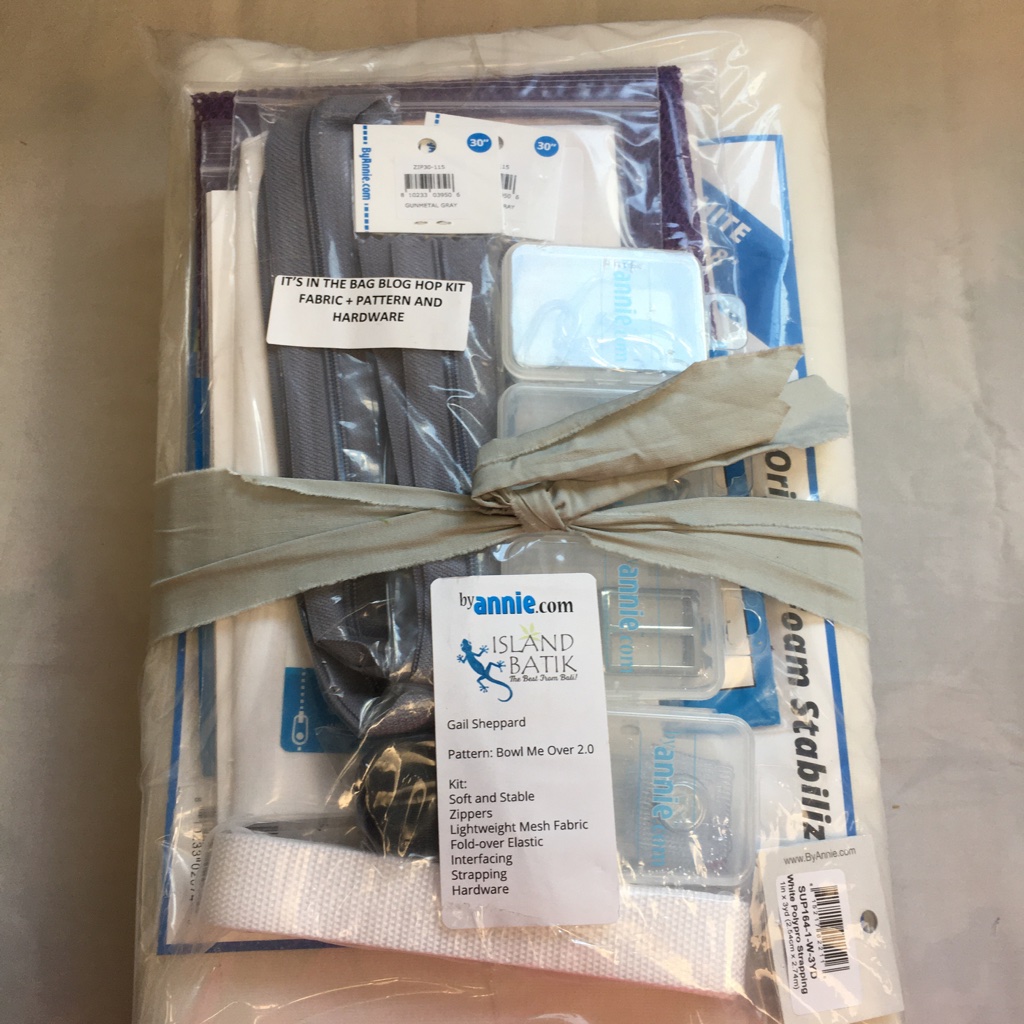 When I make bags, I usually end up doing my own thing … but I needed to follow directions with this one.


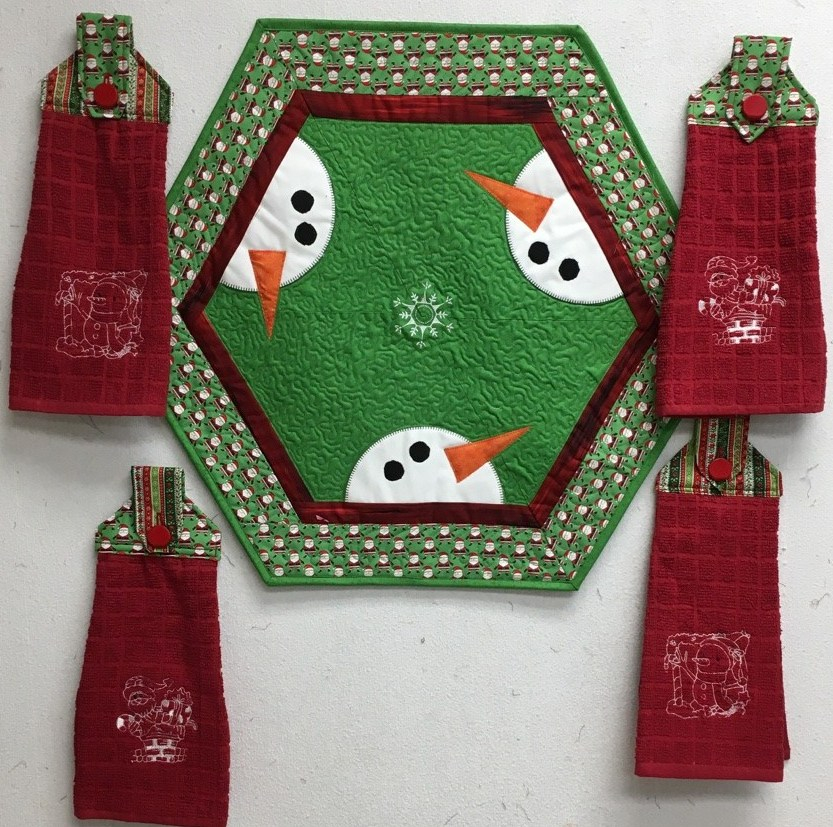
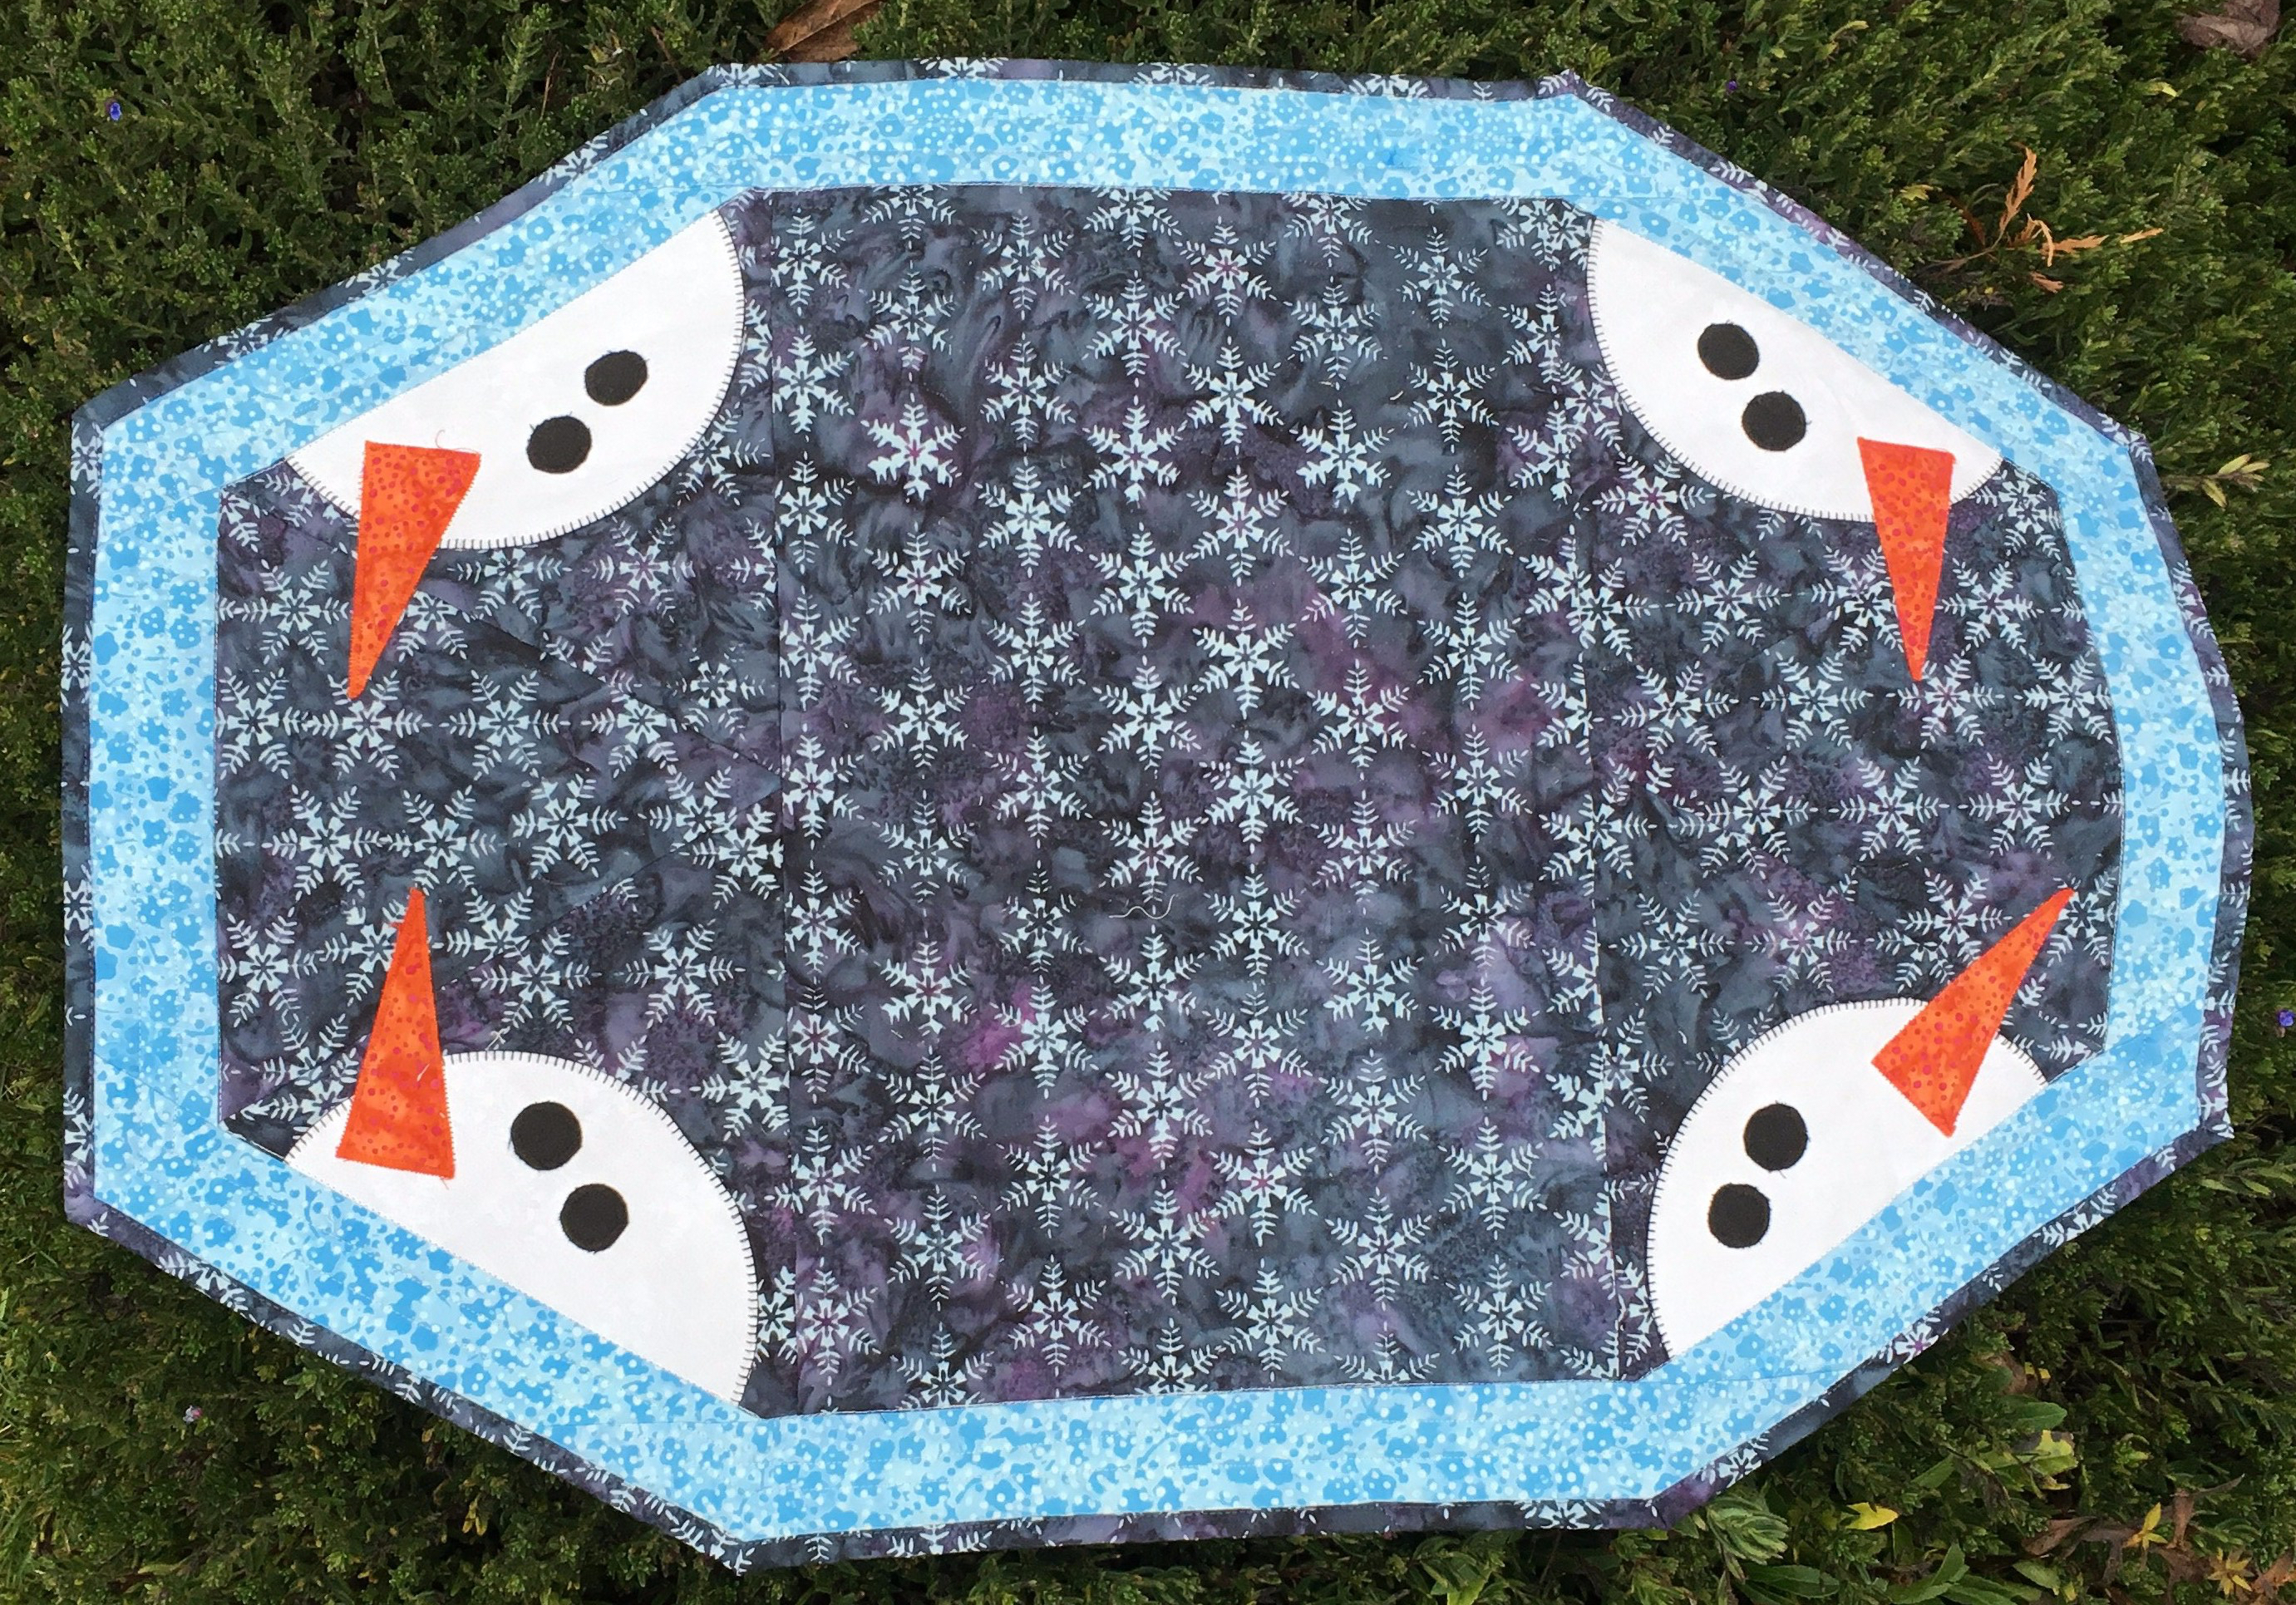 And yes, I did make the snowman previously with Island Batik fabrics and you can see it