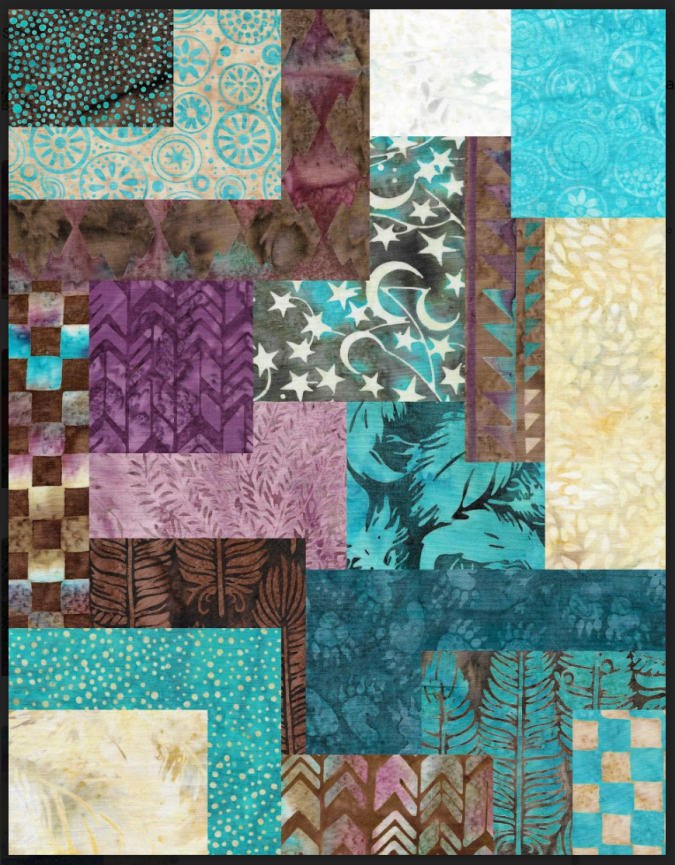
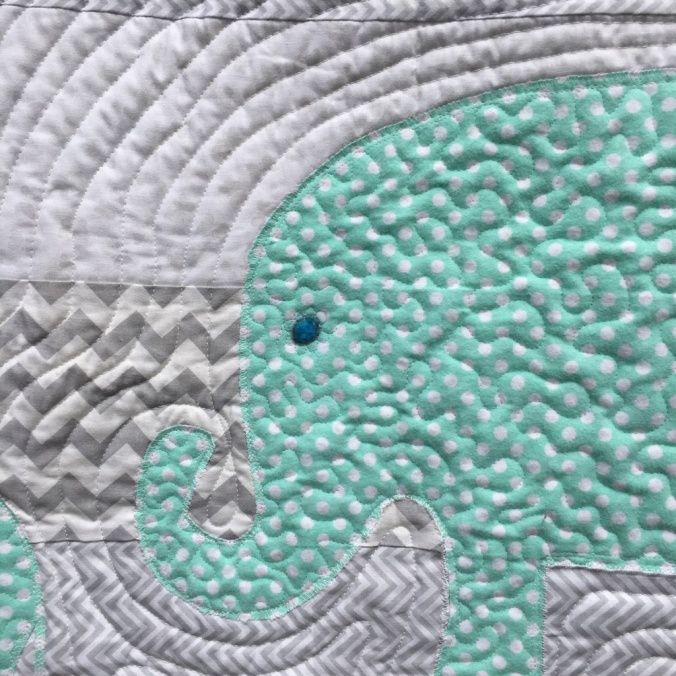
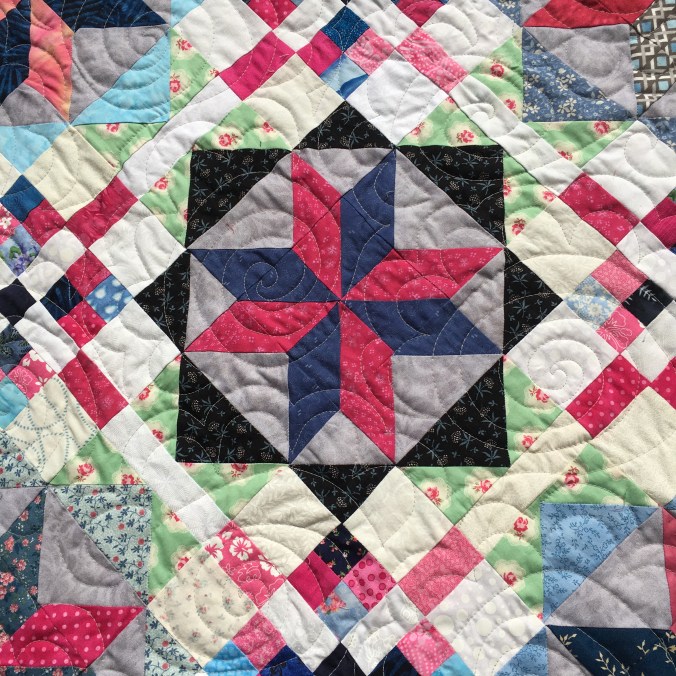
I have made a couple of projects for this Blog Hop. The collection I was given is Santa Fe designed by Kathy Engle. It was love at first sight! Look at those beautiful teals and browns, purples and neutrals! Aren’t they rich and beautiful? This collection is part of the Winter 2019 fabrics and should be available in your local stores pretty soon – if they’re not already there!
Here are the instructions we were given:
What is home decor? It’s anything you would use to decorate your space: wall hangings, cushions, rugs, linens, and decorative craft projects like bowls, wreaths, lampshades and baskets. Big or small, dramatic or subtle, it’s up to you!
Project #1
My first project was a jelly roll rug. I cut at least 2 strips of each fabric using the AccuQuilt 2½” strip die. The batting was 2¼” strips cut from the edges of many quilts where I had used Hobbs 80/20. I mostly followed the directions on the pattern and put the prepared strips into a bag. I didn’t roll it into a ball … just shoved them into the bag. When I took a class, Dawn F., said to do this! It works like a charm.
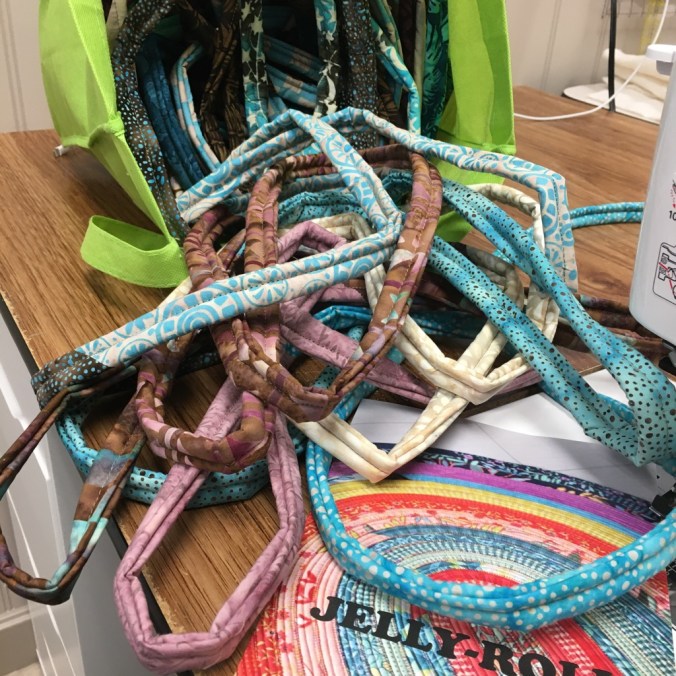
I used Aurifil #2370 and Schmetz Microtex Chrome 70/10 to sew the rope together and also to do the zig-zag when sewing the rug. I started out using Microtex 80/12 and my machine revolted. It did not like it. When I talked to my sewing machine technician, she said to try a smaller needle and make a bigger stitch. I did and it worked like a charm. She also said that sewing through that many layers with a close-weave batik, the smaller needle will work better. She was right! My machine just purred as I finished sewing the rug!

I LOVE my rug … it lies next to my ironing station in my studio! Sew nice to have something a little softer to stand on!
As nice as this rug is … it doesn’t highlight the fabric in the collection very well. Even though it does use every single fabric. SEW … I decided to work on projects #2, #3 & #4.
Projects #2, #3, & #4
The back story:
I moved into my studio last summer. It wasn’t quite finished, but my wonderful hubby promised that it would be completely finished soon. I think his definition of “soon” and mine are completely different. But that’s OK … he does all of the building type work around here.
I told him that I was going to make curtains for the 3 windows in the studio. Now, I won’t say that he has selective hearing, but he swears that I said I was only going to make one curtain. That’s weird, because why would I only make one, when there are 3 windows?
Anyhow … he got to work putting in the window frame and trim for the largest window. He finished this the day before I need to post my projects! We’ll have to wait to see how long it takes to get the frame and trim done for the remaining 2 windows.
The curtains:
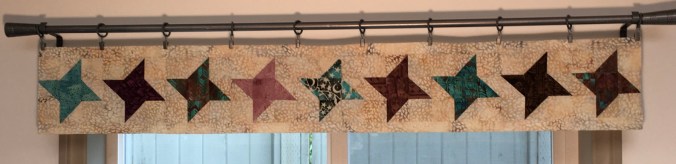
The curtains are all backed with the same fabric that provides the background in each curtain: Tossed Seeds – Desert Sand. I love this fabric! It has shades of grey & light brown and is a perfect background fabric. These curtains are not quilted, but are stitched a ¼” from the 1″ border that is on the top and bottom of each. Aurifil #2000 – a light beige, was used for the piecing and top-stitching.
The first curtain is a series of 6″ stars and measures 52″ long. The stars were cut with the Accuquilt Go 8″ Qube dies. I’m in LOVE with these dies and use them as often as possible. I love piecing triangles without dog ears … and they are close to perfect (depending on my sewing).
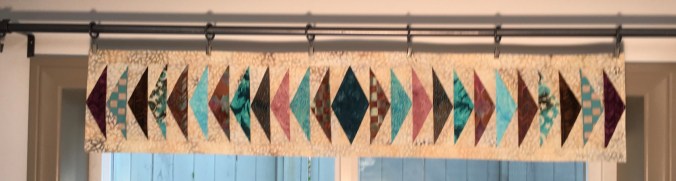
The 2nd curtain has a 6″ rope. Again, I used the same Accuquilt die to cut all the triangles. This curtain measures 39.5″ (the 2nd & 3rd windows are smaller).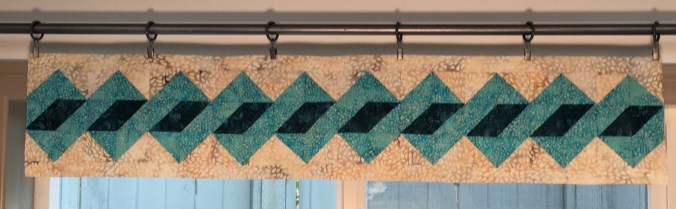
The 3rd curtain was designed in EQ7, using 6″ tall flying geese blocks. They are paper pieced without sewing on the paper. I think I’ve been influenced by another Island Batik ambassador who blogs at “For the Love of Geese.” At least, I decided on flying geese after visiting her blog! This curtain measures 39.5″ long.
Island Batik’s Give Away
This week Island Batik is giving away 2, yes, 2! Fat Quarter bundles of “River Valley.” Click on the Rafflecopter link below for you to click on for your entry for a chance to win.
a Rafflecopter giveaway
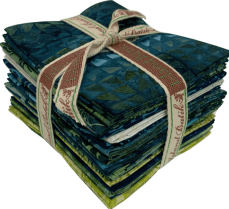
My Give Away

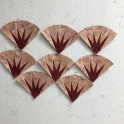
There are 14 pieces that are 6″ x 12″ and 1/3 yard of the purple (at the top). In order to win, you have to answer the following questions:
- Have you made any home decor projects in the past year? If yes, what was it?
- What would you make with these fabrics?
The give away is only open to Canadian residents, excluding Quebec.
My Fabric Blogging Partner
Make sure you visit Maryellen’s blog to see what she has made with this same fabric collection! Maryellen McAuliffe ~ Mary Mack’s Blog
Thank you
to Island Batik, Accuquilt, Aurifil Hobbs batting and Schmetz Needles for supplying the fabric and supplies needed to complete my projects!


One who sleeps under a quilt is covered by LOVE!
Happy Quilting!
Gail
*****************************


 Be sure to enter Island Batik’s Rafflecopter to win Cascadia precuts! This collection was designed by Claudia Pfeil of Claudia Pfeil Designs. You could win both a 10″stack and 2½” strips. Each pre-cut comes with 2 of the 20 fabrics in the collection. It’s well worth entering – you never know if you will win! Here’s the link:

 Don’t forget to visit the Island Batik Blog Hop that is featuring all the NEW fabric!!! And visit the
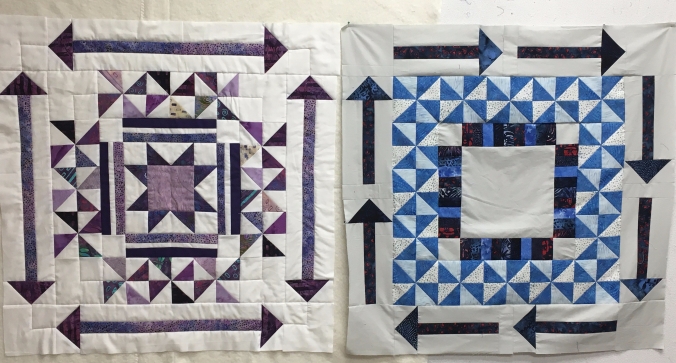
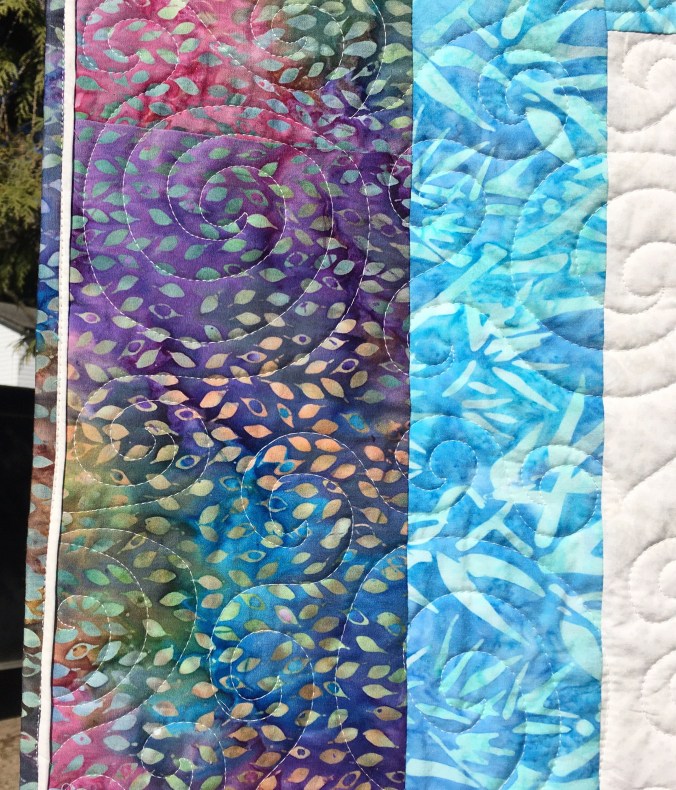
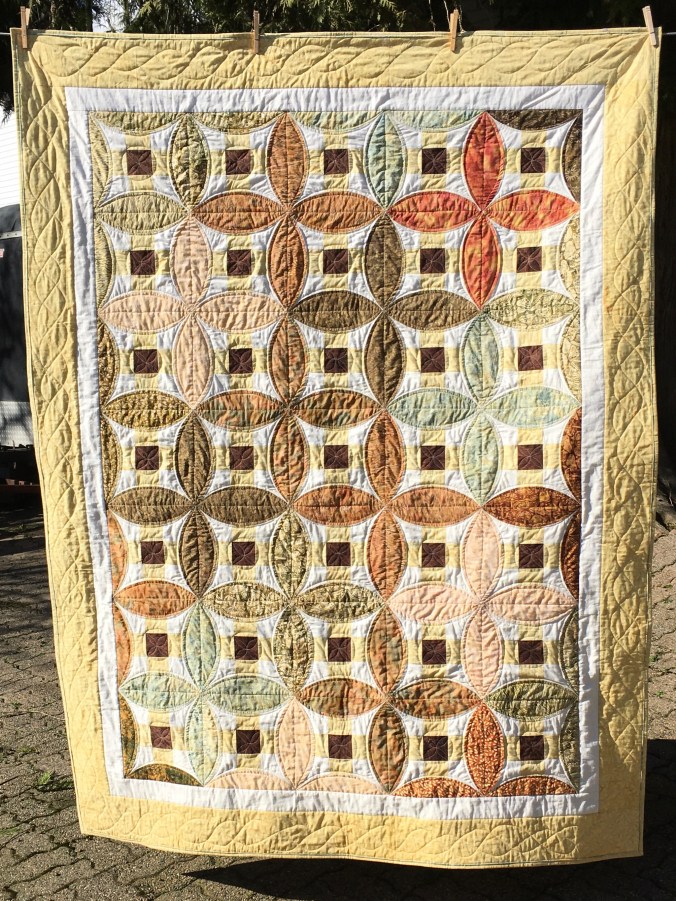
 Florabunda: Do you remember when I was working on these blocks? Well, they are all done and I have way more than enough for one quilt … so there are at least 2 quilts to be made. I need to lay them out and decide on which ones will go into which quilt.


 #1:
#1: 


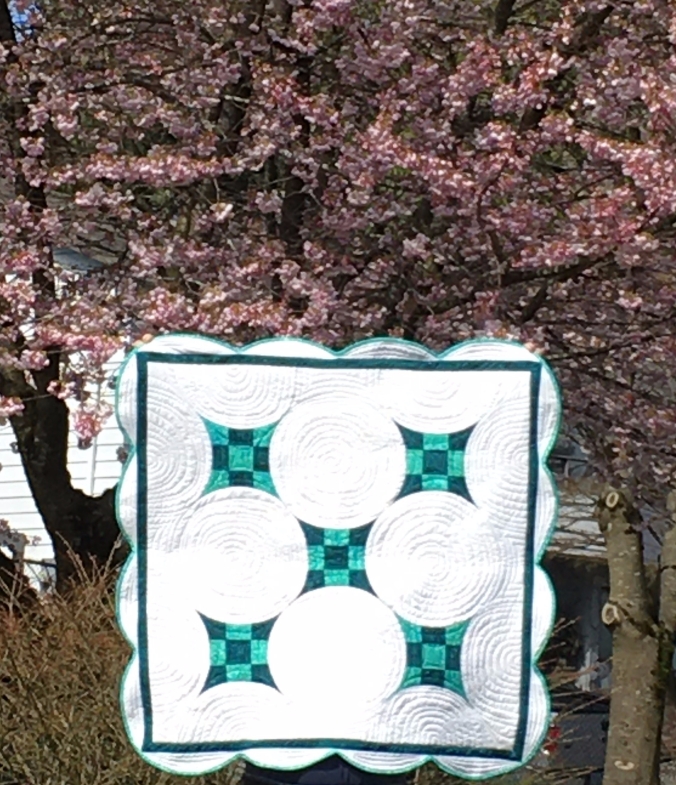
 Last month, for the Island Batik challenge, I HAD to use the “Glorified 9 Patch” Accuquilt Go! die. And, I made the quilt on the right. You can read more about it on


 Florabunda:


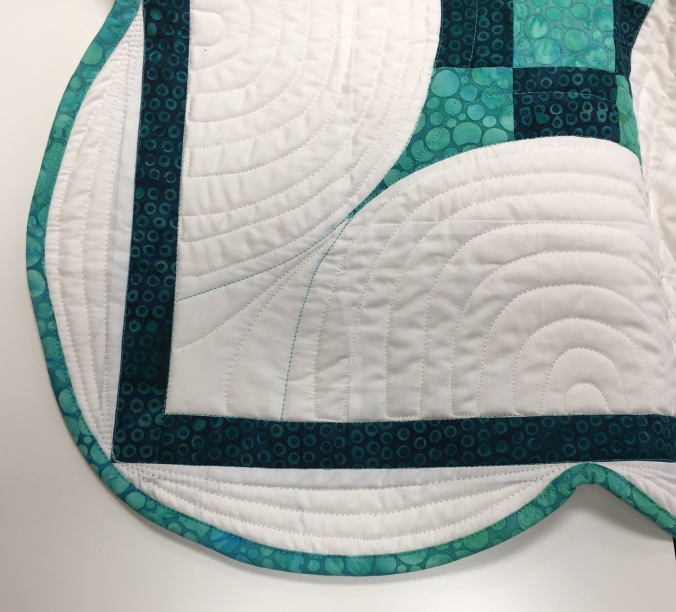
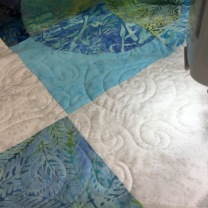 Circles is being quilted
 This month’s Island Batik challenge is to use the Accuquilt die we were given in January.