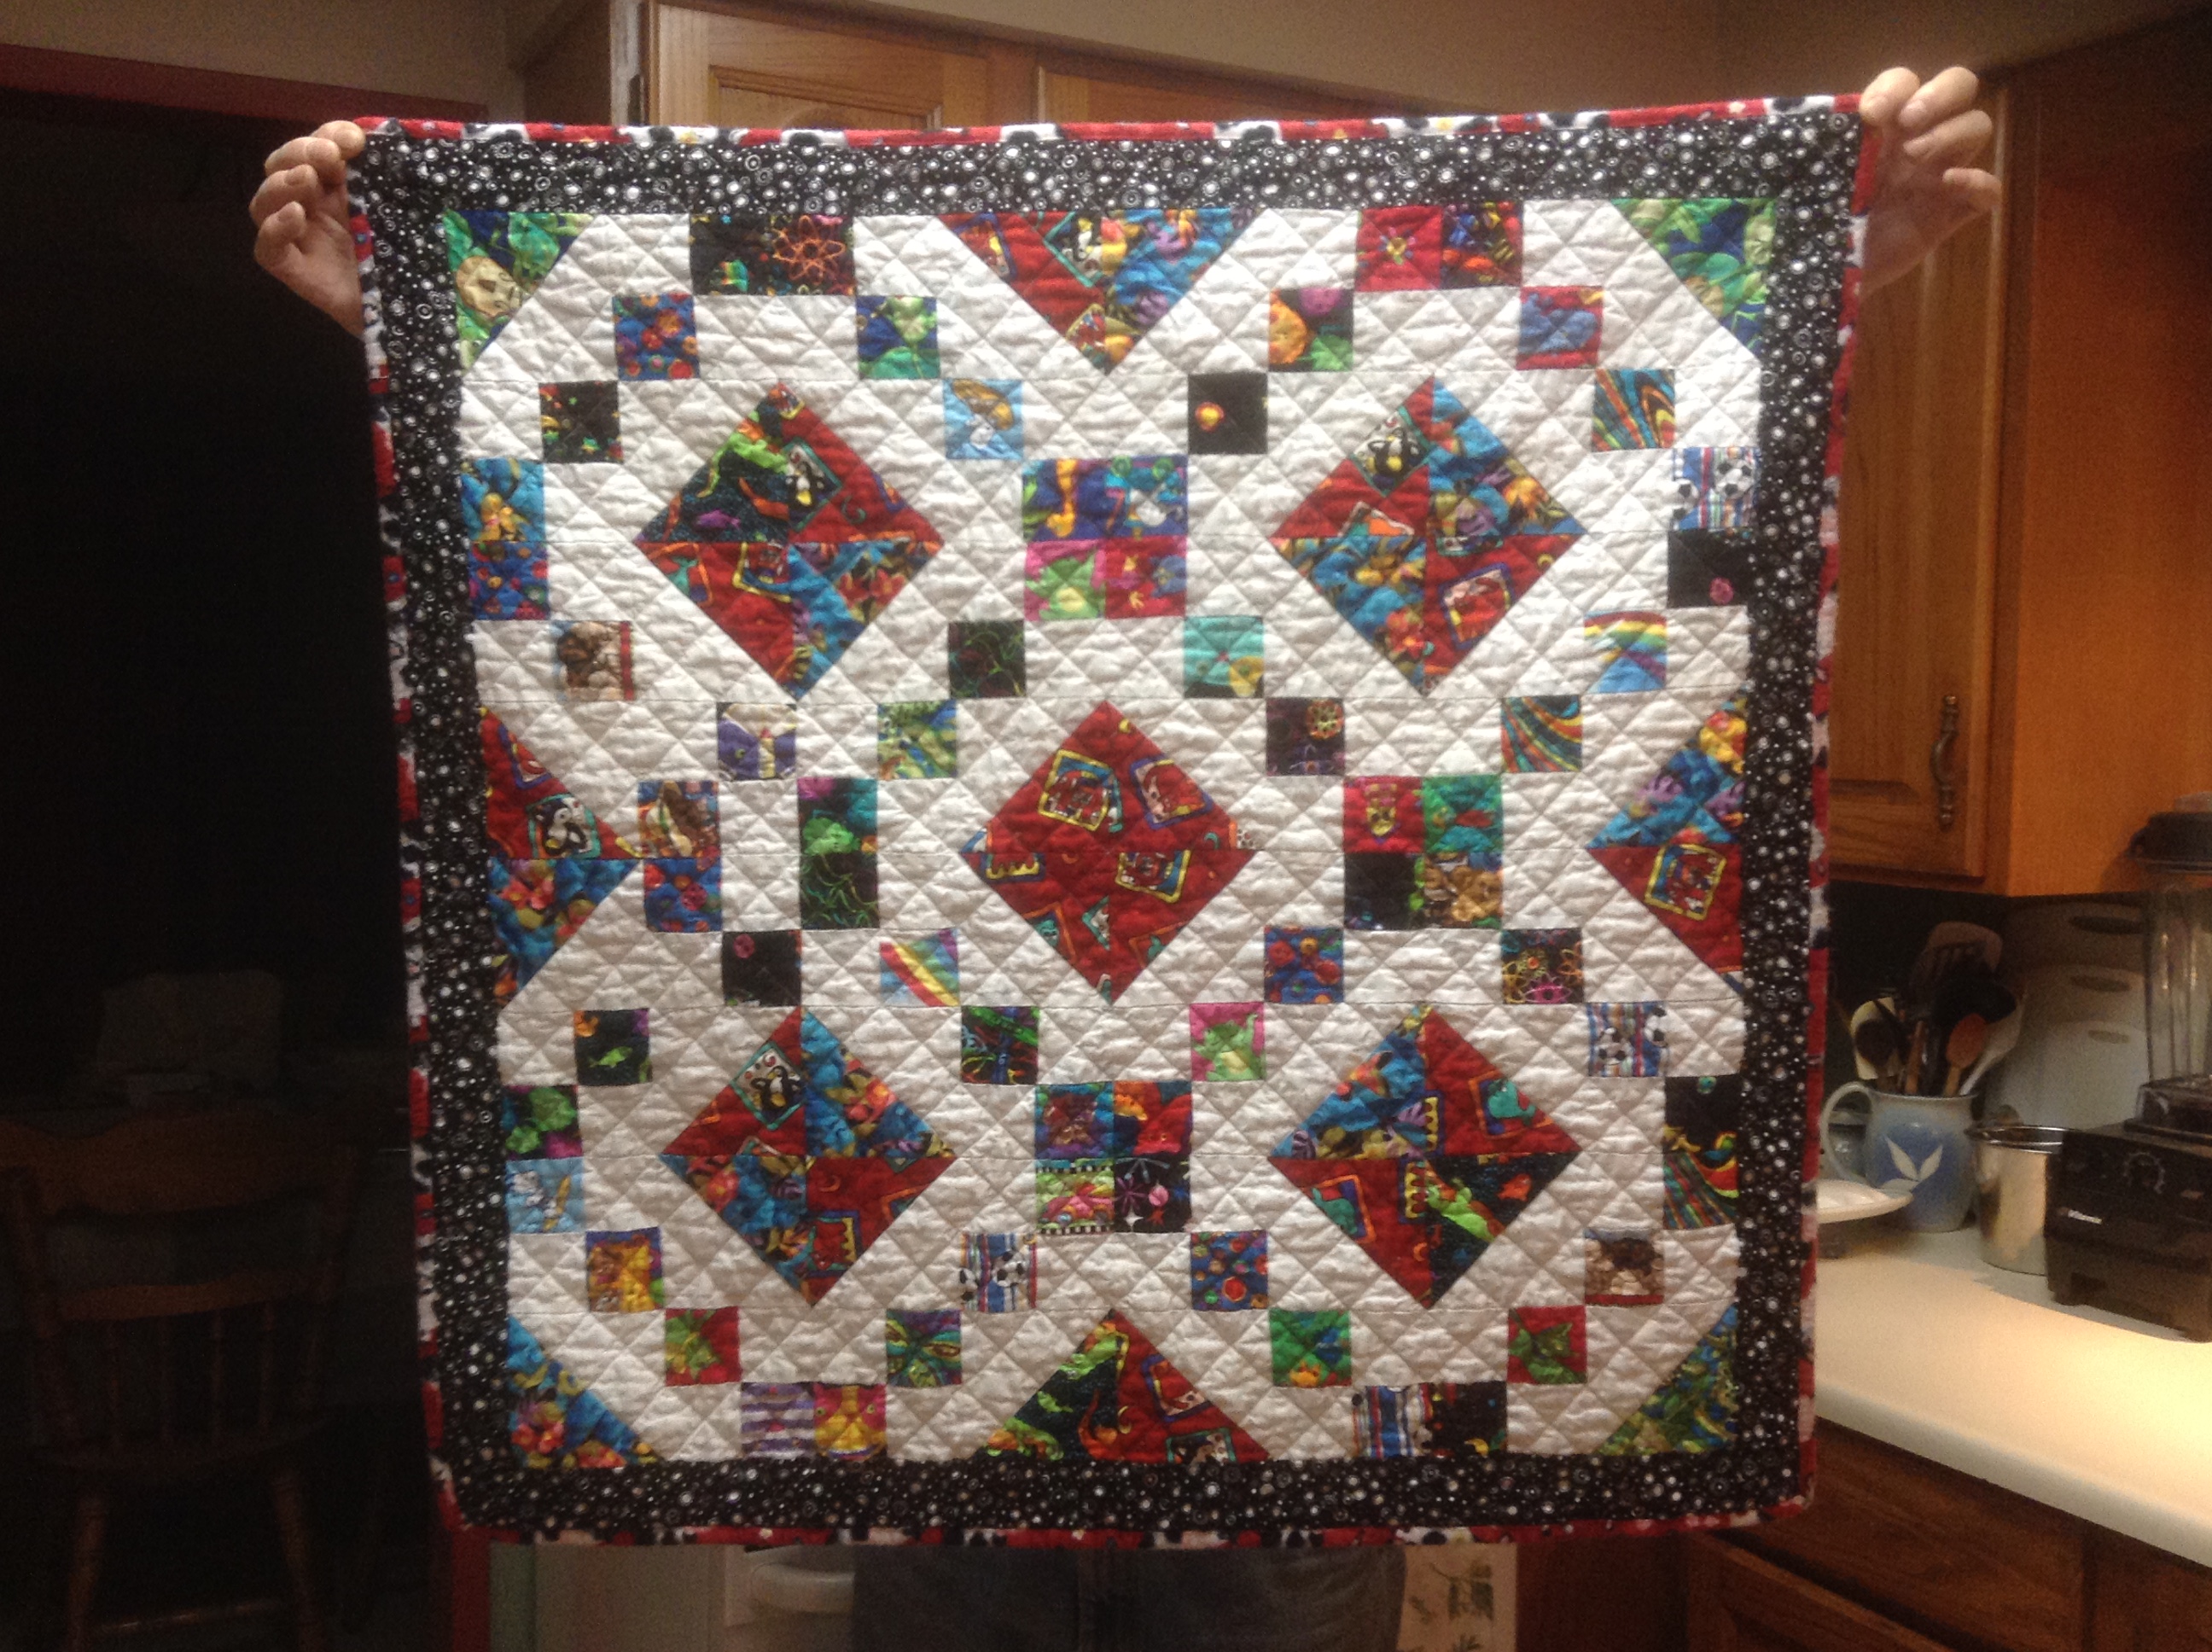
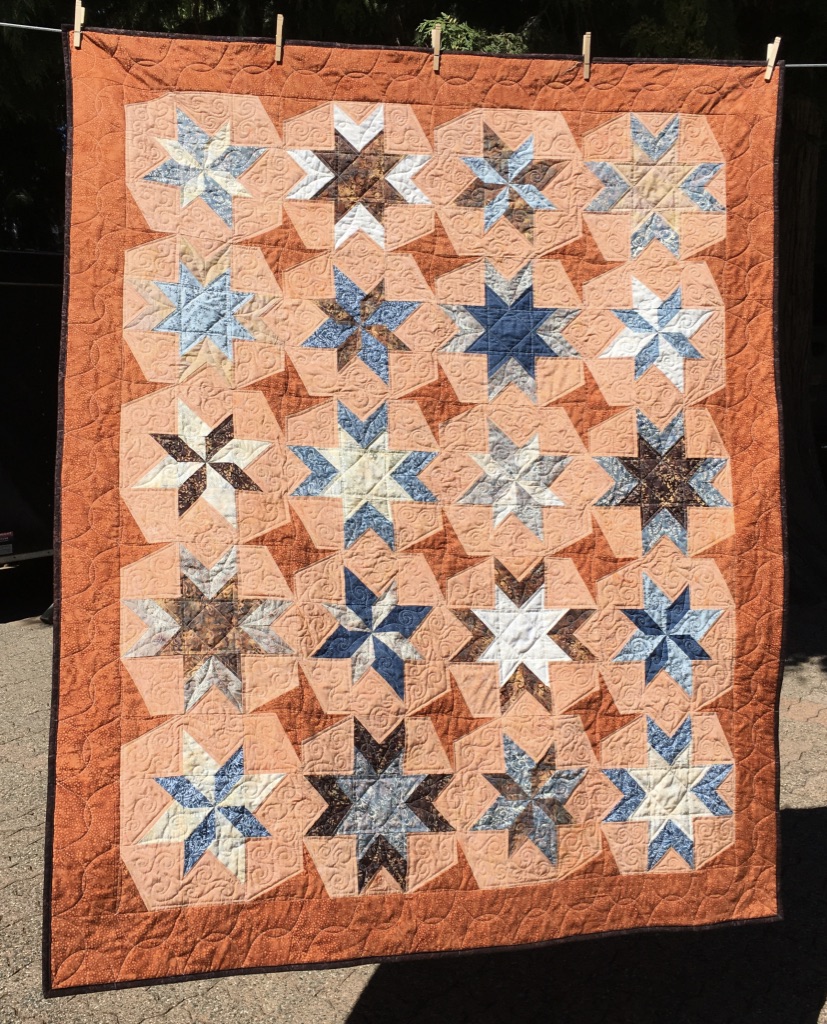
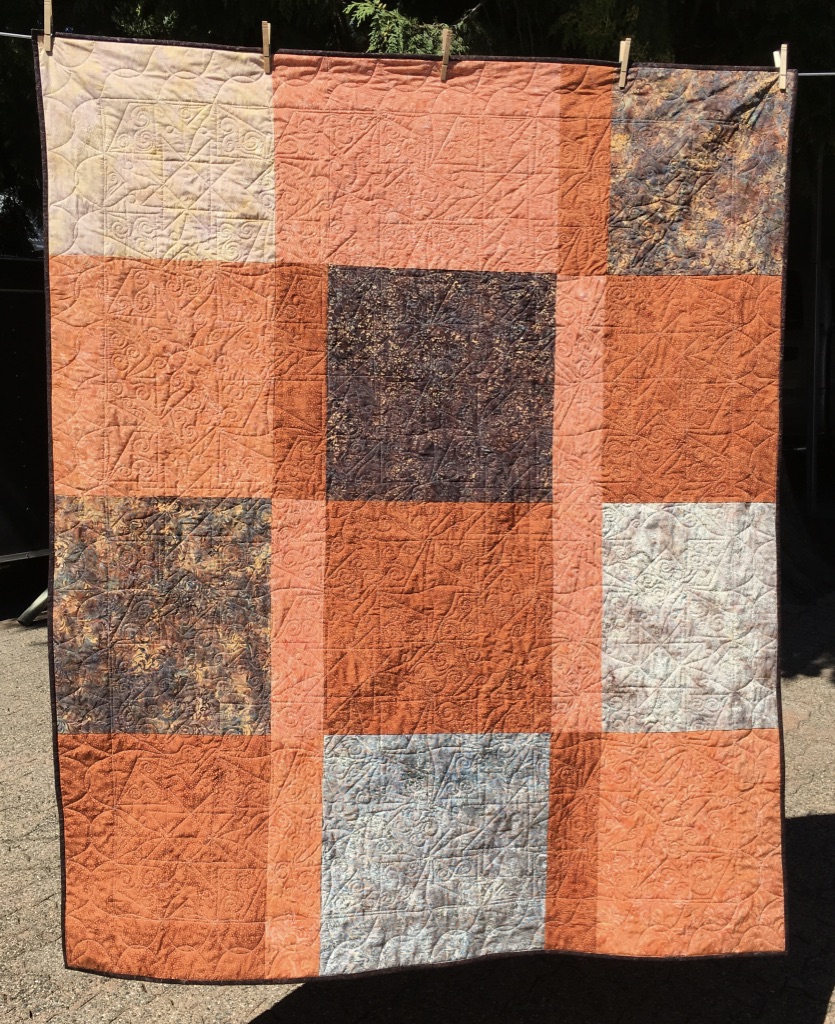
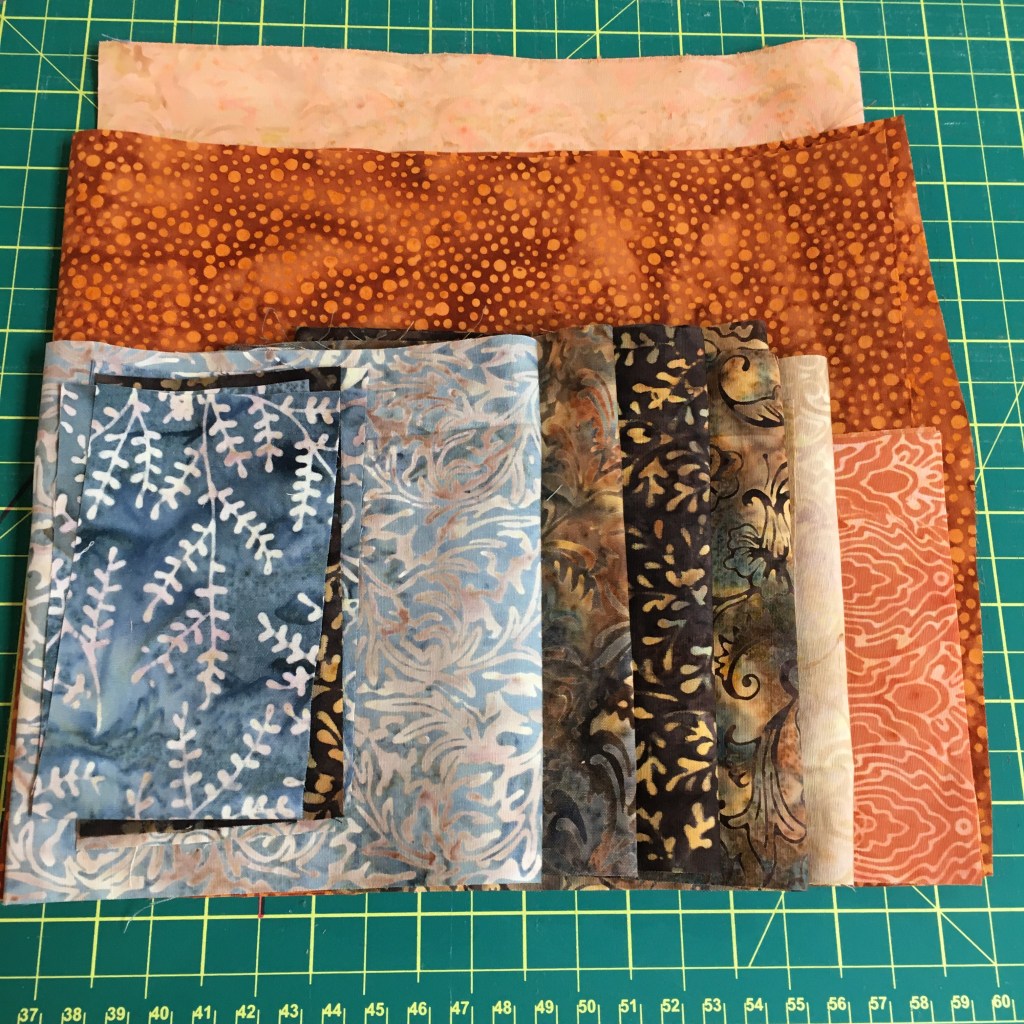
I received a 2.5″ strip pack from Island Batik awhile back … It’s such a beautiful collection … and I debated long and hard about what to make with it! It’s so pretty with the purples, oranges, golds, neutrals and blues!
I decided to go with a simple partial log cabin. The hardest part was deciding where each block should go!
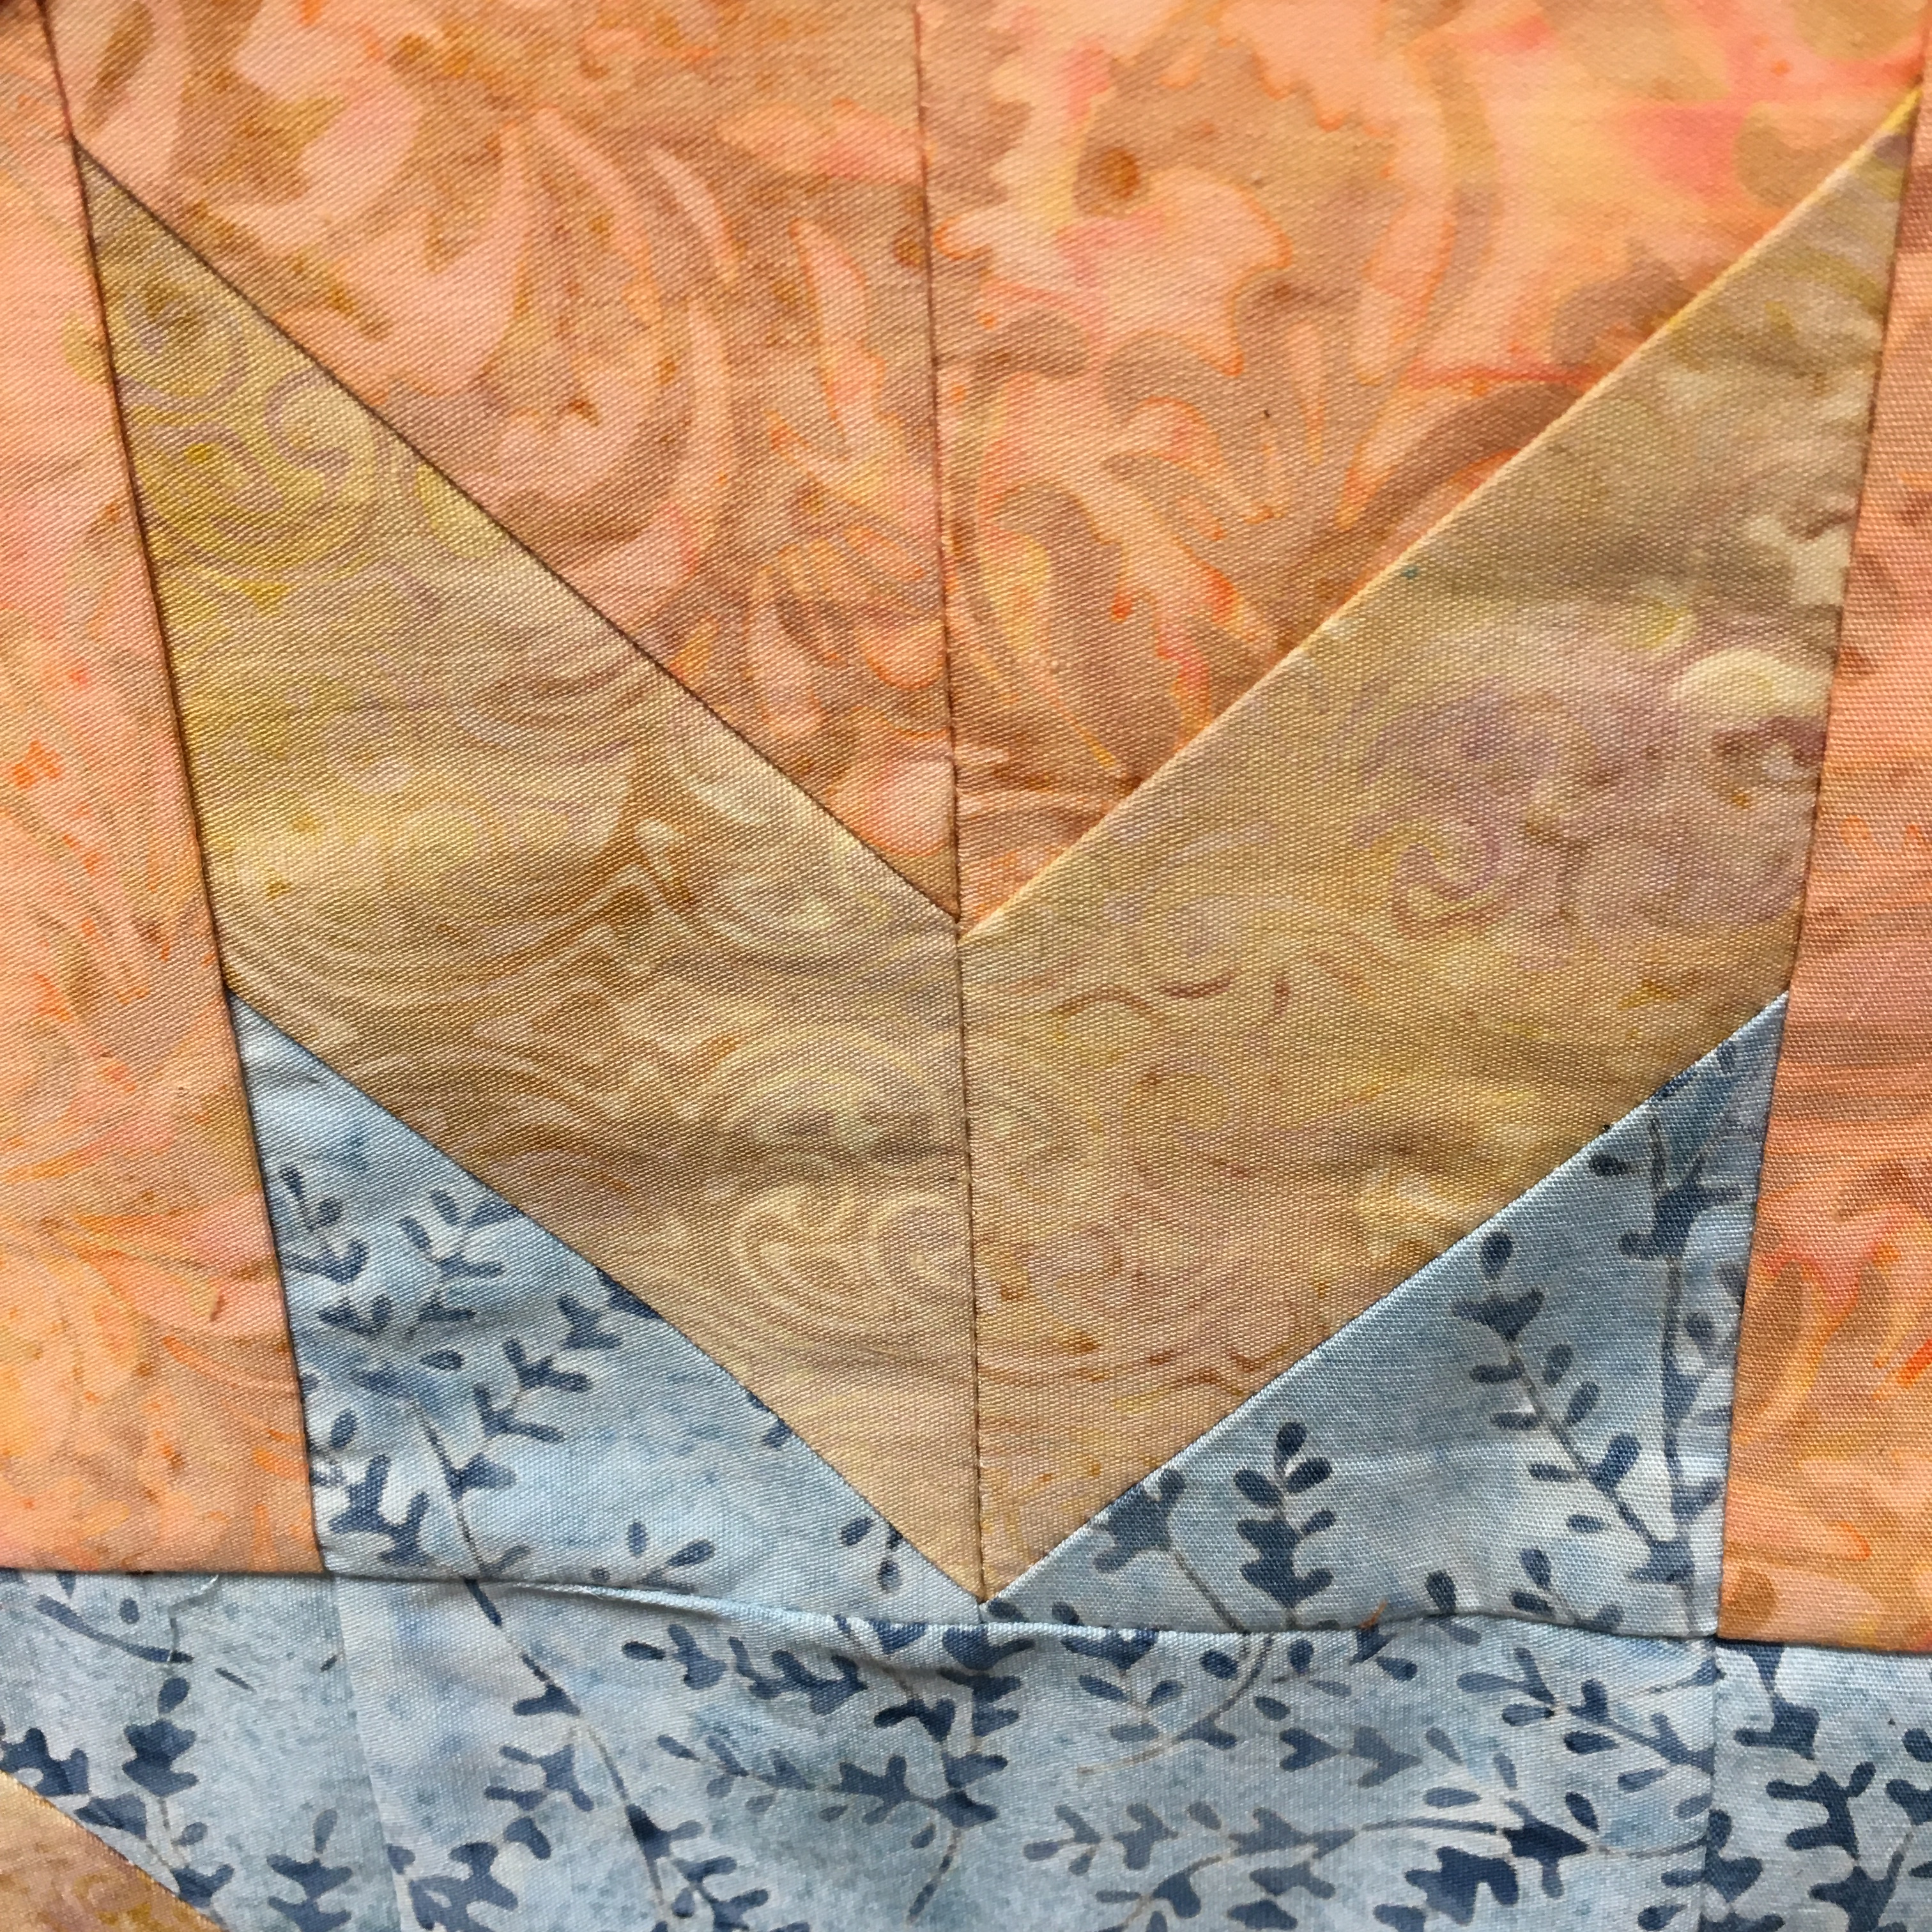
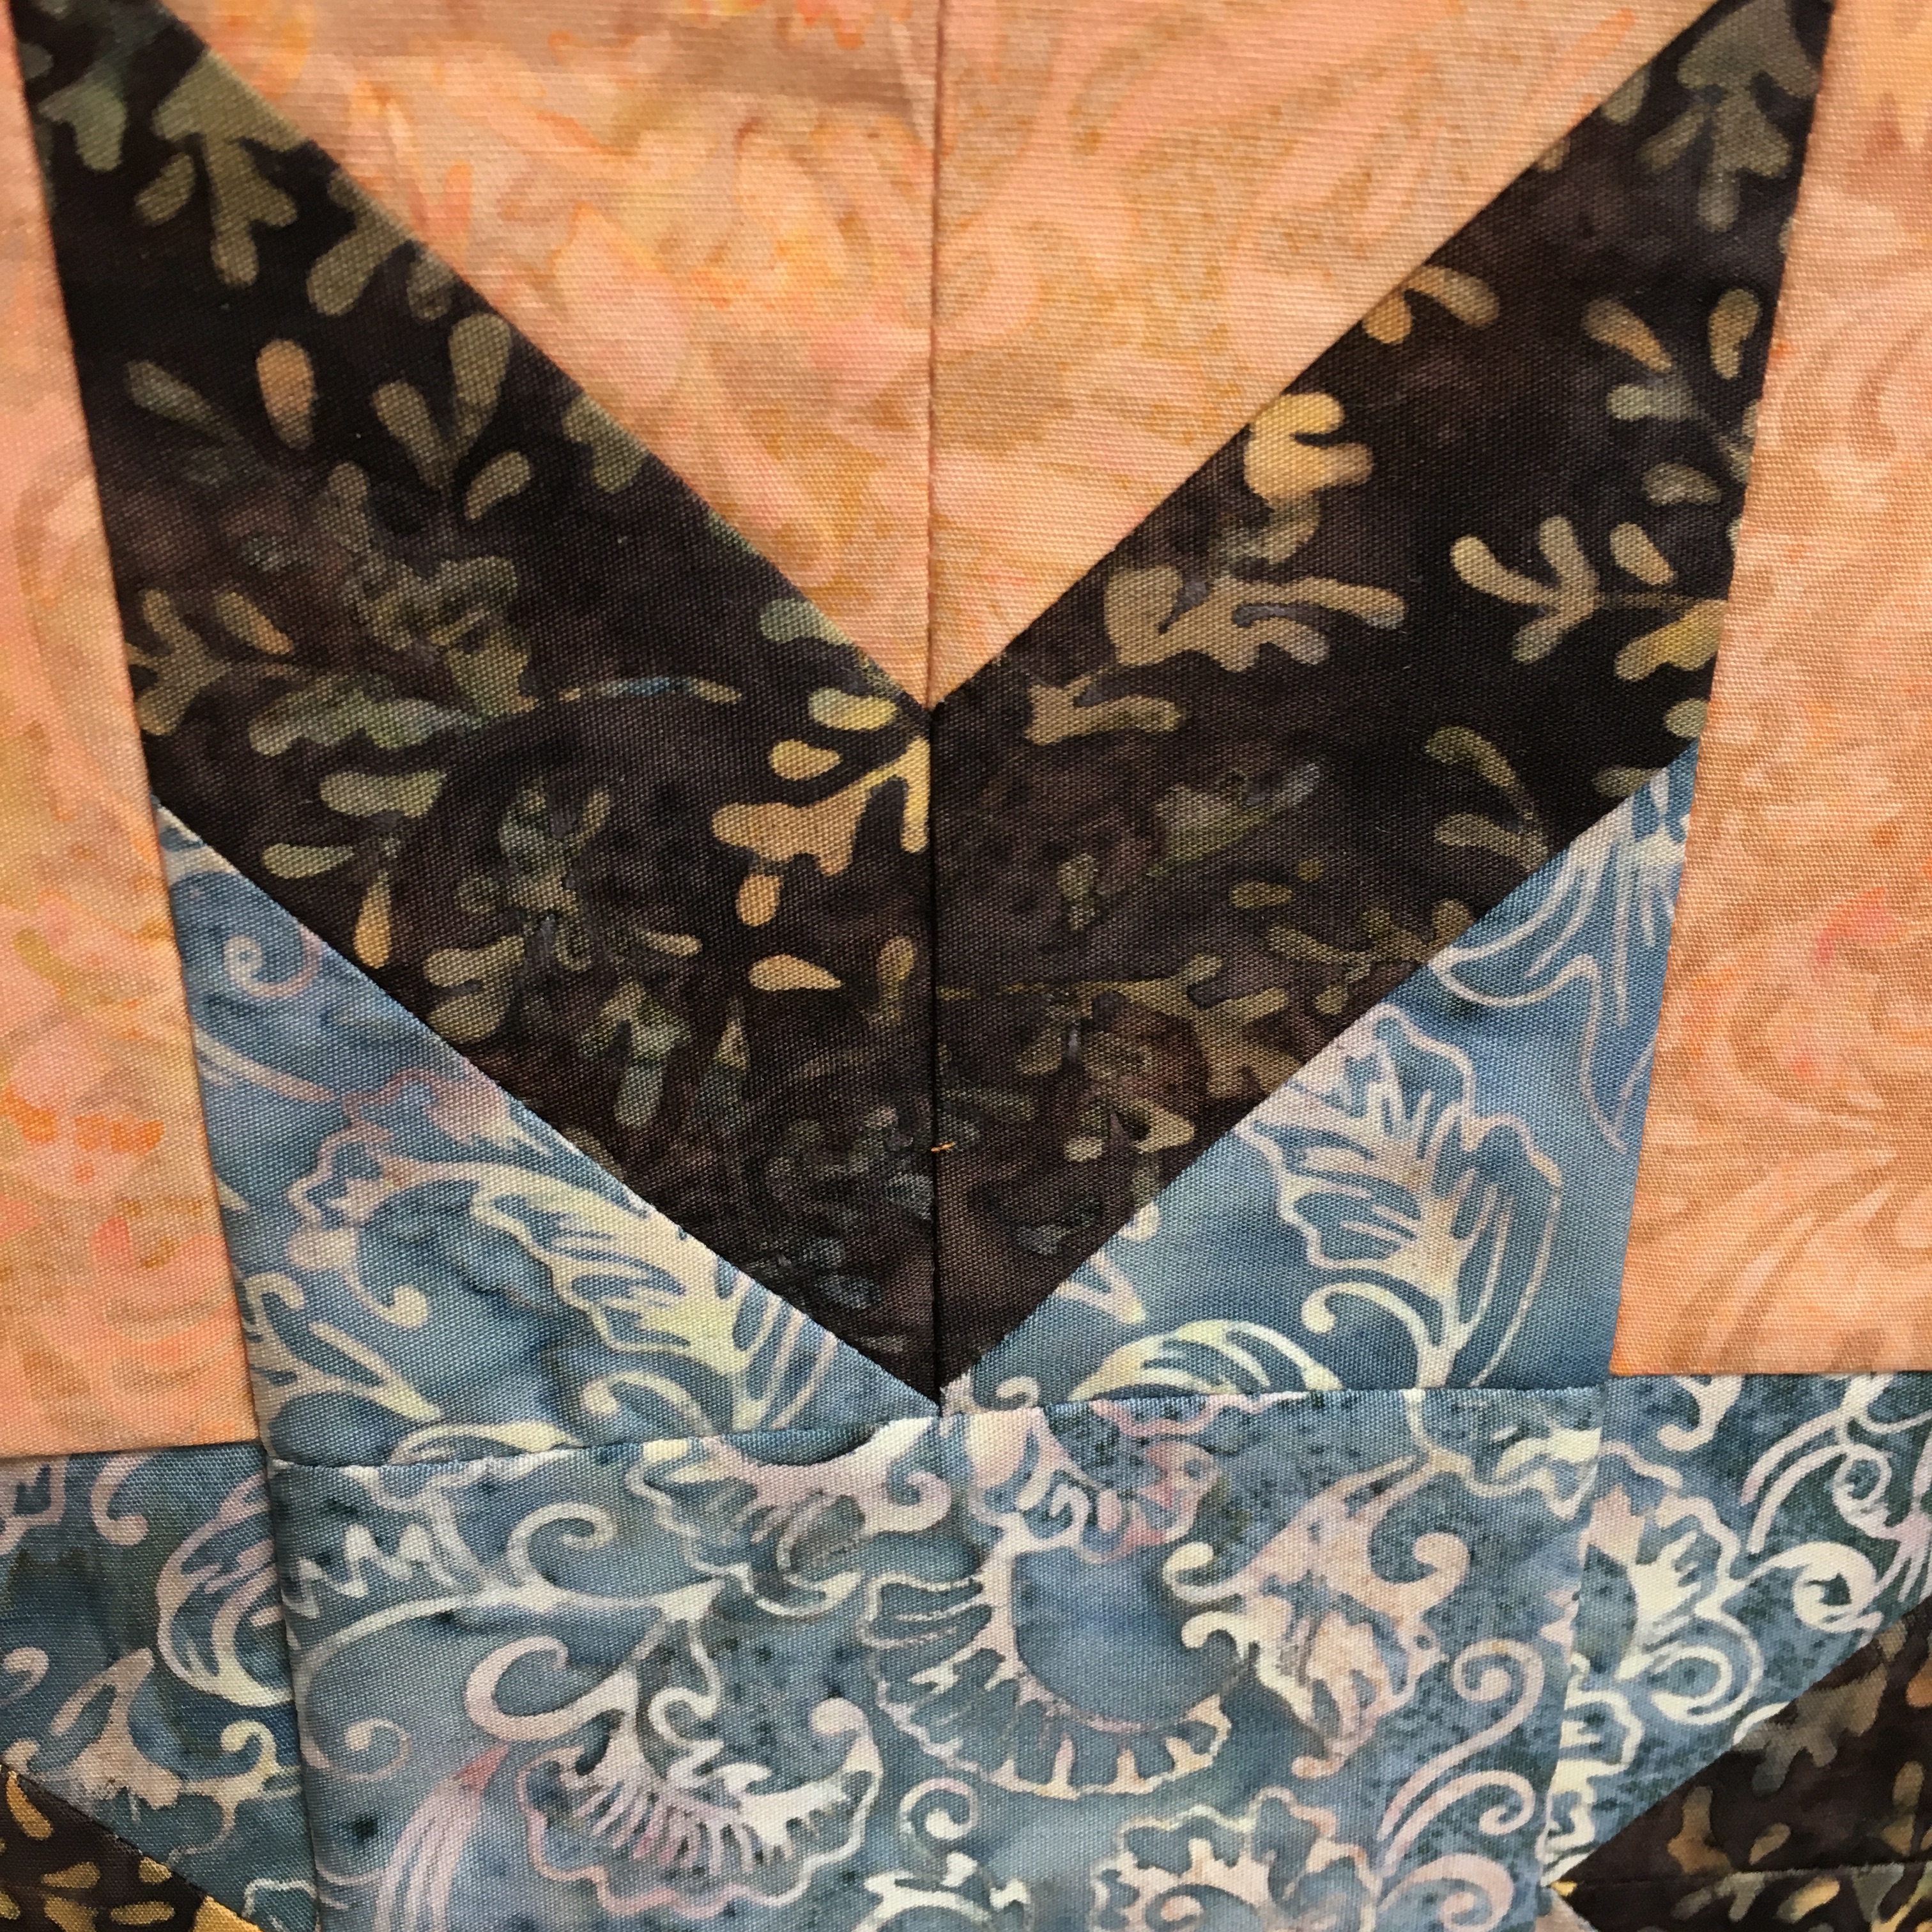
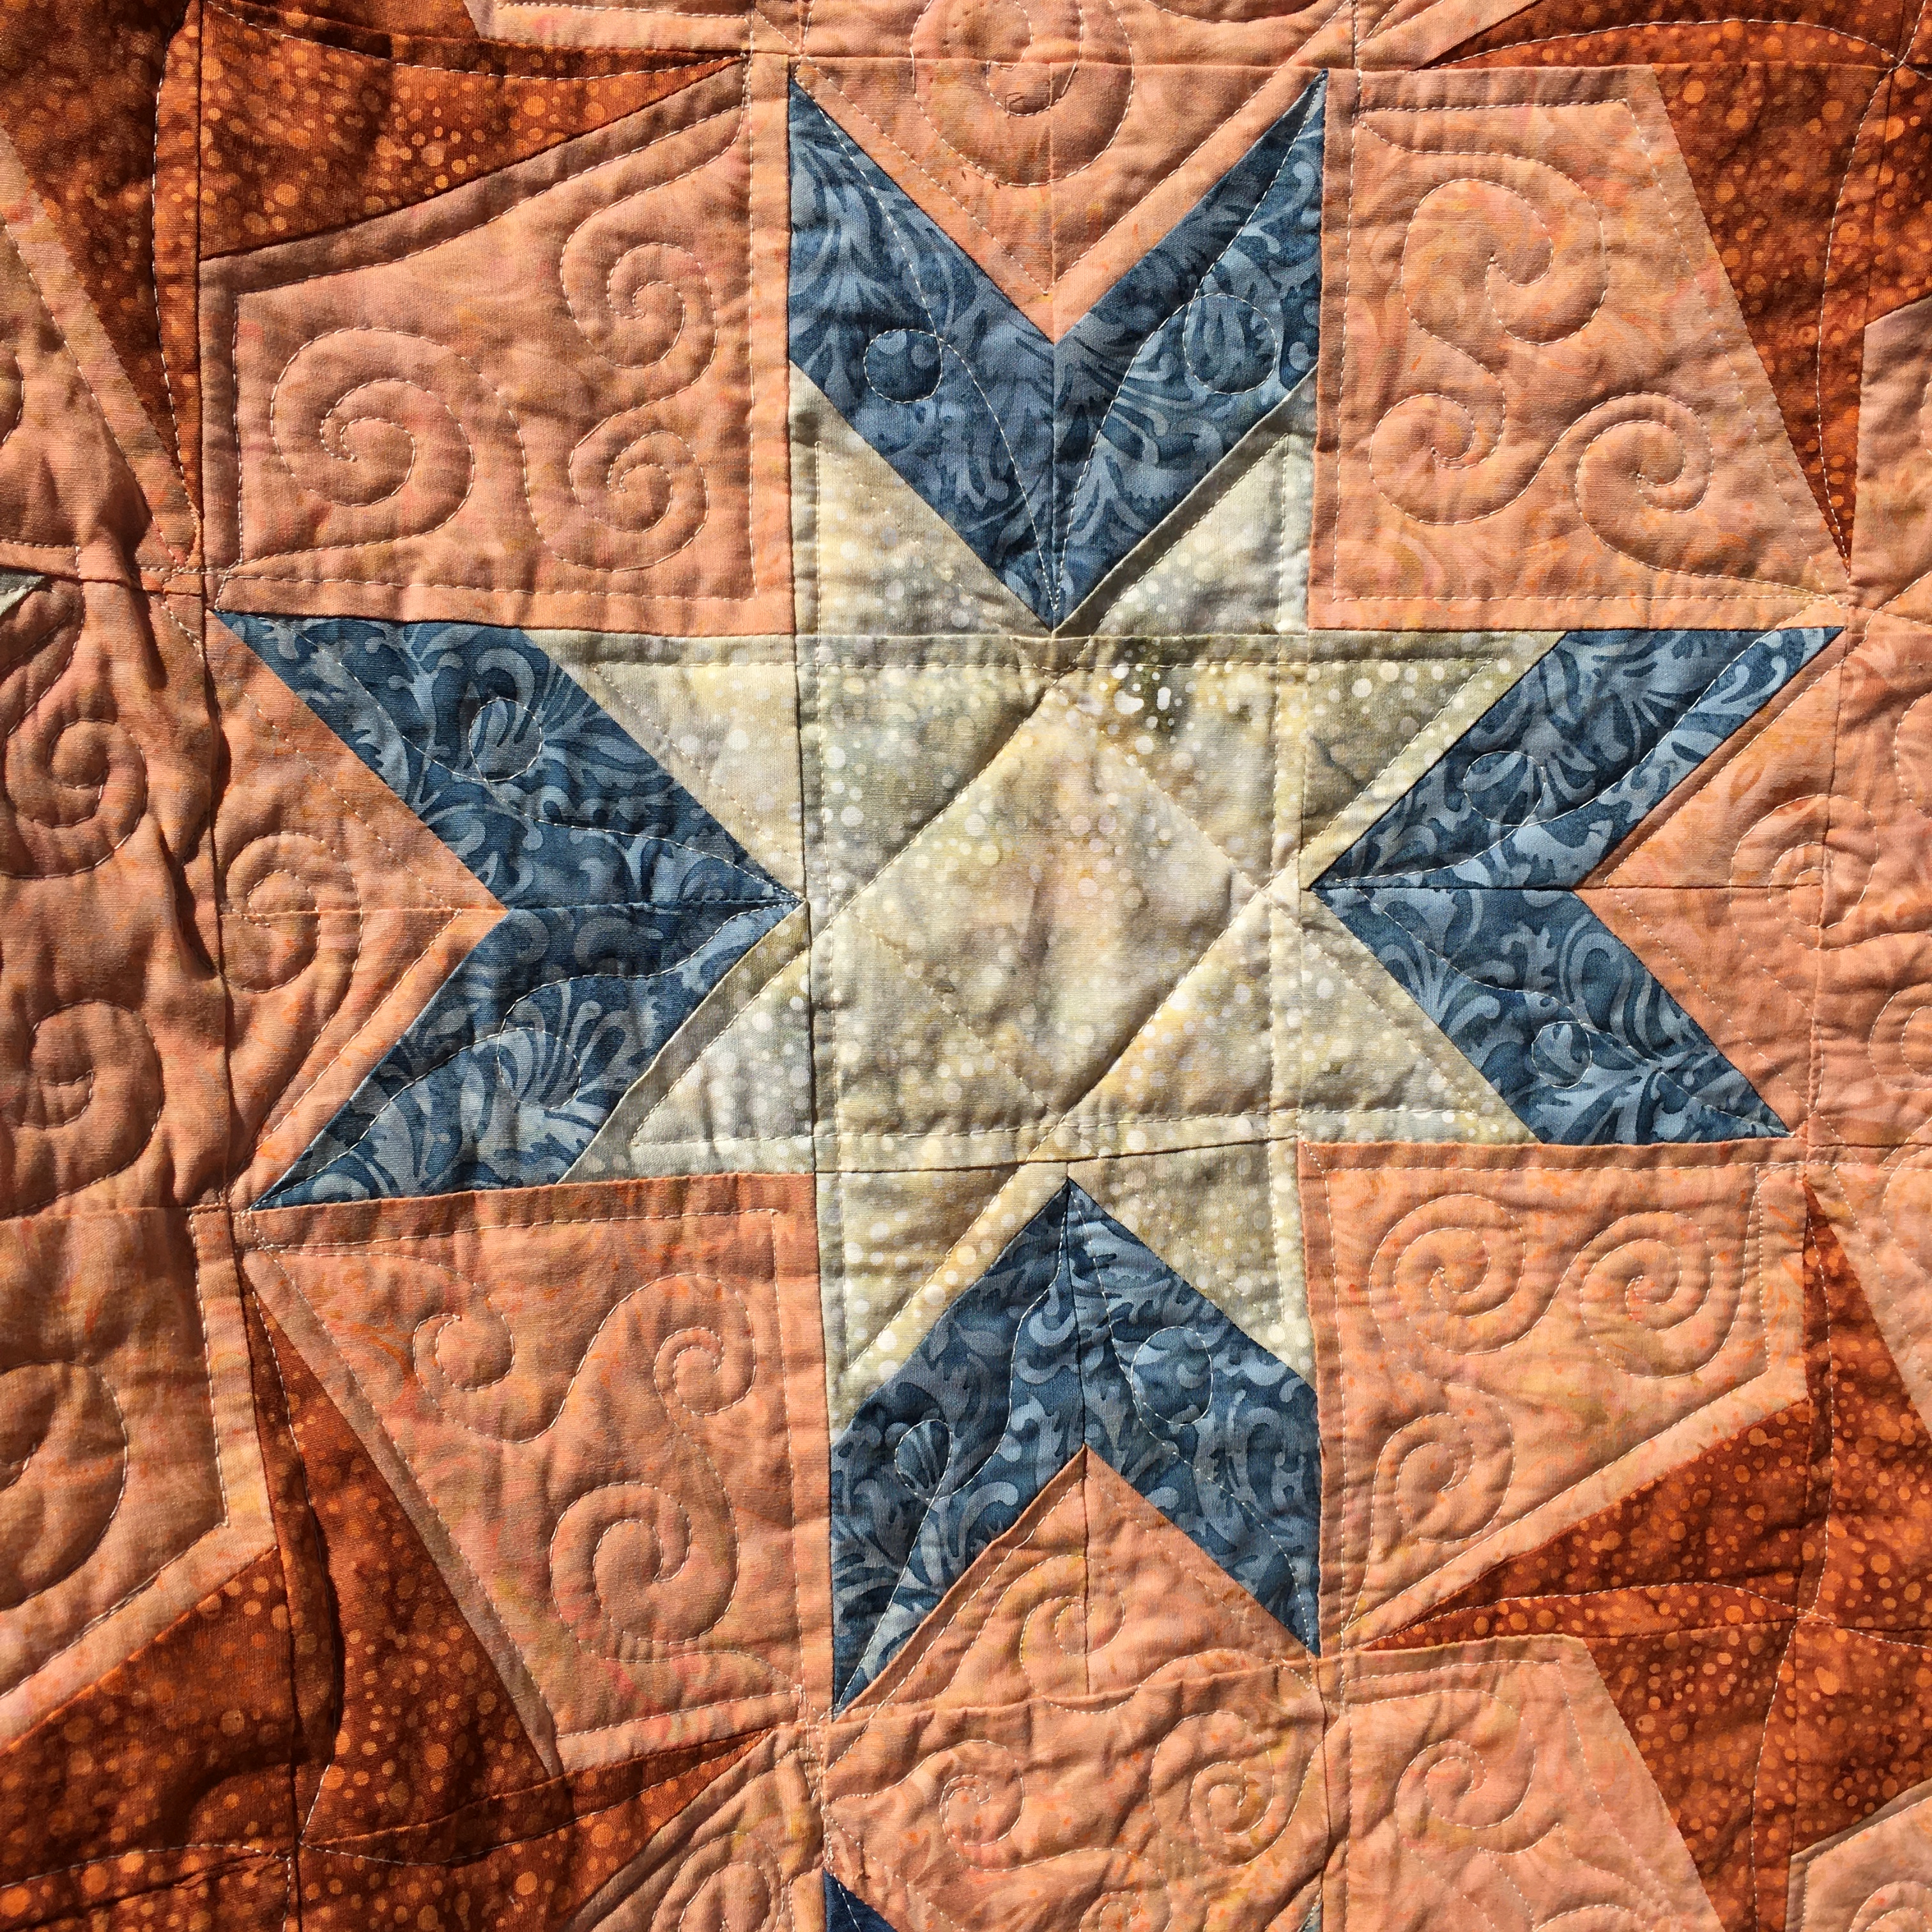
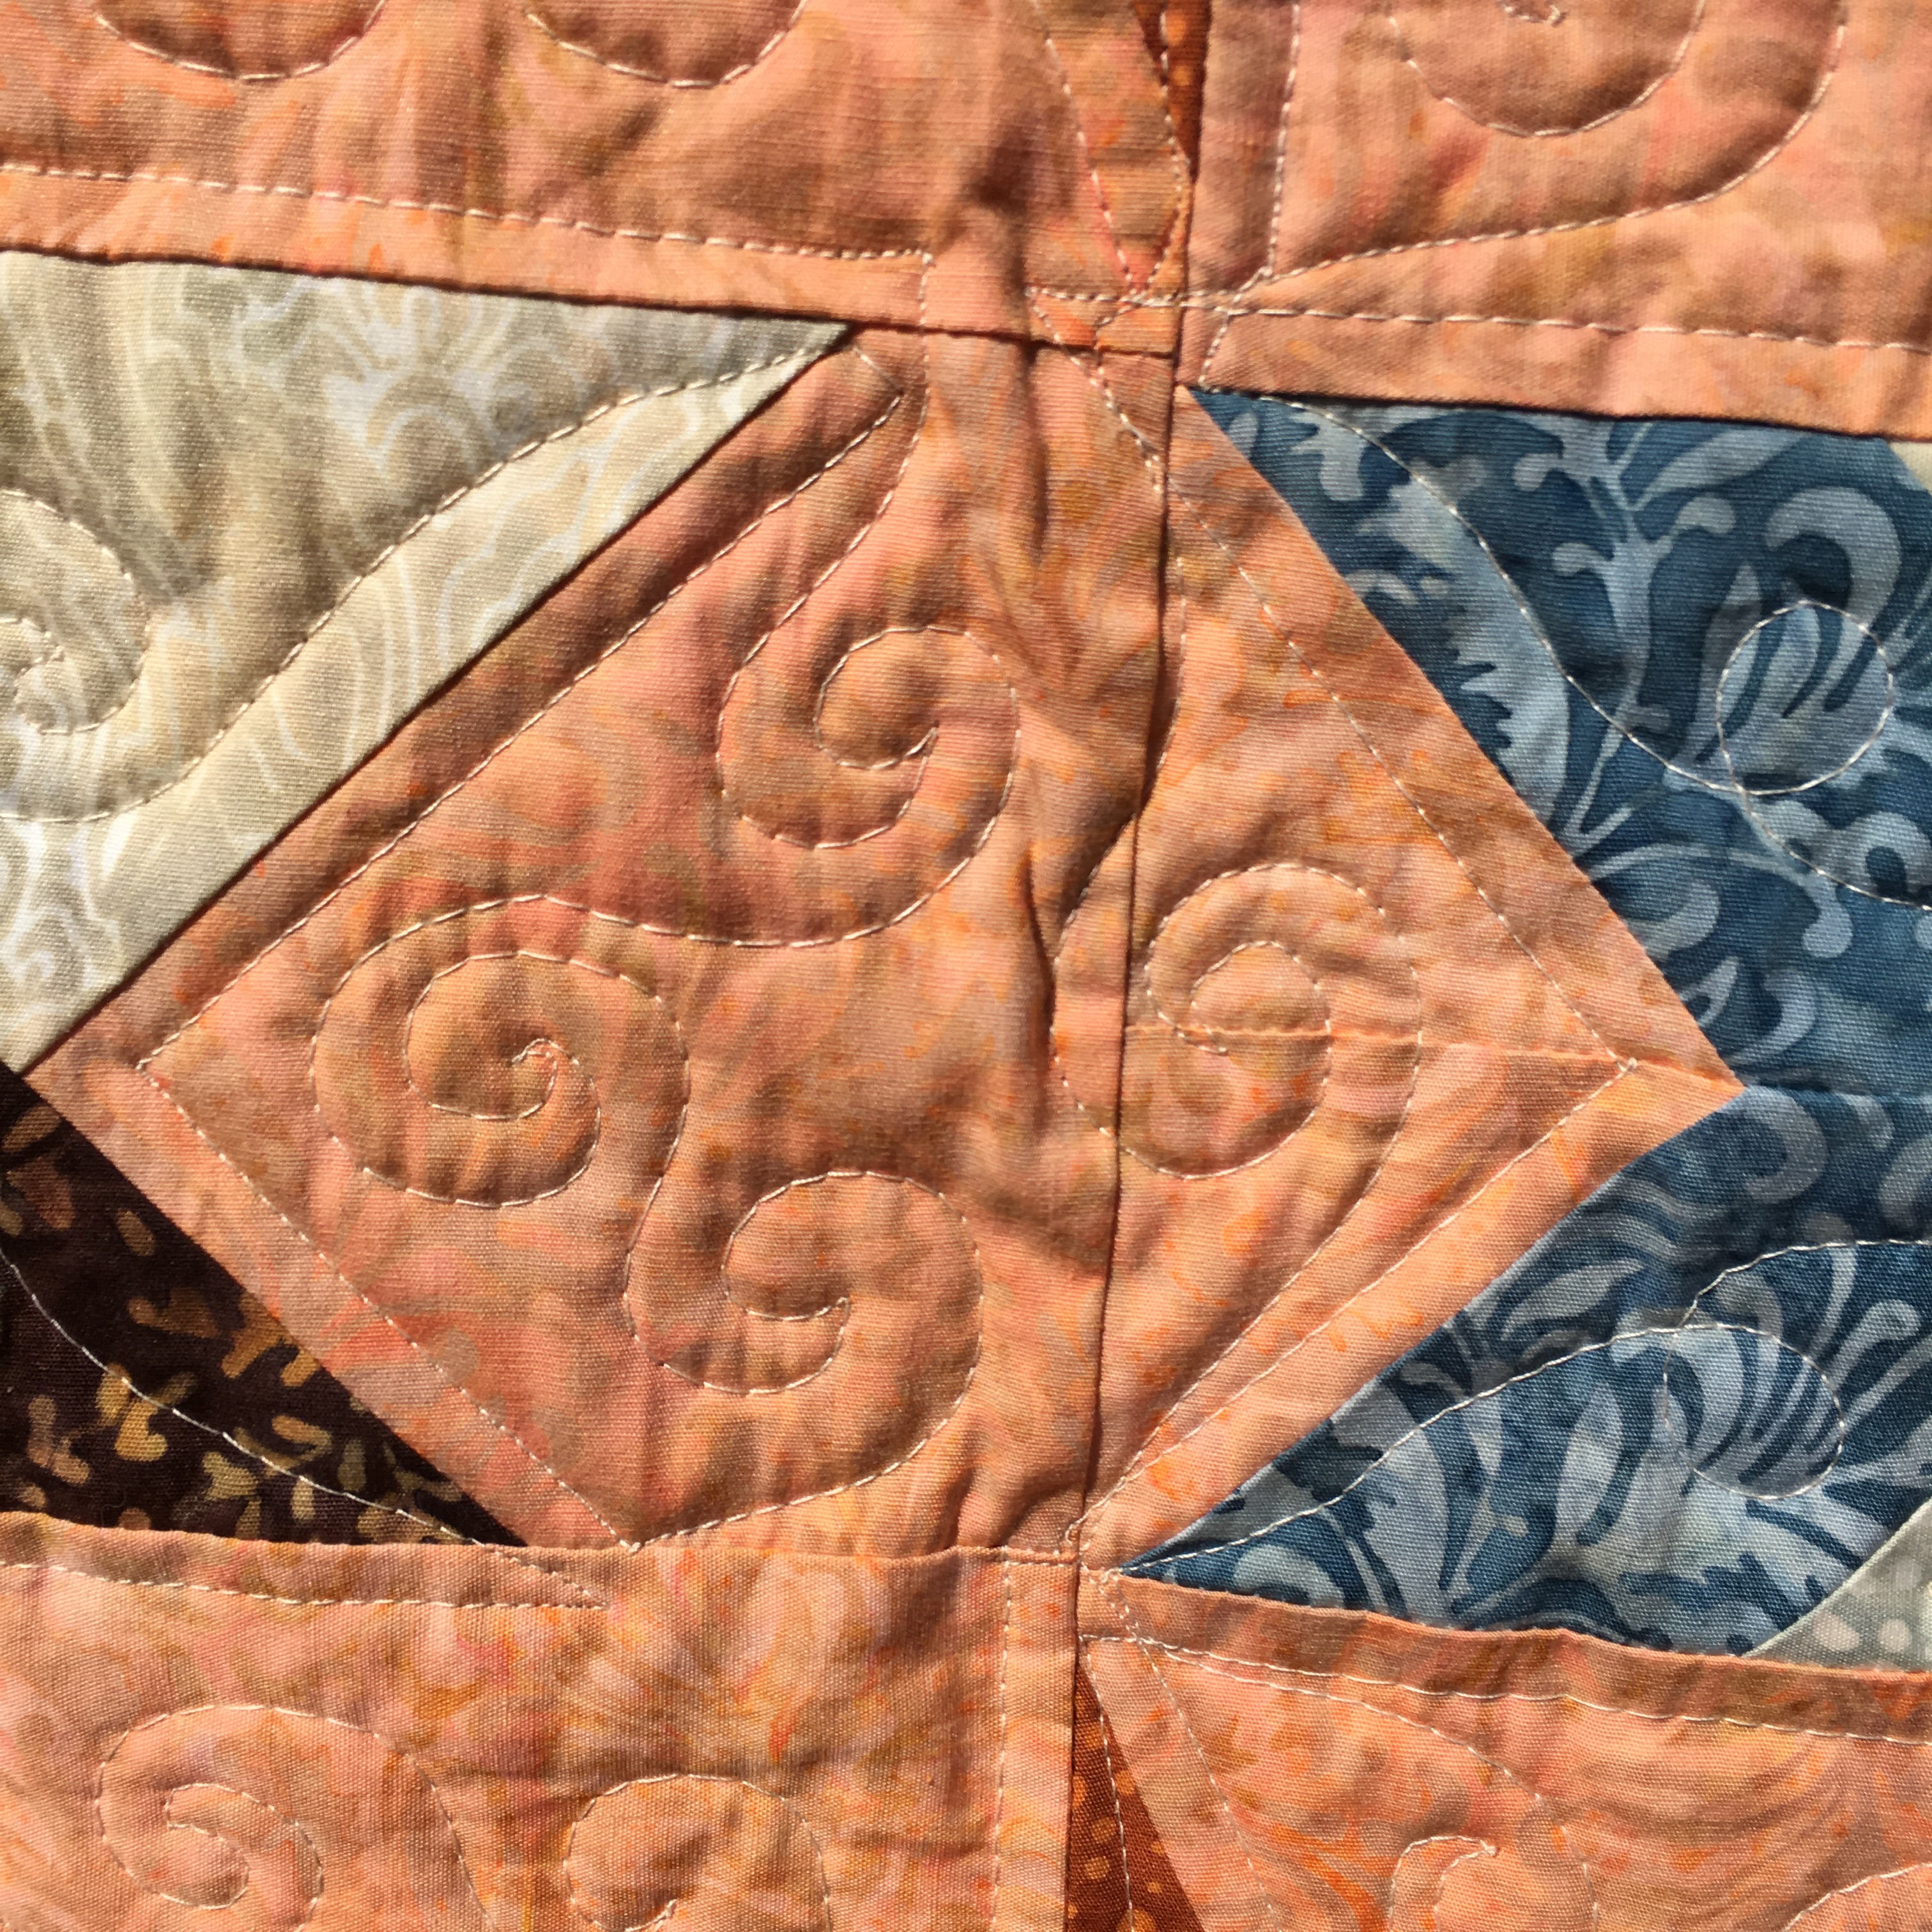
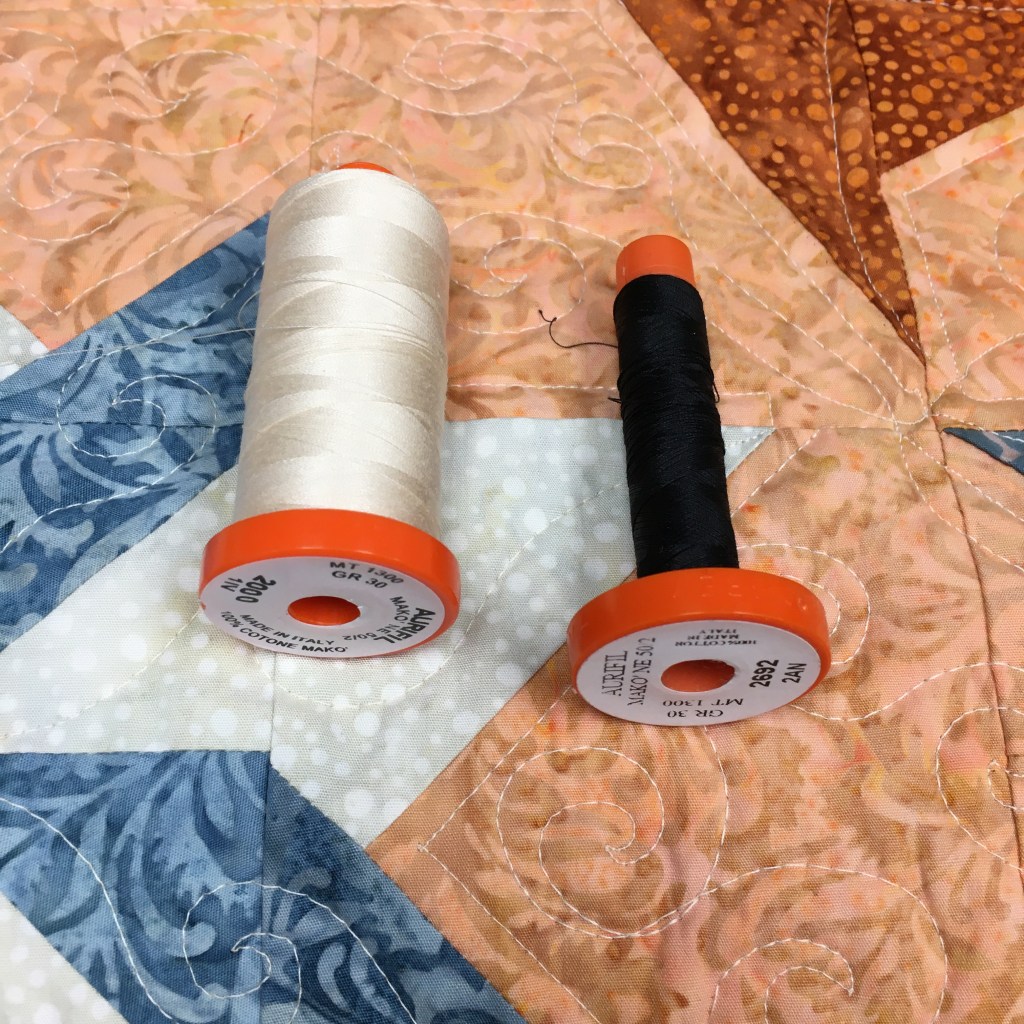
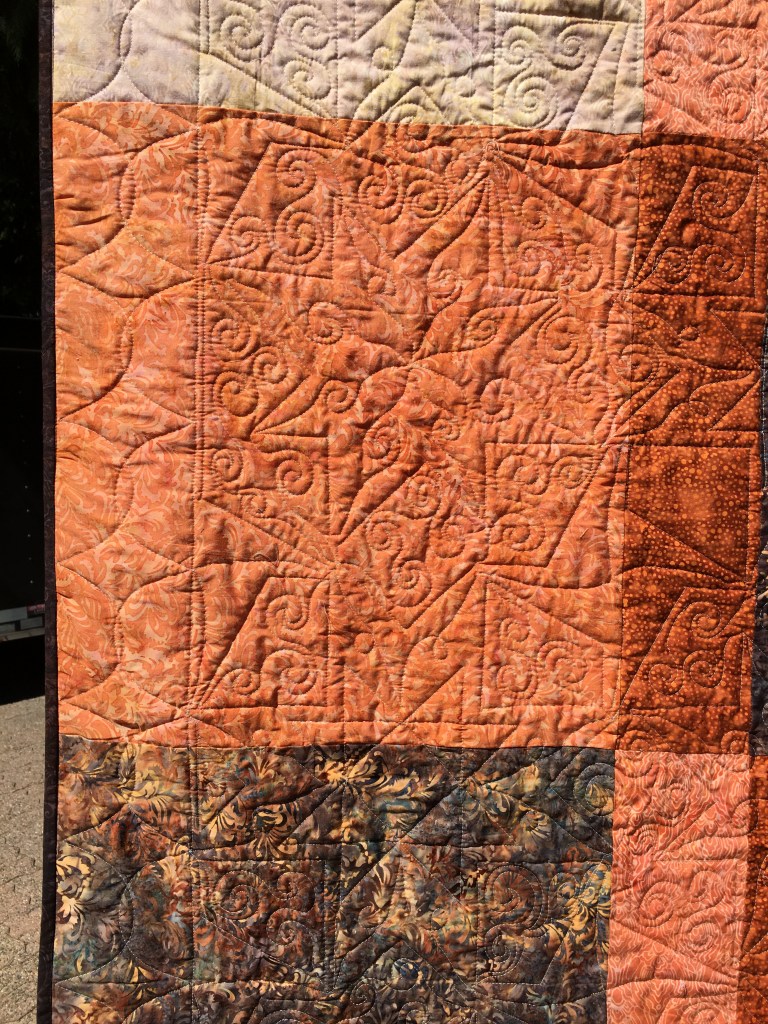
Here are some close-ups of the graffiti quilting! I really enjoy quilting whatever I feel like! It’s so much fun! And, to be totally honest, it’s perfect when the quilt front is busy! And, it’s fast! I used Aurifil thread for the quilting and Hobbs 80/20 is in the middle!
This week’s class
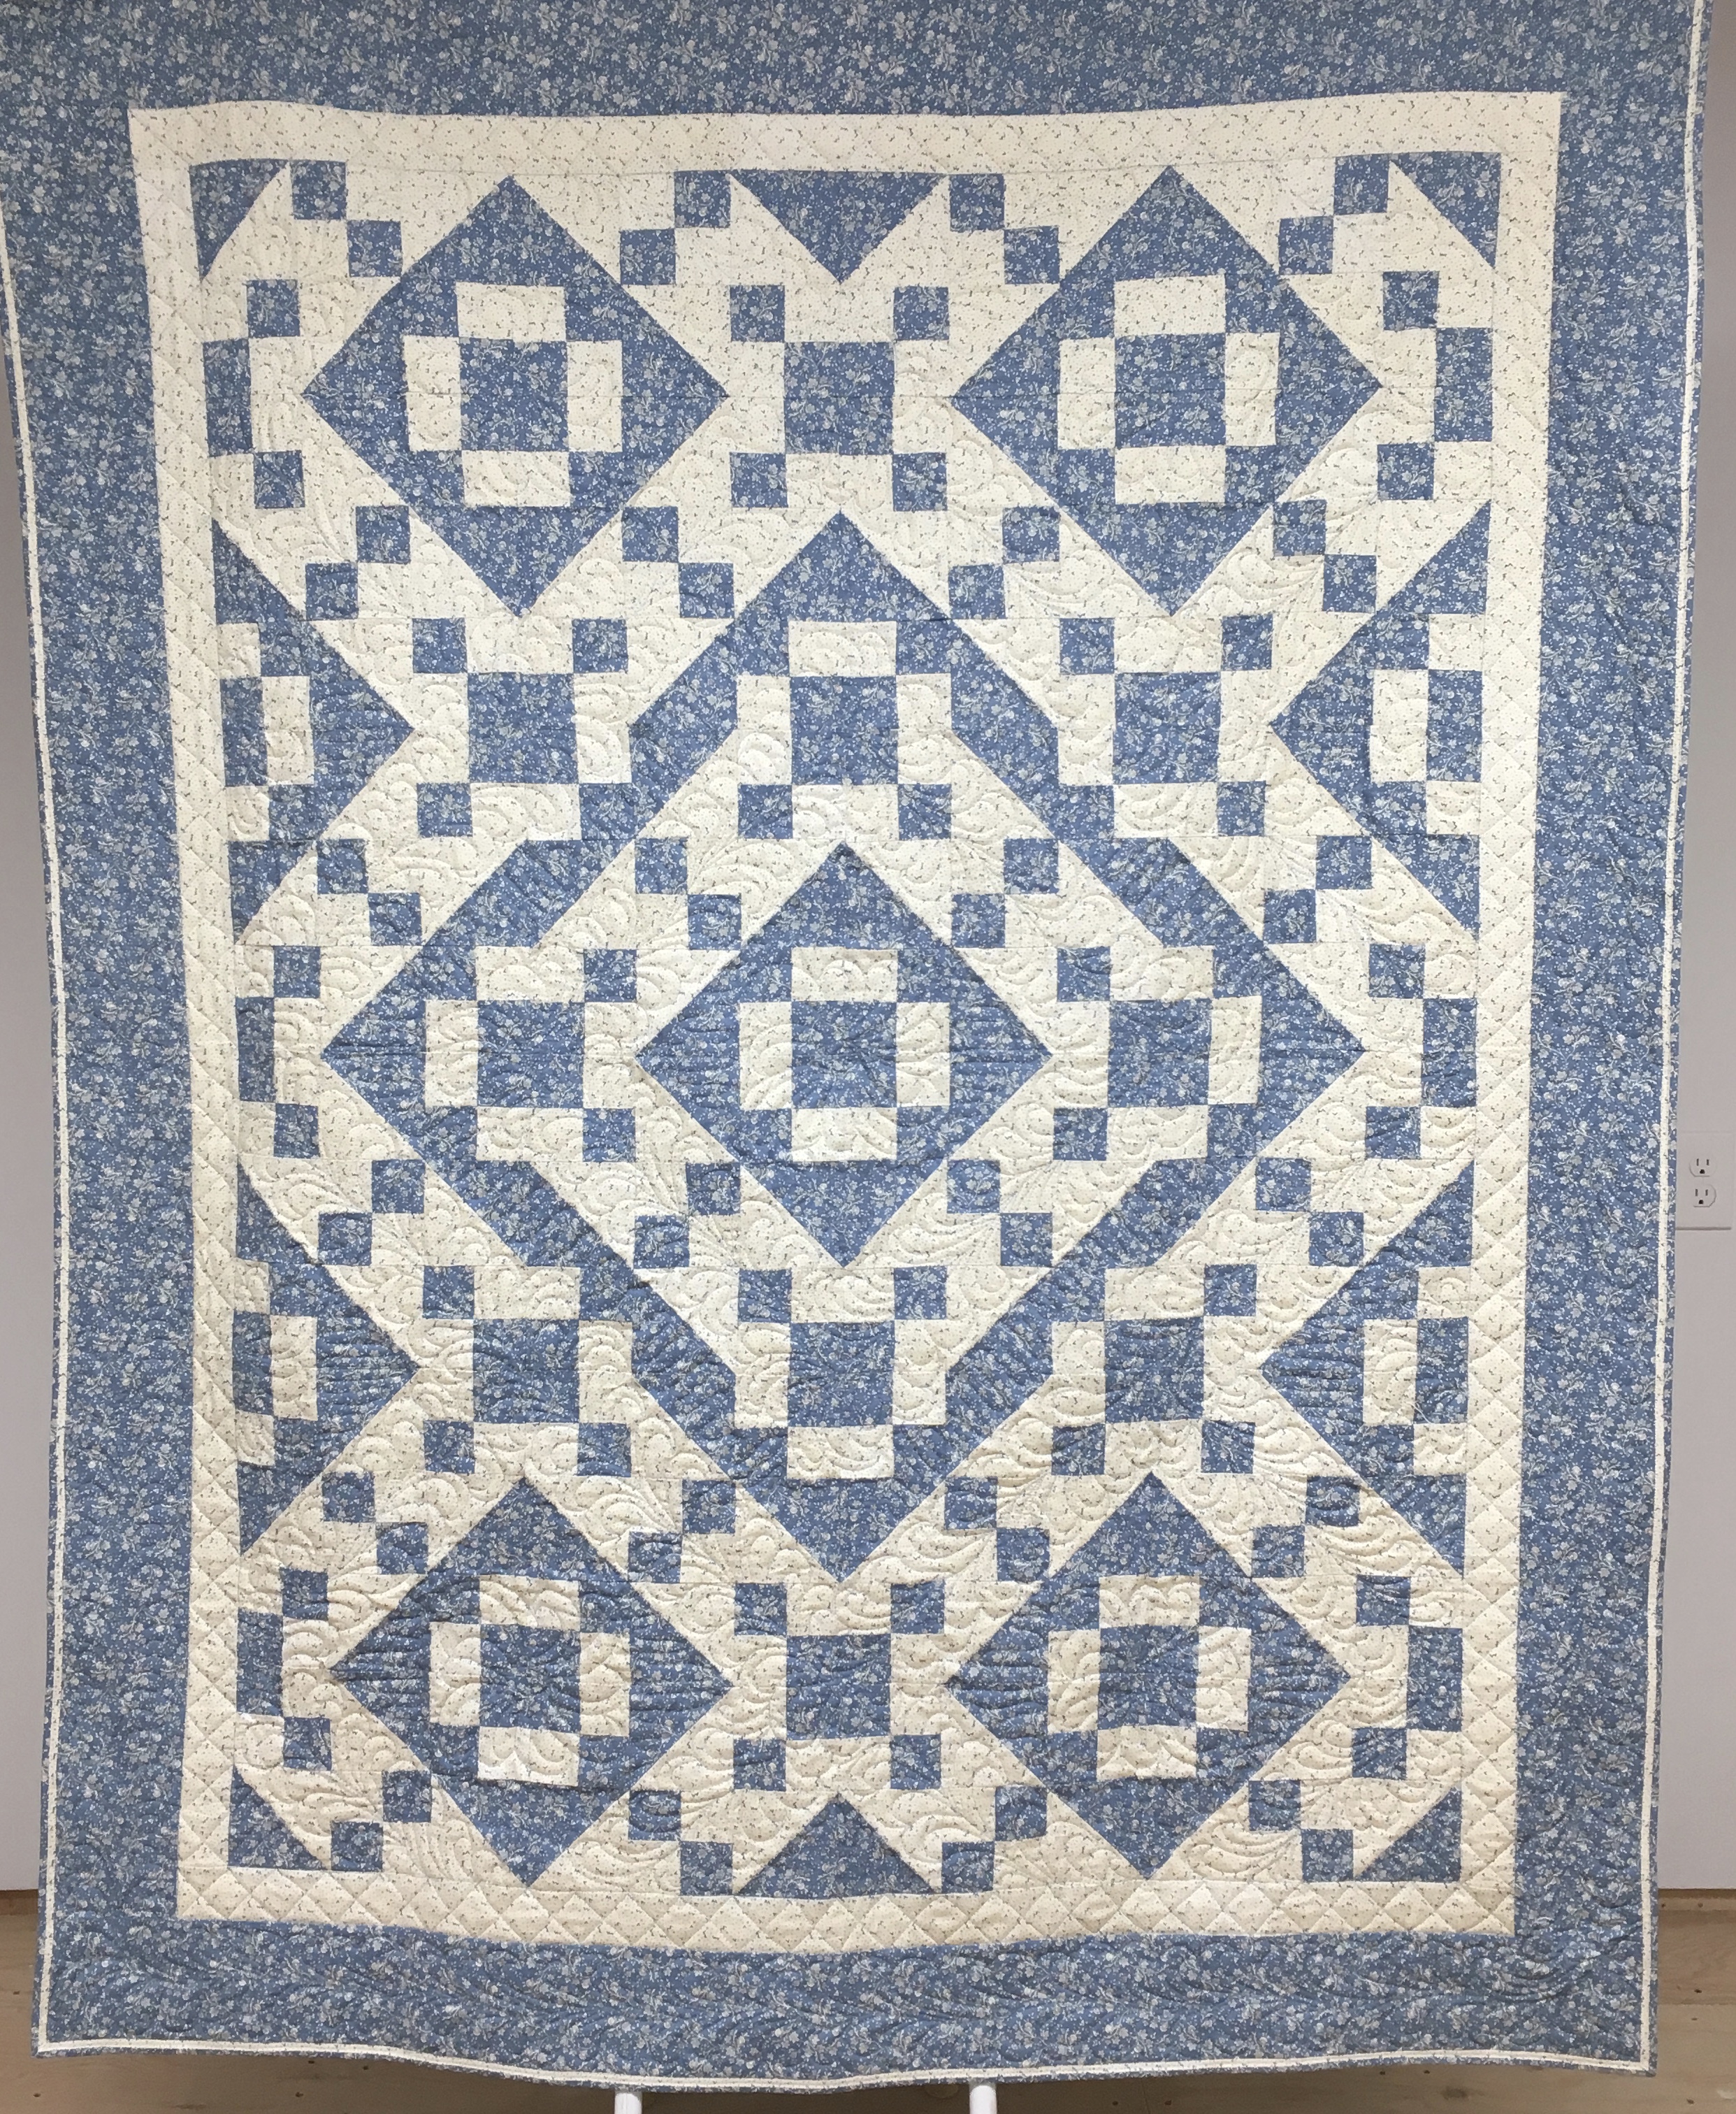
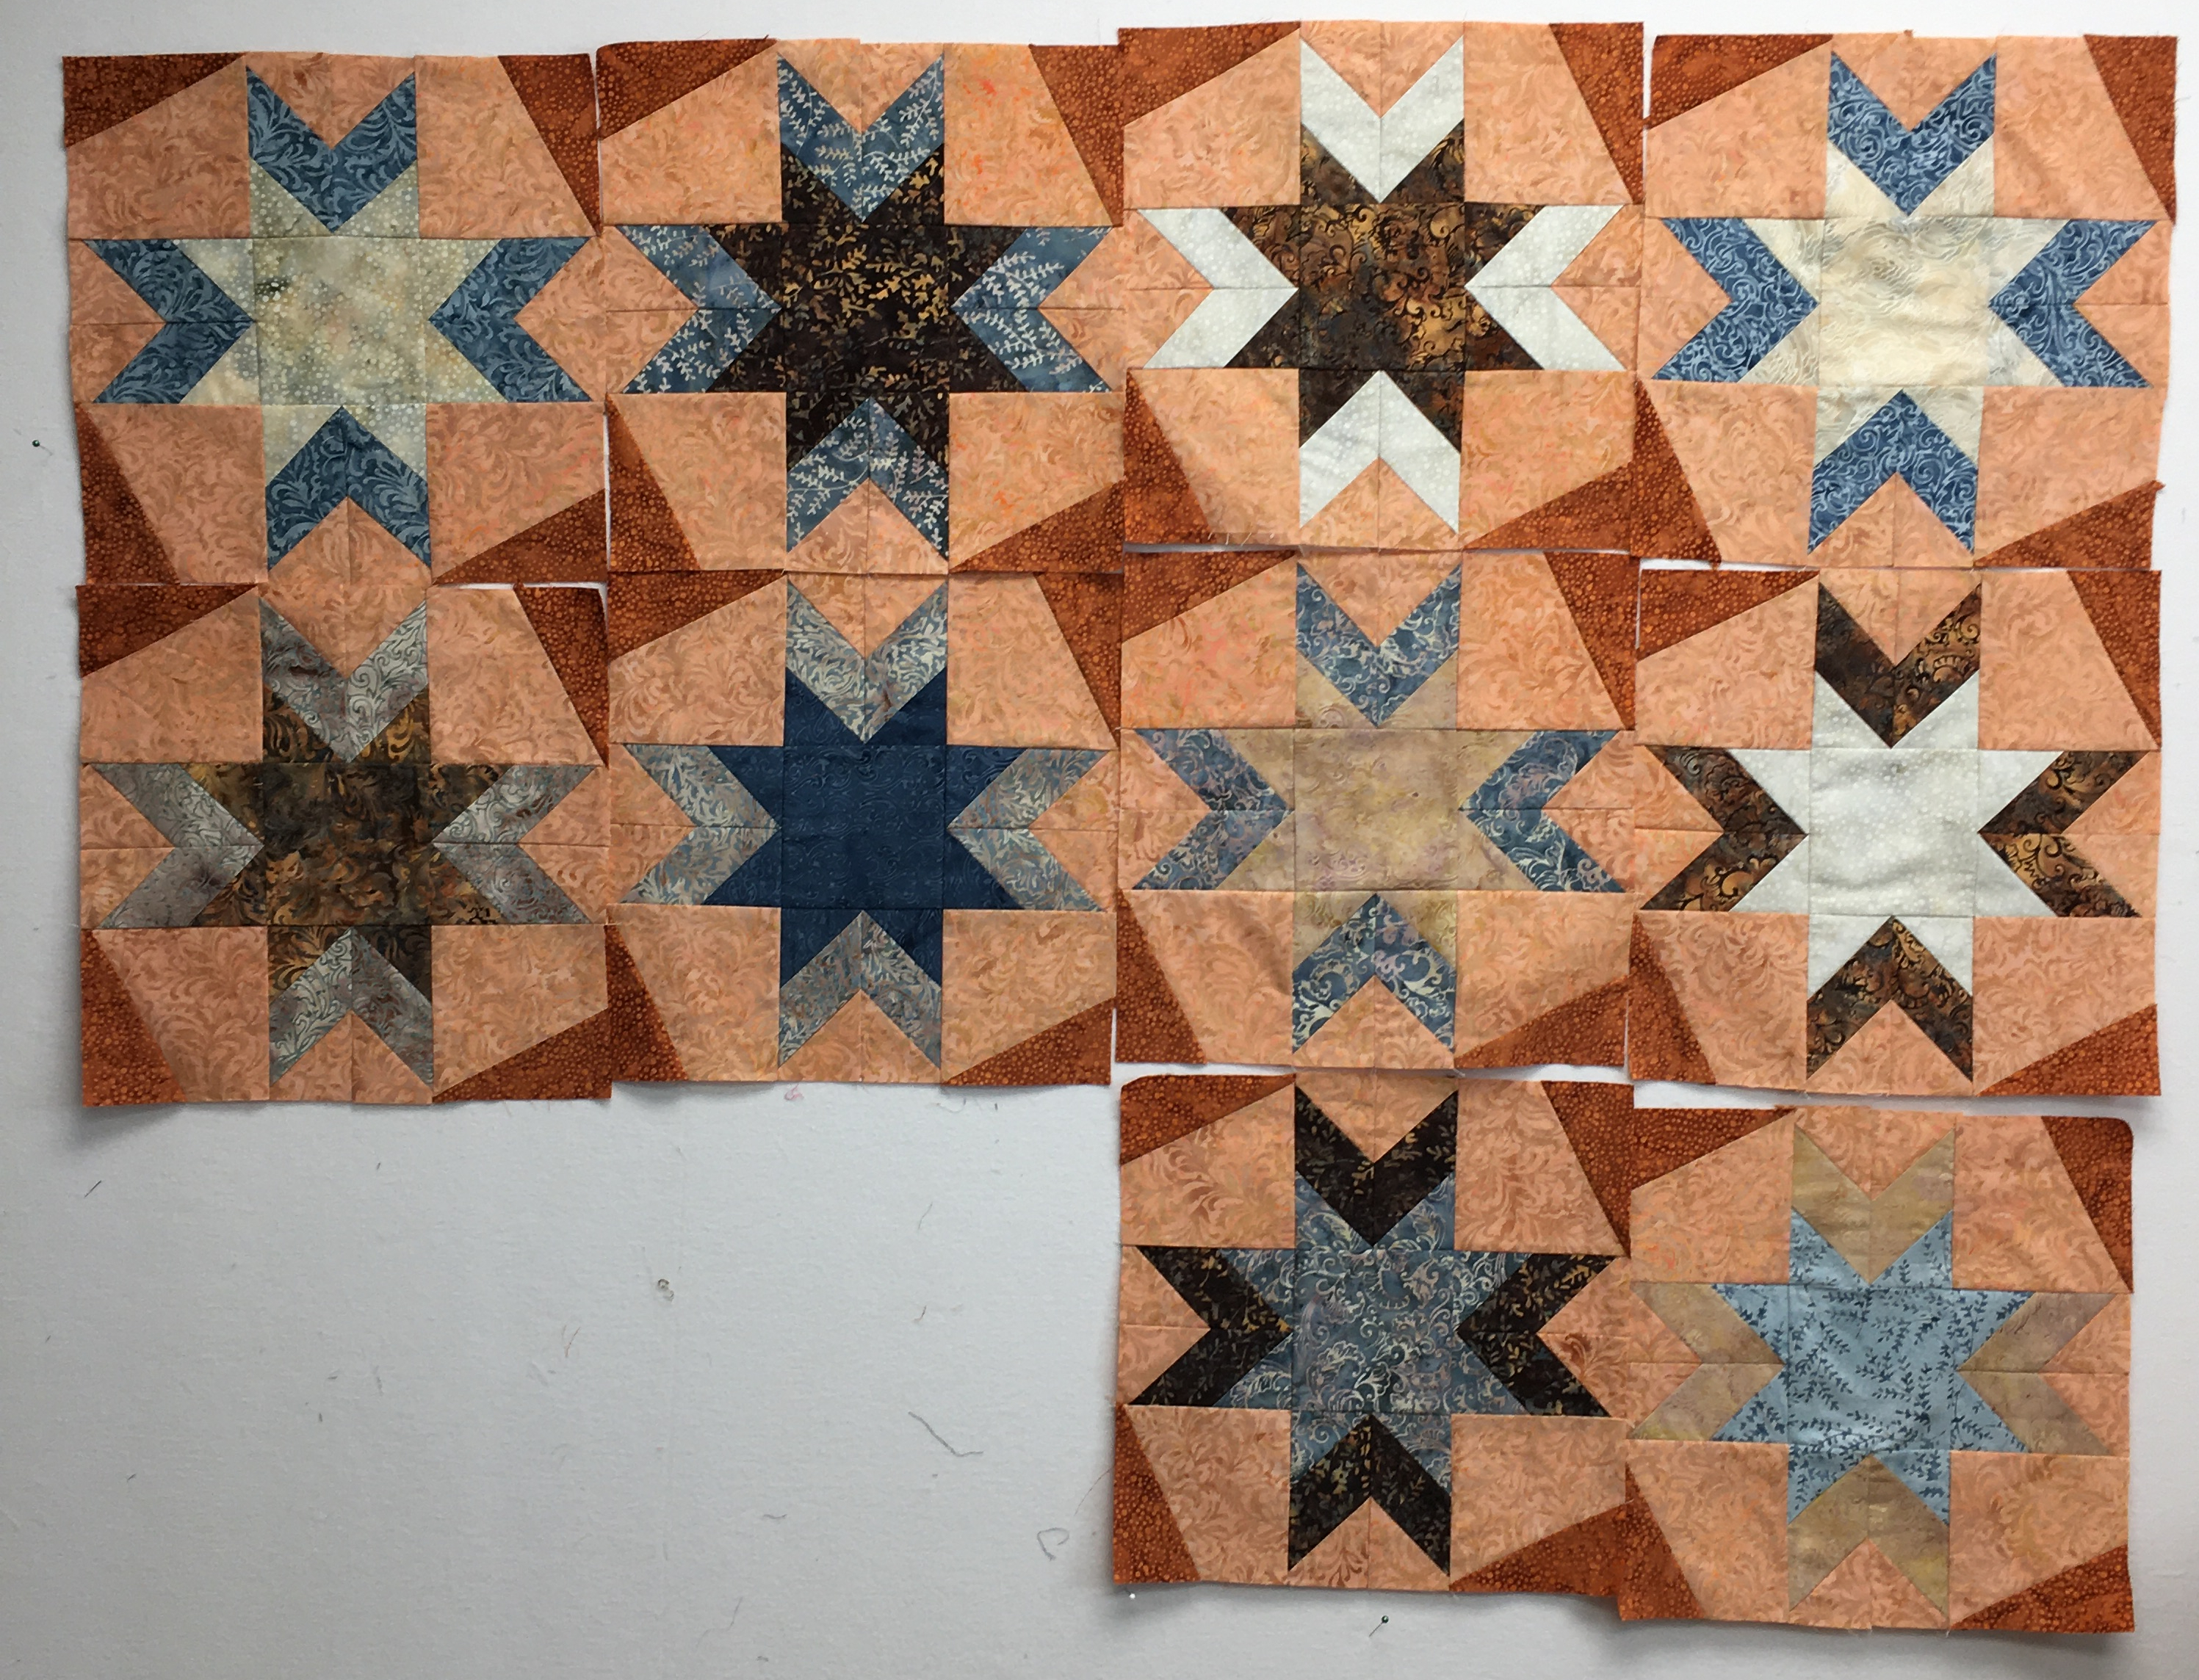
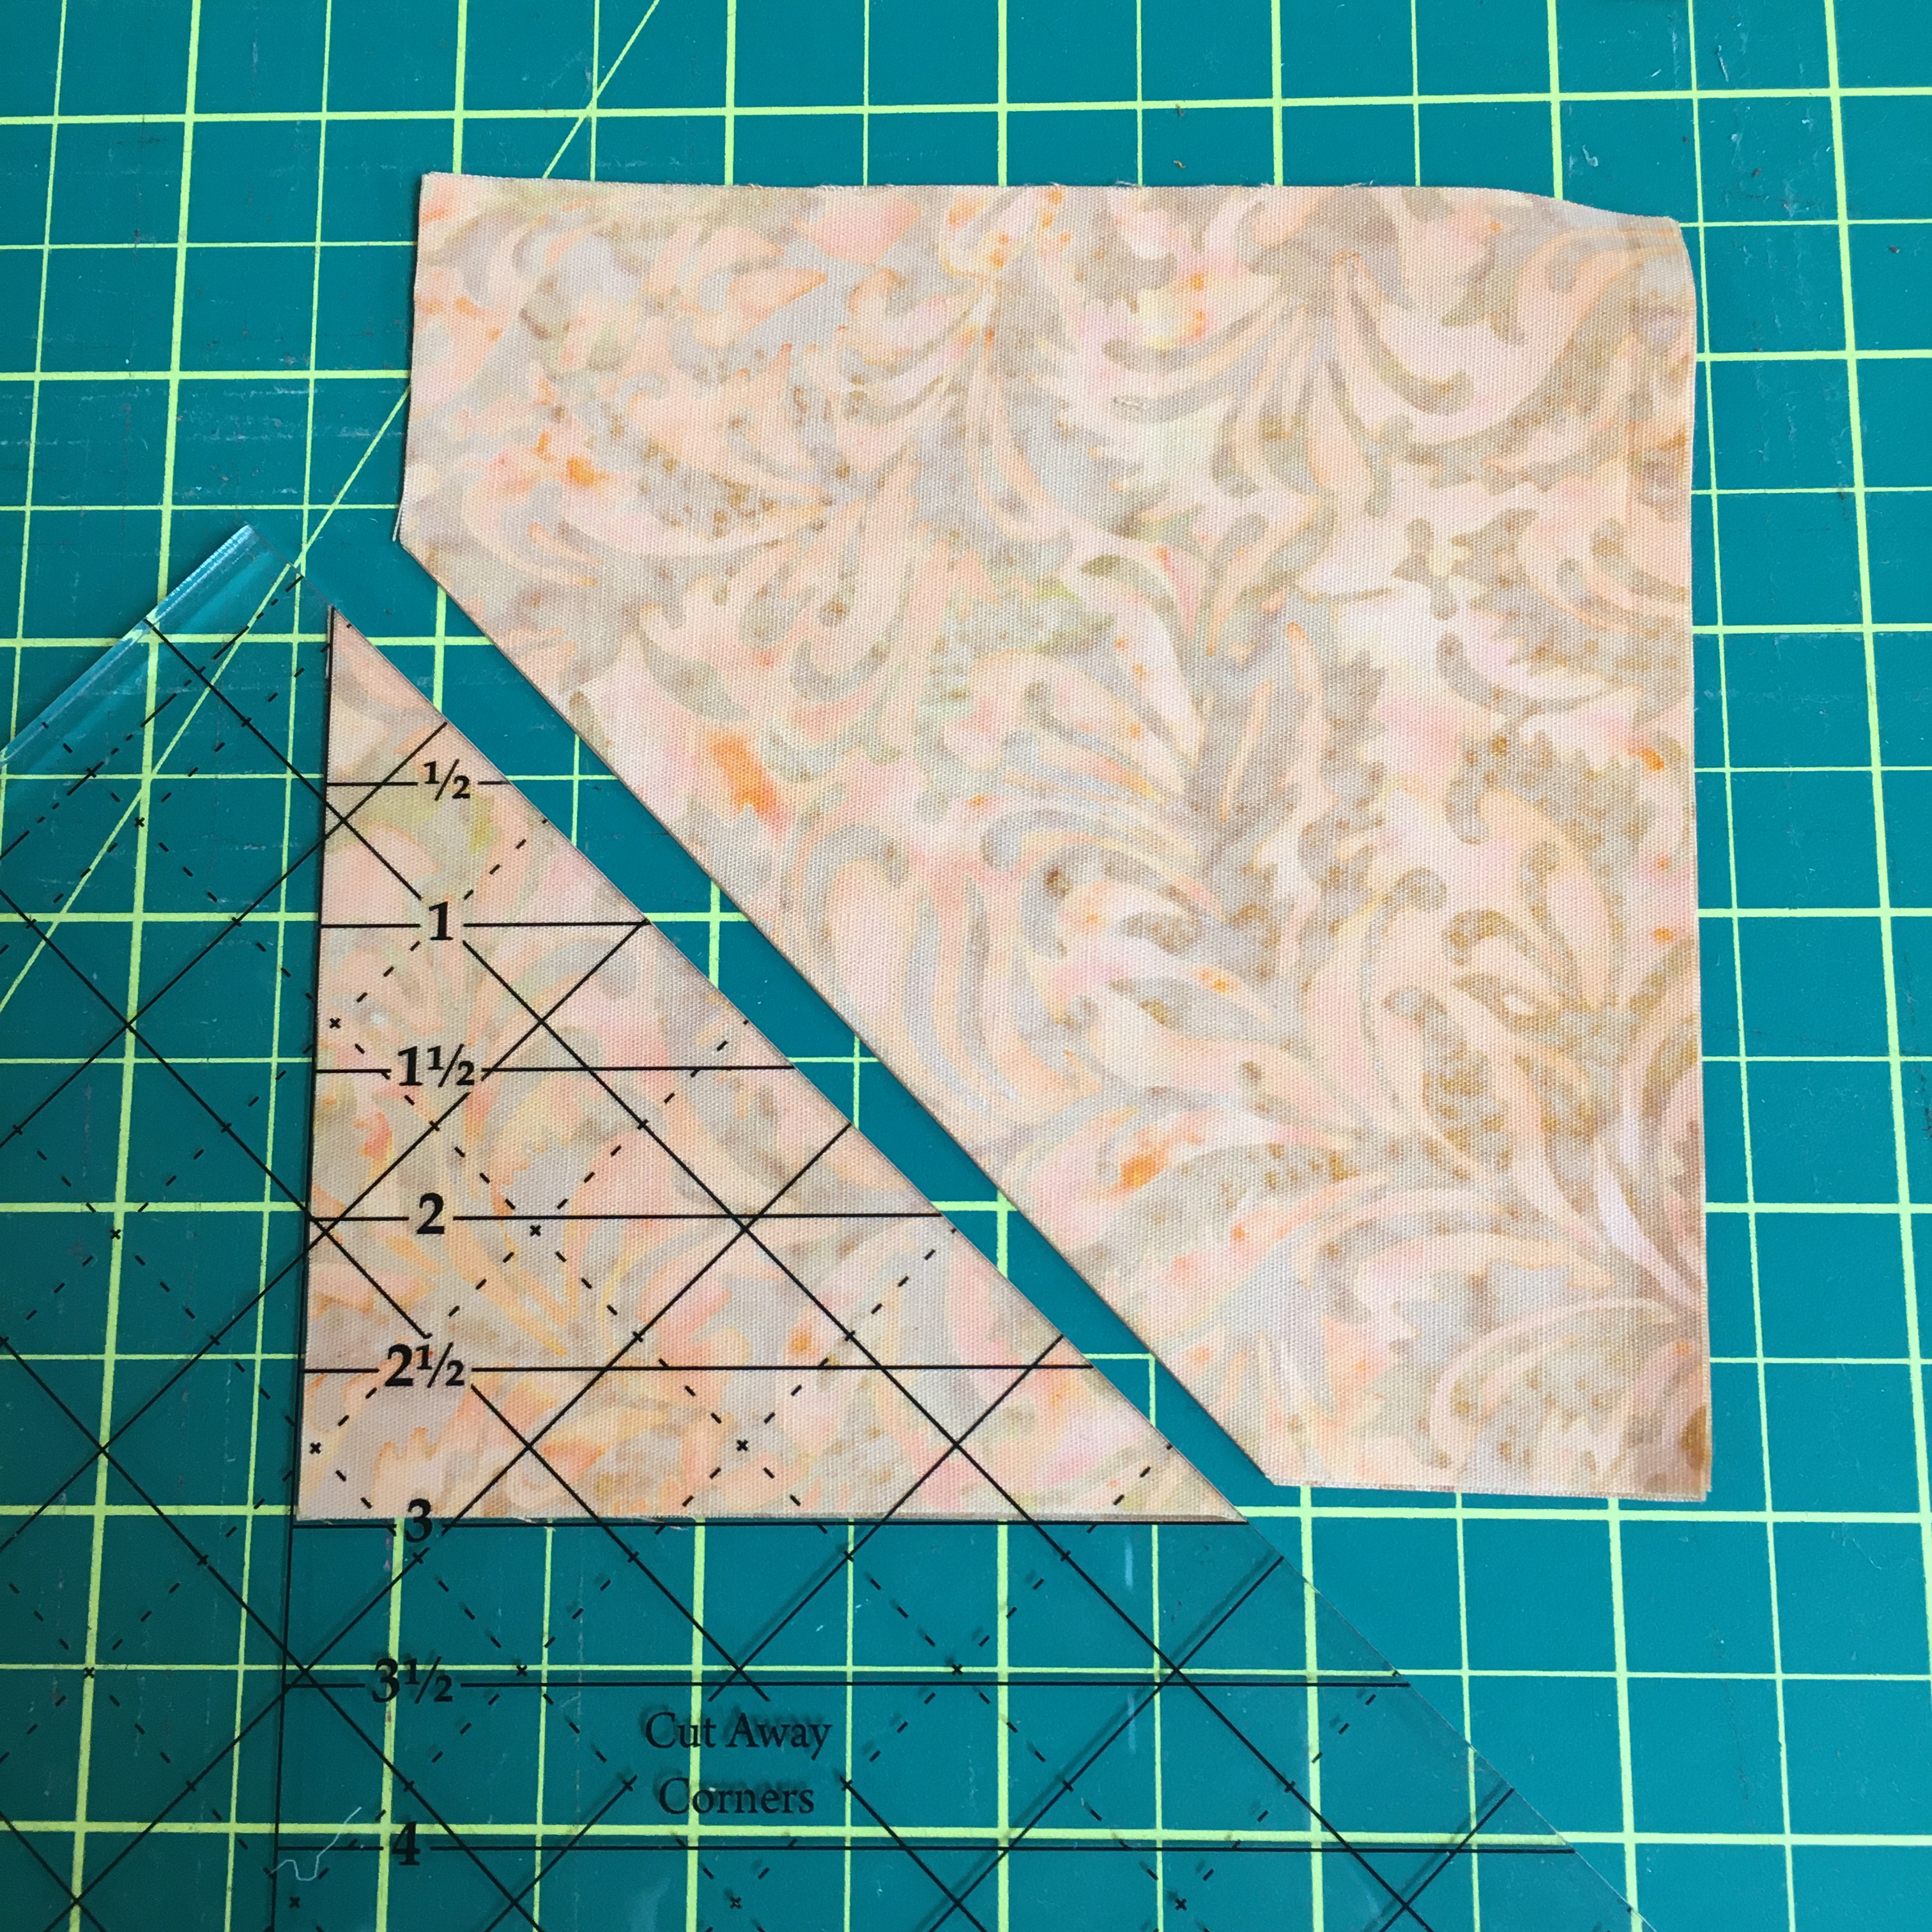
This week, at Essem, I taught how to use an Easy Angle Ruler to make this quilt: (same block, different layouts.)
The ladies made a great start on their quilts! The quilts are going to be so different and each will be stunning!
A New Start #1
Have you ever made a Bonnie Hunter mystery quilt? I’ve made several in the past! But for the last few years, I haven’t made one. However, that is going to change this year! I’m going to make the Chilhowie mystery quilt! The first clue came out today and you can access it HERE.
I just might have enough Island Batik scraps to make this quilt! Are you going to join me in making this?
This quilt finishes at 78″ x 78″. If you don’t want to make one that big, just make half of the units that Bonnie suggests.
A New Start #2
Helen Godden, an excellent quilter and teacher is offering a FREE Christmas sew-a-long. If you want to improve your free motion quilting and only spend a few minutes each day – this is a project for YOU! You can access the pattern HERE. Then, starting Dec. 1, watch a daily youtube video on how to quilt it!
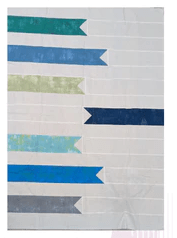
This week I taught “Travel Posts” to 2 lovely talented quilters! Travel Posts is in the book Color Block Quilt Making by Elizabeth Chappell. It’s a great book and if you’re looking for quick and easy patterns – this book is for you! Essem may have this book in stock.
This is the quilt I made for the class sample. Simina helped pick out the fabrics: the coloured portions are grunge.
Anyhow, the class participants came very prepared and had their fabric all cut and labelled and were ready to roll! They finished the tops in class! Aren’t they great?
Here’s the 2nd one I did using Island Batik fabrics from the “Mystery Collection” and Island Batik solid grey.
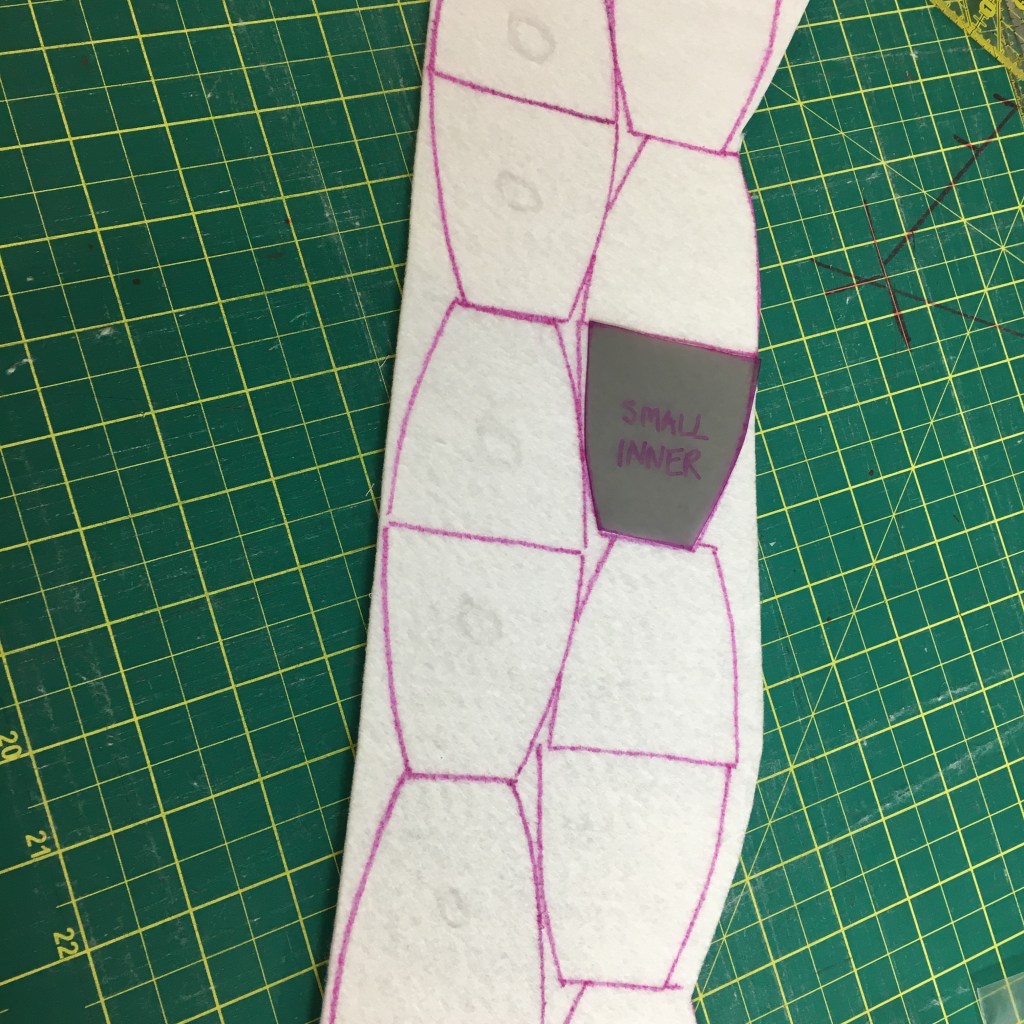
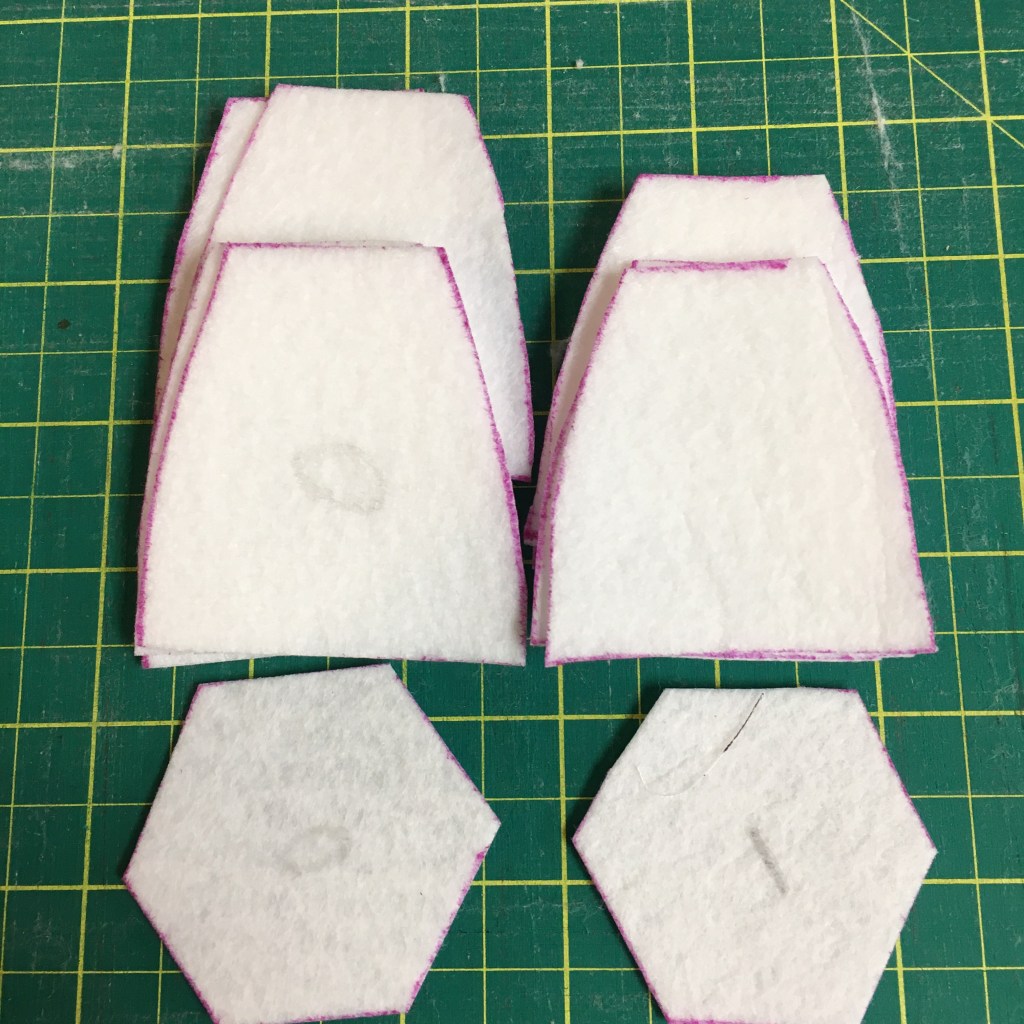
Oh ya!!! I started ANOTHER new project. When my cousin, Connie and I were shopping at the Cloth Shop, we saw these super nifty bowls. I fell in love!!! However, they did not have the pattern in stock. But a couple of weeks later, I was at Chitterchatter fabrics and they had the pattern. Of course I had to buy it! There are 7 different sizes included in the pattern. The pattern is “Goodness Bowl” by Jean Paccagnan. There is even a great youtube video to go with the pattern! And BONUS: Jean Paccagnan is a local designer!!!
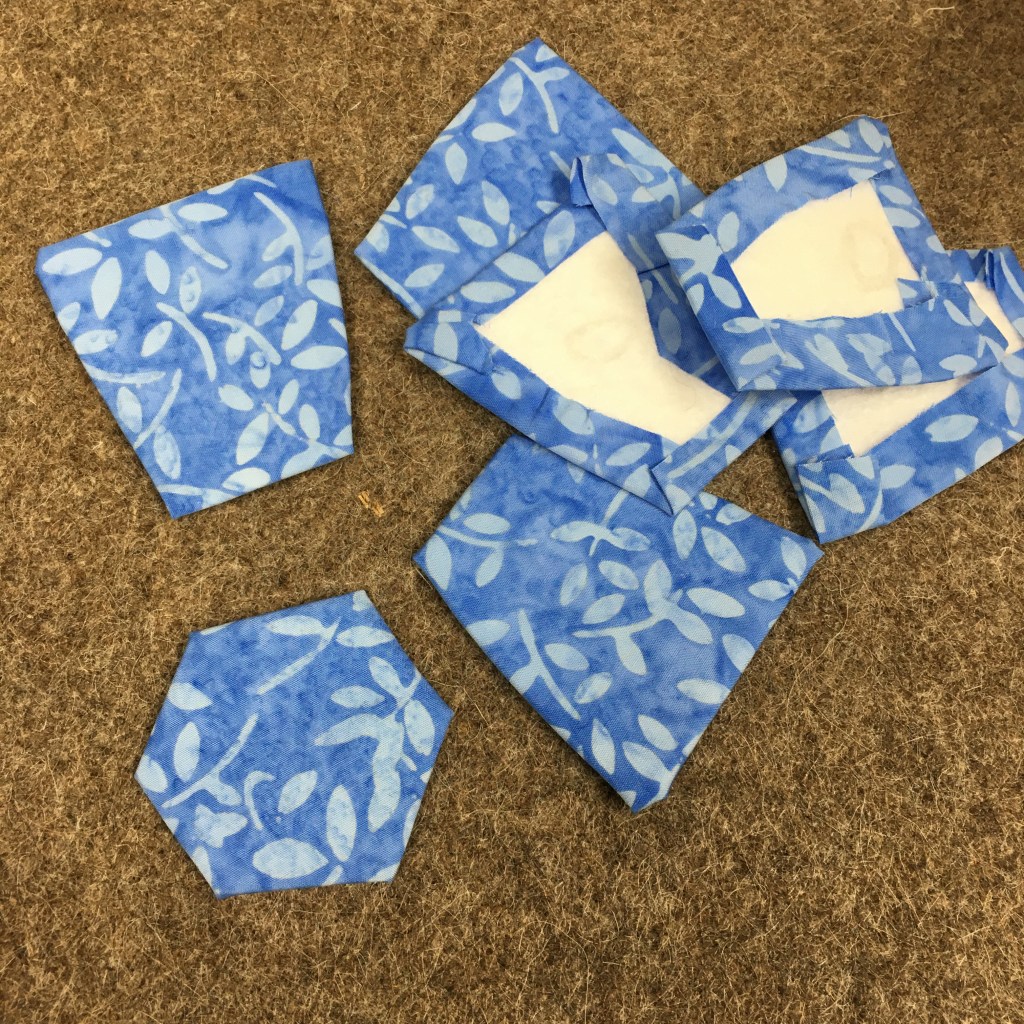
I know it’s English Paper Piecing, but if I only sew for about 10 minutes a day, I’ll eventually get it done!
I decided to use some beautiful blue scraps of Island Batik fabric.
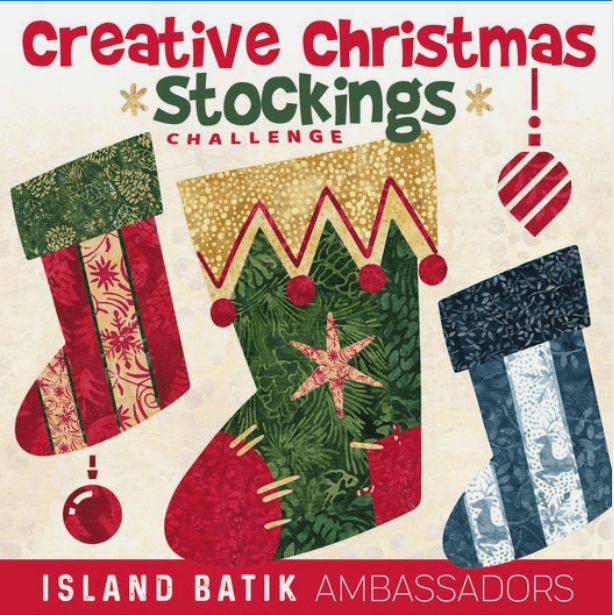
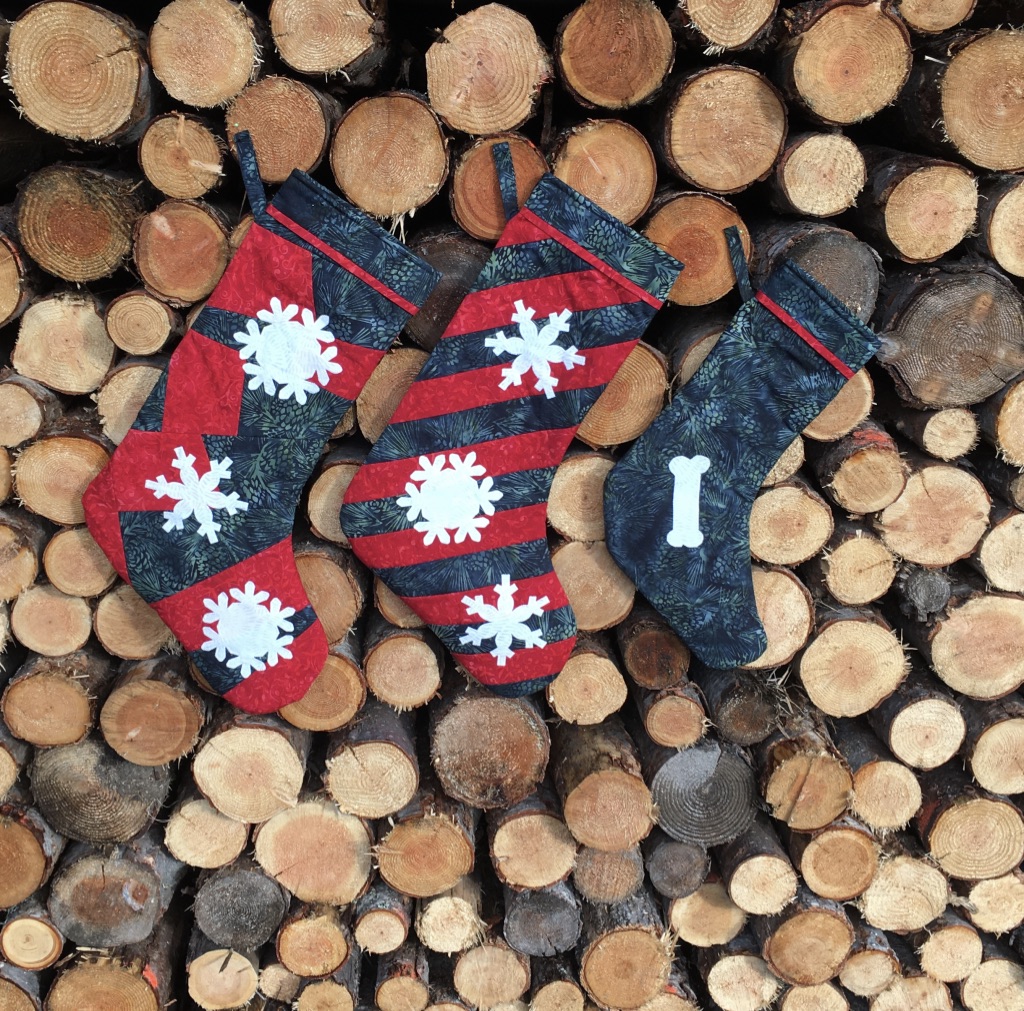
The first thing I did for this stocking challenge was to find a stocking pattern. I printed it out and I didn’t like I. My husband adjusted it, making the toes larger and I liked it way better!
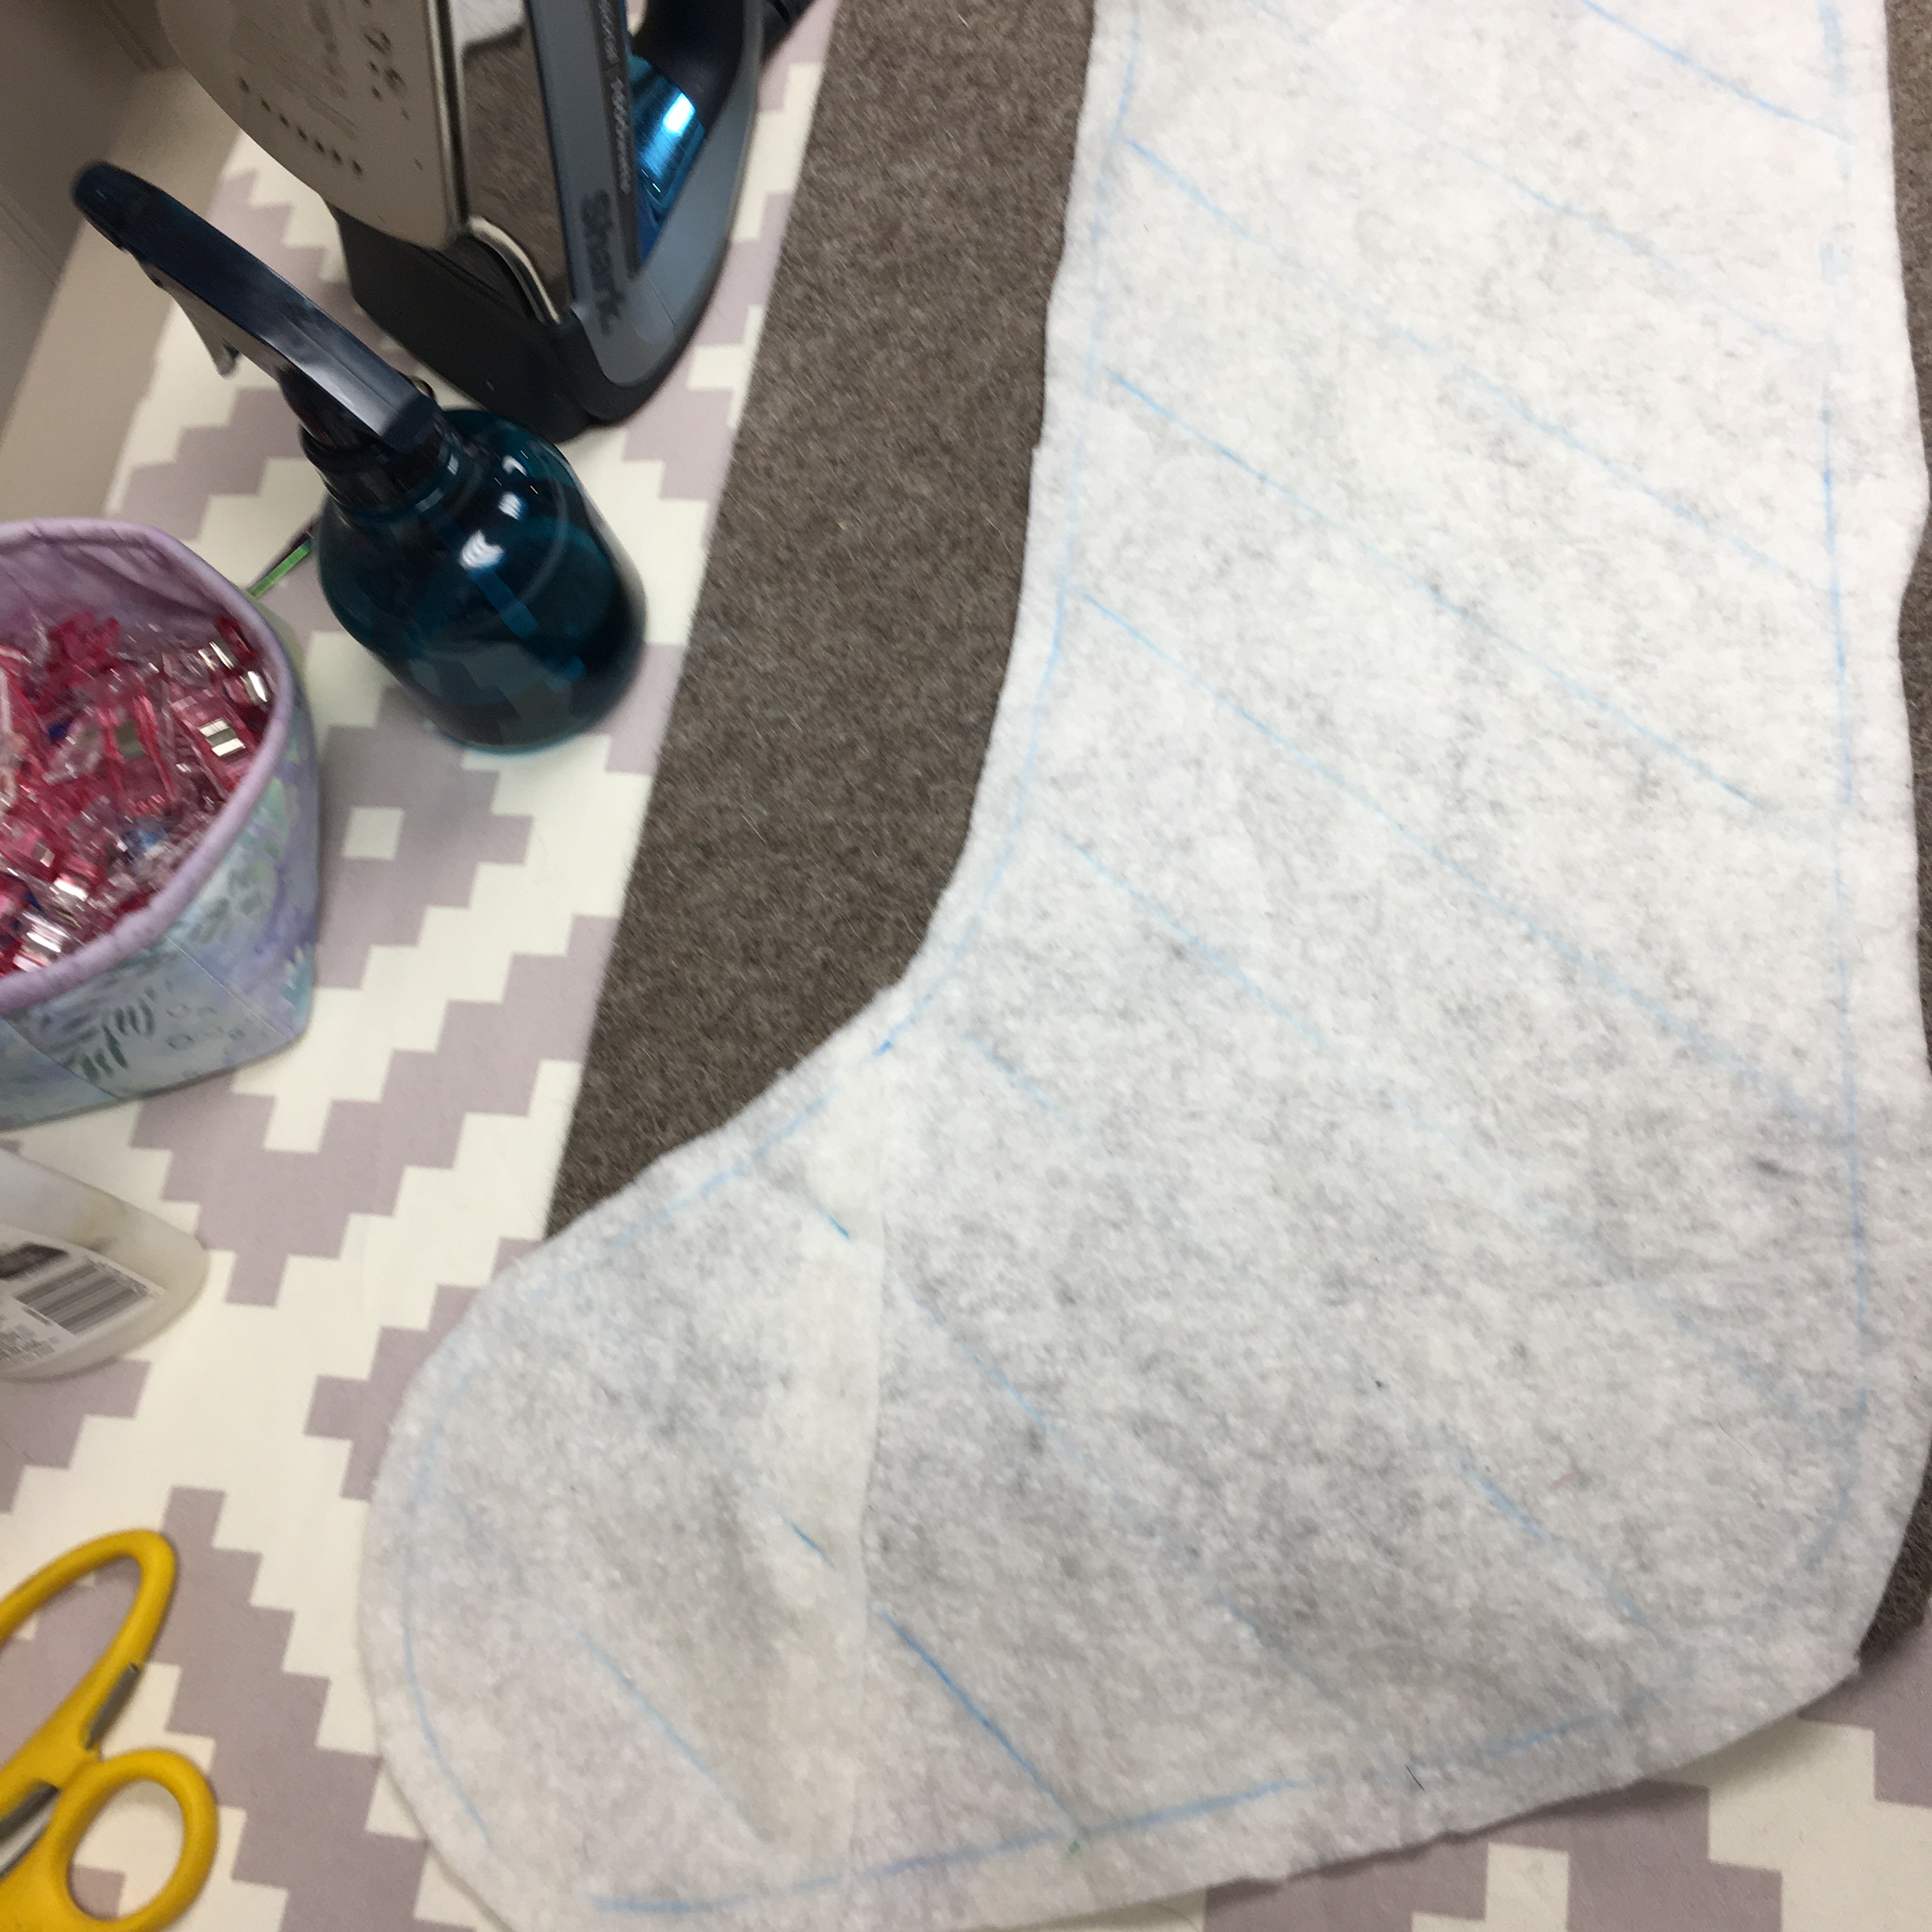
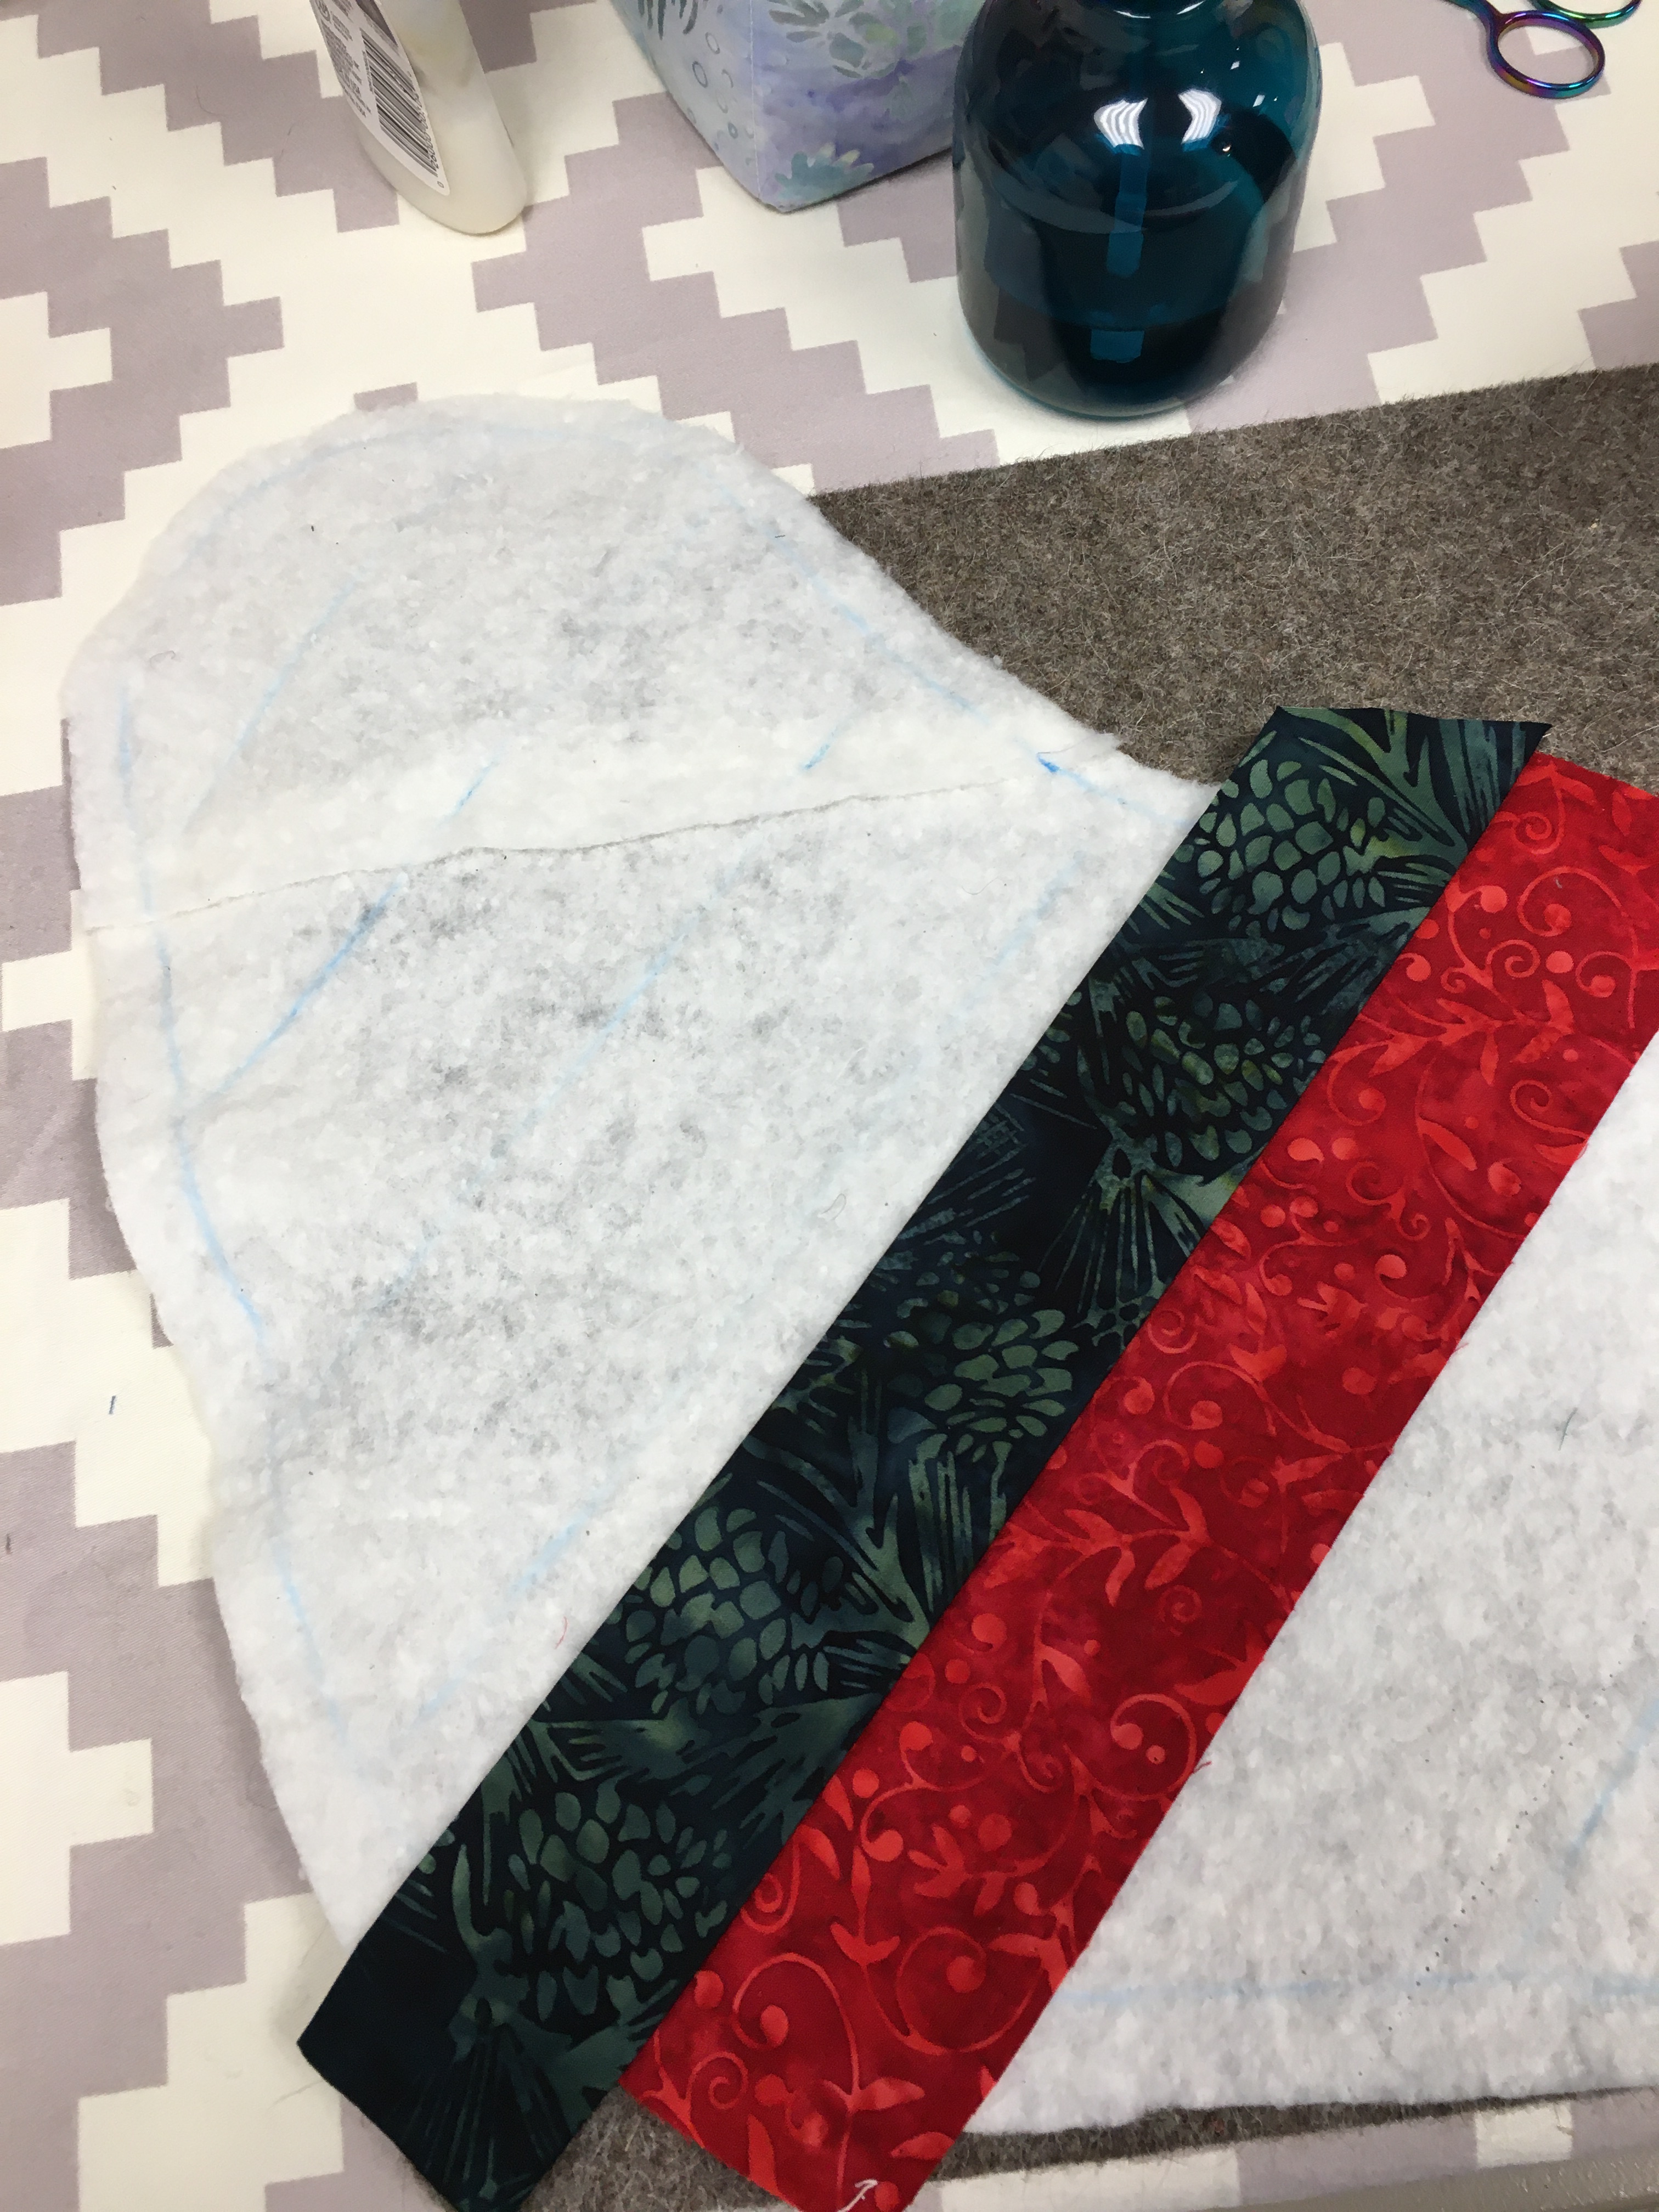
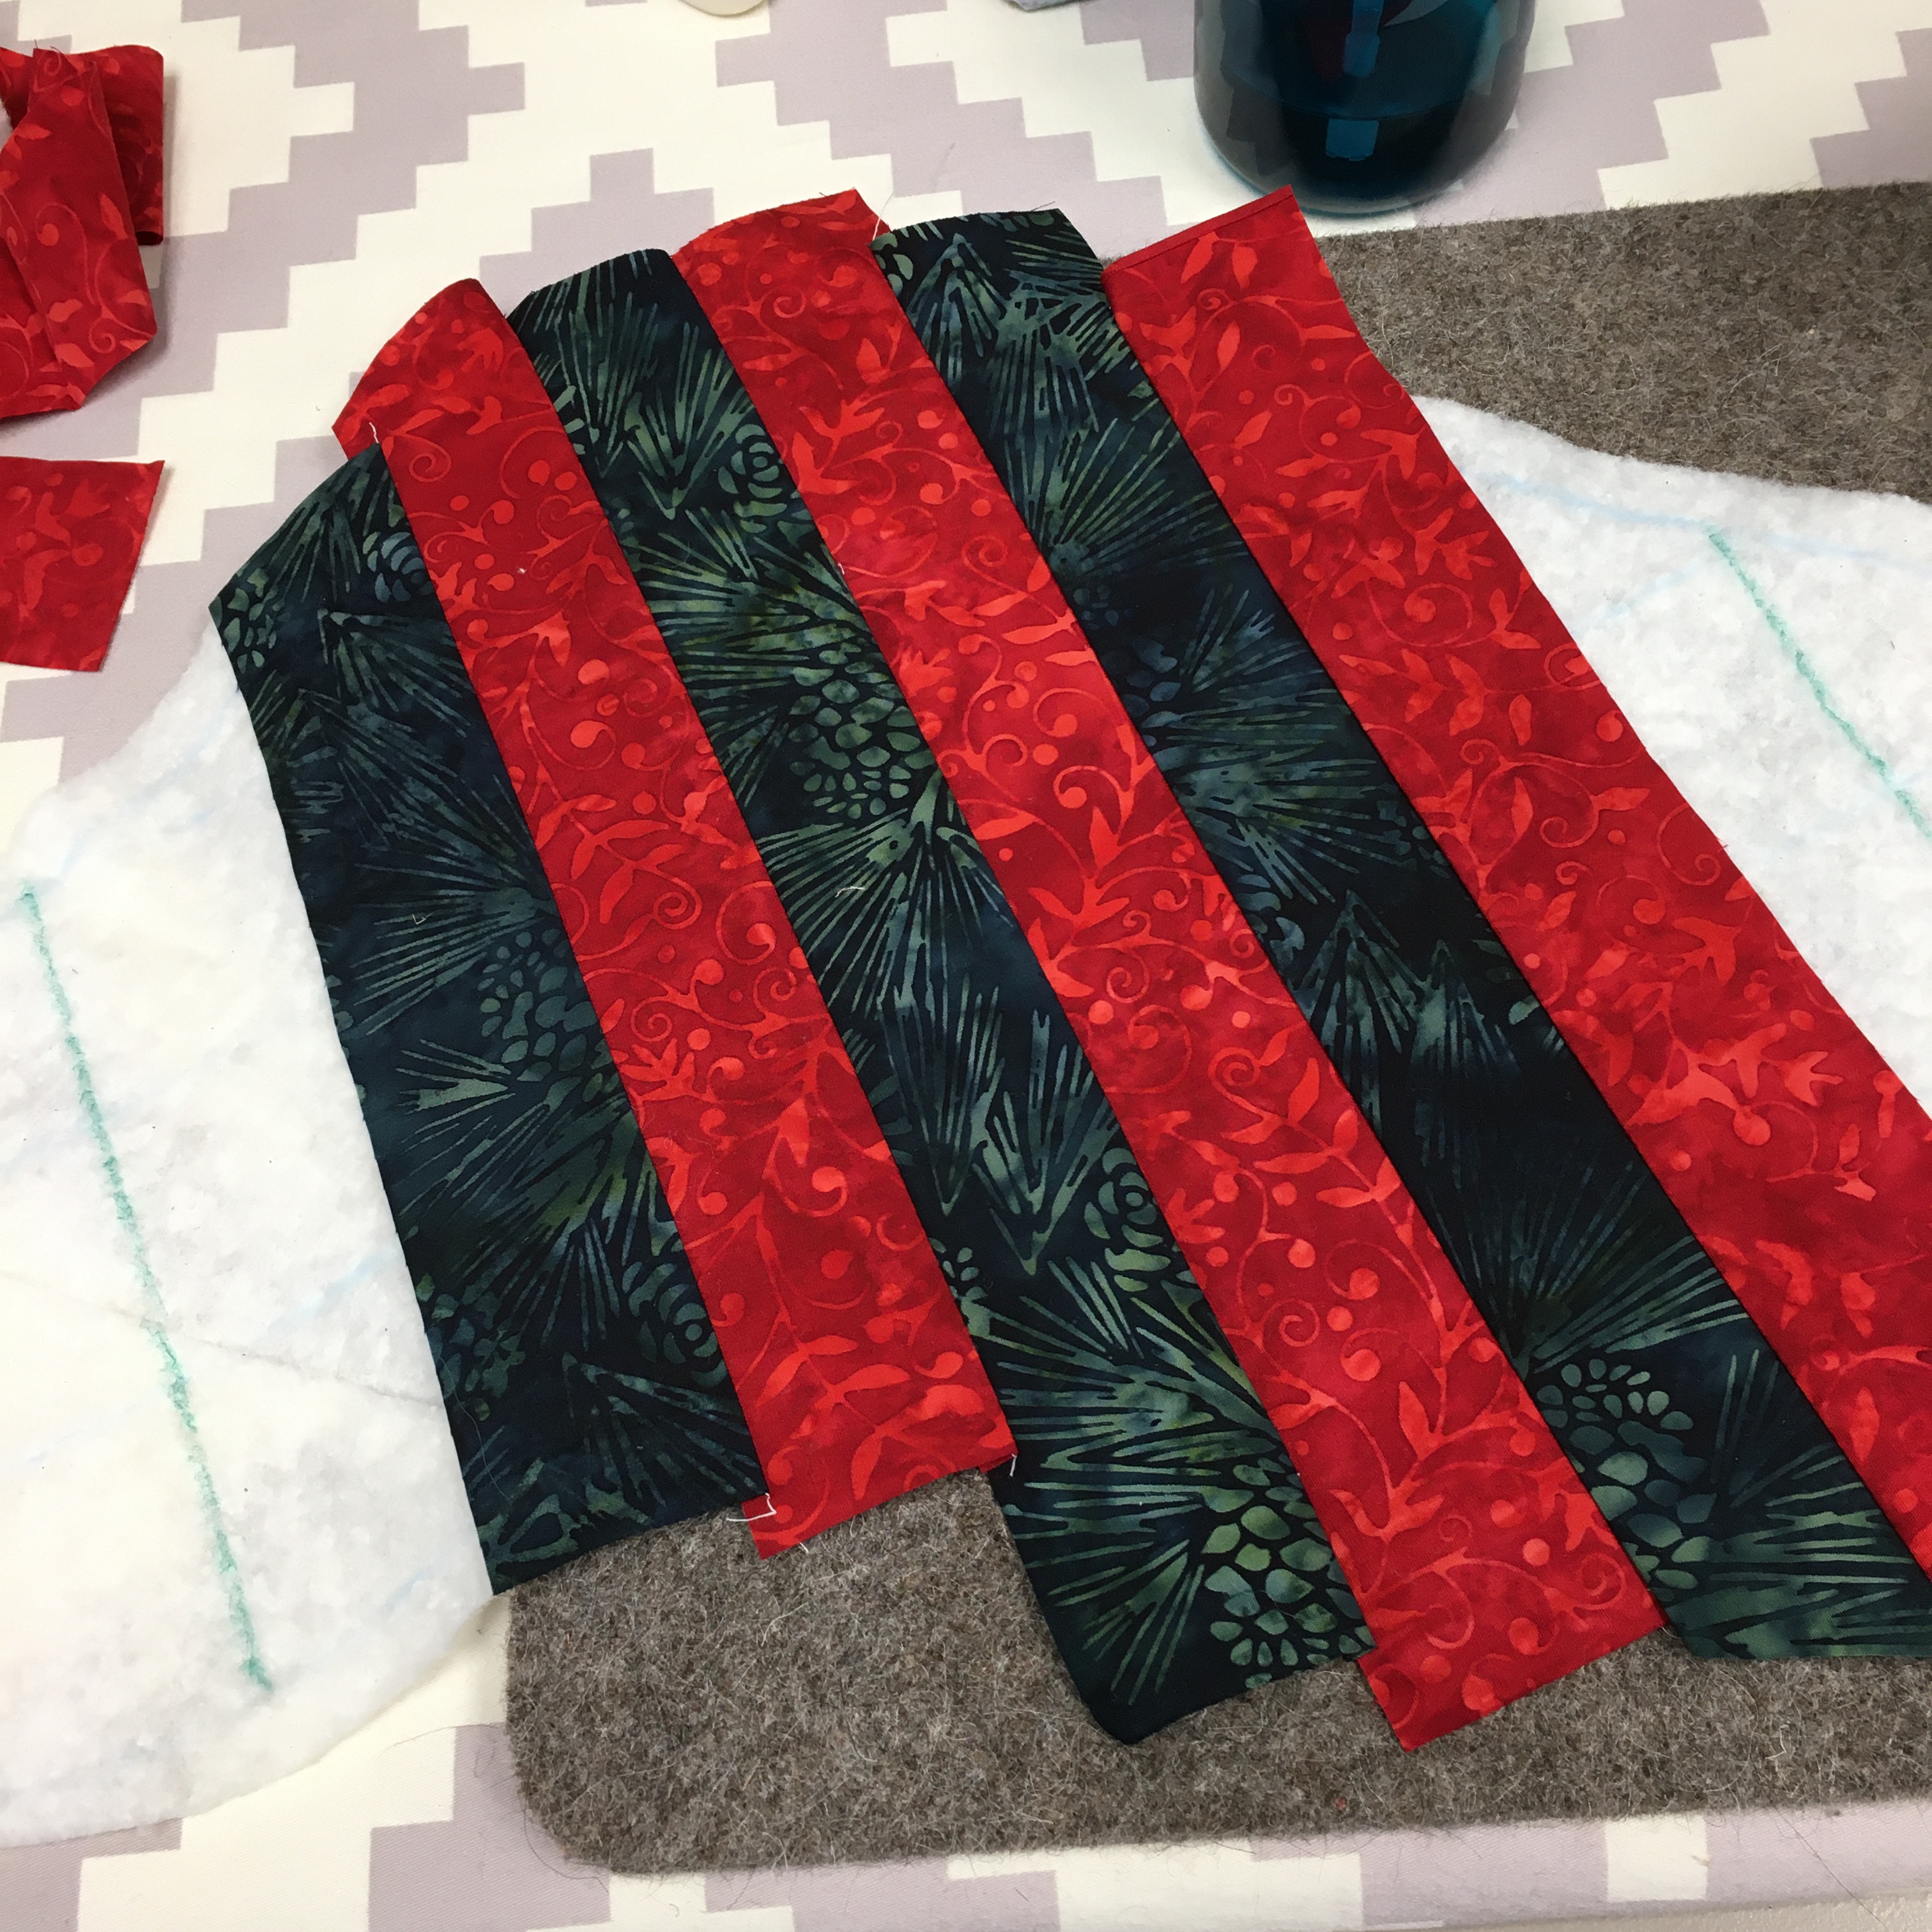
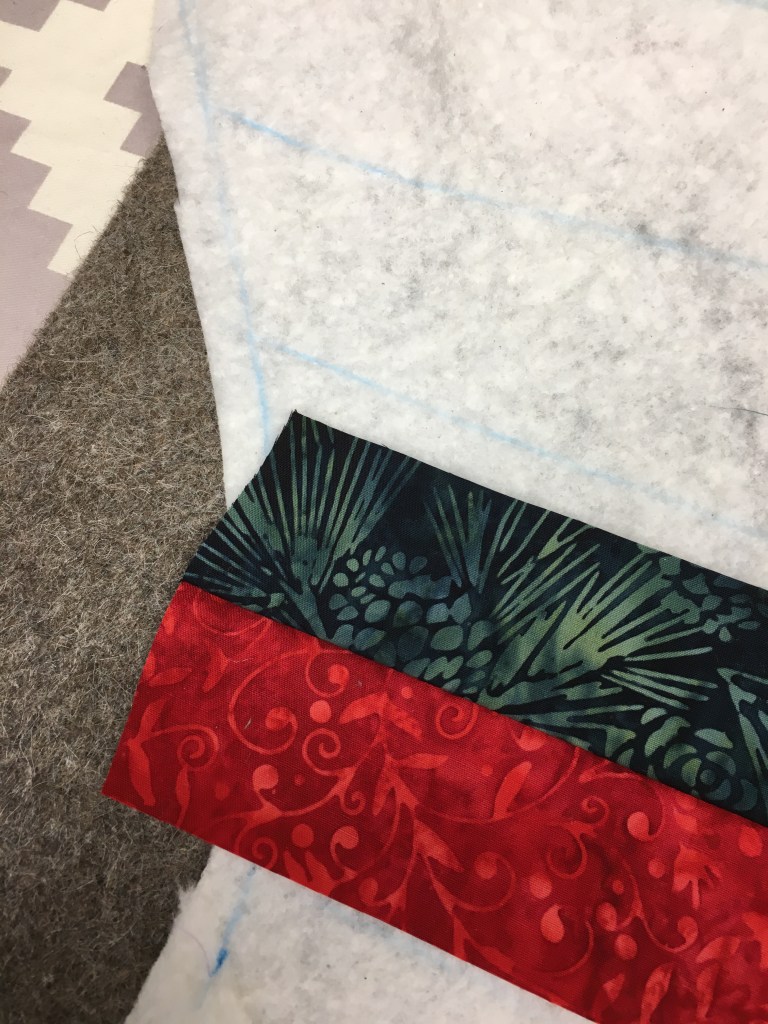
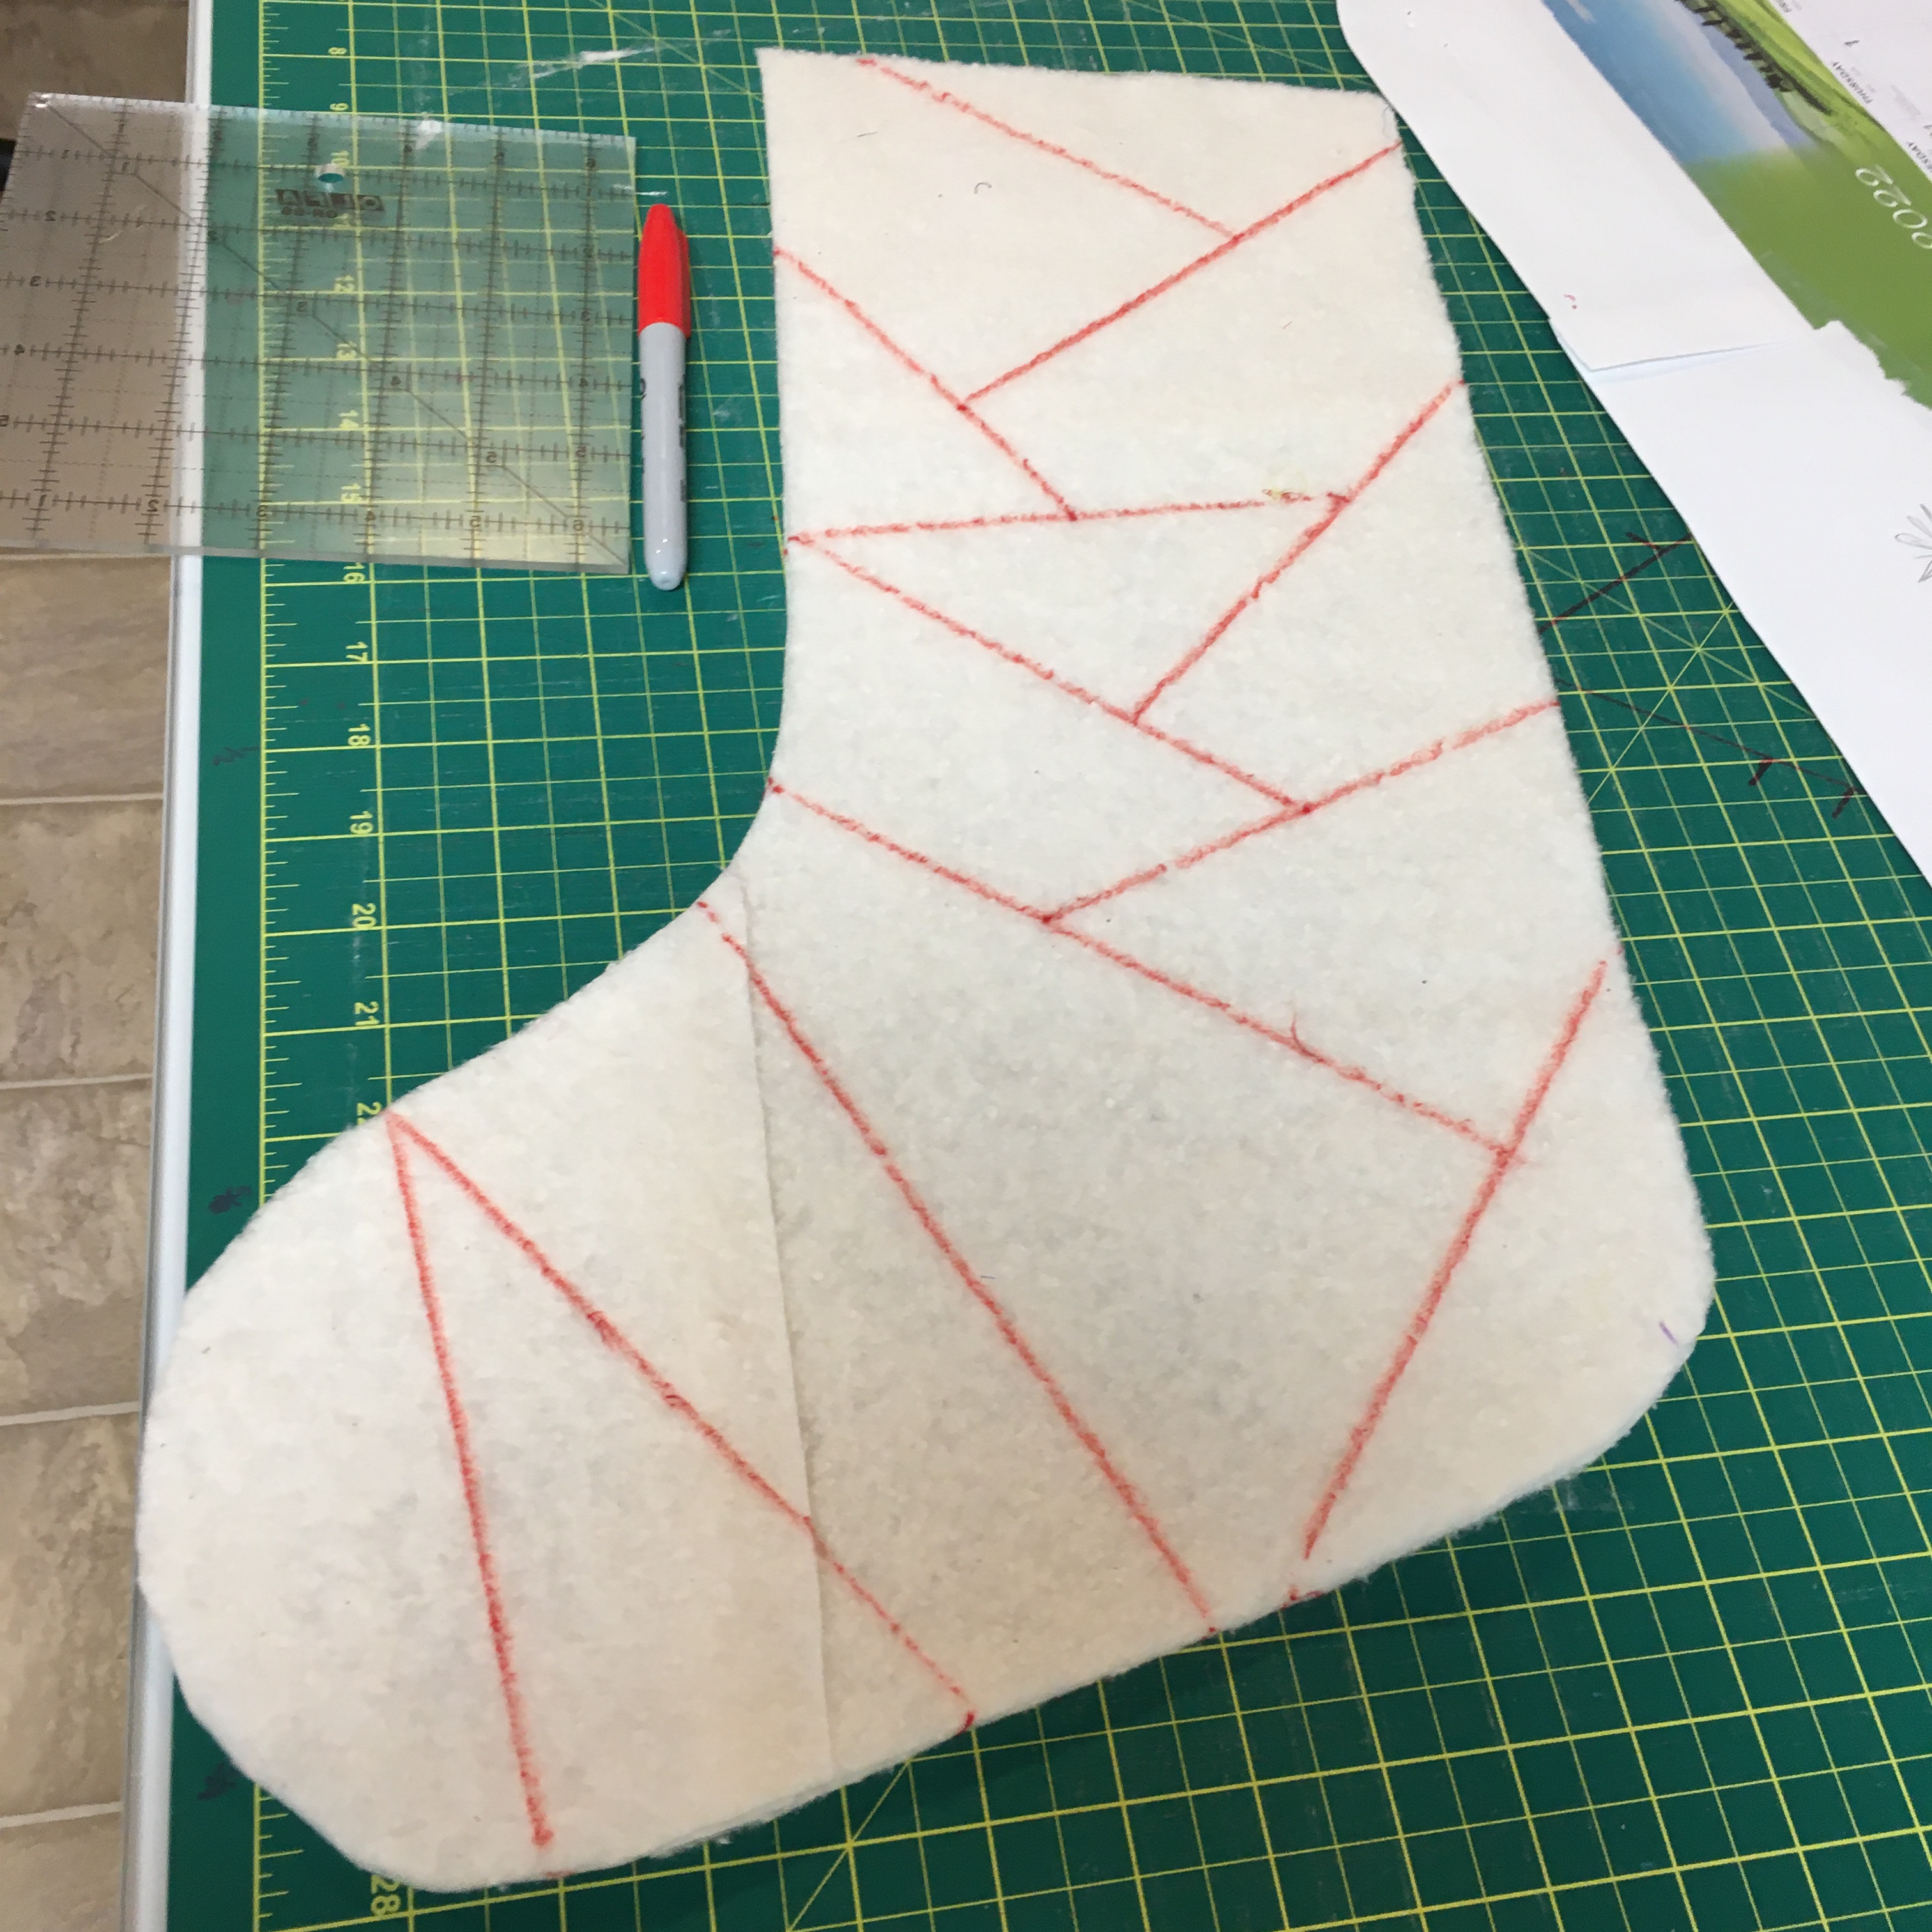
For my first stocking, I cut out 2 pieces of Hobbs Batting 80/20 and drew lines on it to guide me as I did the striped quilt as you go. I used 2″ strips of each fabric. Prairie Spirit Alpacas/Wool pressing mat made everything lie perfectly flat!
I needed to be careful to ensure that I covered the batting with the fabrics … Jack the ripper came out to play here …
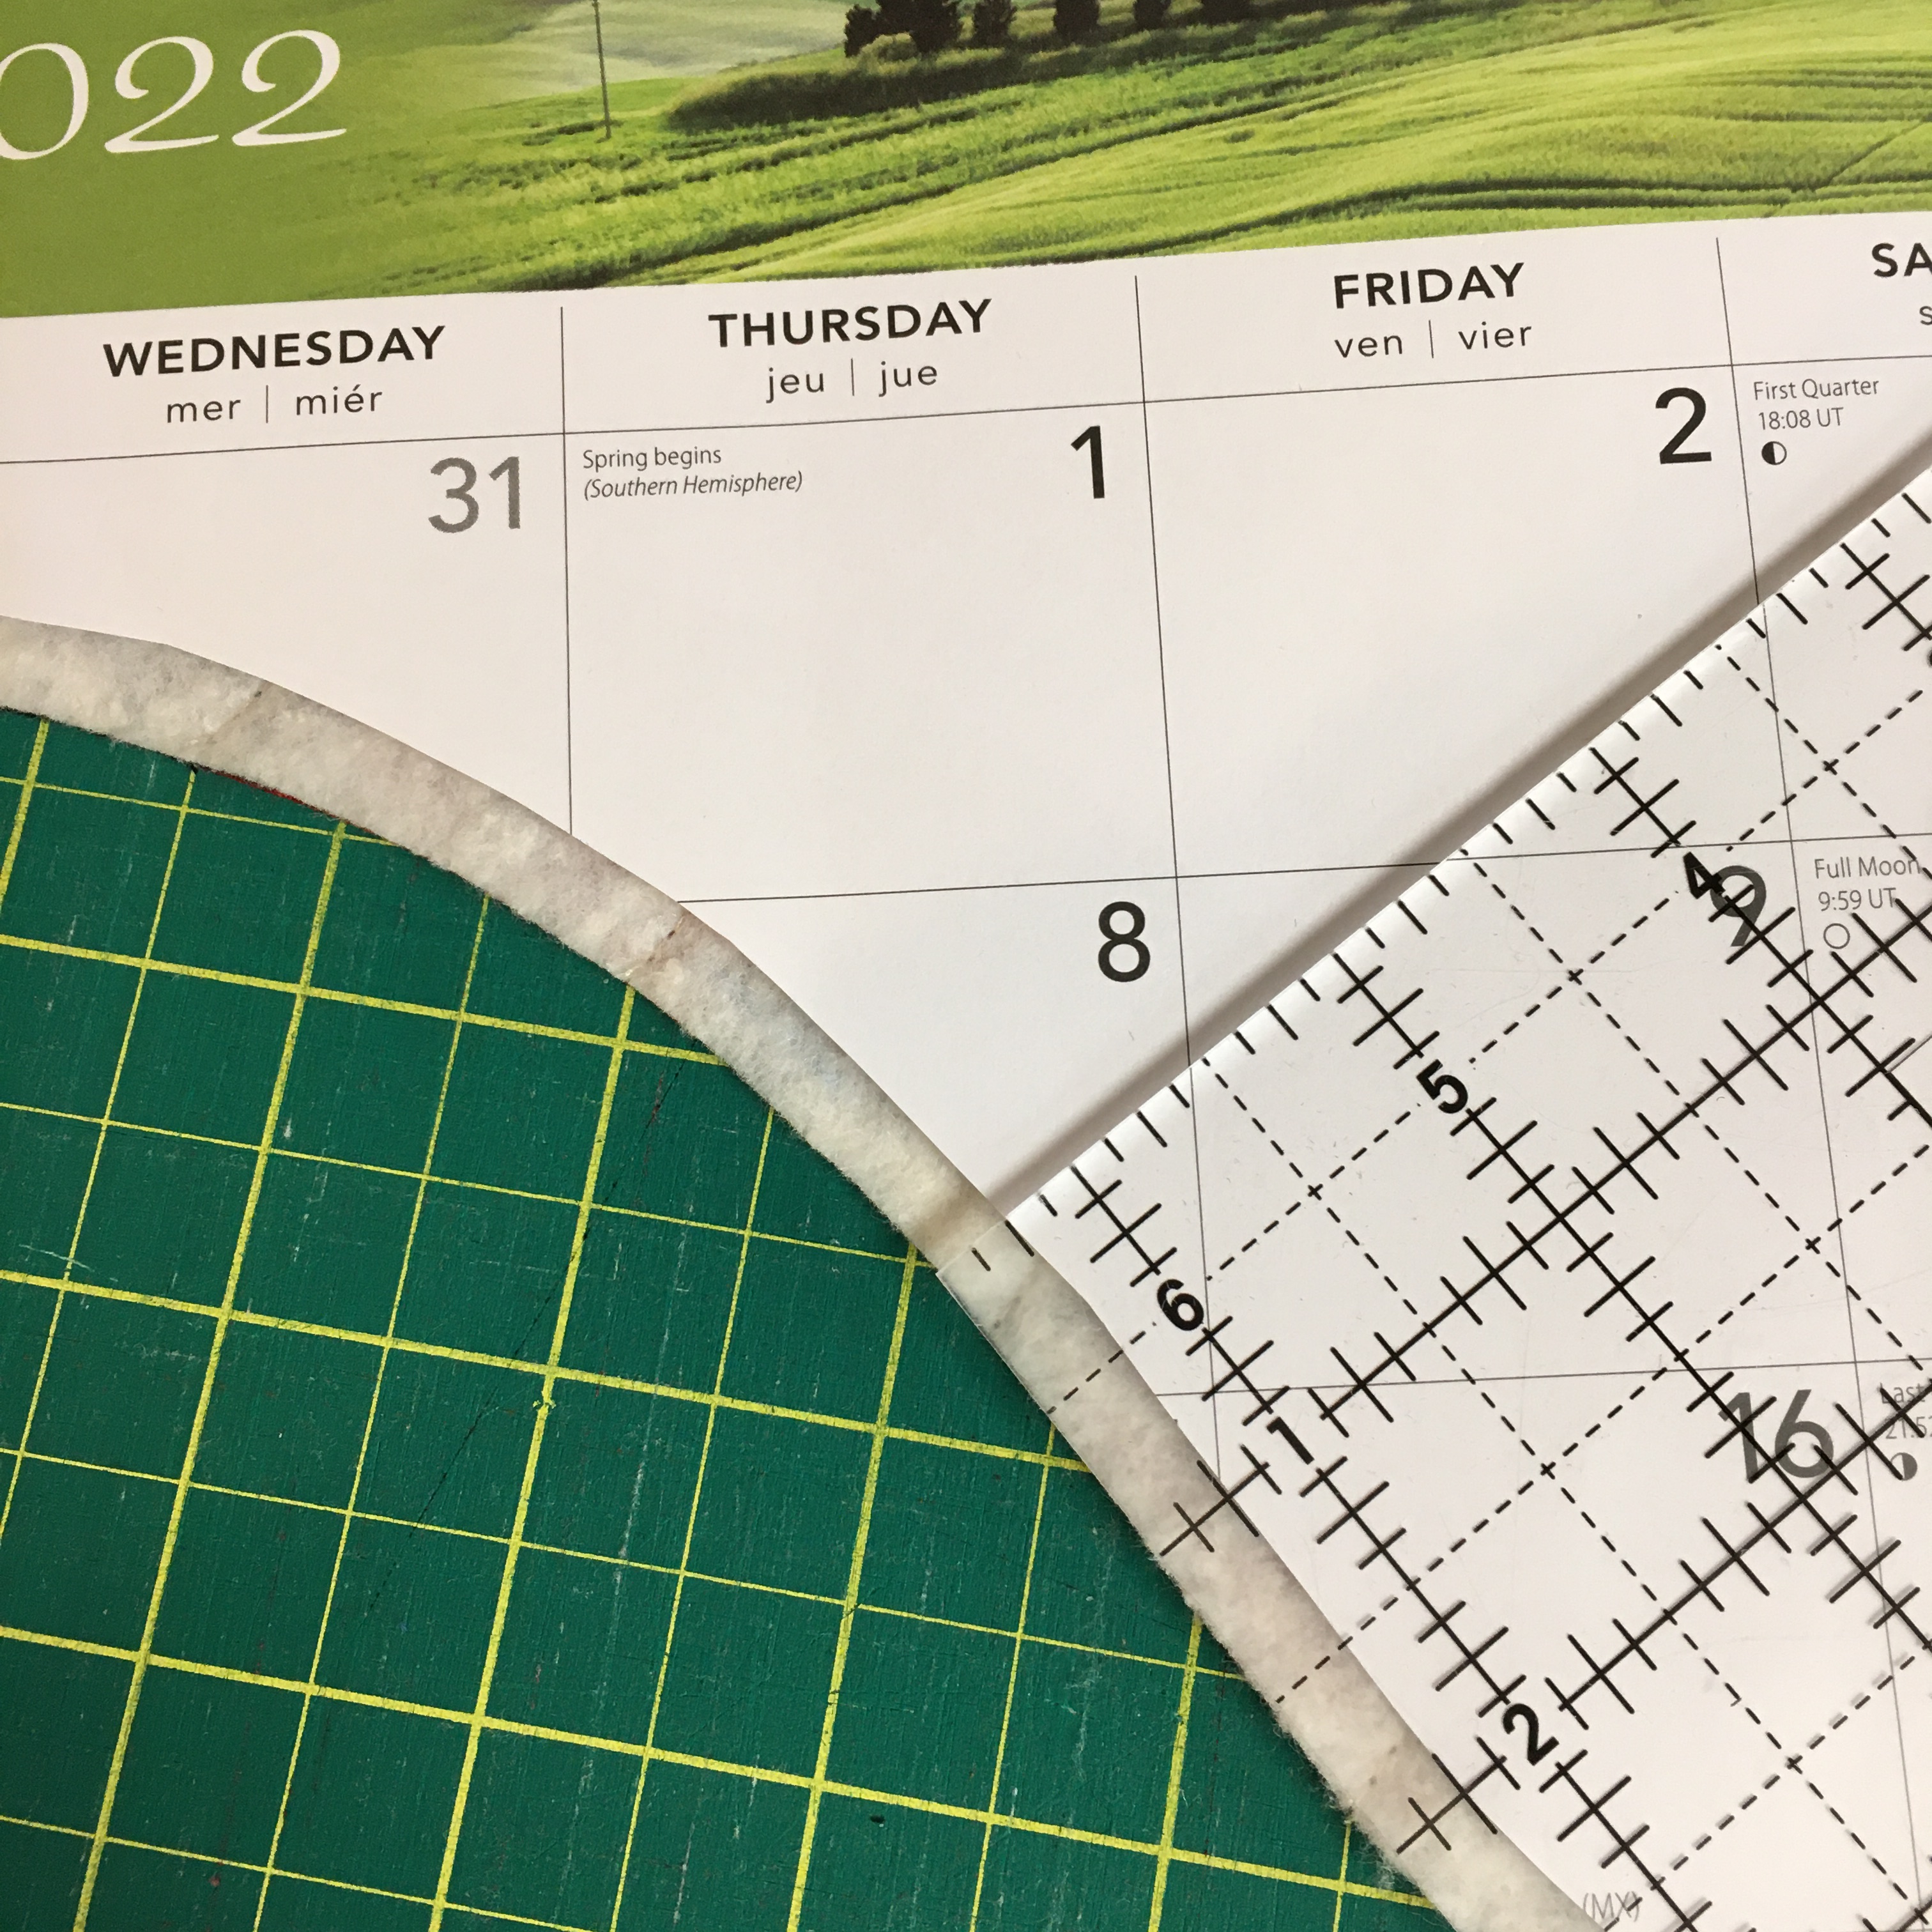
The stockings needed to be trimmed. I used the 1/4” mark on my ruler and worked around my template. (Yes, I used the page from a large calendar for my pattern!)
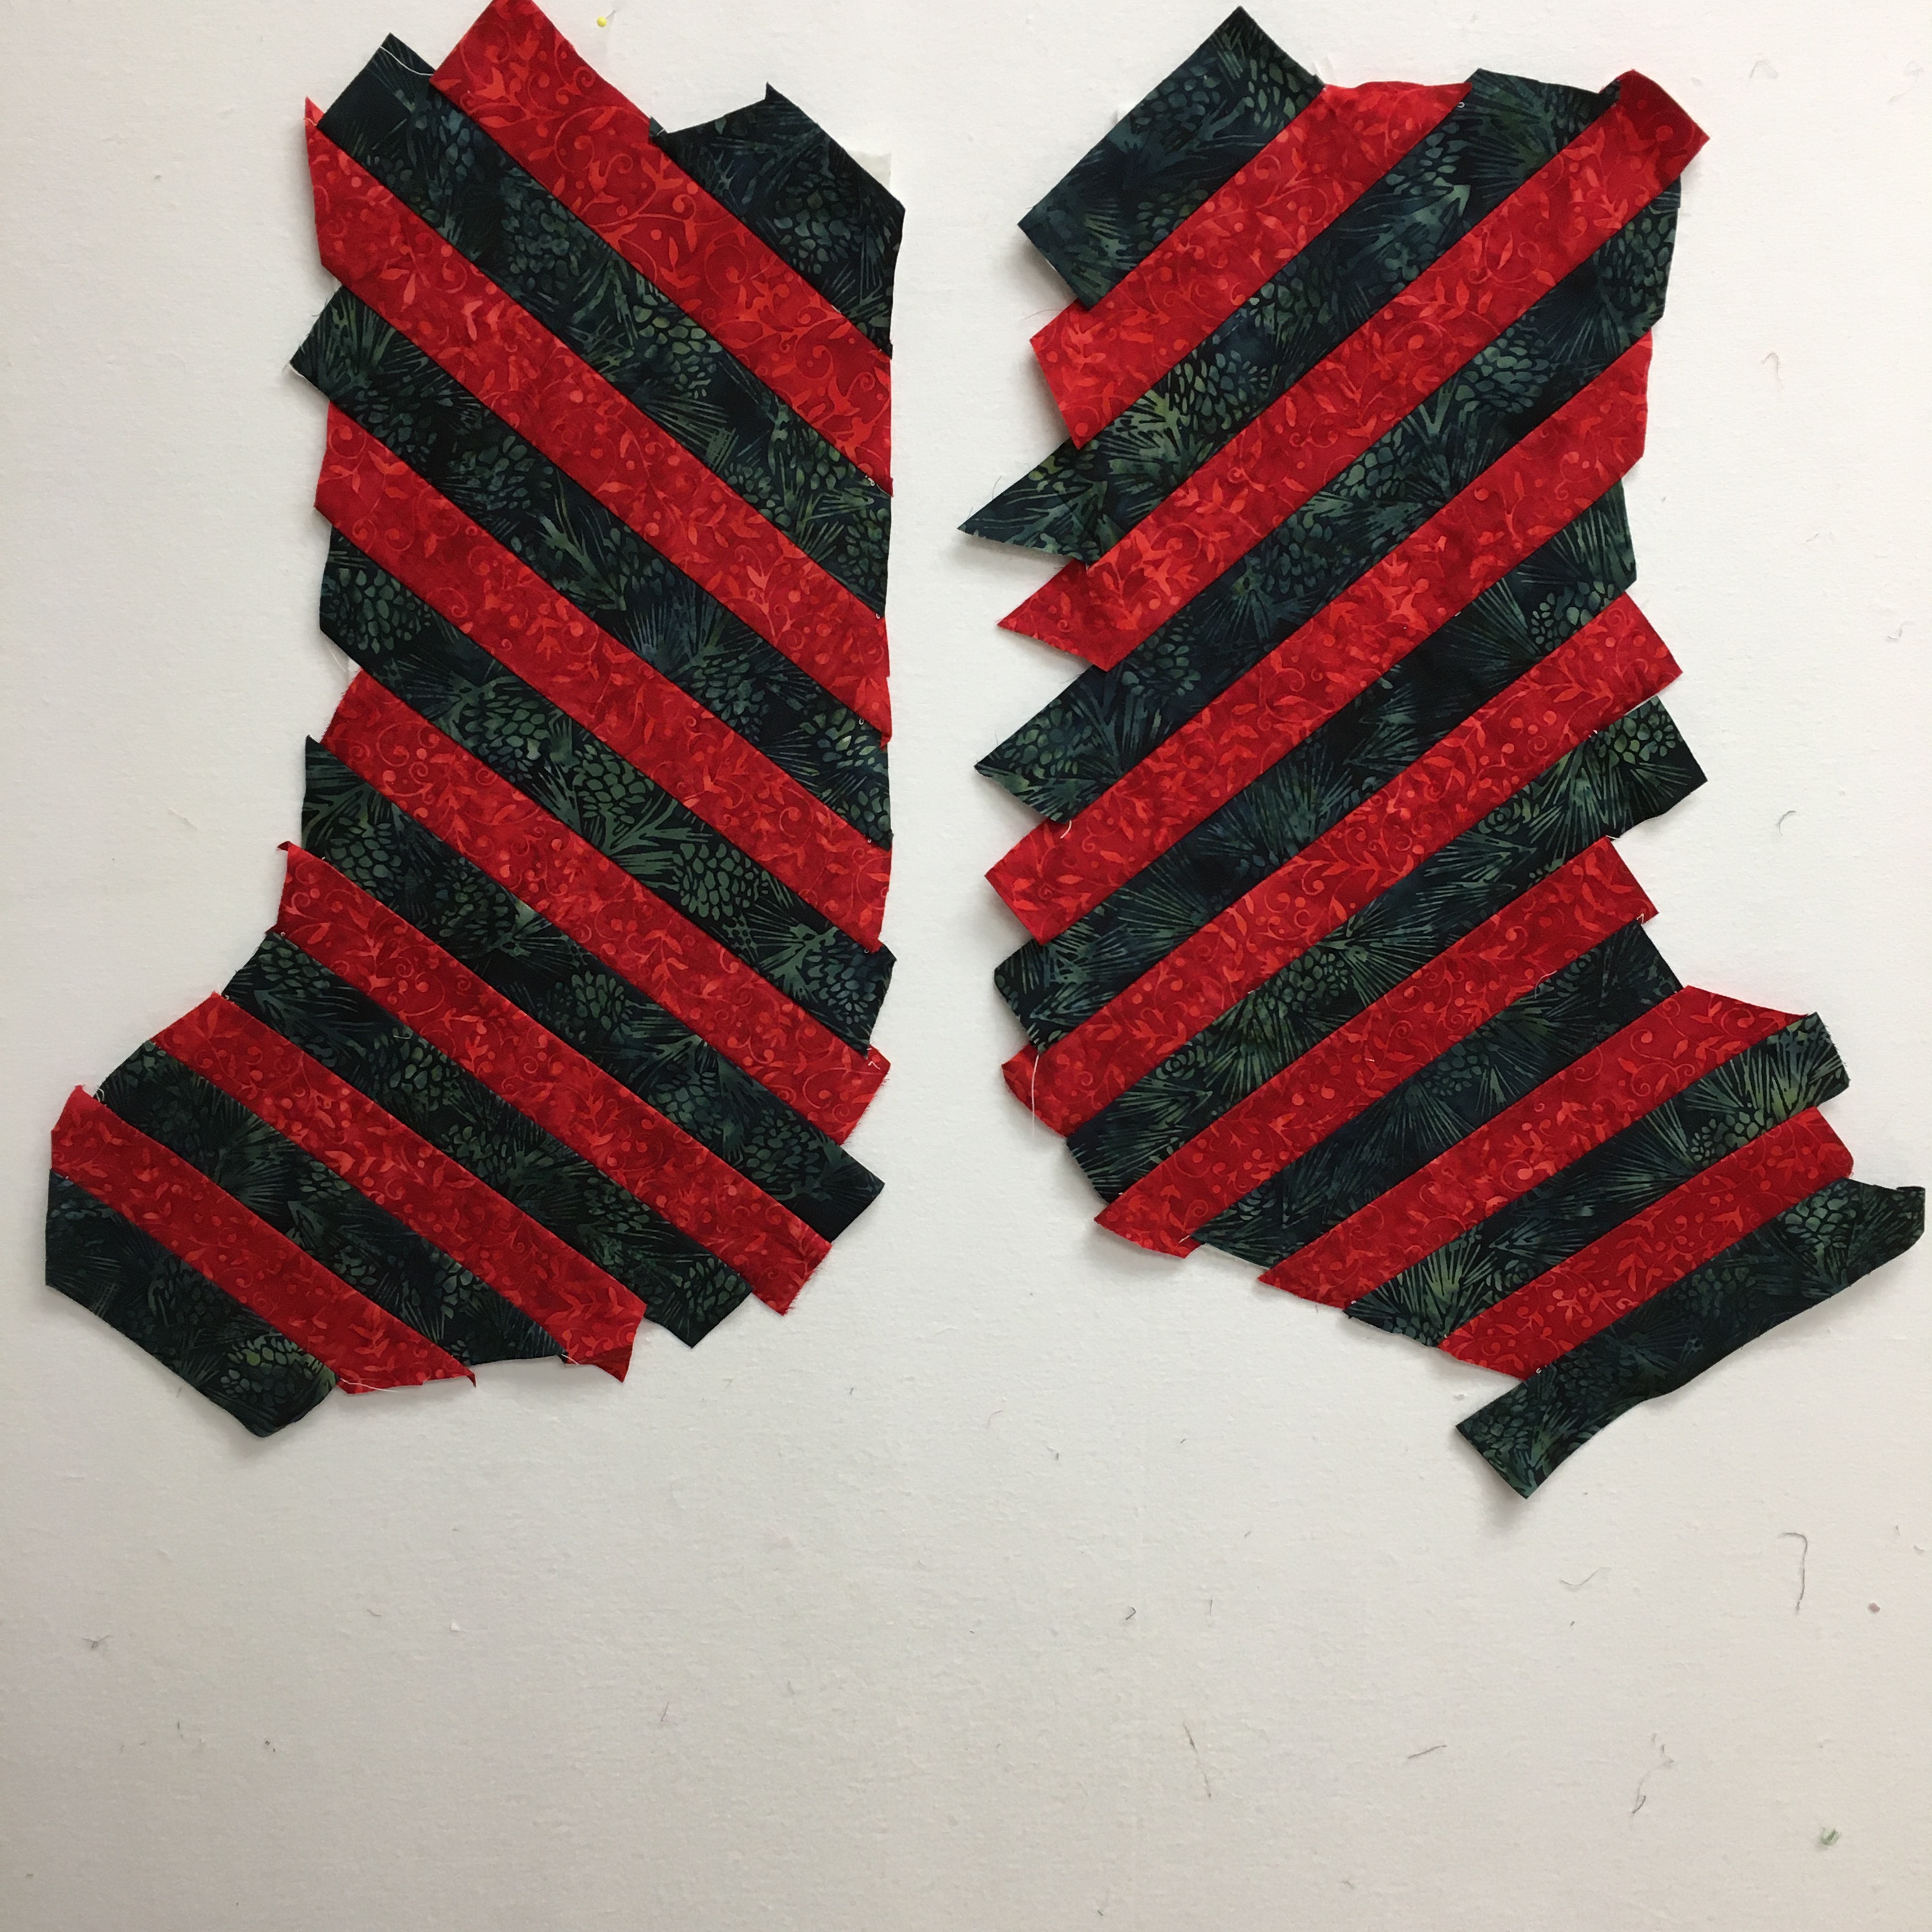
The 2nd stocking was a crazy patch that I attempted to do as a quilt as you go – but I had drawn too many intersecting lines to make it work … so it became an improvised crazy patch stocking.
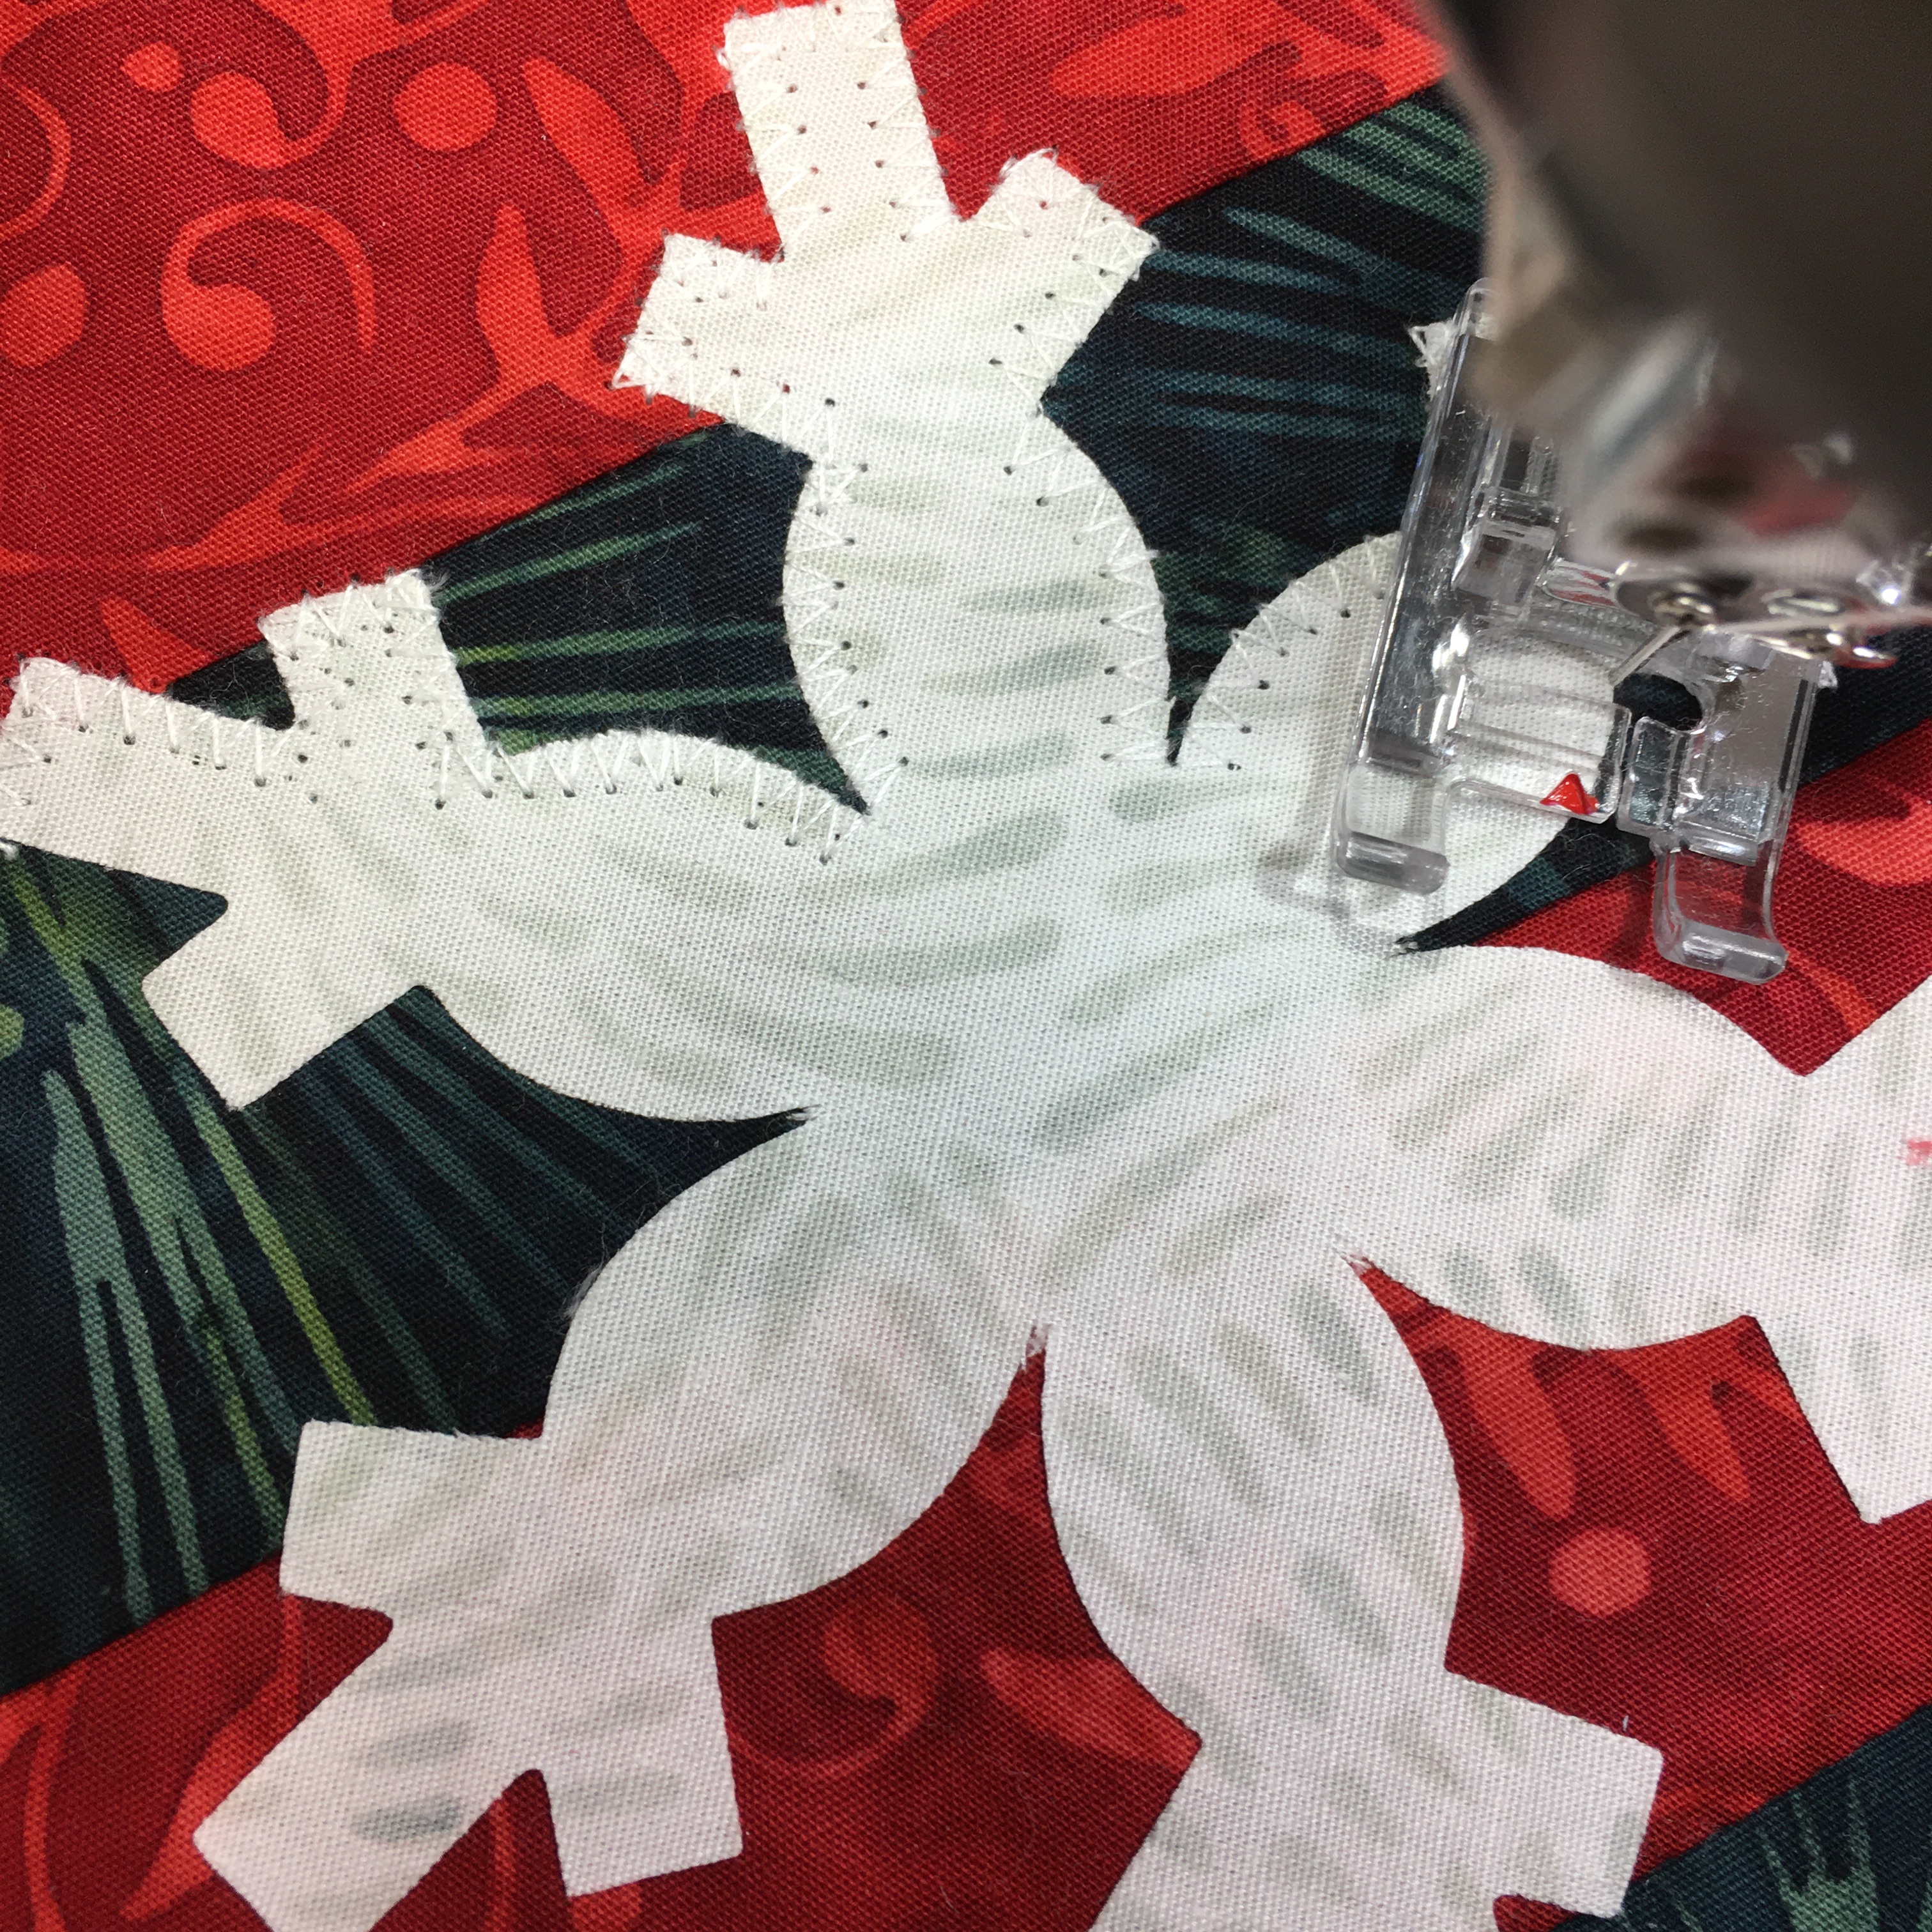
I used “Pinecone – Dark Teal” and the red is #121913380 from Season Splendor (Fall/Winter 2019 collection) for the stockings and “Coconut” for the snowflakes. The snowflakes were cut with Accuquilt dies that I borrowed from our guild’s die collection.
Appliqueing the snowflake and marking the stocking for the crazy quilting.
Aurifil Thread # 2021 (Natural White) was used for the applique process. #2692 (Black) was used for quilting, assembly and the hanging tabs.
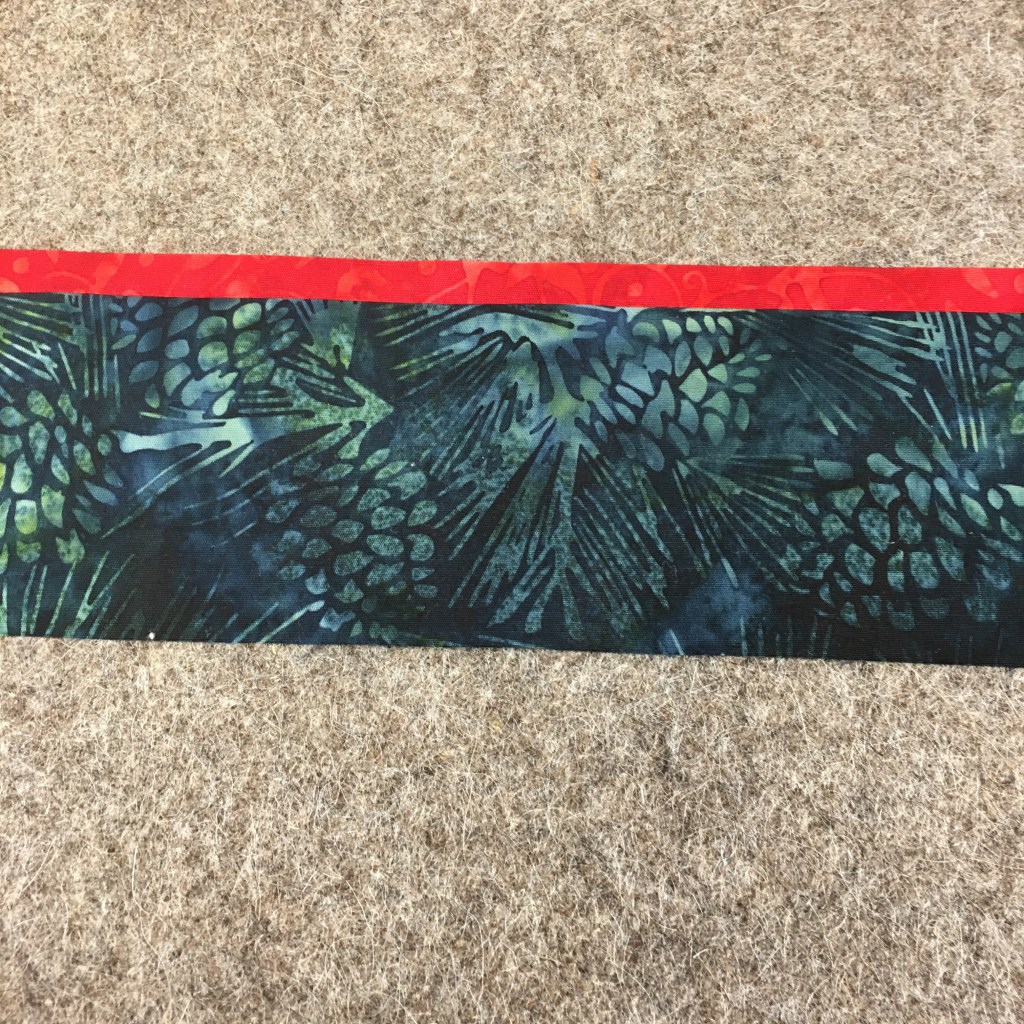
I wanted a little flange on the cuff – so the red was cut at 1 1/4” and the green at 3.” This made it possible to fold it 3/4” of the green to the inside so that the lining didn’t show. I used Island Batik solid white fabric for the lining.
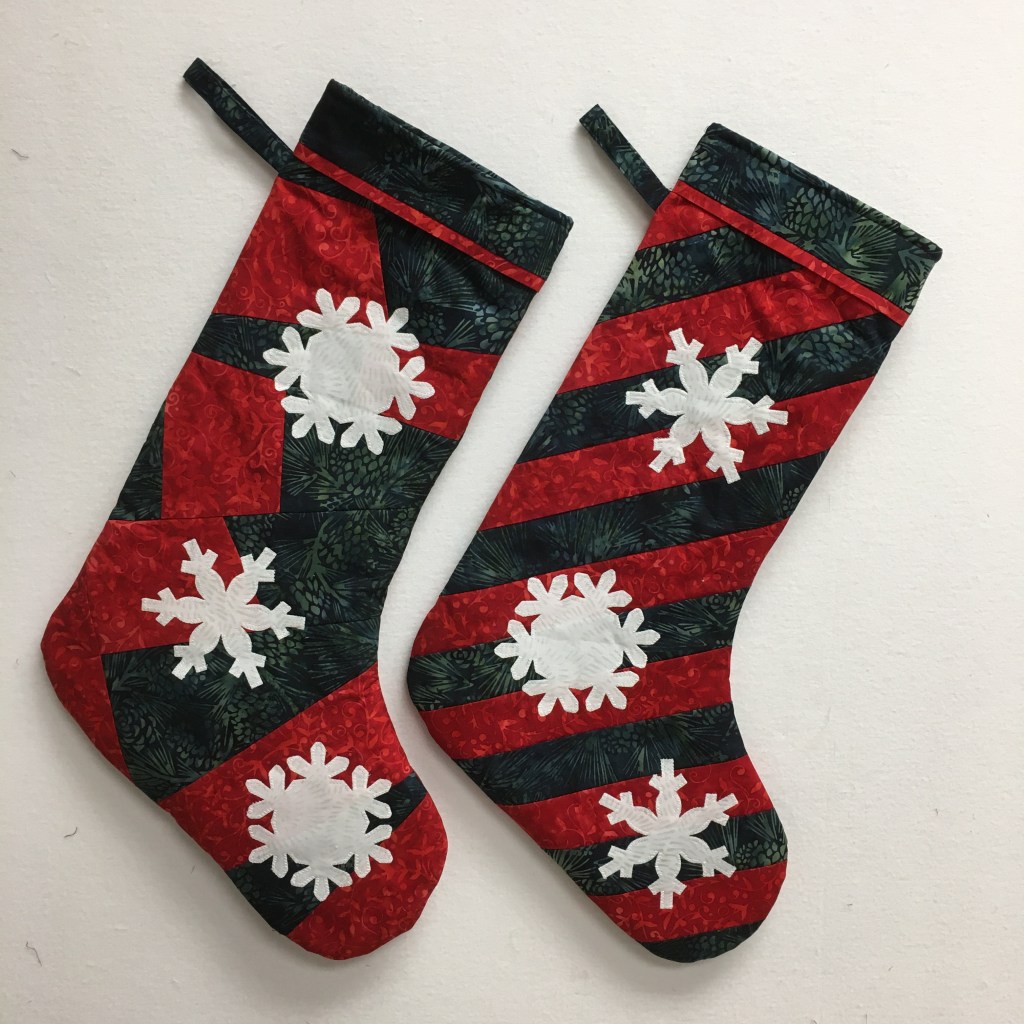
Here’s the first 2 stockings hanging on my design wall.
I think the stockings look a little more Christmasy pinned to the wood pile! The third stocking is for our grand-dog, Daphne! The larger stockings are 21″ long and Daphne’s is 17″ long.
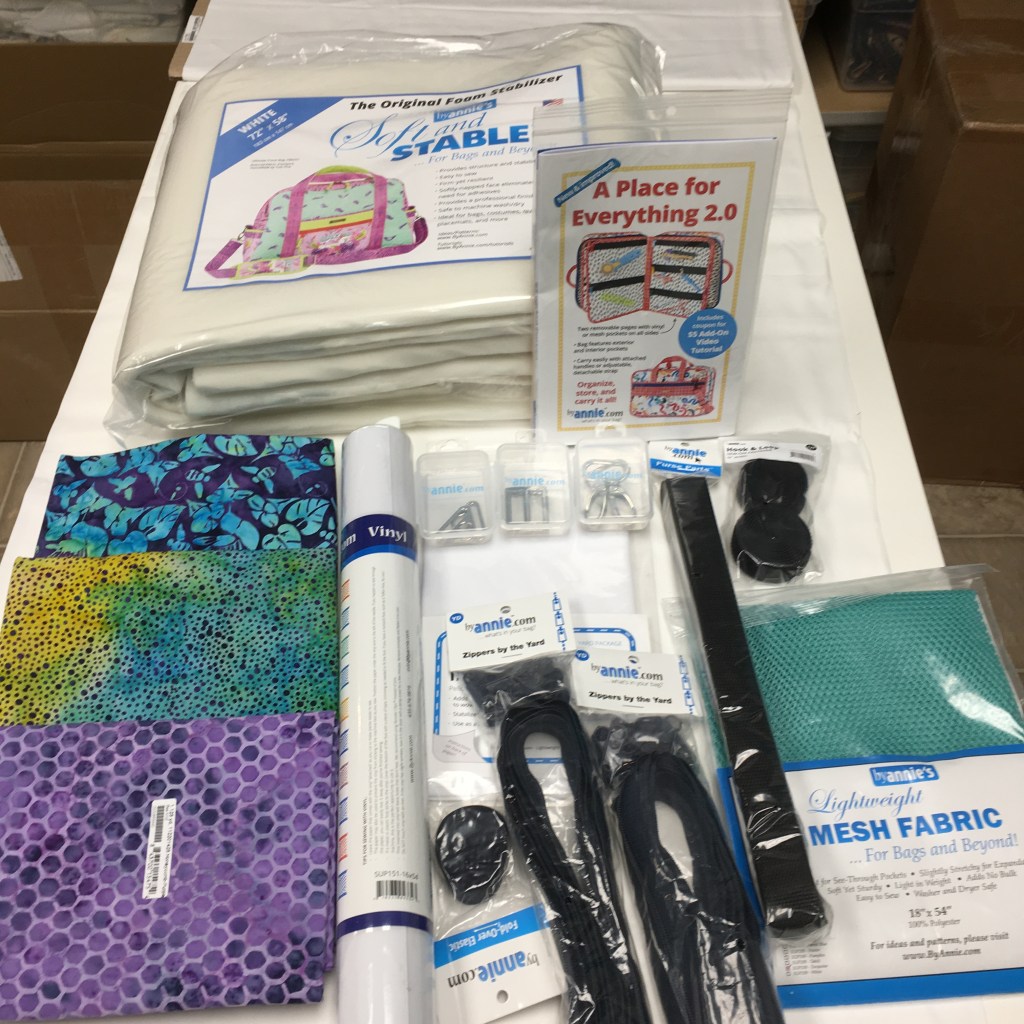
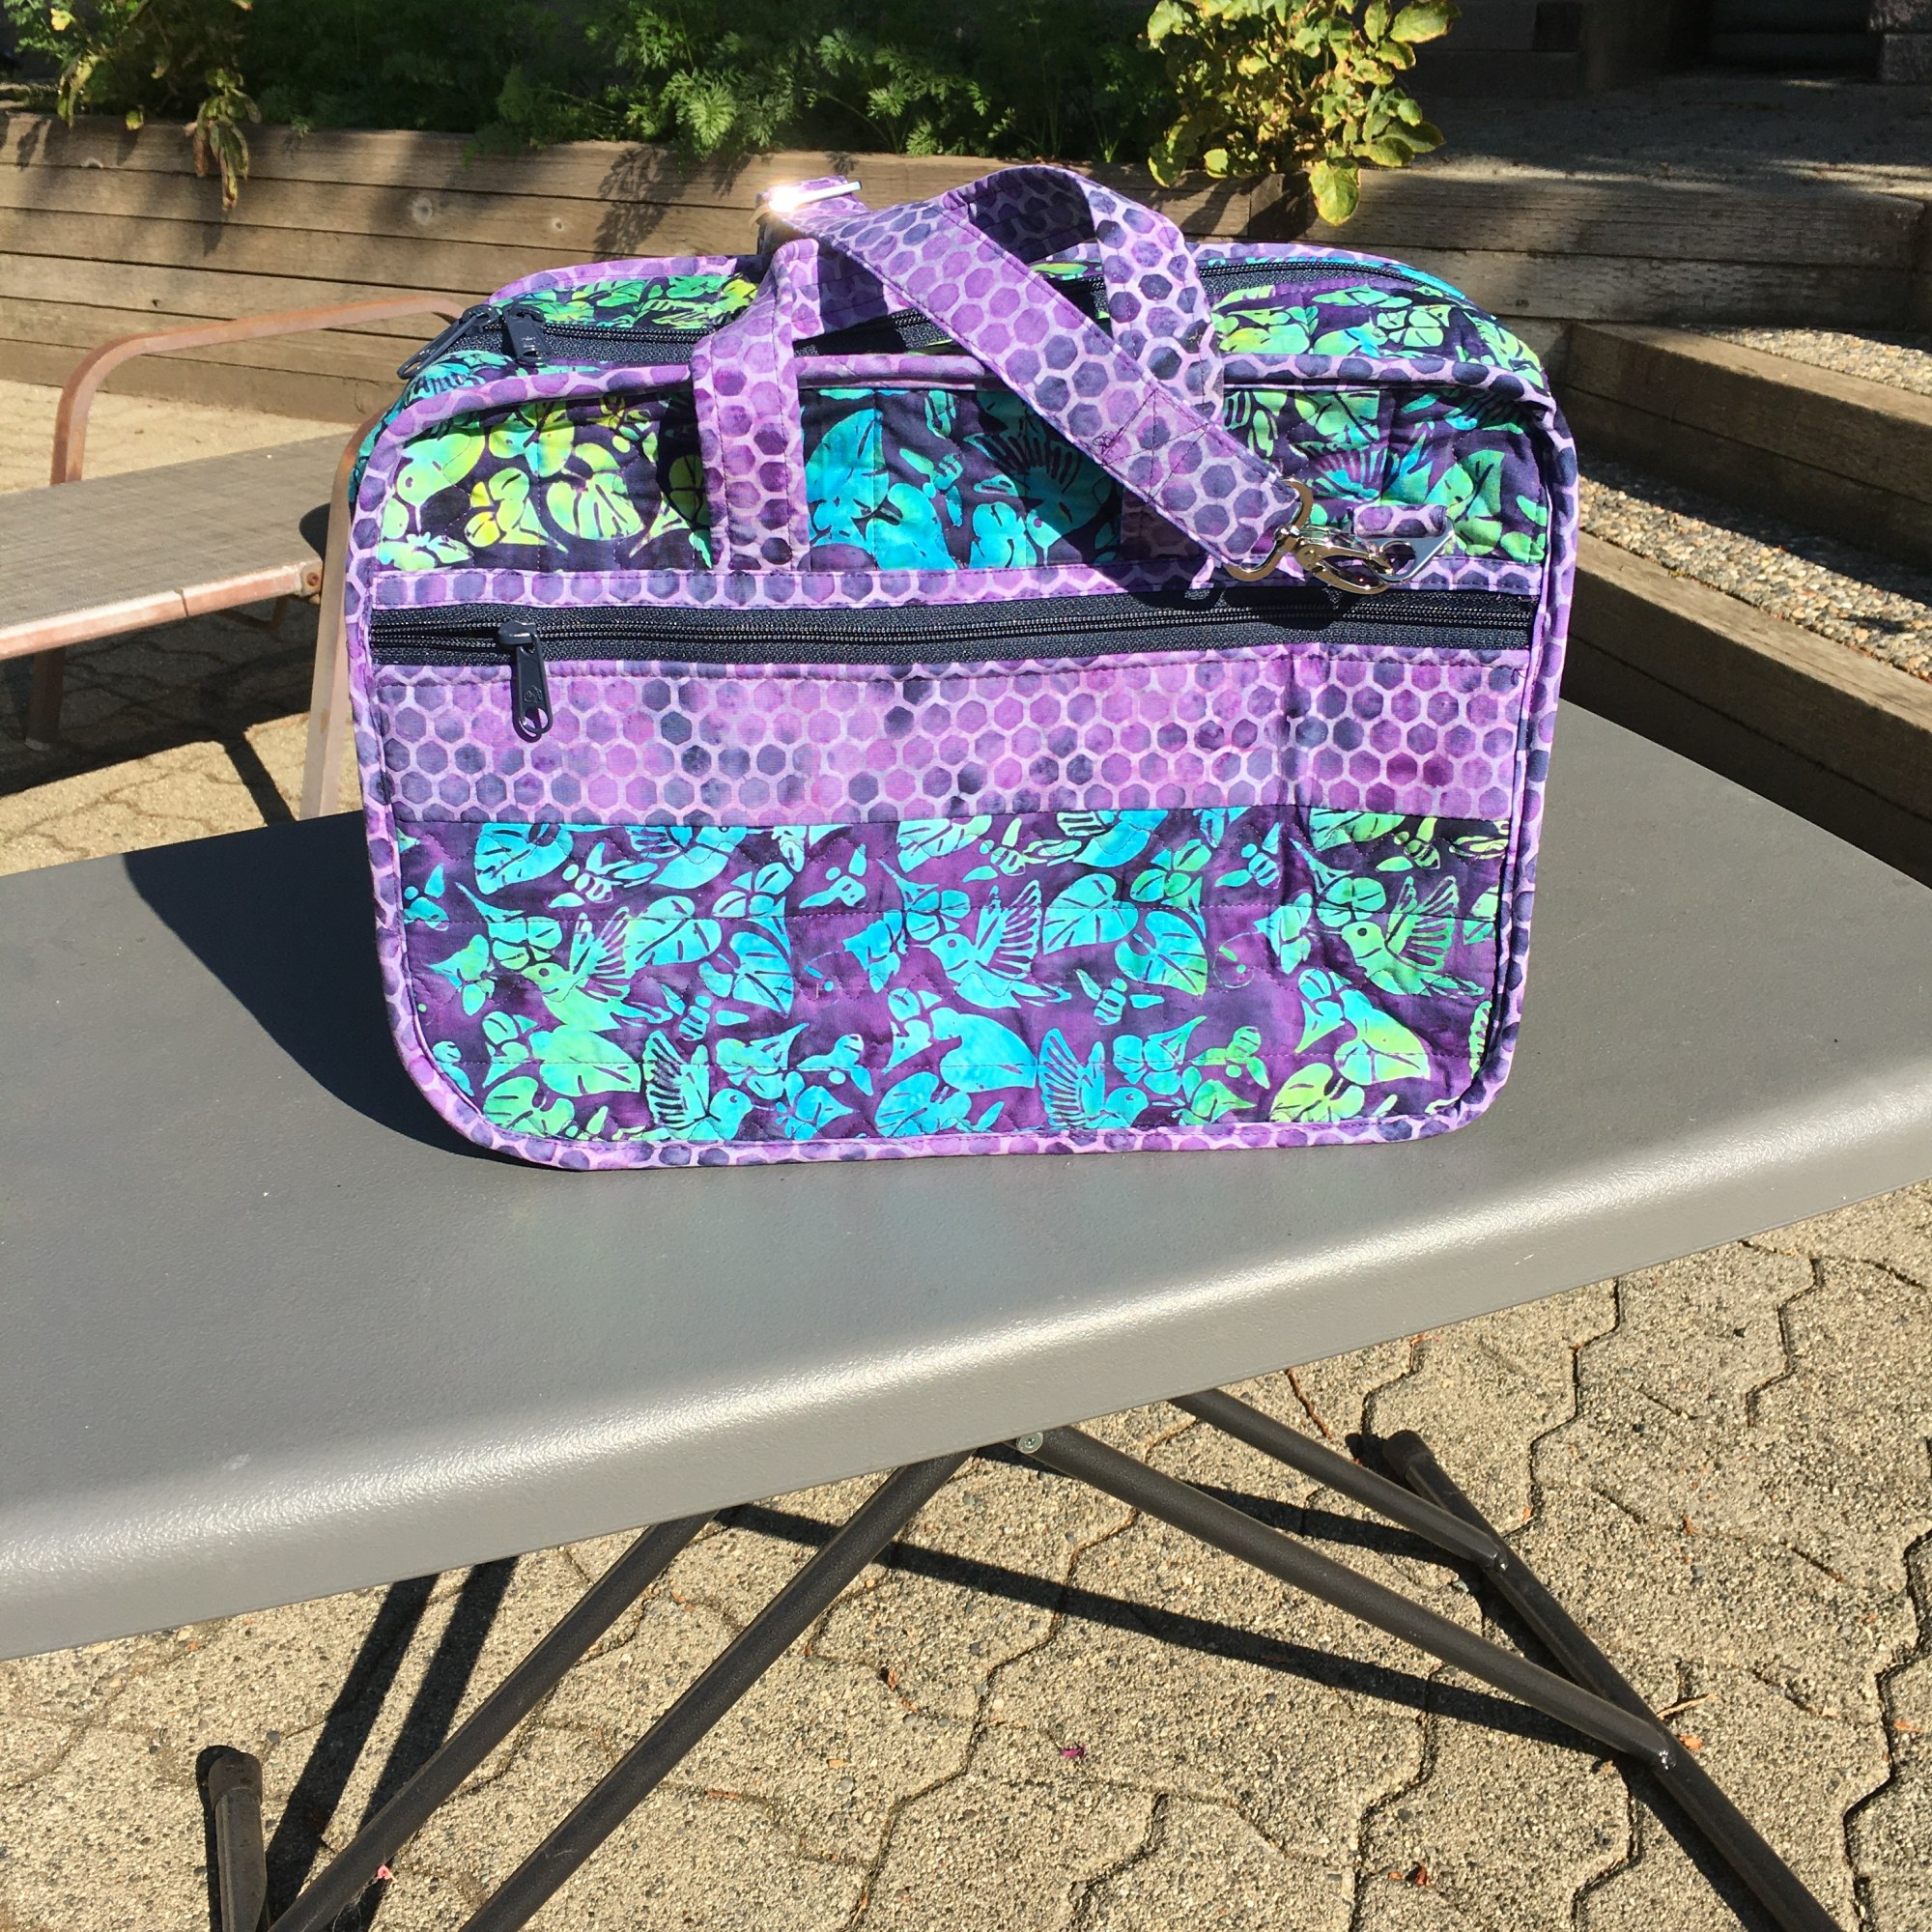
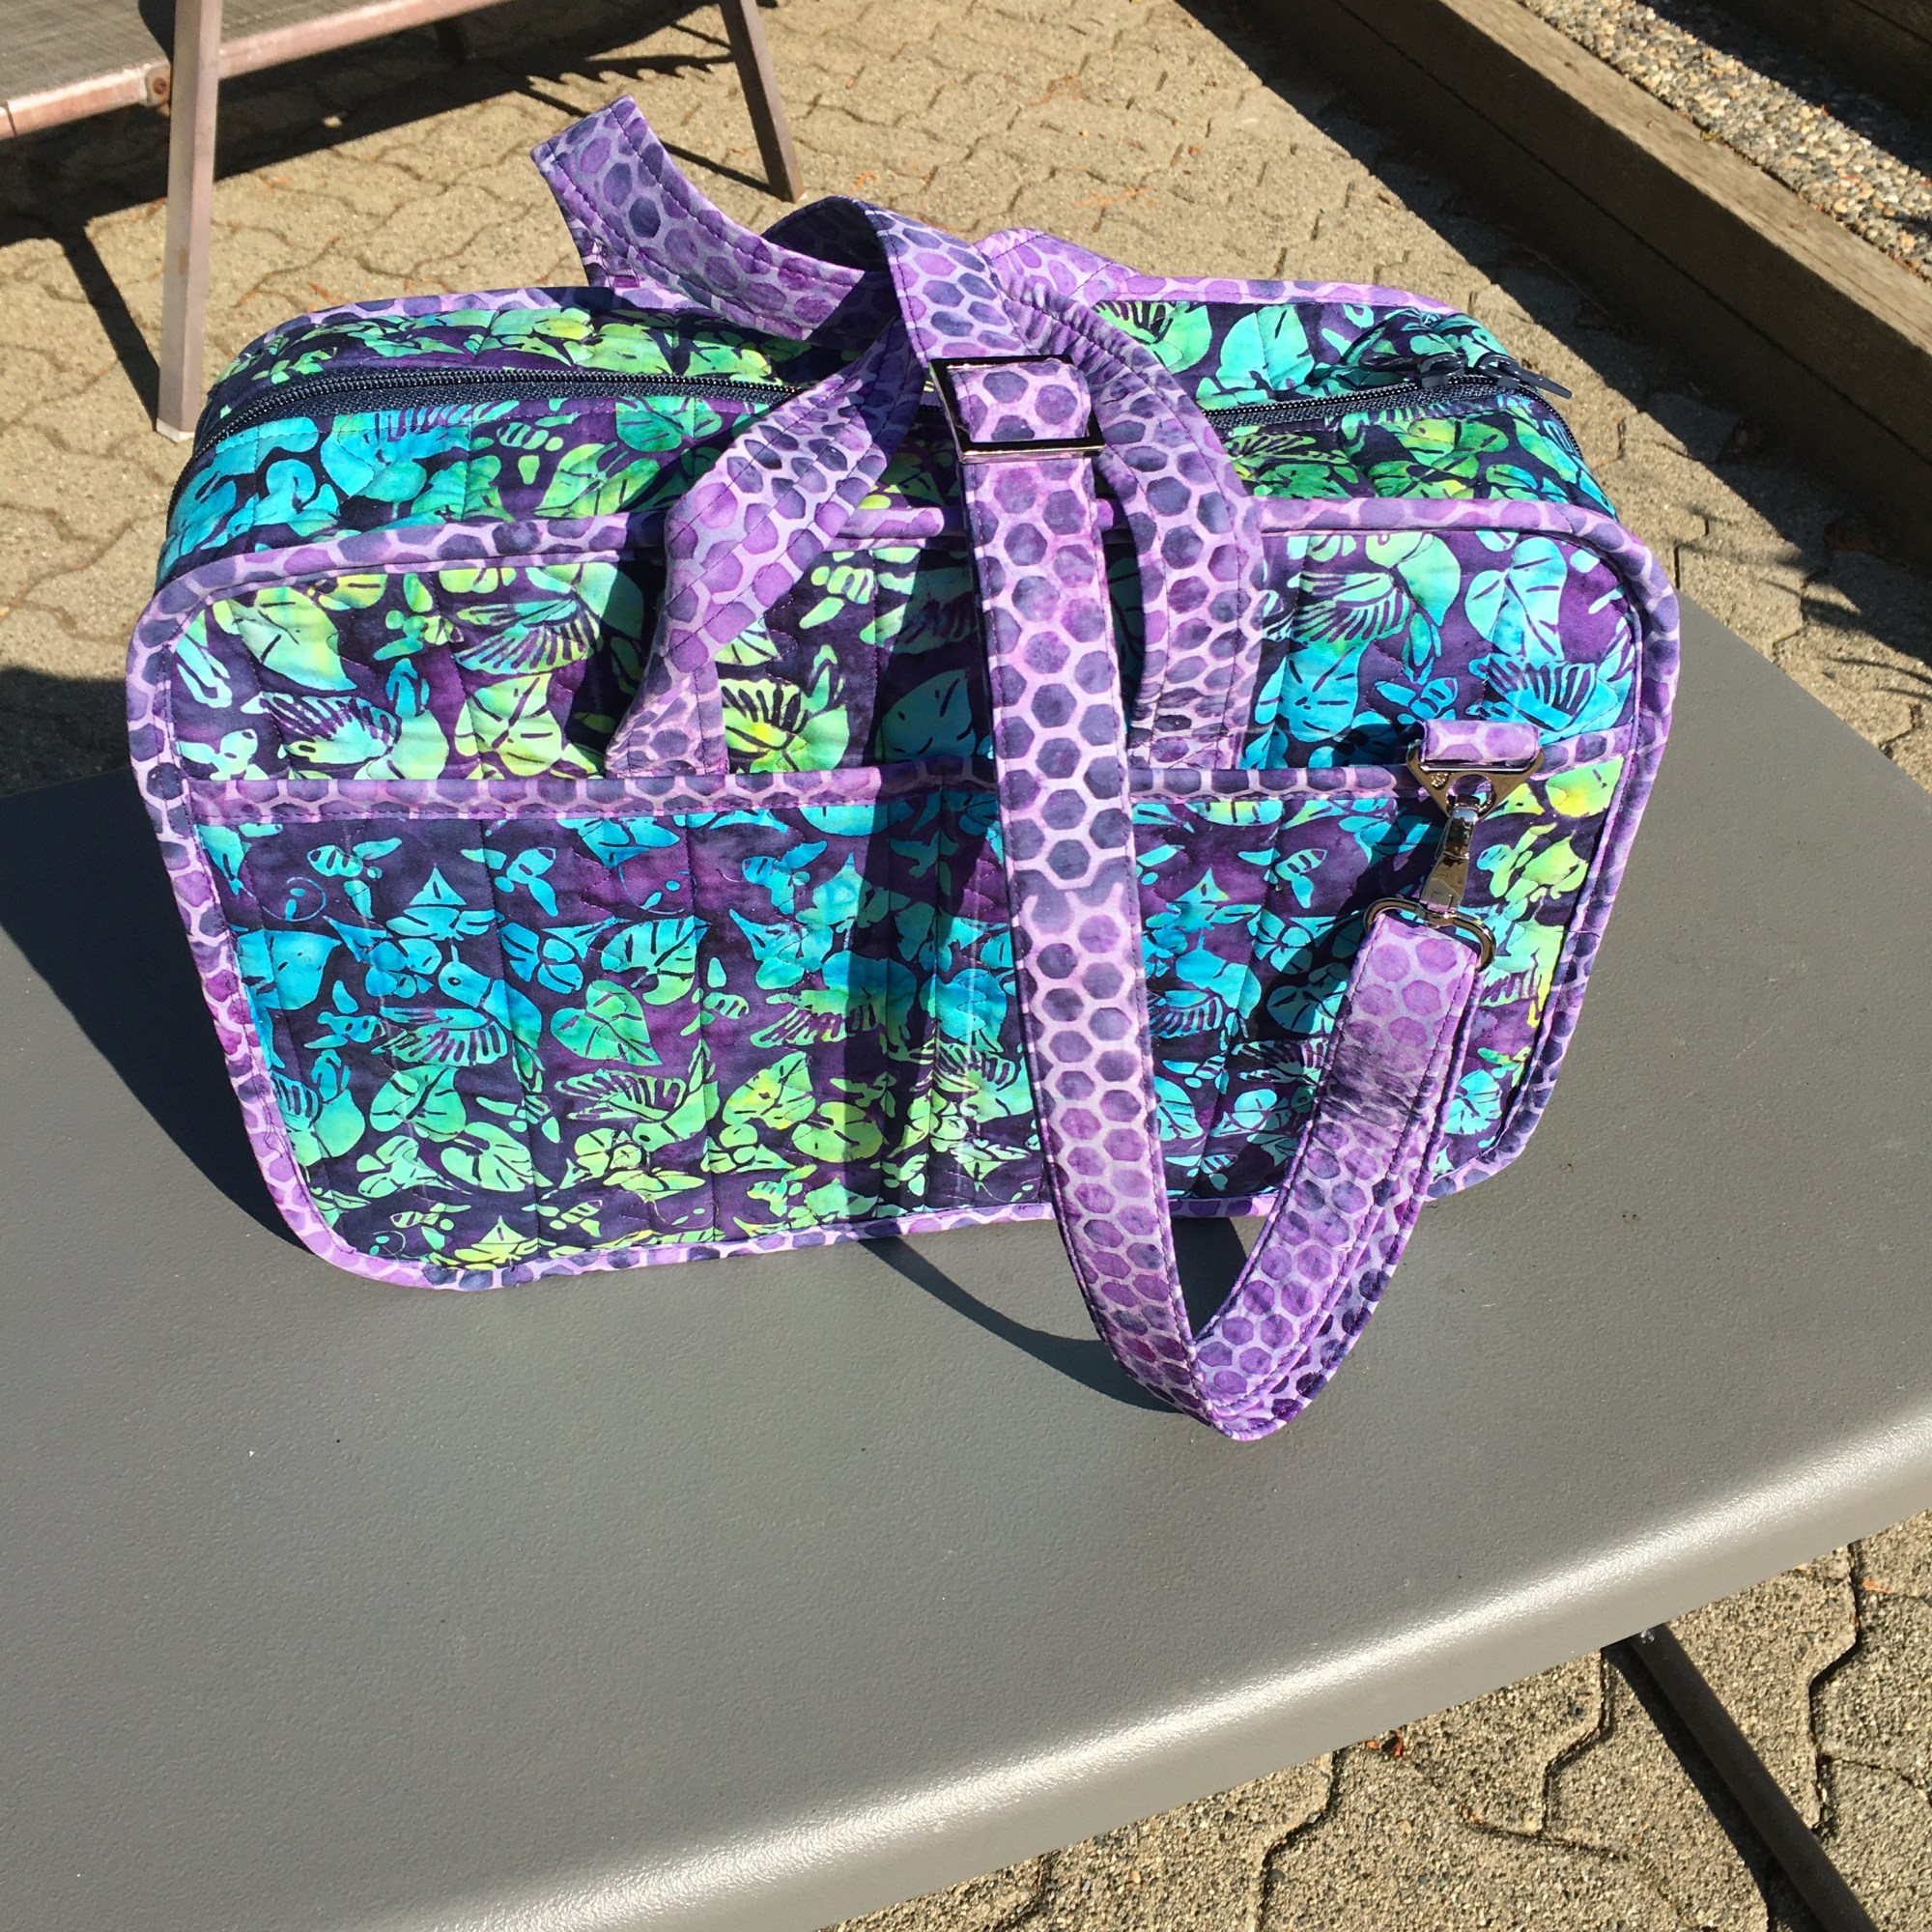
ByAnnie sent me EVERYTHING I need to make “A Place for Everything 2.0.” The Island Batik fabrics are Humming Bird Nectar, Dots-Multi Blue Green and Honeycomb – Purple, all from the “Bee Kind” fabric collection. (the Bee Kind fabric collection should be available in stores now. I’m loving the fabrics! (I should, I got to pick them out!)
The “A Place for Everything” pattern comes with a coupon for an Add-on Video. These videos were invaluable. They don’t replace the pattern, but they certainly make certain steps a LOT easier!
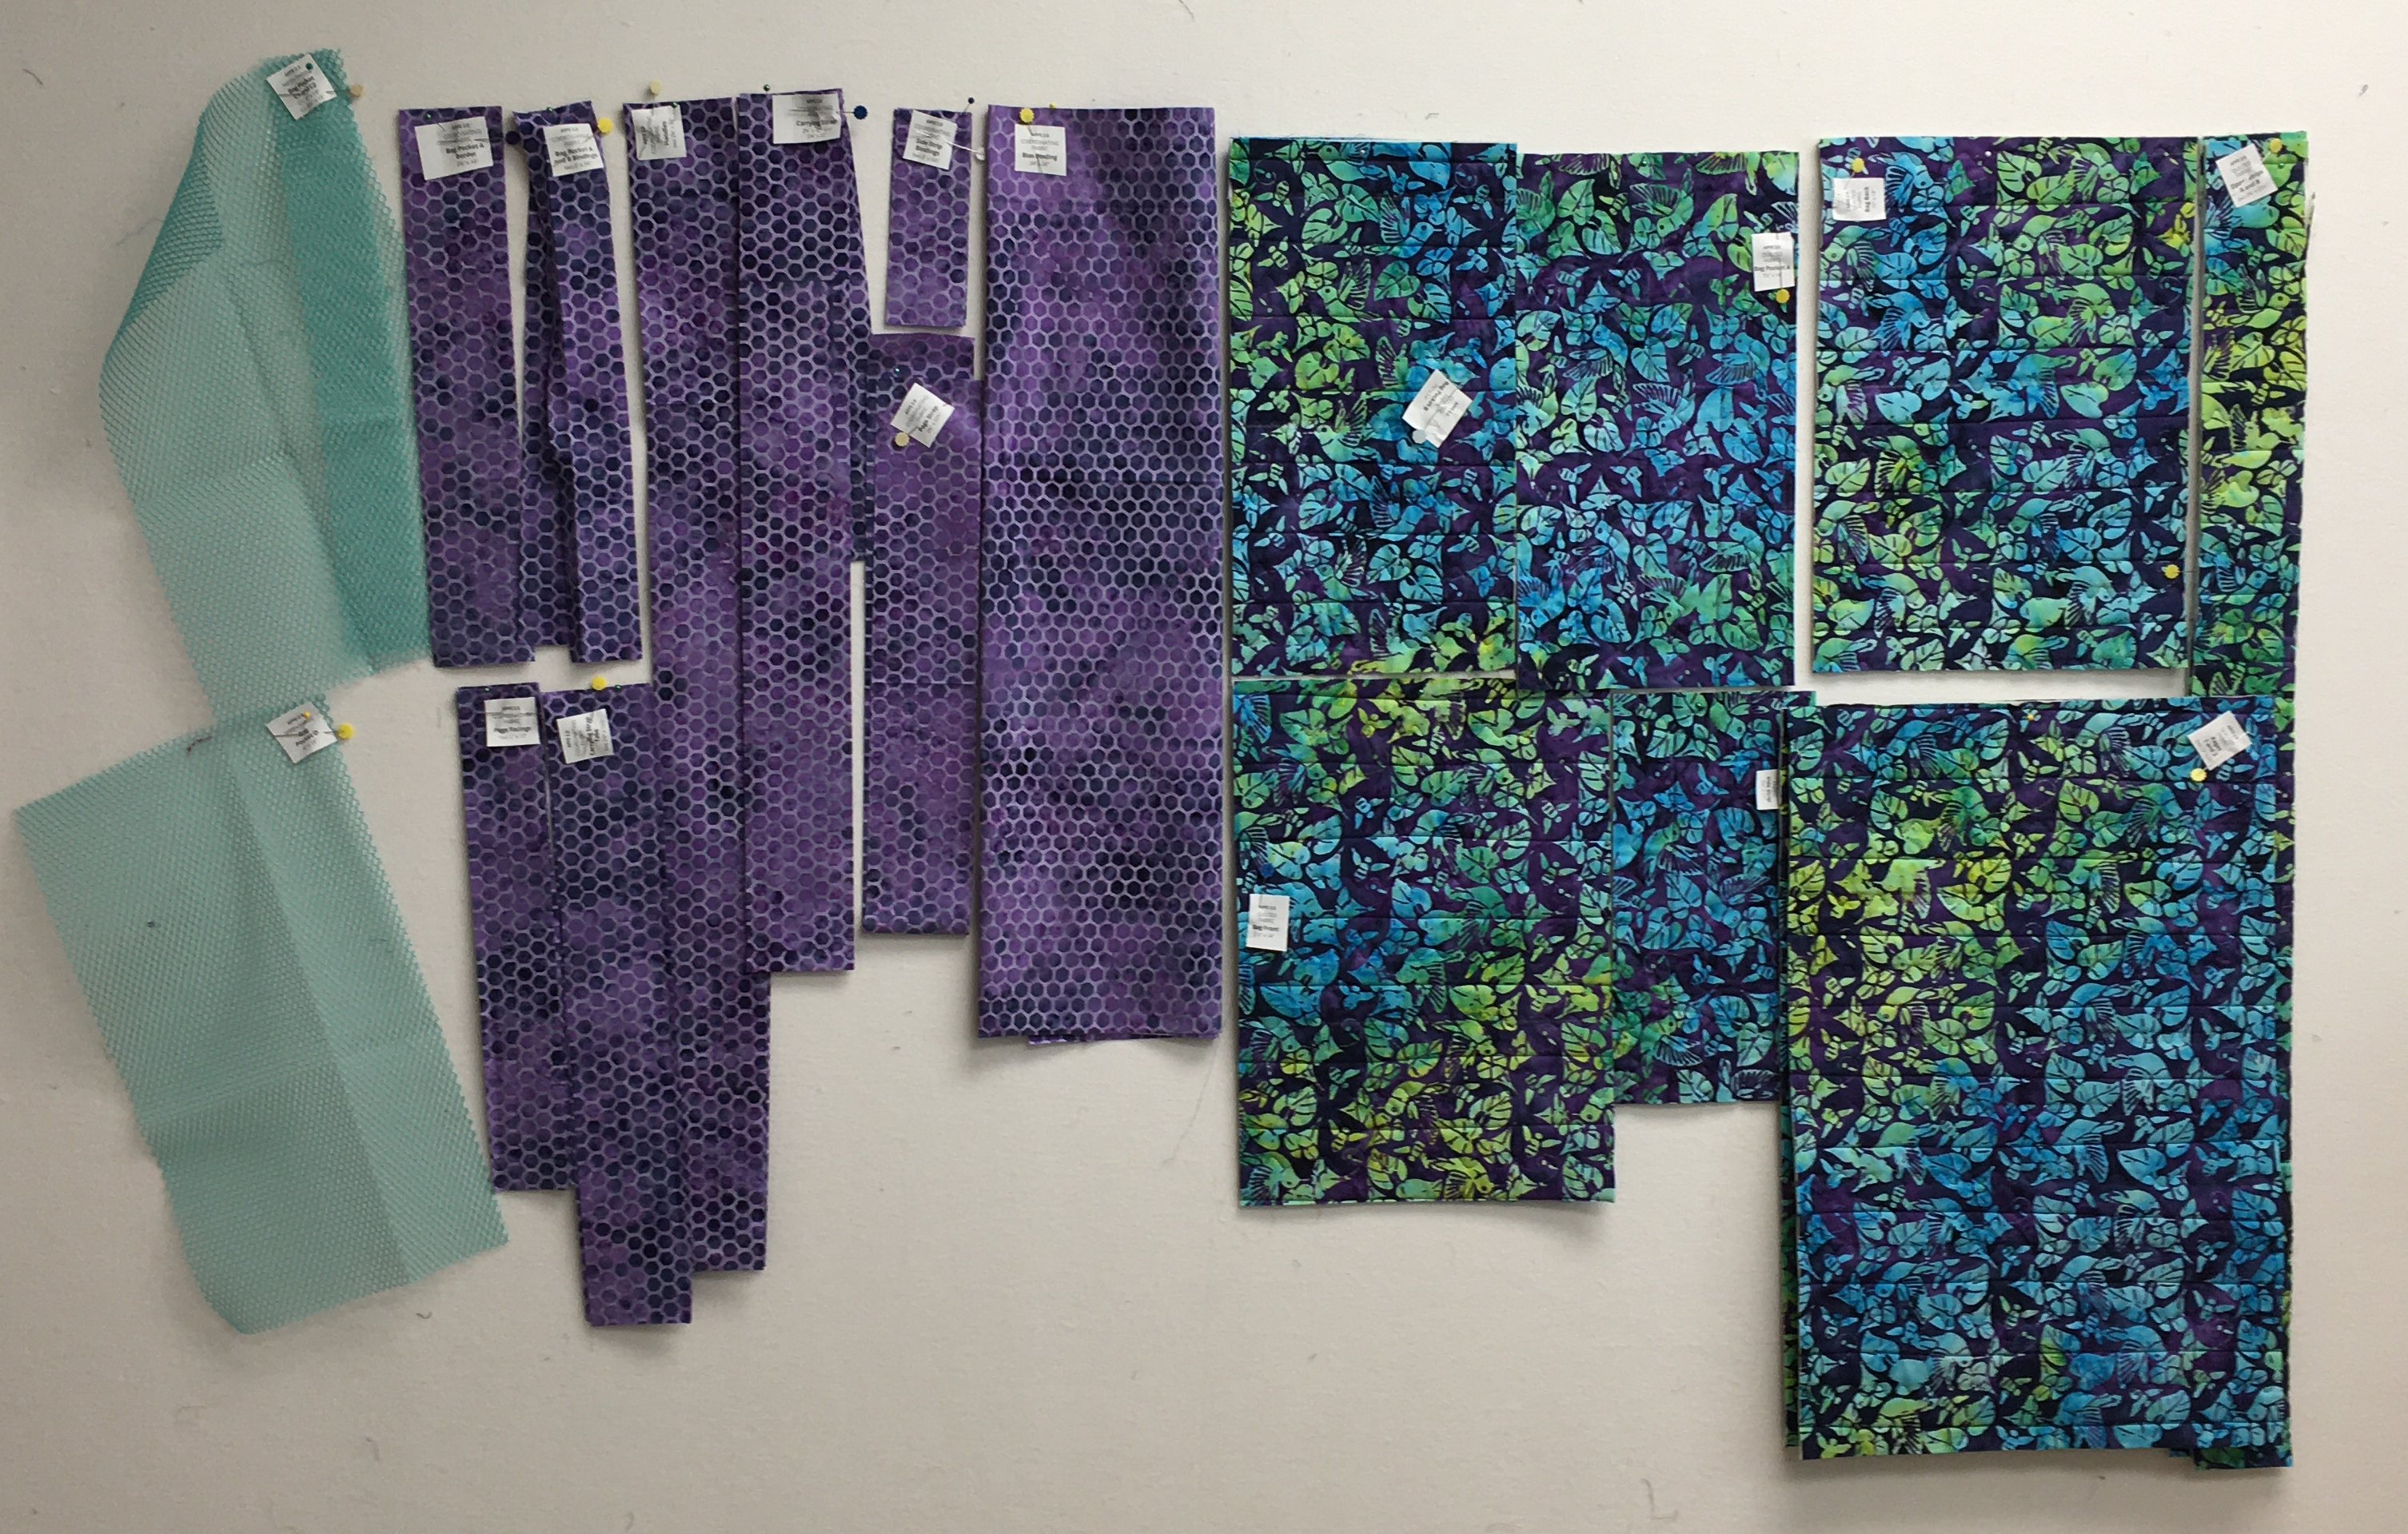
By Annie patterns come with a label chart on the back. I find that it is extremely important to photocopy this sheet and use it to label EVERYTHING as you cut it. When you do this, there is no second guessing if a piece of fabric is the correct one – it says it on the label!
Here is a picture of most things cut, labelled and pinned on my design wall for easy access. The clear vinyl is not on the design wall as I didn’t want to poke holes in it.
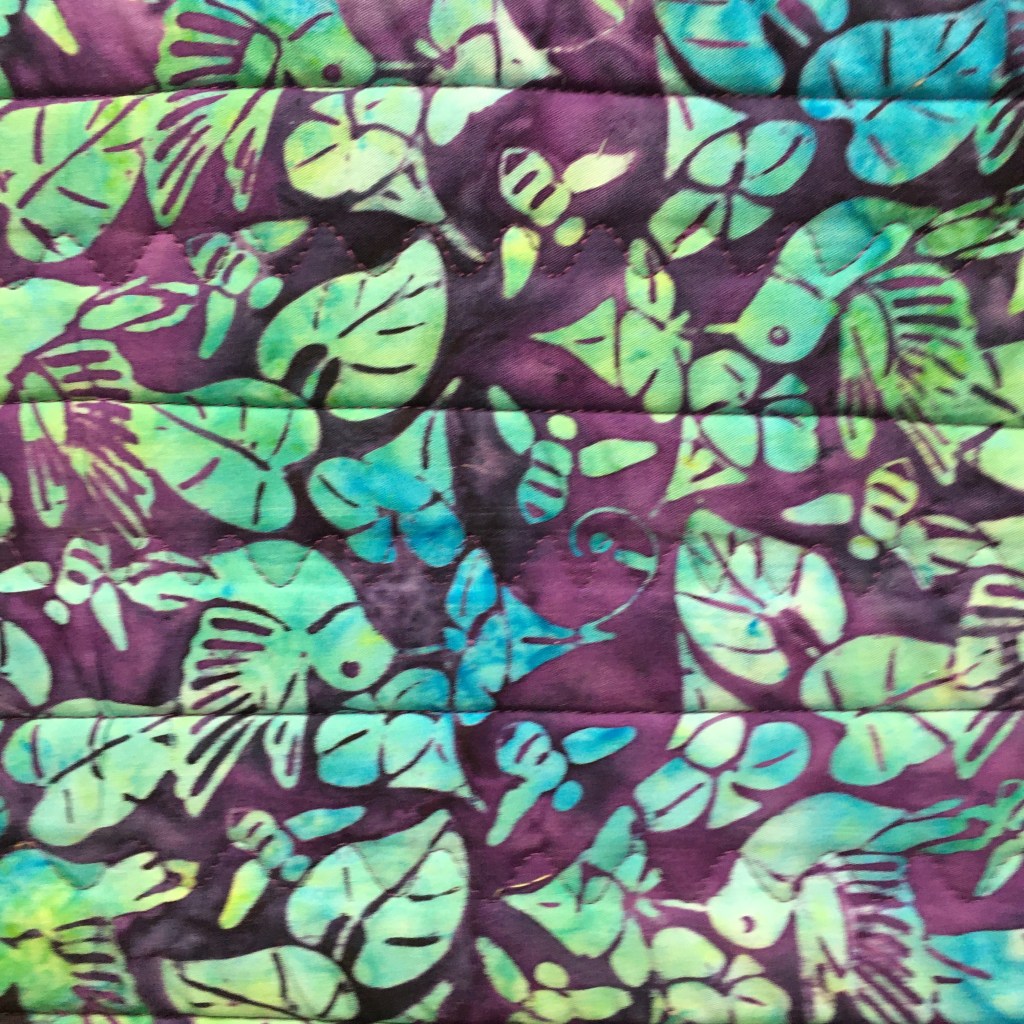
I started with quilting the Humming Bird Nectar fabric and the Dots-Multi Blue Green with Soft & Stable between. 505 spray does not adhere to the Soft & Stable and since I really dislike pins, I used Elmer’s Disappearing Purple glue stick and the fabric stuck like a charm. The fabric was quilted with my walking foot, using a serpentine line, alternating with a straight line. I used Aurifil Thread: #4225 (Eggplant).
Then, I started to assemble the various parts of the bag … following the directions.
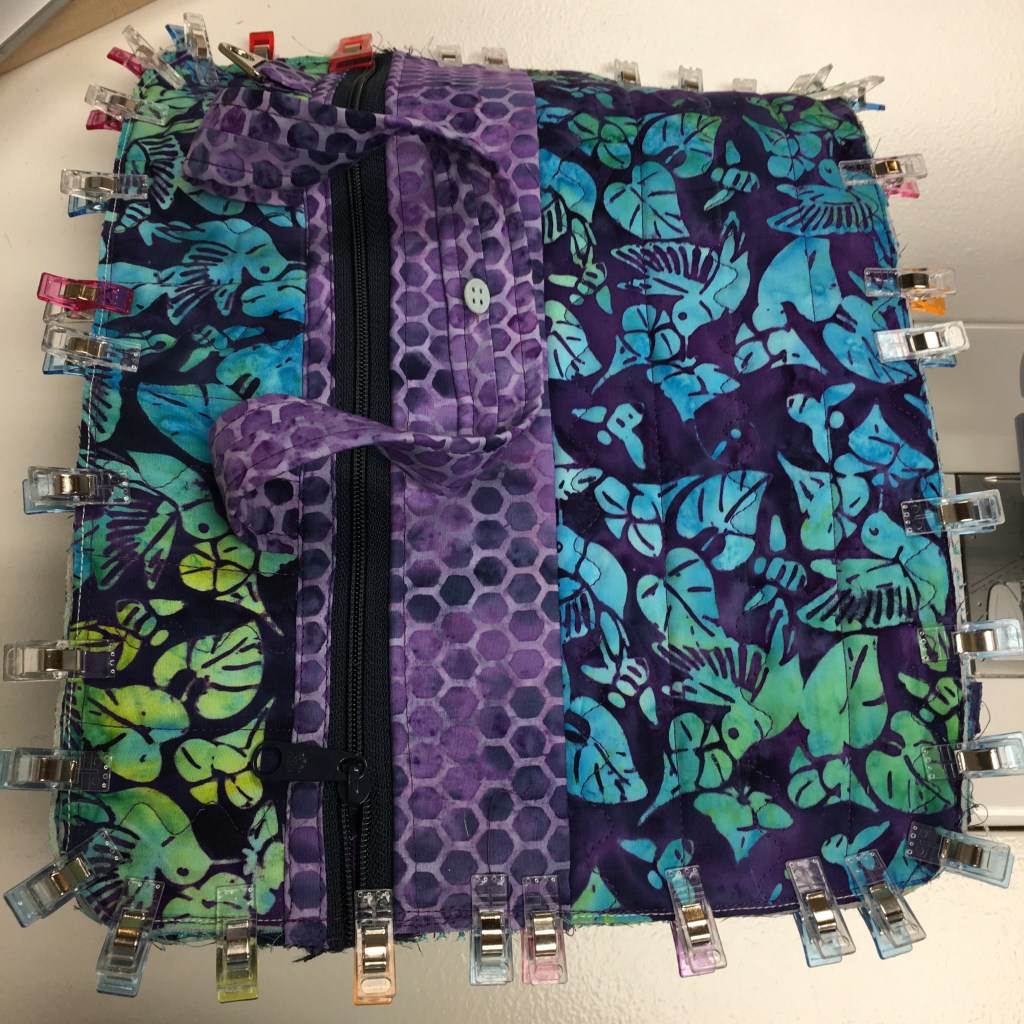
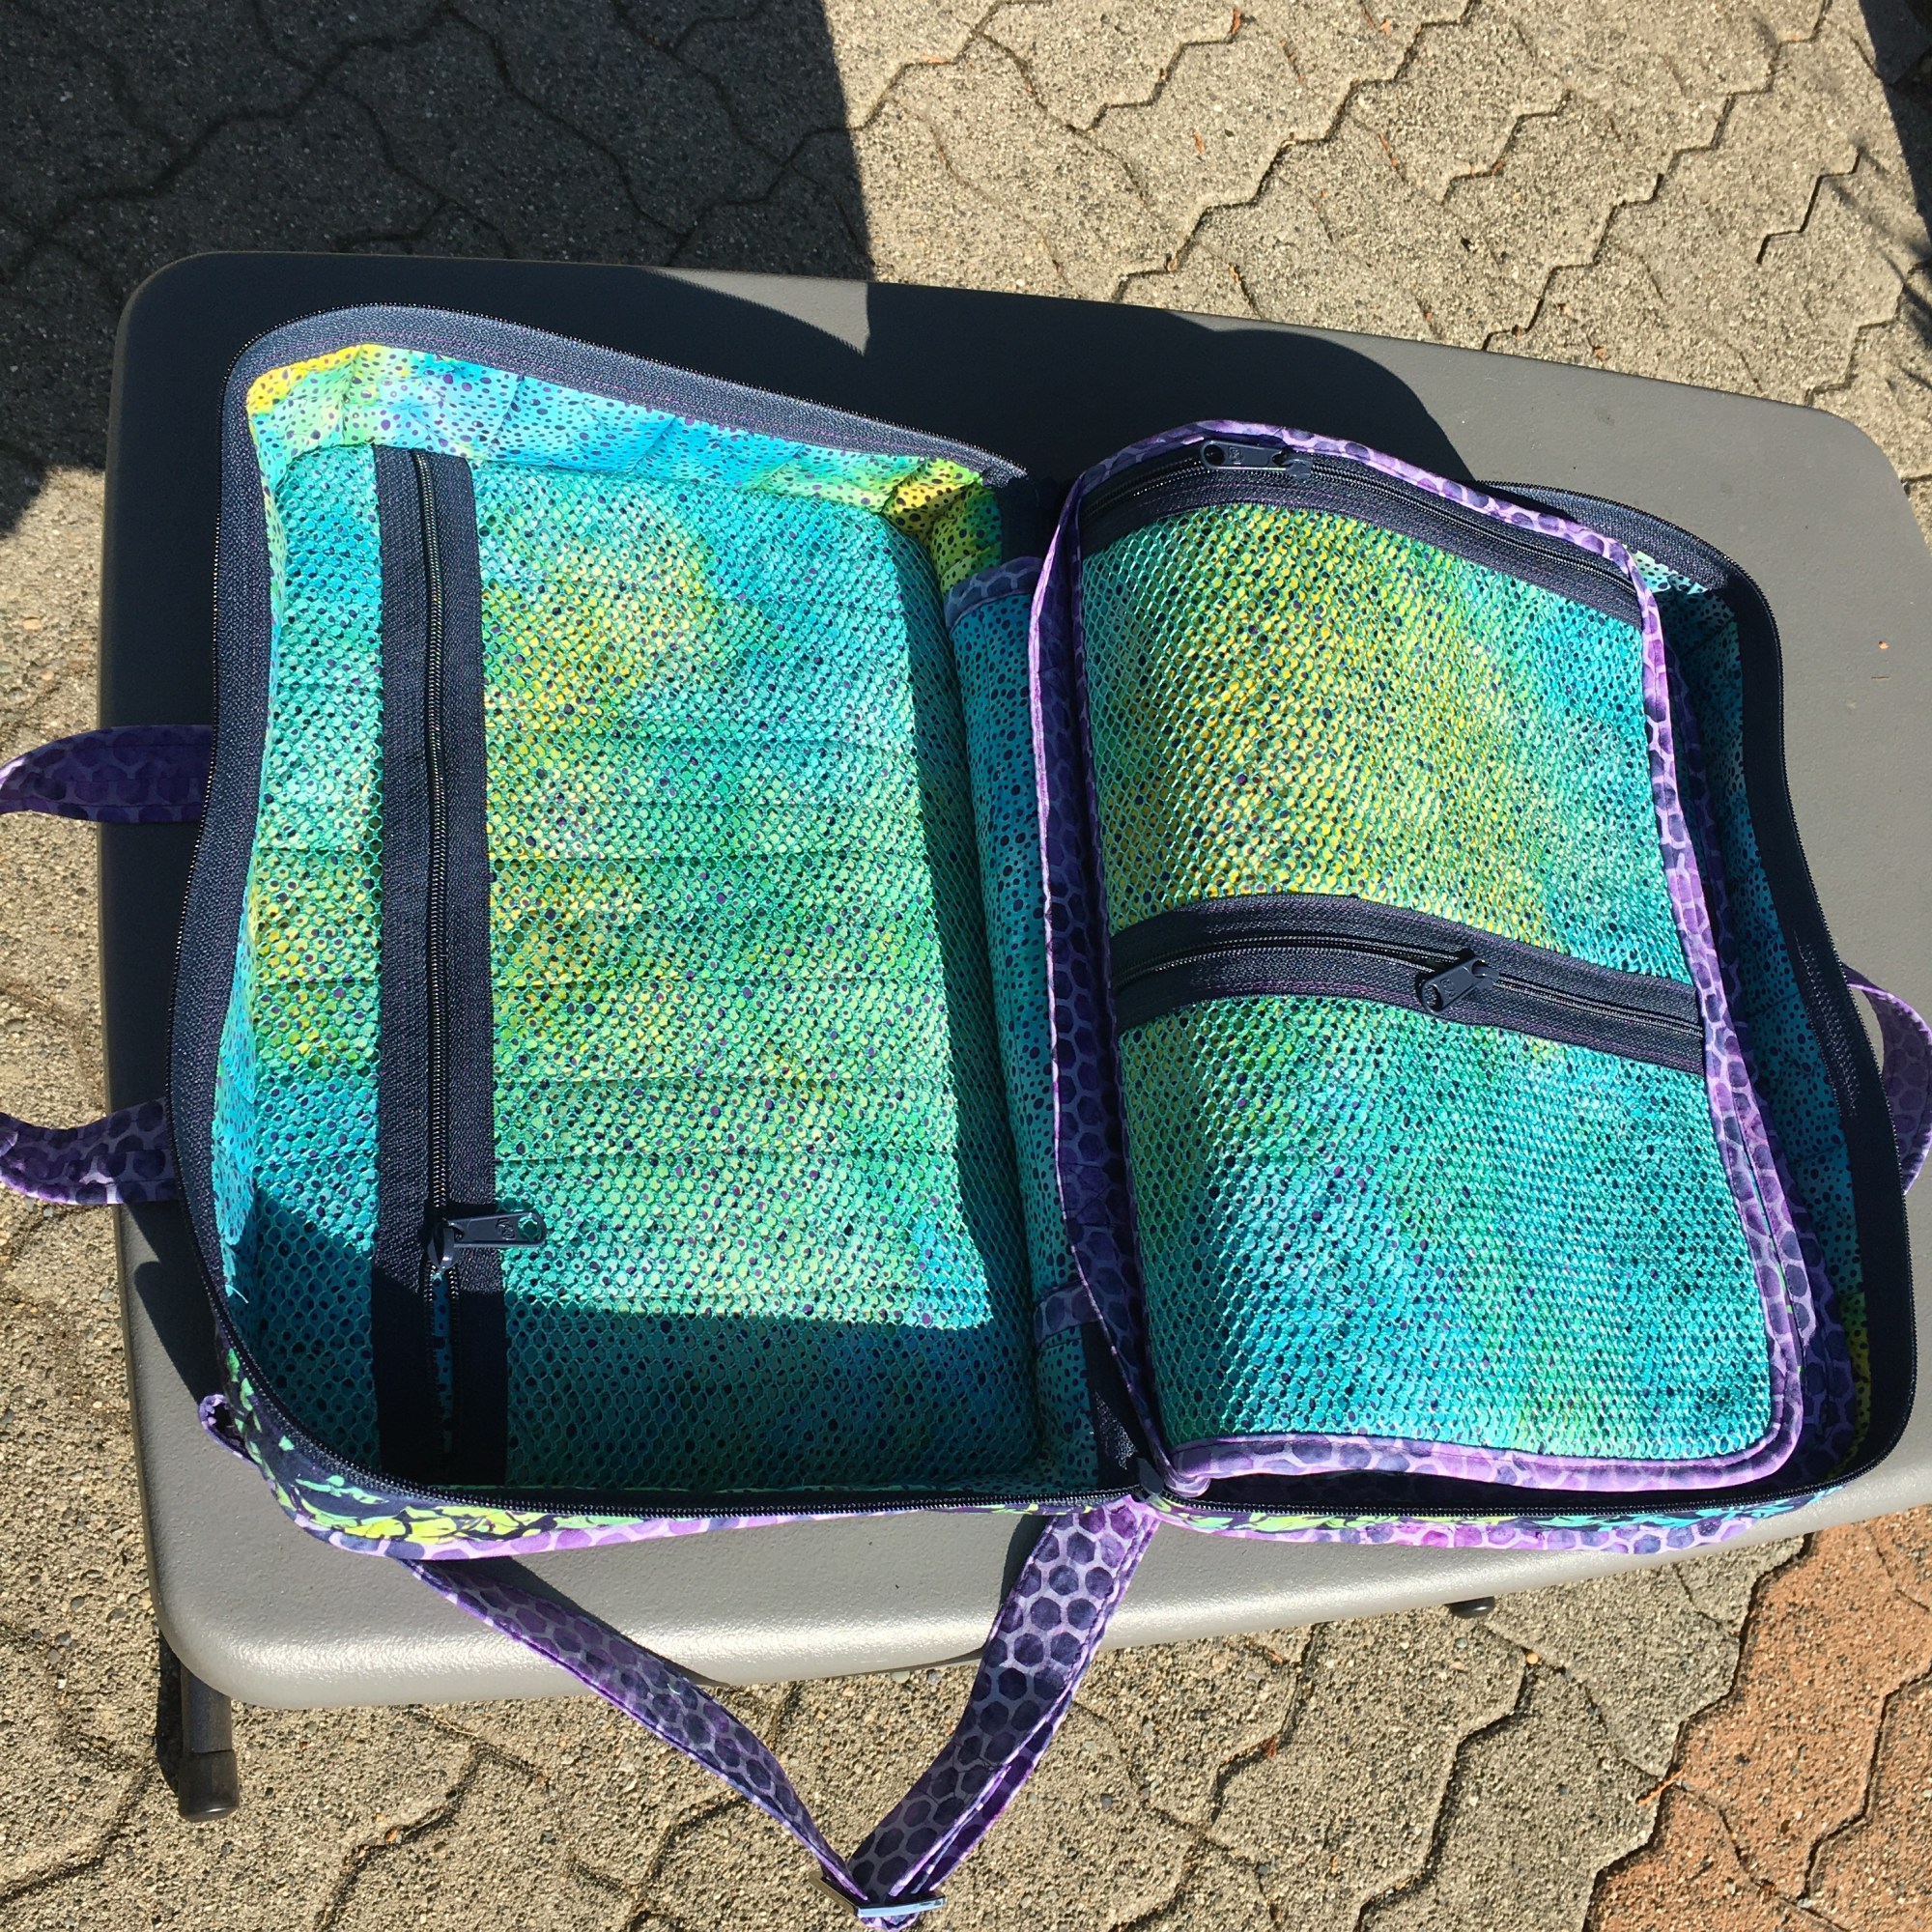
Here’s the parts, prior to the bag construction: Most of the zippers are in, the pages, with vinyl and mesh are constructed. The straps are made … all ready for the bag assembly!
I used clips (as suggested in the instructions and videos) and it sure makes sewing the bag together much easier! The clips come off easily and they don’t poke my fingers! {grin}
I was pretty excited when the bag was finally put together! And I’m in LOVE with my “A Place for Everything” bag! I plan to use this bag to store all my ruler quilting rulers!
Things to think about when making ByAnnie bags
Read the instructions.
Read the instructions AGAIN!
Follow the cutting diagrams in the pattern – this is especially important when cutting the mesh fabric!
Take your time.
Do each step in the order written in the pattern.
Watch the add-on videos before starting the bag making process.
Watch any other appropriate byAnnie videos.
Take your time.
Enjoy the process and you will thoroughly enjoy the finished bag!
We went over to Vancouver Island for a week of camping! Except for one rainy day, the weather was perfect!
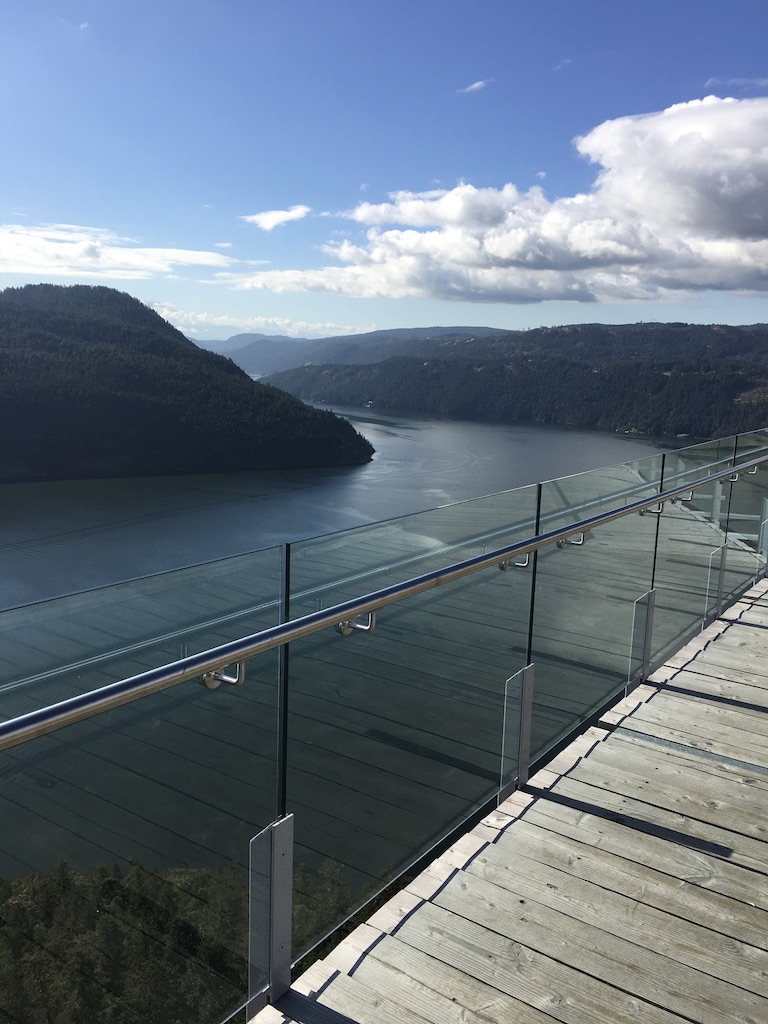
We enjoyed French Beach, Port Renfrew, Stoltz Pool, the Malahat Skywalk, Rathtrevor’s Beach and a quick drive up to Courtenay to see our old home. I found that the Malahat Skywalk was absolutely stunning! Of course, I’m biased because my daughter’s structural engineering firm designed it. But, I think I still would have enjoyed it!
Holiday Shopping
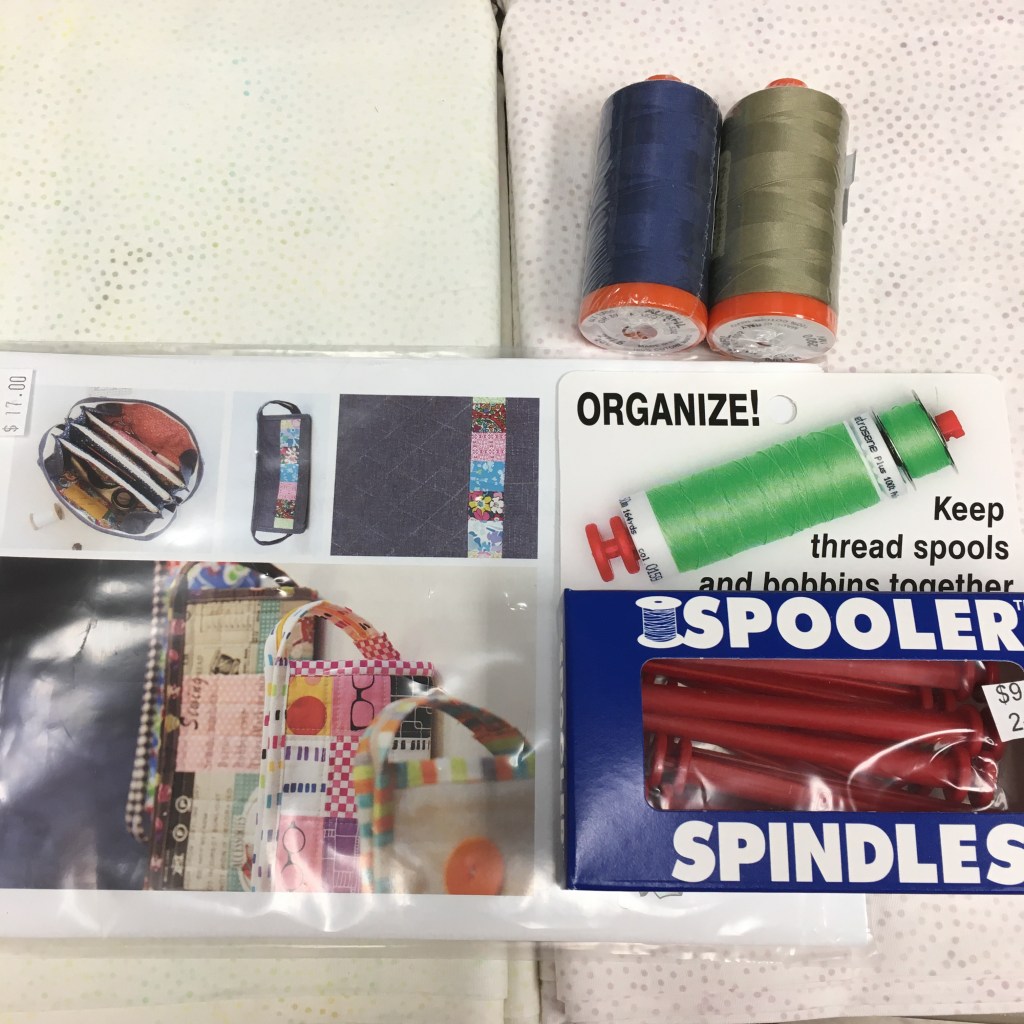
We only stopped at a few quilt stores. Unfortunately, I did not take any pictures of the stores. At Bib and Tucker in Victoria, I found some Island Batik neutrals (Almond and Egg white) and bought 2 yards of each, plus some Aurifil thread. Then at Sweet Pea in Parksville, I bought a pattern. Huckleberries in Courtenay had some spool bobbin thingies that I thought I’d try. I’ll let you know how they work out.
Favourite finish in September
Meadow Mist has a linky party each month for our favourite finishes … Mine was an Island Batik challenge using Deb Tucker tools and the “Flourish” fabric collection. You can read about it HERE.
New Classes
I will be teaching several classes at Essem in November. You can register for them HERE.
November 2 & 9: Puzzle Quilt
This is a 2 day class. From the book, Fat Quarter Baby. This looks like a super easy quilt, but when you deviate from the absolute directions in the book, there is a bit of a challenge. However, it is a very doable quilt to make – with my handy hints! This was made with a Fat Quarter Bundle that Semina put together!
November 16: Travel Posts
From the book, Color Block Quilt Making. This quilt is fairly easy to make. And you might get the top done in a day! It’s a nice lap sized quilt!
I made the top with Grunge fabrics … Semina will make you a kit if you want!
November 23: Scrappy 4 Patch and Easy Angle.
This quilt has many different layouts and sizes … All use the same basic block and use the Easy Angle Ruler. The class will have you making half square triangles with ease and you’ll be well on your way to finishing the top!
You can use your scraps … or choose to make a 2 colour quilt (like the blue one).
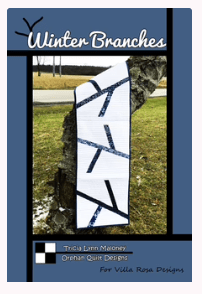
November 30: Winter Branches Table Runner
This is an easy table runner to make and you should finish the top in class. It’ll be perfect for Christmas gifts! Semina can make you a kit, or you can use your own fabrics.
Stitching Time
Kate, from Life in Pieces, is hosting “Stitching Stuff” and the goal is to sew for at least 15 minutes a day. I use Kate’s guideline, but my personal goal is to sew for 30 minutes a day. On those “blah” days, it does motivate me to sit at my machine and 30 minutes often turns into several hours. Thank you Kate for the motivation!
January – September: 234 / 272
Oct : 0 / 2
Total: 234 / 274
Percentage = 85%
Stash Report
Donna at Quilt Paint Create hosts a weekly linky party where you can display your stash numbers. This has really kept my stash from growing (somewhat!) Before I buy anything, I am always mindful of the fact that I need to report it on my blog … That sometimes stops me in my tracks!
Oh me, oh my! What a blog hop this promises to be!!! Gadgets, gadgets, gadgets … I have a few! Do I need to pick just one??? Carol, from Just Let me Quilt, organized this blog hop and I signed up right away!!!
But before I started, I decided that I needed to actually define what a “gadget” is. According to Mirriam-Webster a gadget is “an often small mechanical or electronic device with a practical use but often thought of as a novelty.”
Hmmm, to me, I have always considered a gadget something that makes my quilting easier. Sometimes the “gadget” is electronical, sometimes mechanical, but always is practical and useful. Hence, I’m going with my own definition of “gadget.”
I will show you the gadgets that I used for this project. I doubt this will make me the Queen of Gadgets, but even I was surprised at how many I actually used!
Gadget #1
EQ8
I used EQ8 to design this quilt using Island Batik’s “Pumpkin Spice,” a signature collection for Sarah Fabian, designed by Kathy Engle. I had received a 10″ stack, along with a 2 yard cut of “Celery” (which I used for the background) and a 2 yard cut of “Bluegrass” which I used for the binding.
And yes, just in case you were wondering, I recently upgraded from EQ7 to 8. A tiny learning curve, but lots of features I really really like! Well worth upgrading! Wish I’d done it sooner!
I made a quilt for the current Island Batik Blog Hop and I used Studio 180 rulers along with the “Flourish” fabric collection.. You can read about this quilt HERE.
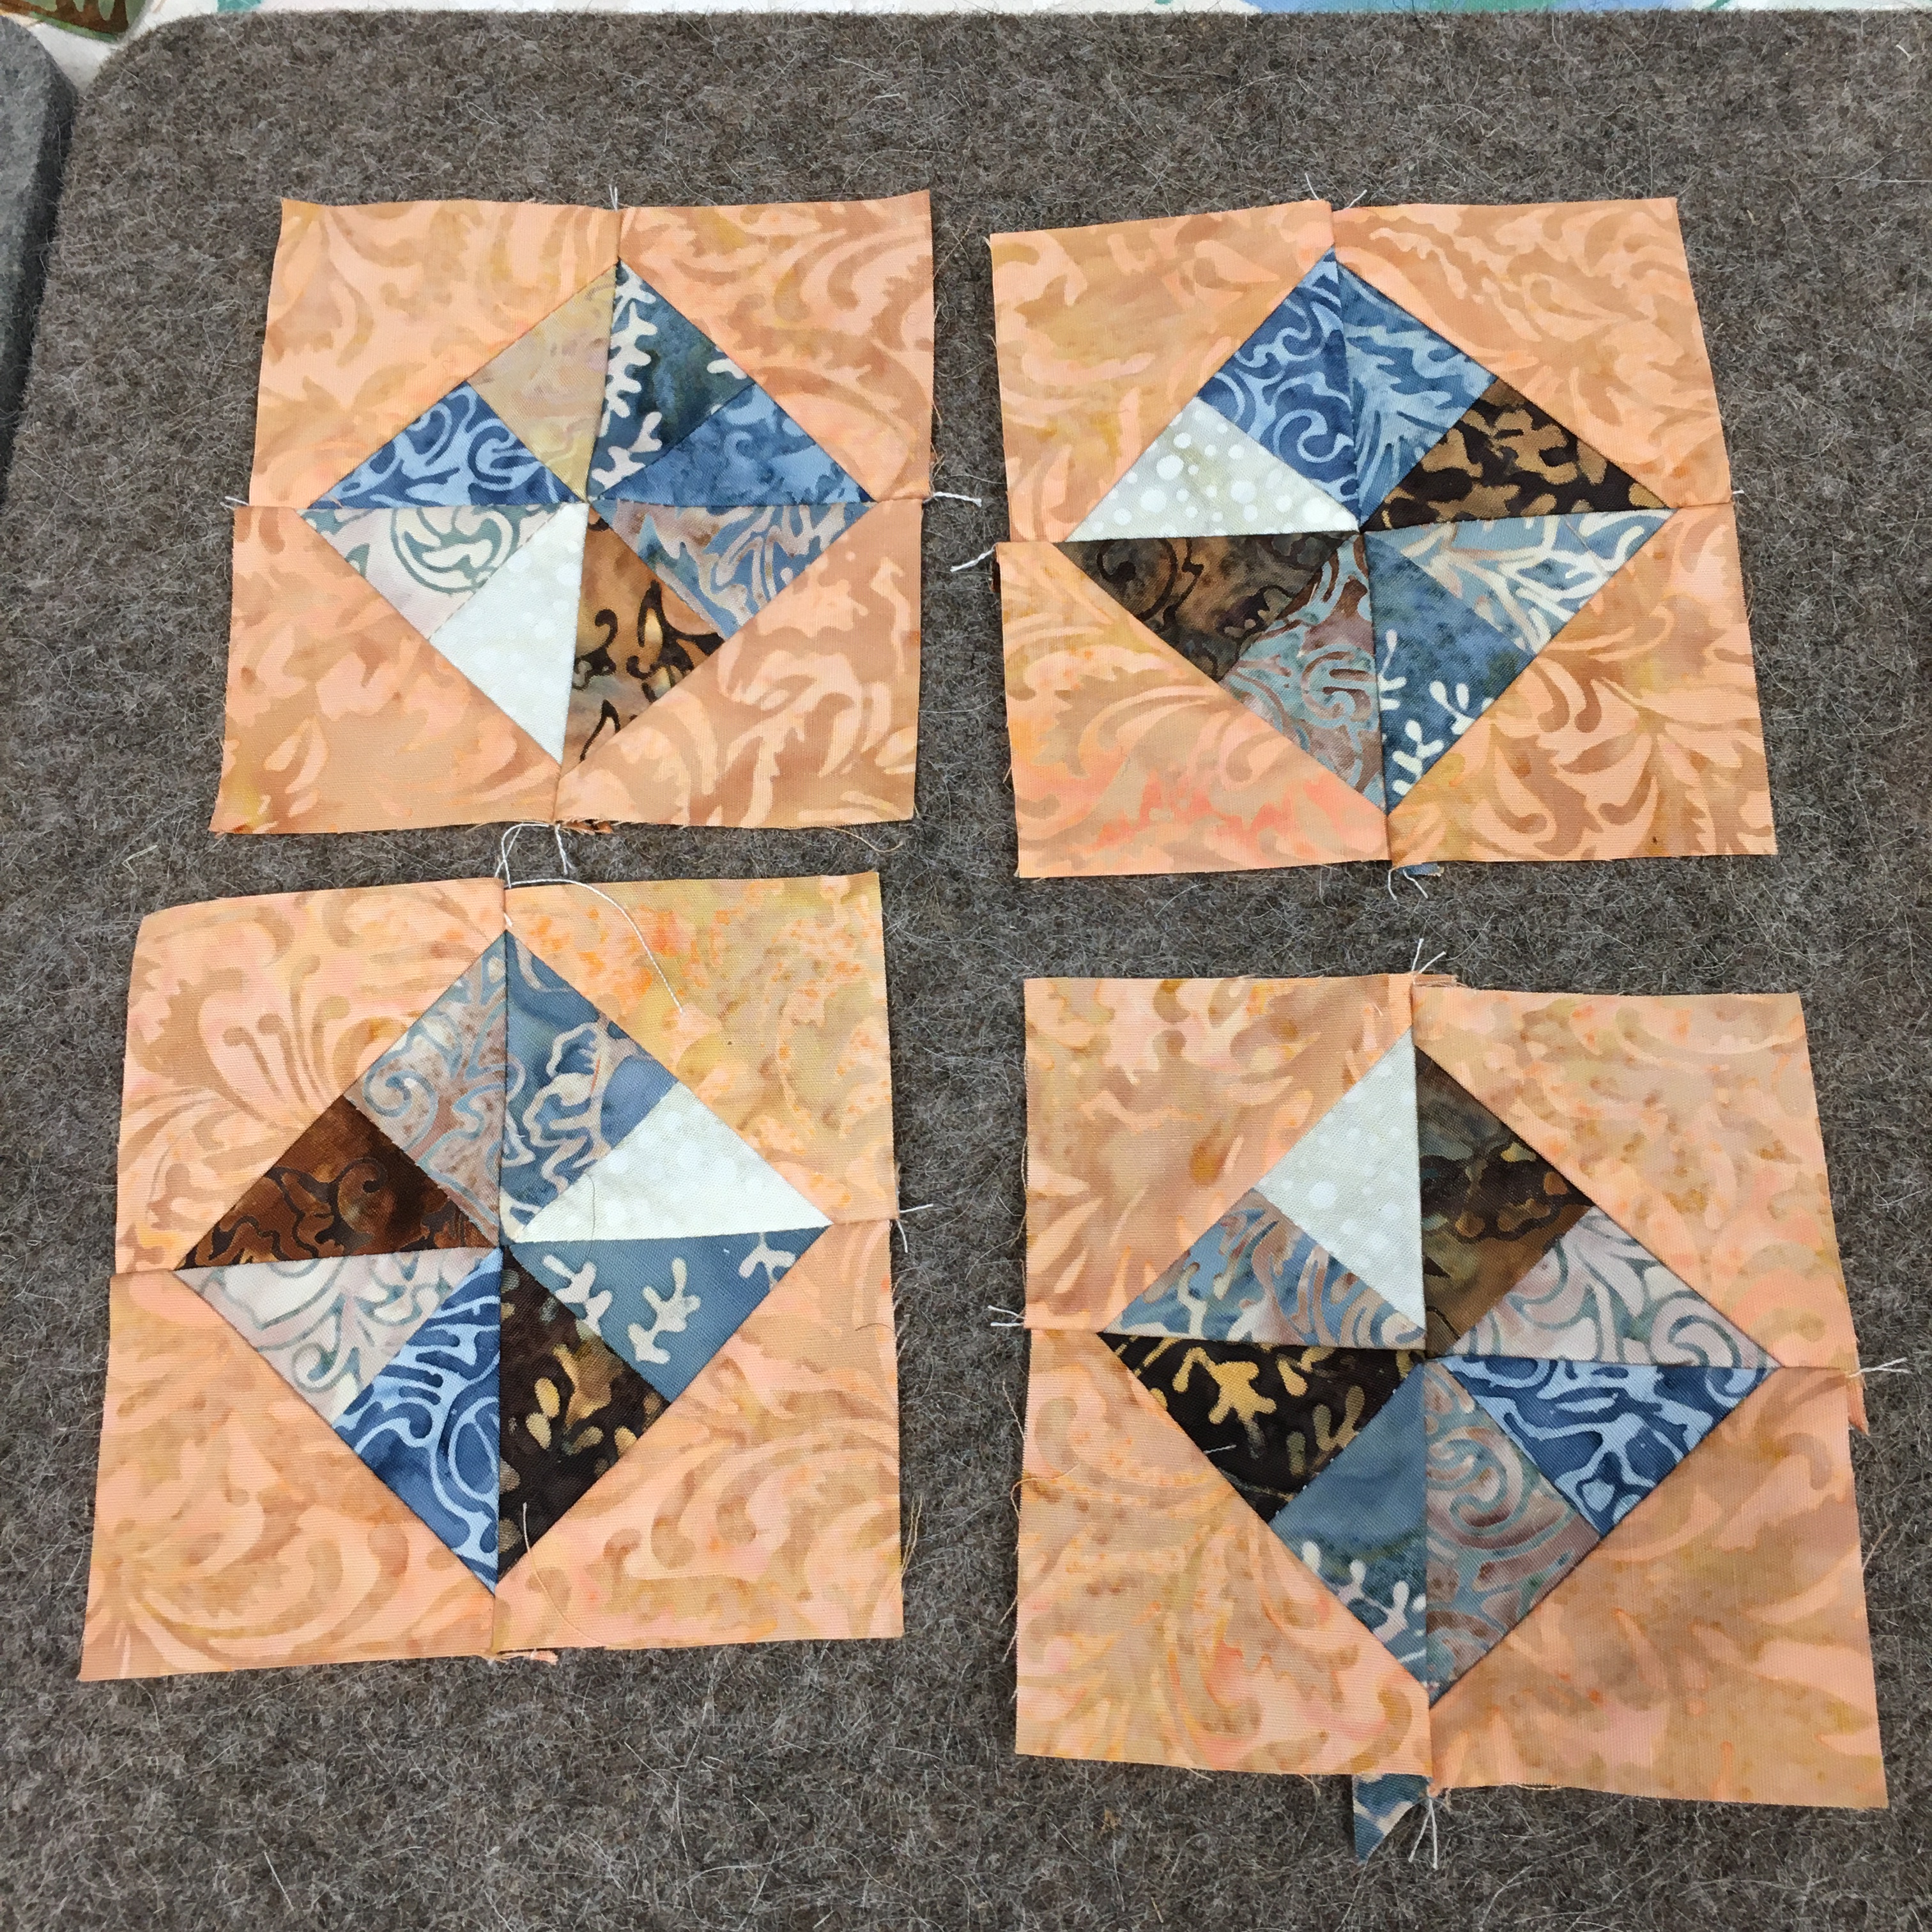
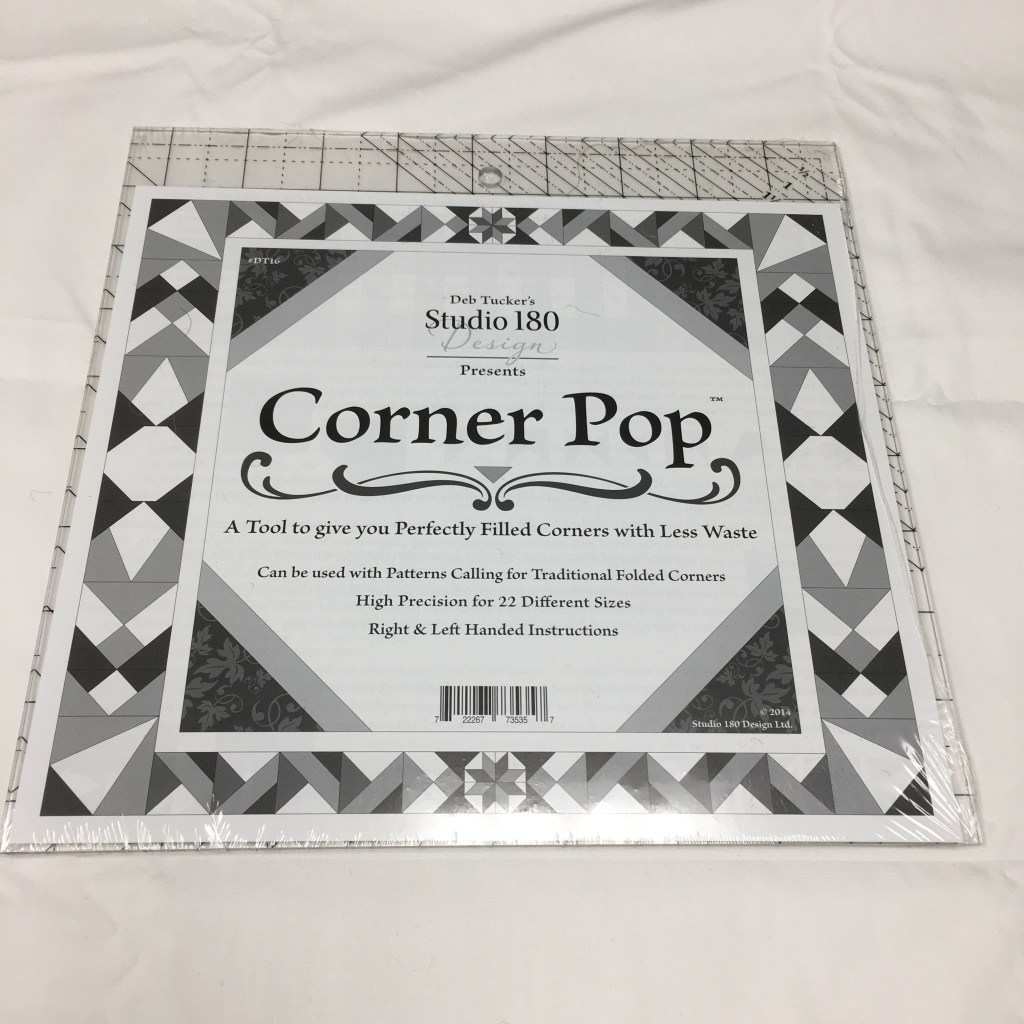
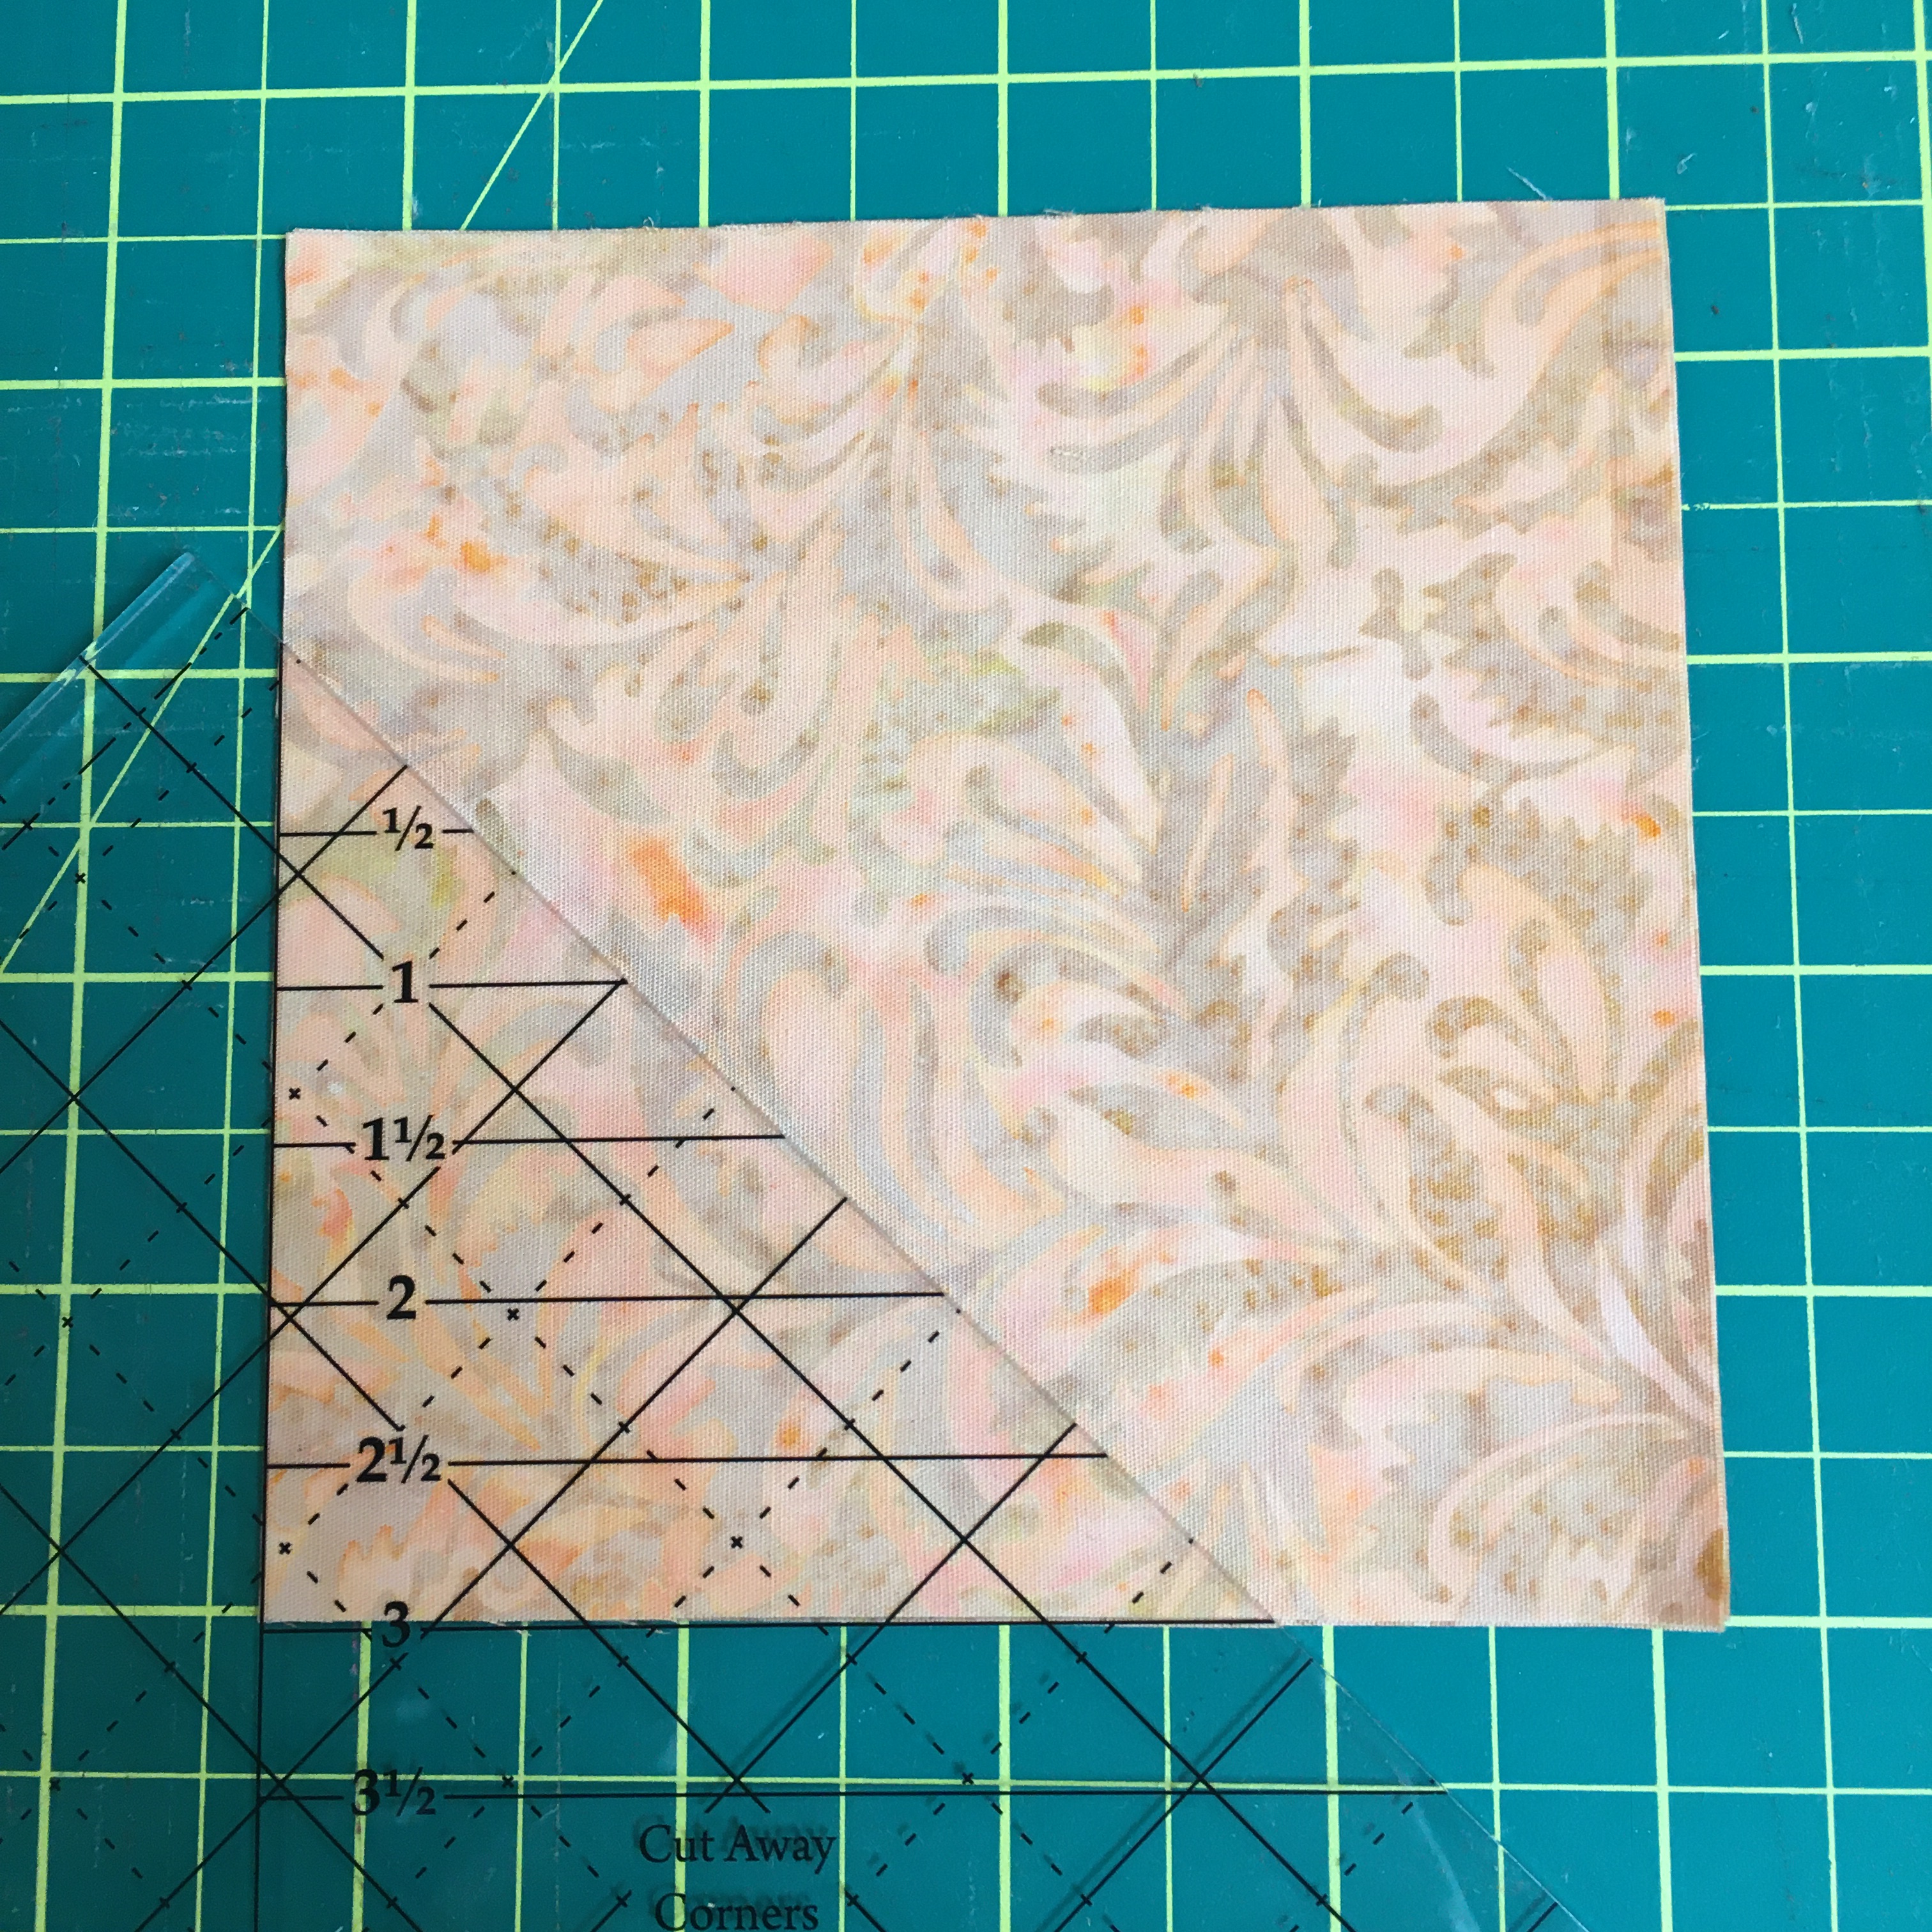
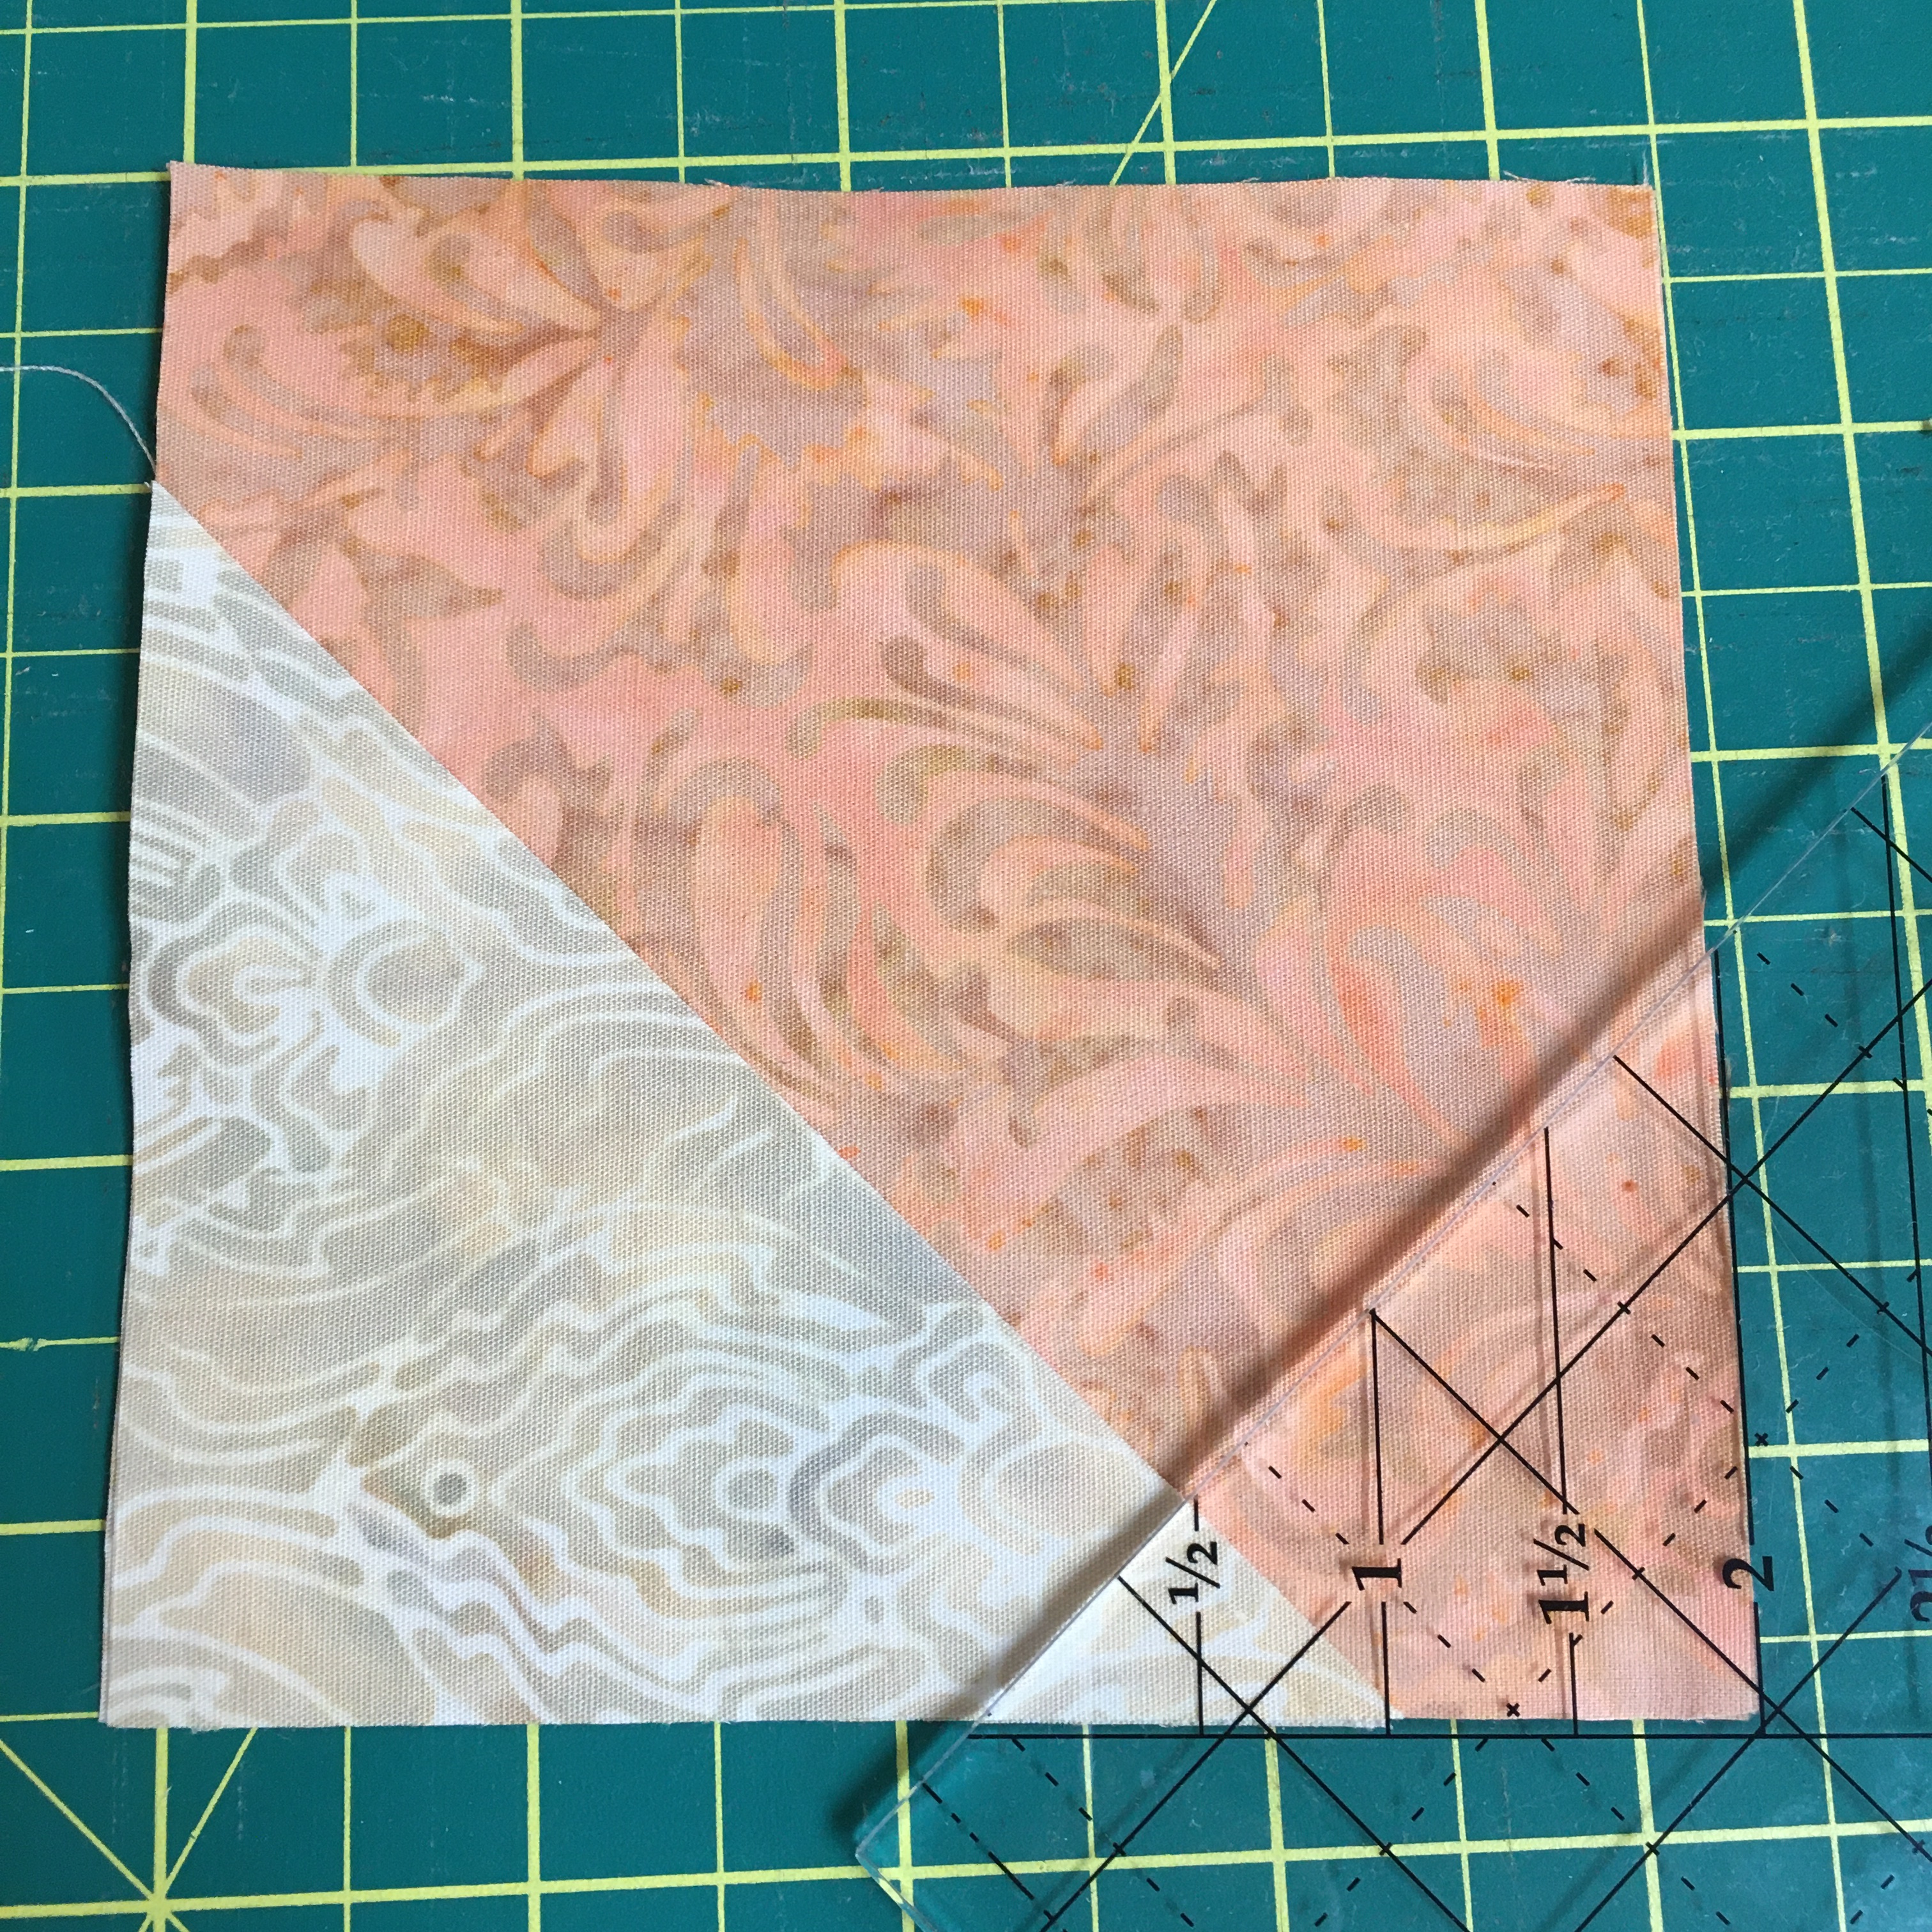
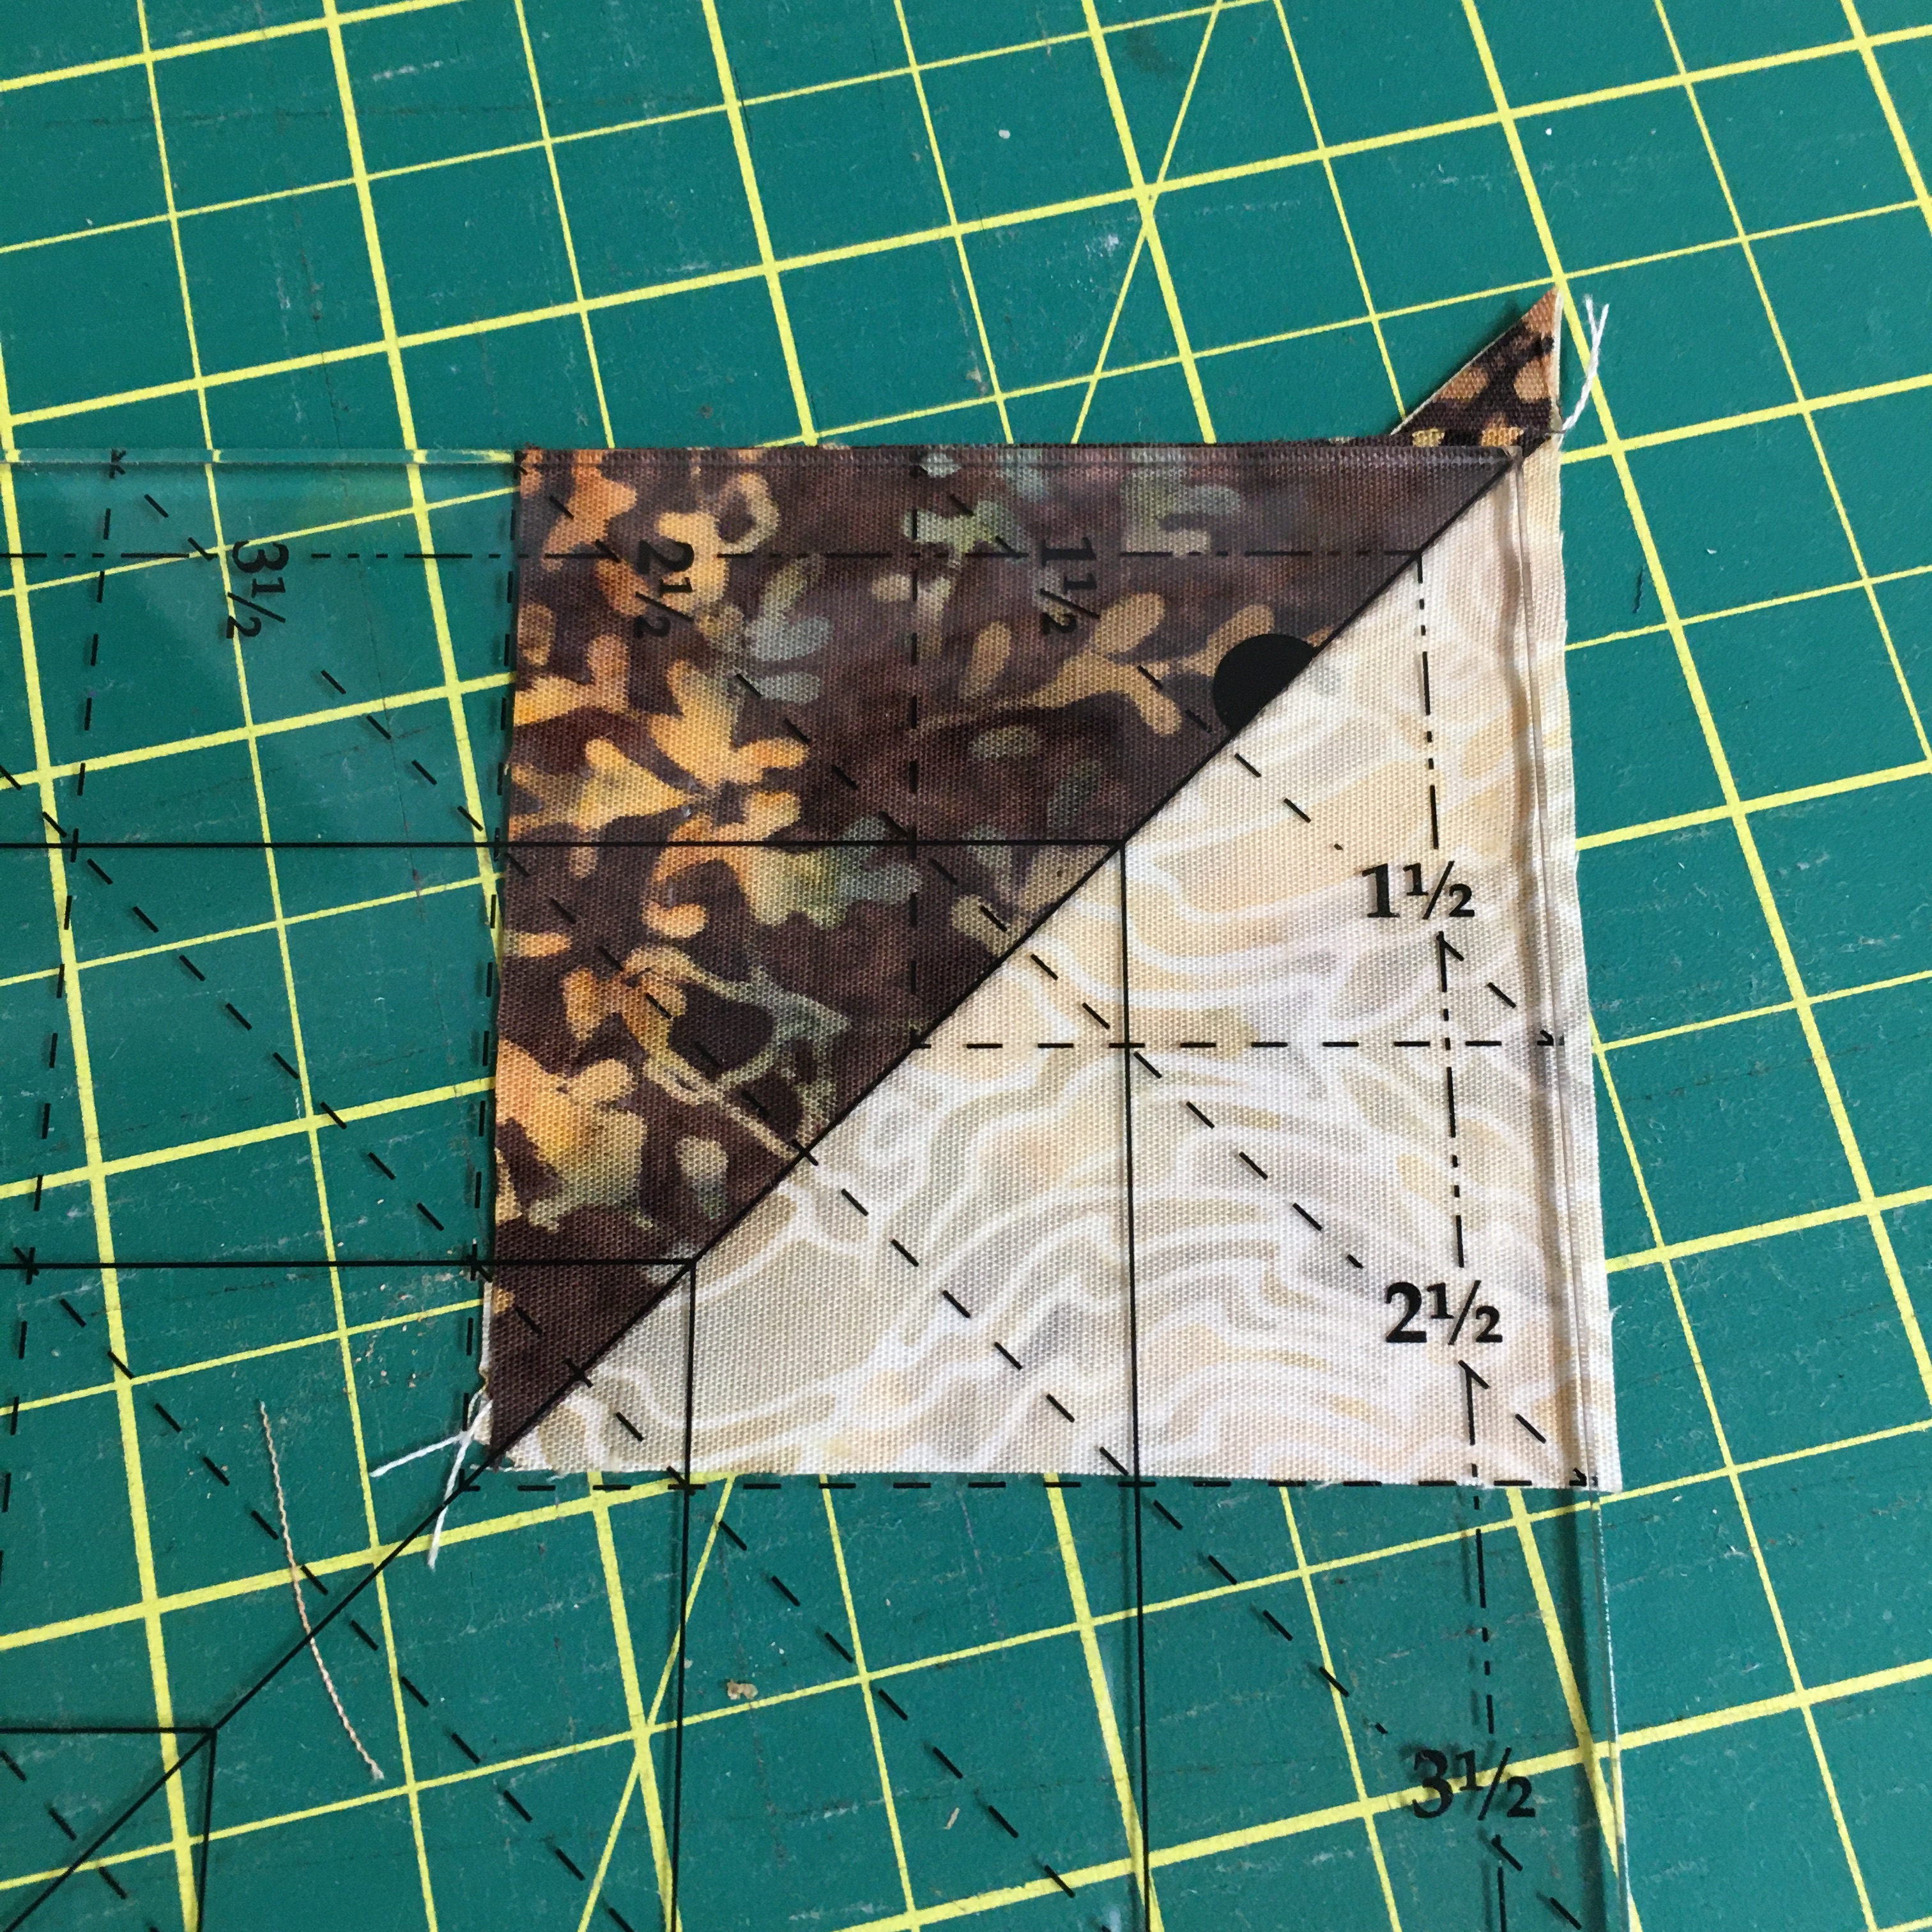
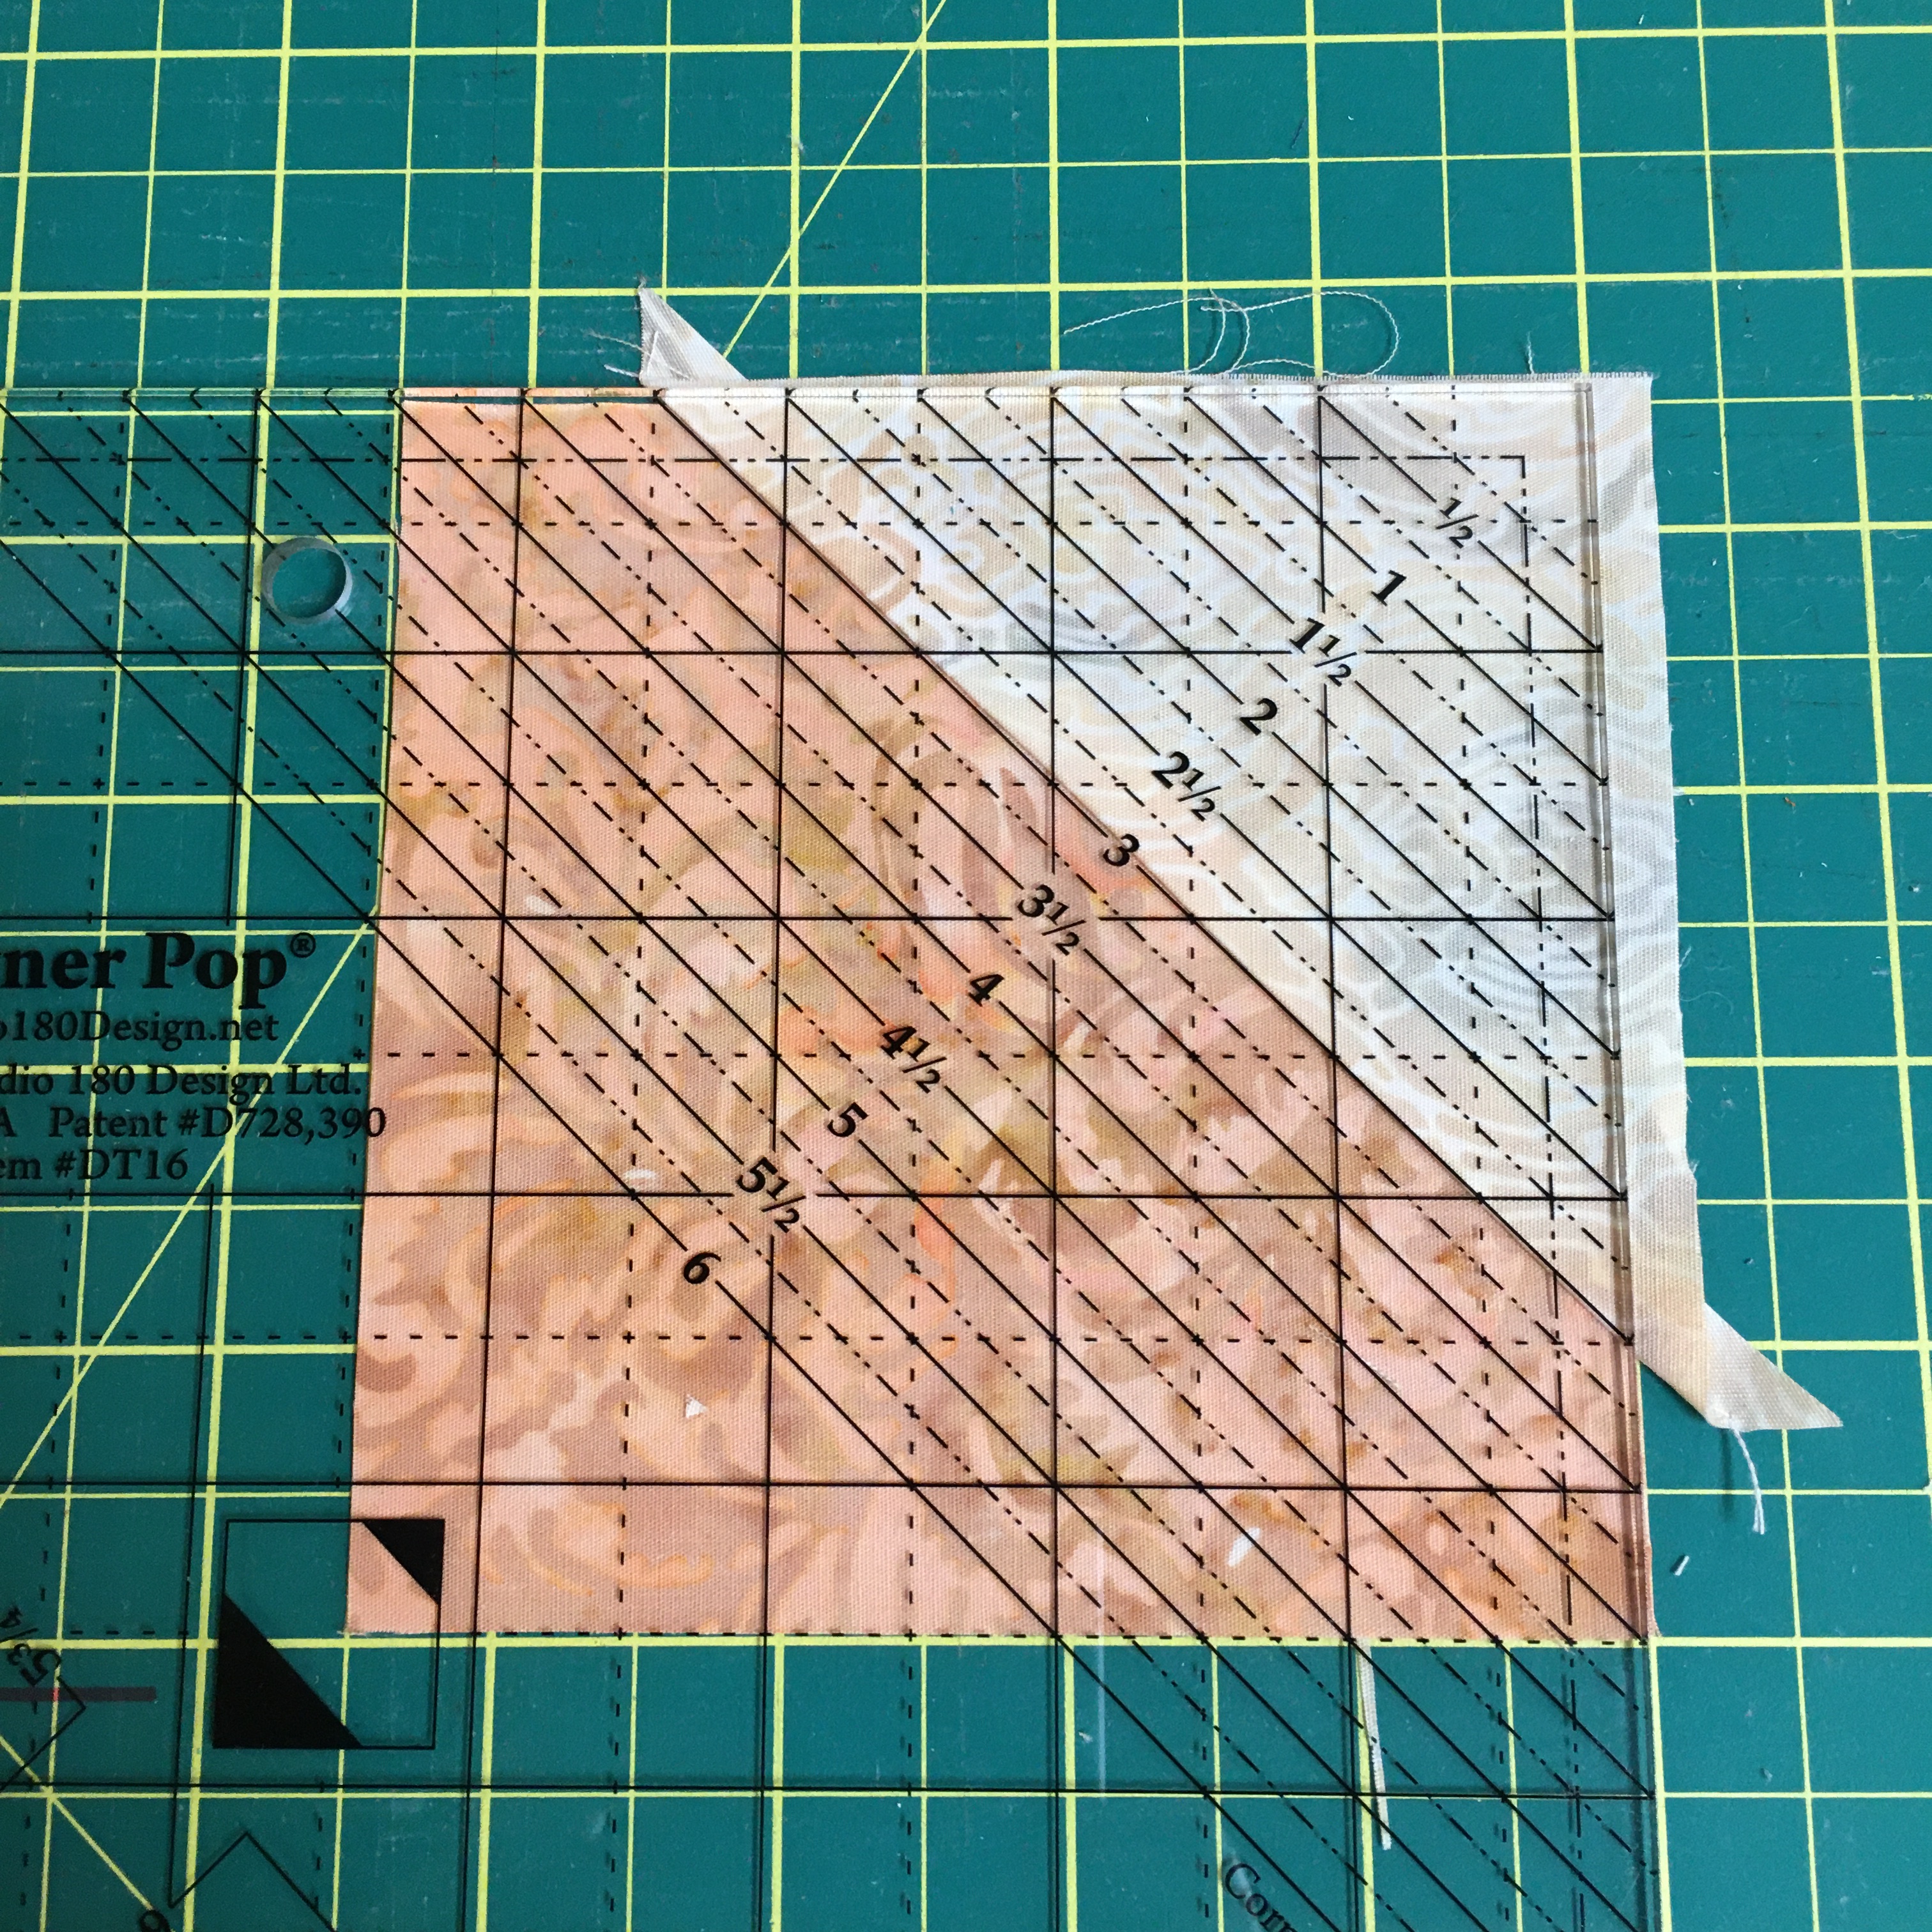
It was a LOT of fun to use the Studio 180 Corner Pop ruler to make this quilt! However there were a LOT of little triangles that were cut off the corners. They were all exactly the same size!
I HAD to do something with them! With no concrete plan in place, I used them as leaders and enders while I finished a few blocks, webbed the quilt and put on the borders.
They became these little 3 3/4″ blocks, with 4 of them shown on my wonderful Prairie Spirit Alpacas Alpaca/Wool mat.
I set them on point with 3 3/4″ squares of Dots-Brown Brownie and used the same fabric for the setting triangles and the borders.
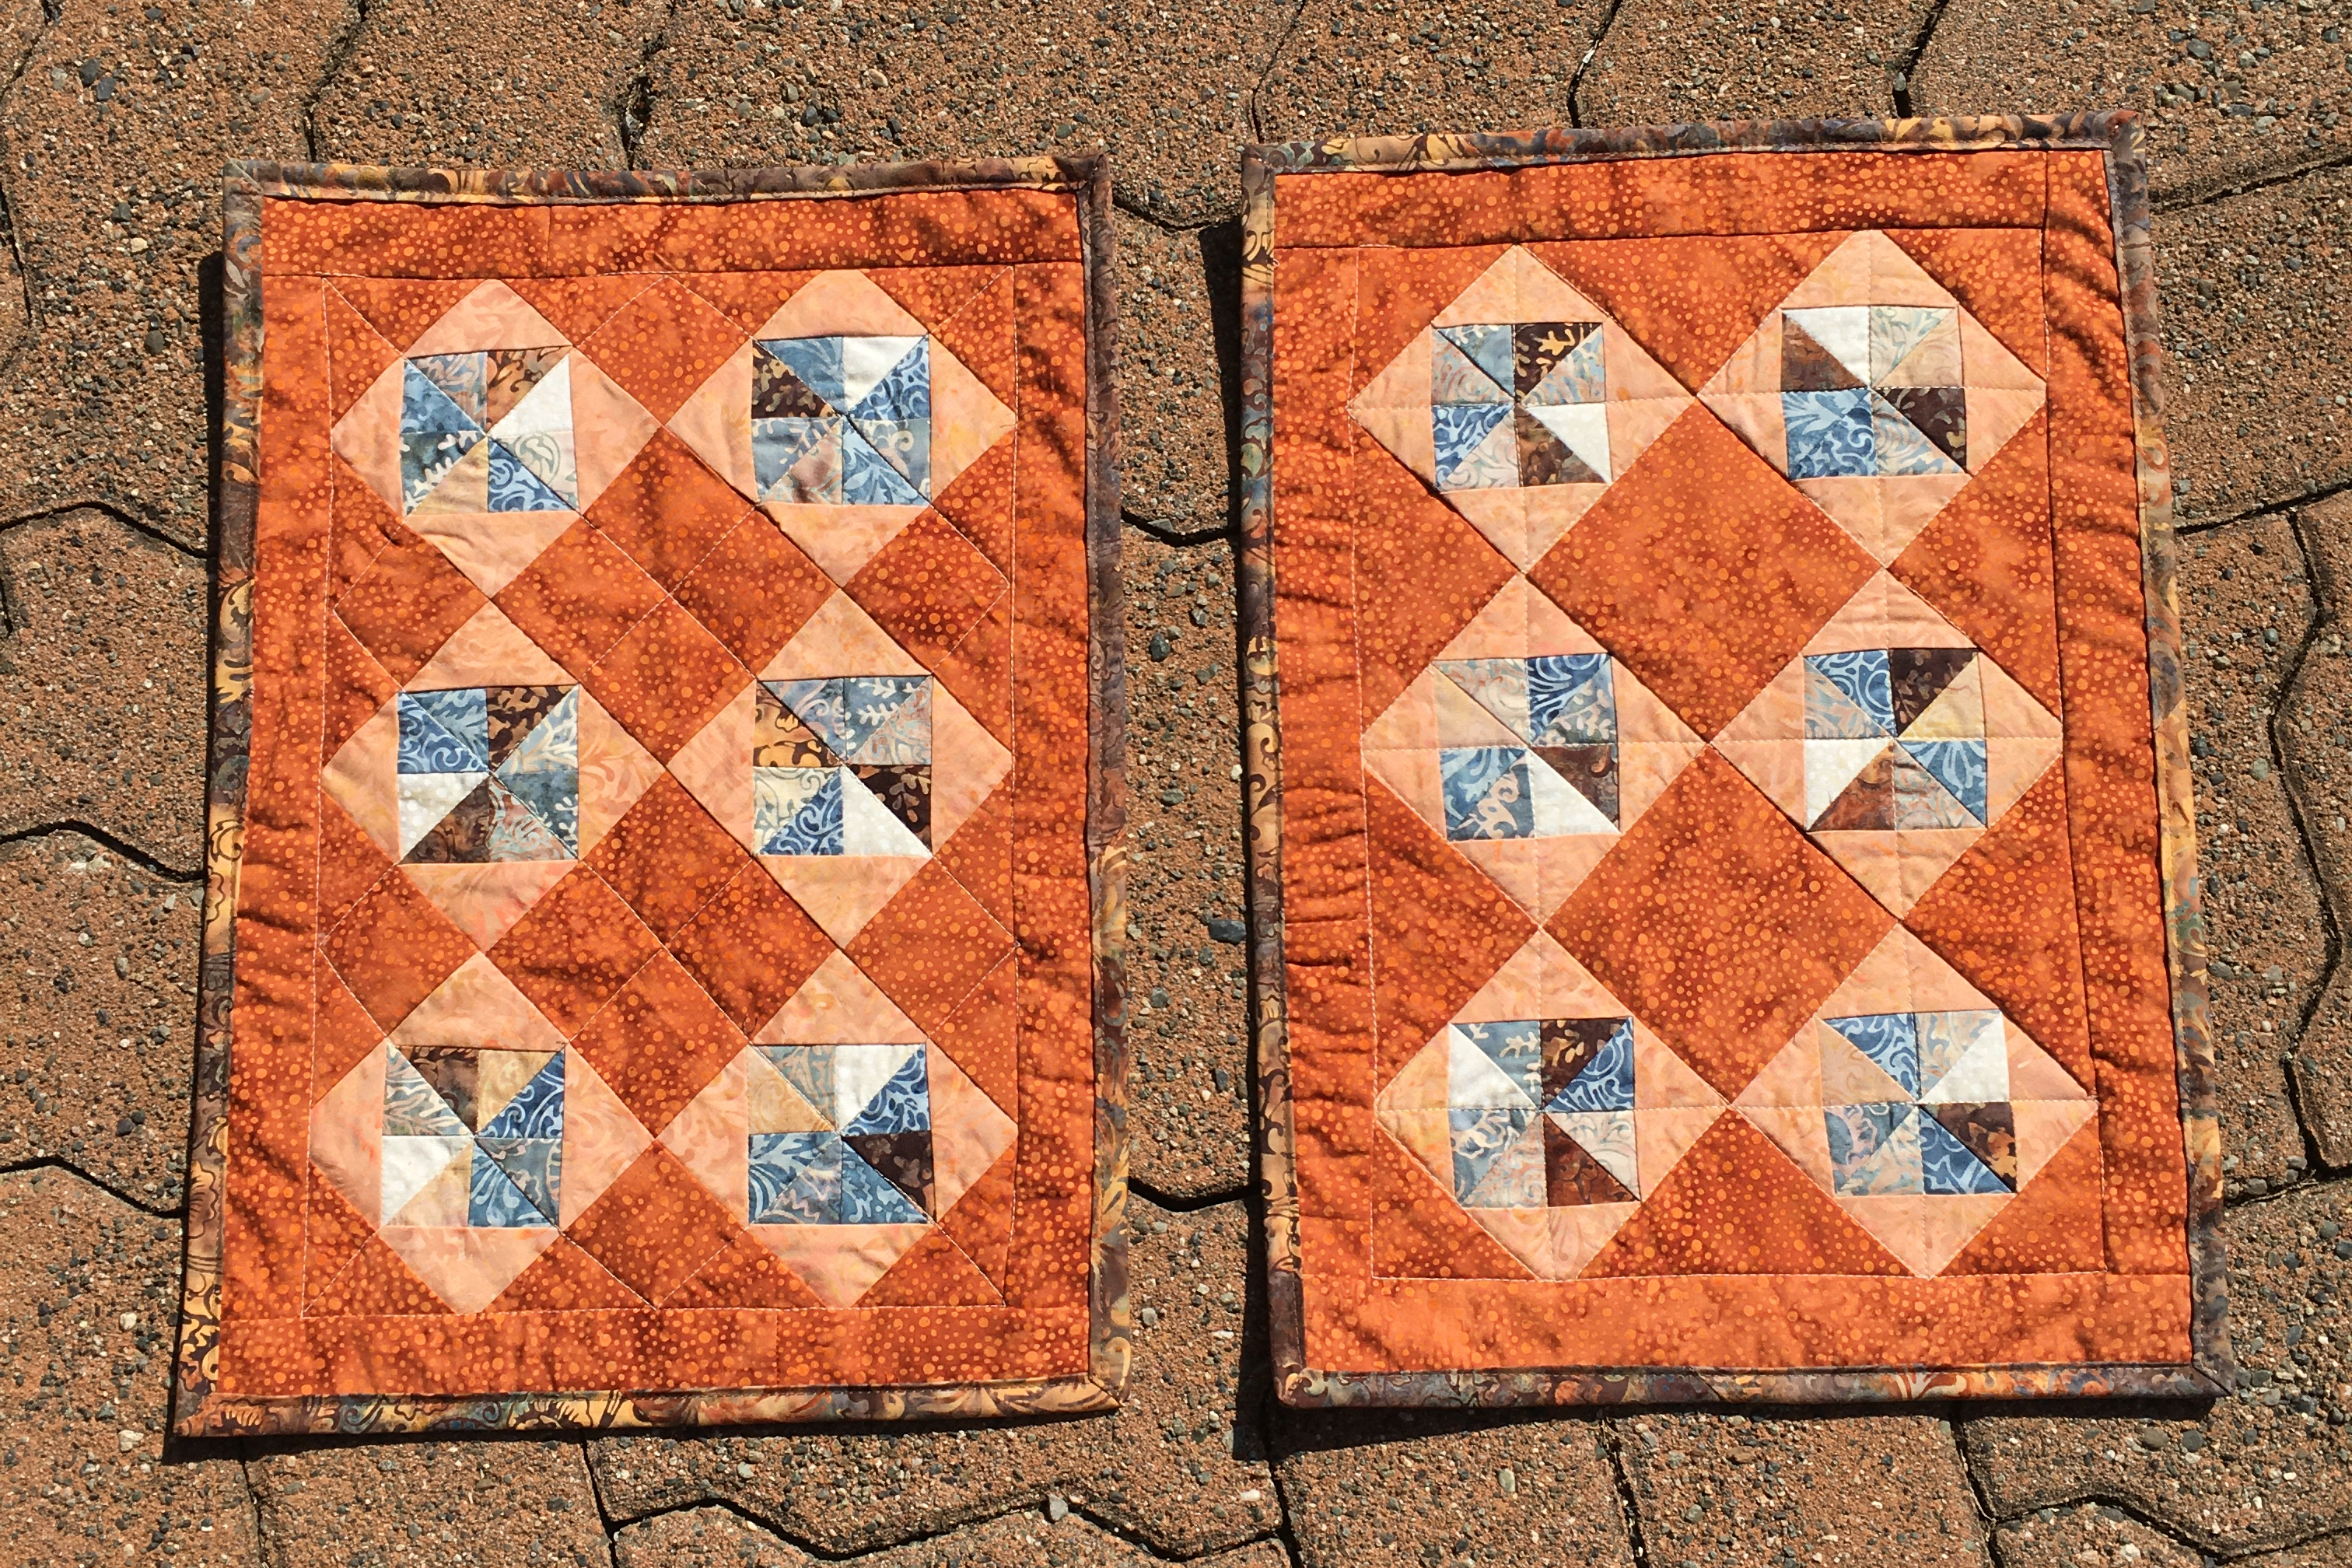
And they became 2 little table toppers that will be used on bedside tables.
Fabric: Island Batik, all from the Flourish collection. The light orange is Vertical Vine – Orange, the darker orange is Dots-Brown Brownie and the pinwheels are various fabrics from the collection. The binding is a combination of Vertical Vine-Multi Brown and Floral Leaves – Multi Brown.
Go to Island Batik’s blog to enter the Rafflecopter for your opportunity to win a fat quarter bundle of Honeycomb or Cheers! Click HERE. And, you can also see all of the quilts from this week’s hop!
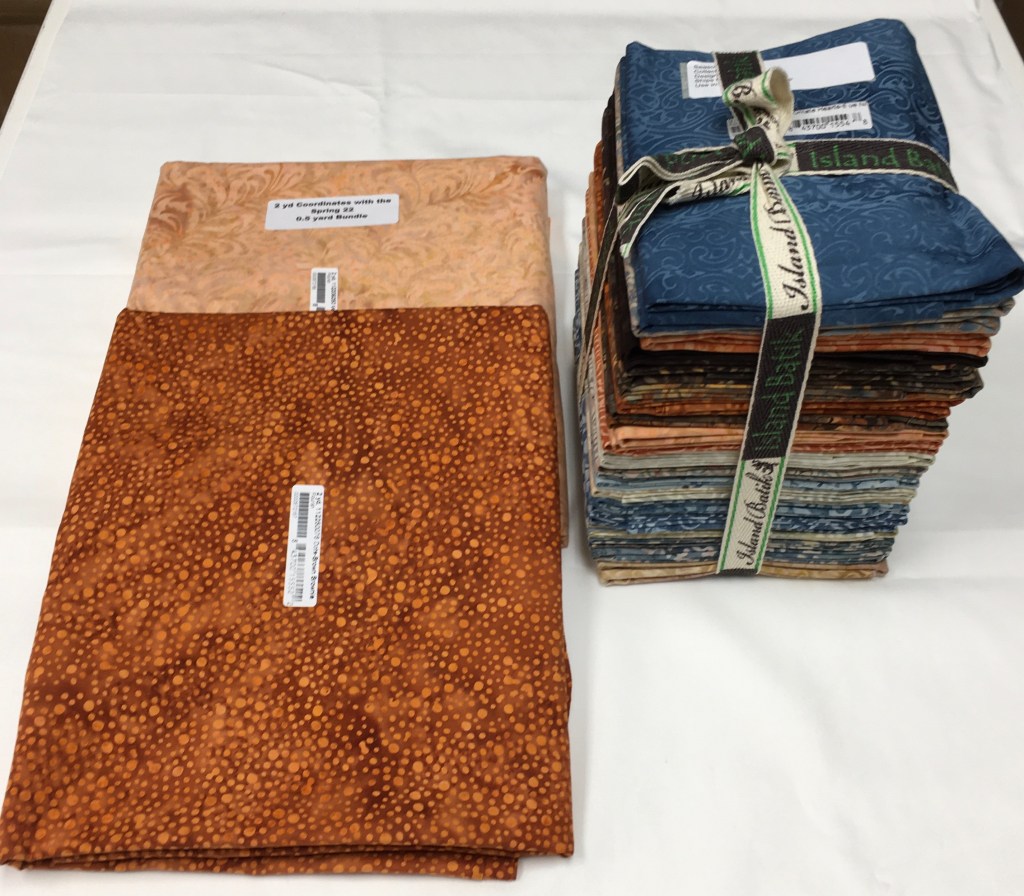
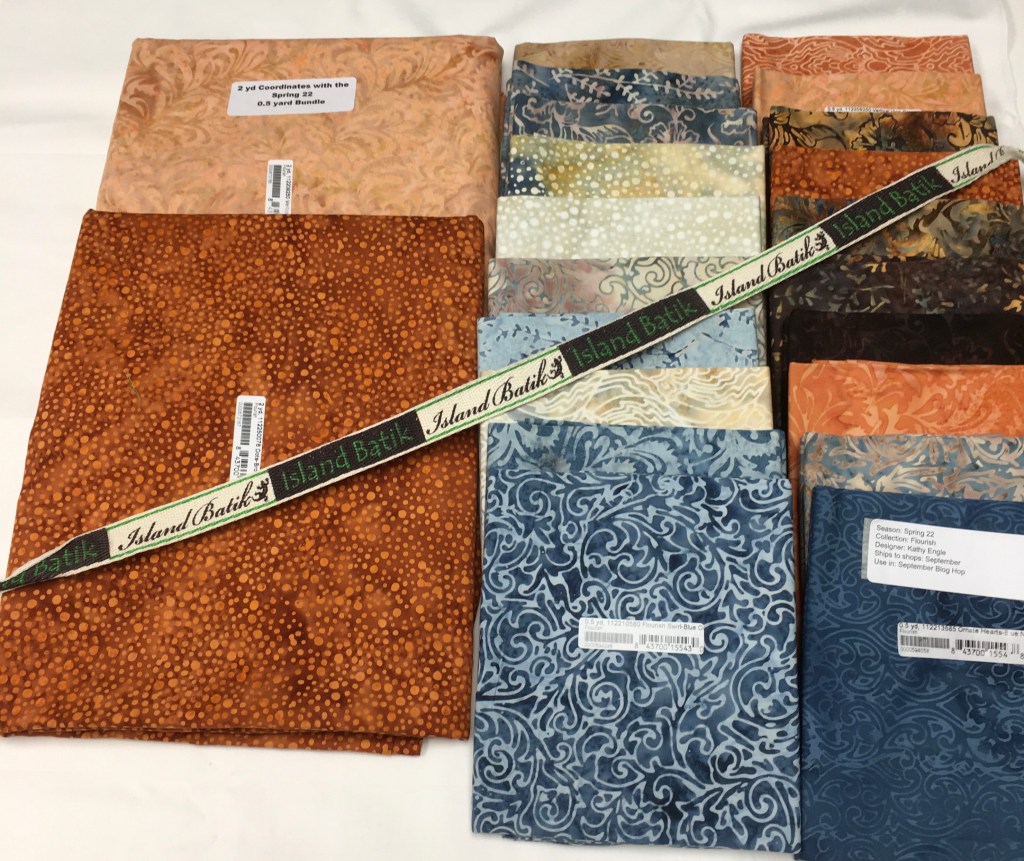
I received this fantastic fabric collection: Flourish by Kathy Engle, along with 2 yards of Dots-Brown Brownie and 2 yards of Vertical Vine-Orange
And the collection of 20 half-yard cuts of Flourish s to be paired with Studio 180’s Corner Pop tool.
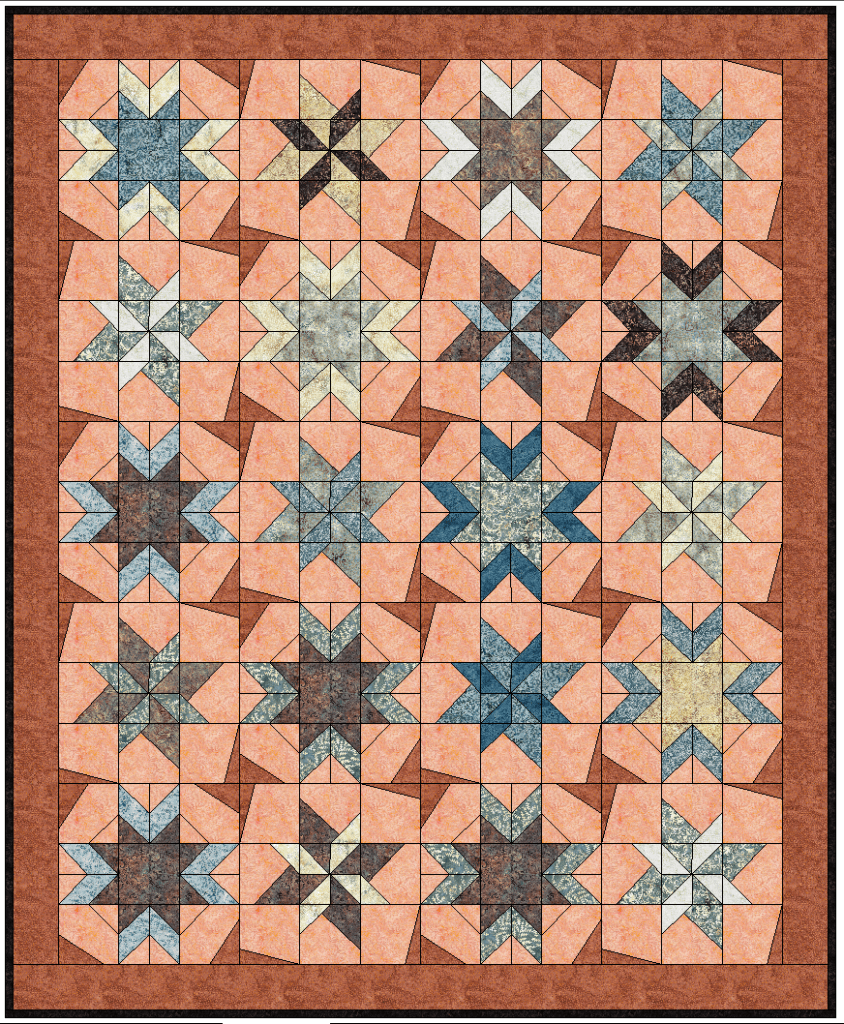
I browsed through the Studio 180 Blockbuster blocks for a block that used the Corner Pop ruler, plus some of the other Studio 180 rulers that I have. I found Blockbuster #52, Sparkler and Blockbuster #17, Salem Star. I drew the blocks in EQ, changing them slightly and came up with this quilt:
One requirement is that I use 30 units using the Corner Pop ruler! No problem!!! This quilt has WAY more Corner Pop units! The Salem Star has 160 Corner Pop units and the Sparkler Star has 80 Corner Pop units – for a total of 240 units!
And, of course, true to how I work, the colours in each block would change. This quilt used 18 of the 20 fabrics in this collection on the front. But, knowing how I work, I knew at this point, I would divide the blocks into 2 fabrics and go from there.
Before I started cutting, I visited online instructional videos at Deb Tucker’s Studio 180 Design YouTube channel to learn more about the corner pop ruler. I did not need to review the Tucker Trimmer video or the V-block video as I have used them several times!
I was so excited to get started making the 10 Salem Star blocks that I forgot to take any pictures! {groan} Let me tell you, there was a LOT of trimming, but I must admit, the points came together perfectly! And, if you know me at all – perfection is not my claim to fame!
I used a lot of the Vertical Vine-Orange in each block, with Dots-Brown Brownie in the corners and the border.
Here’s the 10 Salem Star blocks completed:
Here I am, using the Corner Pop ruler to cut the large corner of the Sparkler block. The Vertical Vine-Orange looks very faded in these to pictures.
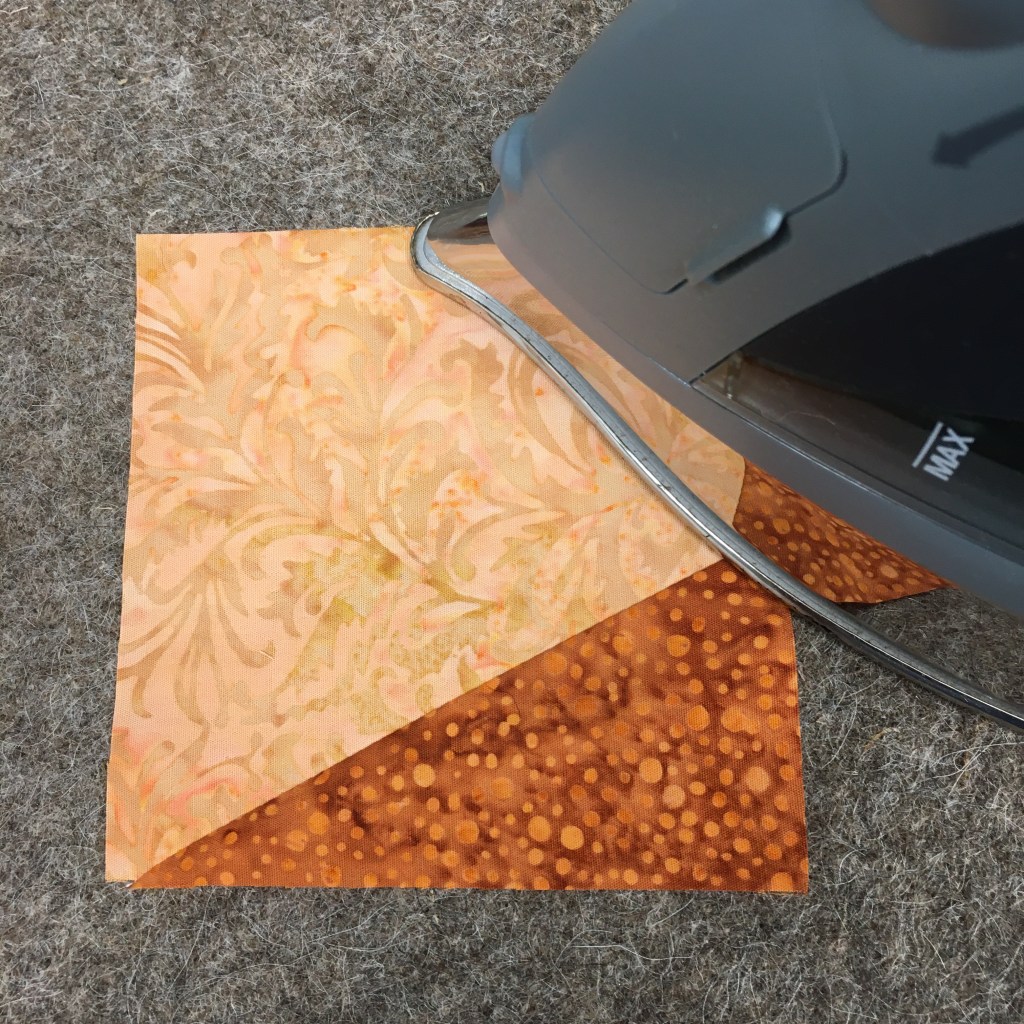
Here is the Prairie Spirit Alpaca / Wool mat making pressing the blocks perfect! Using the mat and trimming the blocks makes for perfect blocks! I’m amazed!
This picture shows a truer colour of the Vertical Vine-Orange. As well, it shows the completed corner using the V-block ruler. And pressing on the Prairie Spirit Alpaca/Wool mat = crisp seams!
The 2nd trim on this block … looks like I need to adjust the ruler just a smidge!
More trimming! The first picture is using the Tucker Trimmer ruler and the second picture is using the Corner Pop ruler.
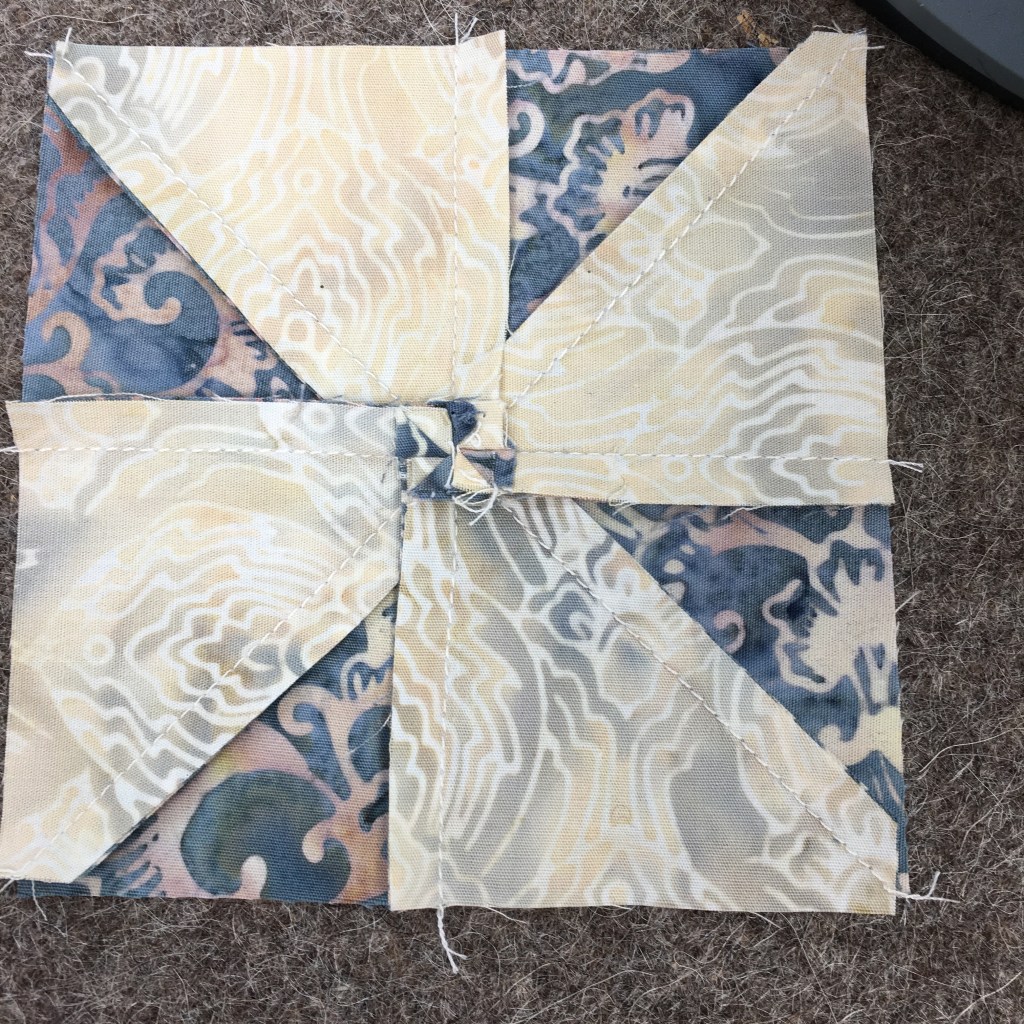
Swirling those centers of the pinwheel block. I love the look of the tiny pinwheels and I really LOVE the ease with quilting over that area without dealing with lumpy seams!
Here is a close-up of some of the quilting. All quilting is done on my domestic Janome M7.
Here is the completed quilt with Floral Leaves-Brown for the binding.
When I make Island Batik Blog Hop quilts, I attempt to use ALL 20 fabrics in the quilt. Well, there were a couple of orange fabrics that blended in too much with the background and corner triangles, so I used them on the back, with a few other fabrics from the collection!
Here’s a close-up of the quilting from the back:
A Give-away!
I’m giving away this little bundle of fabric that is left-over from making the quilt. If you live in Canada and would like to receive this bundle, leave a comment or email me. In your comment (or email) tell me what you might make with the fabric … At the end of the Blog Hop, I will put all of the names in a hat and my husband will draw the winning name.
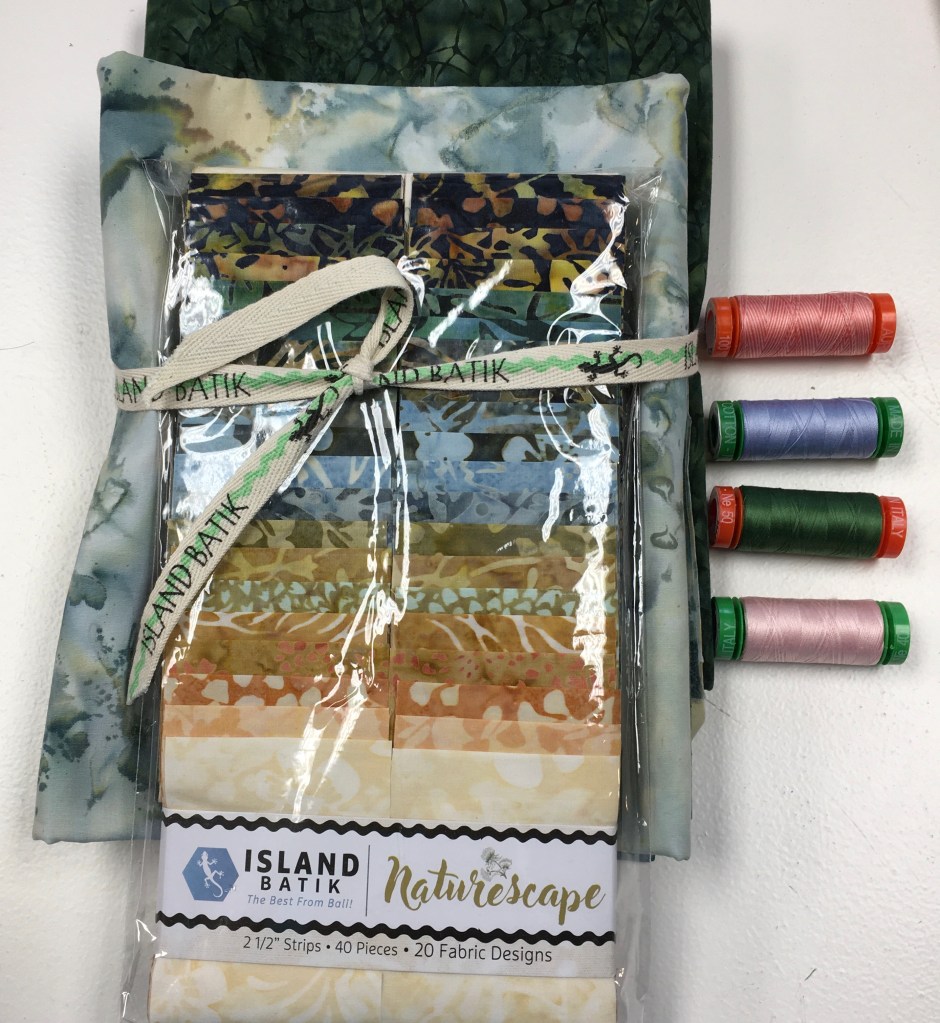
Look at this beautiful Naturescape pre-cut that I received from Island Batik! Along with 2 yards of Glacier and 2 yards of Large Netting-Pineneedle. PLUS, 4 spools of Aurifil Thread:
50 wt: #4250: Variegated Flamingo
50 wt: #2890: Very Dark Grass Green
40 wt: # 2410: Pale Pink
40 wt: # 2770: Very light Delft
I’m dreaming of what wonderful quilt I can design with these beauties!!!
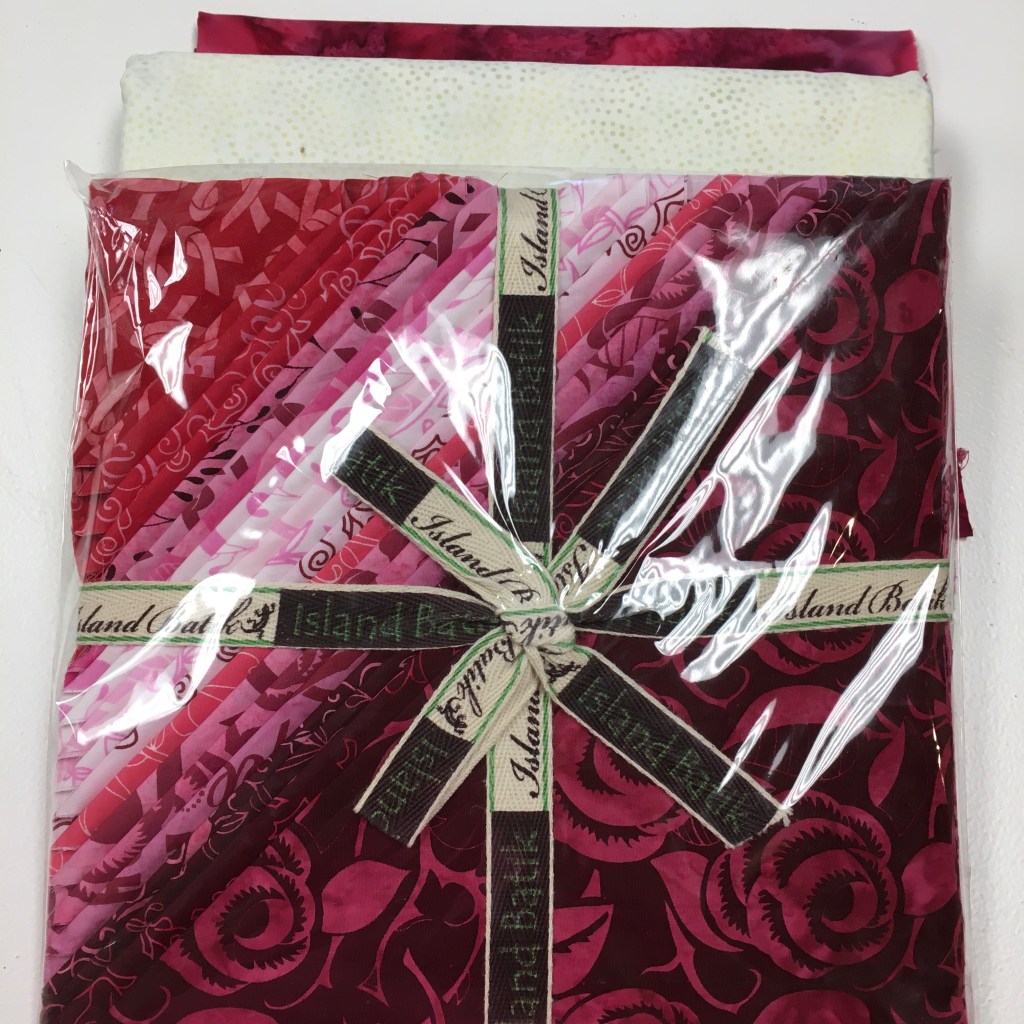
And, I also received this stack of fabrics “Positively Pink,” Breast Cancer Awareness with coordinating yardage for the Pinktober Blog Hop.
Kate, from Life in Pieces, is hosting “Stitching Stuff” and the goal is to sew for at least 15 minutes a day. I use Kate’s guideline, but my personal goal is to sew for 30 minutes a day. On those “blah” days, it does motivate me to sit at my machine and 30 minutes often turns into several hours. Thank you Kate for the motivation!
January – Aug: 209 / 242
Sept: 4 / 4
Total: 203 / 236
Percentage = 86%
Stash Report
Donna at Quilt Paint Create hosts a weekly linky party where you can display your stash numbers. This has really kept my stash from growing (somewhat!) Before I buy anything, I am always mindful of the fact that I need to report it on my blog … That sometimes stops me in my tracks!
This month, it’s Cinnamon! I LOVE Cinnamon … And these luscious fabrics from Island Batik just sing Cinnamon!!!
This pattern is free until the end of the month … so hurry … you can get it HERE: Patterns by Jen.
Here are all 8 of my blocks:
I don’t have a lot of “Cinnamon” quilts, but this one, using the Island Batik Evergreen & Pine collection is one that was made for the Island Batik catalogue. You can see it HERE. It’s the Fall/Winter 2021 catalogue & the quilt is called “In the Woods.” It is free motion quilted on my domestic sewing machine with Aurifil Thread and Hobbs Batting 80/20.
Stitching Time
‘
Kate, from Life in Pieces, is hosting “Stitching Stuff” and the goal is to sew for at least 15 minutes a day. I use Kate’s guideline, but my personal goal is to sew for 30 minutes a day. On those “blah” days, it does motivate me to sit at my machine and 30 minutes often turns into several hours. Thank you Kate for the motivation!
January – July: 185 / 218
August: 28 / 28
Total: 199 / 232
Percentage = 85%
Stash Report
Donna at Quilt Paint Create hosts a weekly linky party where you can display your stash numbers. This has really kept my stash from growing (somewhat!) Before I buy anything, I am always mindful of the fact that I need to report it on my blog … That sometimes stops me in my tracks!
I finished these projects since the last update:
the 3 yard quilt … 3 yards for the front, 3 for the back & half a yard for binding …
I don’t have anything new that is finished … but I have had a couple of finishes in the last week or so.
The first finish was my July Island Batik project that used the Accuquilt Tree of Life Block on Board. The 73 pieces of the block can be cut in one run through of the die. But of course, I had to do it differently and make it scrappy. You can read more about the quilt at this BLOG POST.
I must admit that I am very pleased with how this quilt turned out.
Yes, this quilt used Island Batik fabrics, Hobbs batting and Aurifil thread for the quilting.
Oh, and Cheryl at Meadow Mist Designs hosts a favourite quilt of the month linky party, and this happens to be mine!
My 2nd finish is my post for the UFO blog hop. This kit had been languishing in my “To Do” box and was on my UFO list both last year and this! You can read about it HERE. Here’s a picture:
Monthly Colour Challenge
Jen, of Patterns by Jen holds a monthly colour challenge. This month’s challenge is purple.
Here is my purple block, made with the rich colours of Island Batik fabrics!
And all of my 7 blocks so far for this year … I think it will be a very pretty quilt when it’s finished!
I don’t have a lot of purple quilts … but these are a few that I’ve done in the past couple of years.
This blog hop came from the creative mind of Joan at Moose Stash Quilting!
Many of us have lots of UFOs ! These are known in the quilting world at UnFinished Objects. In the past I had over 100 UFOs. I thought I only had 80-something, but I kept finding more and more! On my blog, I run a PHD in (the year). PHD stands for Projects Half Done, but is a cute play on the academic PhD. The idea is to complete at least 12 UFOs and finish every project you start that year. This Blog Hop fits nicely into my PHD in 2022 and I managed to get another UFO finished!
One of my UFOs on the list was called “Kit – Narrows.” This was a Row by Row kit from Fiber Lilly in St. John’s, Newfoundland. I bought the kit 5 years ago when my husband and I were there. Fiber Lilly is a lovely quilt store, and one I would frequent if I lived nearby!
I know that I’ve been frequently known to call applique “CR-APplique.” I have hated applique. But, I am determined to do more and hopefully, one day, I might even like it!
I used HobbsThermore for the batting. It is a thin polyester batting that is low loft and does not beard. I find it is perfect for small projects!
Here is the quilt, after the pieces were fused on and before the quilting.
Then, it needed quilting and the button houses attached. The land, and boat were all outlined with an applique stitch. I did a large meander for the clouds in the sky and waves in the water. The iceberg is easy to see, but can you spot the whale’s tale?
I took my time with the quilting and used the following Aurifil Threads:
# 5004 – Grey Smoke (land, whale & motor)
# 2311 – Muslin (Iceberg, boat, fisherman)
# 4655 – Storm @ Sea – variegated (sky)
# 4669 – Stonewash Blues – variegated (water and binding)
In my latest Island Batik box, I received a lovely pressing mat from Prairie Spirit Alpacas. I’ll talk more about it in a future post, but I LOVED using it !
Here’s what Island Batik told us about this challenge:
AccuQuilt just launched its exciting GO! Tree of Life Block on Board Die! This die assists quilters in quickly cutting the seventy-three pieces needed to create a 3-color, 14” traditional tree of life (also known as the tree of paradise) quilt block after one pass through a fabric cutter. The GO! Tree of Life Die was specially designed with no y-seams – making it accessible to quilters of all skill levels. There is no need to cut all the pieces by hand or use multiple dies to create this popular quilt block.
When you finish, AccuQuilt would like you to give the project you have made to someone you know who needs a little joy or donate it to a charity of your choosing to gift it to someone. When gifting the completed project, be sure to take photos, so this moment of kindness and love can be shared on social media!
Here is a picture of some of the purples cut with the Accuquilt Tree of Life die:
All of the Island Batik Ambassadors received an Pressing Mat from Prairie Spirit Alpacas. I used it to press everything as I made this quilt. The Alpaca/Wool mat made the seams crisp and perfect!
And here’s a couple of pictures of the quilting in progress. I used Silly Moon rulers for a lot of the quilting. The left hand picture shows me using the 8″ Beanie ruler and the right hand picture is some border quilting using “Rocket”. The burgundy “thing” is called “Dude” and is perfect for measuring exactly where the ruler needs to sit. Aurifil Thread #2600 (Dove) was used for the quilting.
For a unique photo shoot, we went to Redwood Park here in Surrey. Here’s what the City of Surrey says about the park:
The unique forest found at Redwood Park is a legacy of Peter and David Brown, twin brothers born to one of Surrey’s earliest pioneering families. In 1893, their father gifted them this large plot of land, logged and ripe for farming. However, the brothers instead filled the vast space with their favourite trees from all around the world. Fully committed to their forest sanctuary, the eccentric duo built a treehouse where they lived in solitude until their deaths in 1949 and 1958. Today, a replica of their treehouse stands in the centre of the park.
A picture of the quilt at the treehouse.
And under the Treehouse:
And in the Fairy Forest:
My finished quilt is being mailed to a dear friend of mine. I would LOVE to be able to hug her in person, but that is not possible at this time.
Quilt Stats:
Size: 49.5″ x 49.5″
Fabric: Scraps of Island Batik from many collections along with Solid White. The purple tree and the binding used Roast.
I’m still quilting my July Island Batik project … just working on the border with Silly Moon “Rocket” ruler and “dude” to ensure its lined up properly! I’m using Aurifil thread (2600 – Dove) and you can see Hobbs 80/20 batting poking out!
I was Featured
Jennifer featured this sweet panel from last week. You can read about it HERE.
Andrée / Free Motion Mavericks featured my Pop Star Quilt. For more details read this POST.
Carol, from Just Let Me Quilt is hosting this blog hop. Here comes the Sun is a great title for a June blog hop. However, I live in Western Canada … on the WET coast! We haven’t seen much sun and it has been cool! On the news, they are calling it “June-uary.”
What is the challenge for “Here Comes The Sun”?
Sew something that has a summer theme like: sunglasses, beach items, sunny skies, and/or yellow colors. It can be a quilt, a bag, a toy, or whatever you want it to be.
So, I took a class from Elizabeth at Epida Studio and made this great window hanging with the sun inside the flower! (She has several different classes and is a fantastic teacher! I highly advise that you look into taking a class from her)
The technique to make this was totally new to me. It’s called Pojagi. It’s a technique that Elizabeth learned in Korea. The seams make it look like stained glass.
And here’s a picture of it in the window!
The fabrics are Island Batik … The yellow is Ogee Petal Sunshine, the flower petals are Floral Wonders and the background is Butterfly Blooms.
Once this was stitched together, it was a bit flimsy, so I sprayed it with Terial Magic and it was perfect!
Here’s the list of all of the blogs that are participating! Enjoy the sunny eye candy!
Have you seen the latest issue of Fons & Porter, Love of Quilting? I am super excited about this issue!!!!!!!!!!!!!
I’ve been looking high and low for it, with little luck. Until today! YEAH!!!
Why? you ask … Because, I have a quilt in the issue. They did a fabulous job photographing it. I absolutely LOVE the table in front of it.
I was so excited to see this in the magazine! A few people emailed me saying that they had seen it – but I hadn’t! It was pretty cool to see it in the magazine!
Quilt Stats:
Designed, pieced and quilted by ME!
42.5″ x 42.5″
Island Batik fabrics: Contempo and
Hobbs 80/20 Batting
Aurifil thread (yellow)
Free motion quilting on my domestic machine
Backing is Fireside
The directions for the quilt are in the magazine. If you make it, I’d love to see a picture!
Here’s a picture of my quilt where you can see all the quilting!
I have a finish to show you. I finished this quite a while ago, but couldn’t show you. It was the latest mystery quilt that the guild did! The pattern is from a book, but I re-wrote the instructions to use strip piecing. It makes it so much easier to construct the quilt. And because the original directions were from a “Mystery Quilt” book, I cannot share them with you! Sorry!
This quilt was made with fabrics from my stash. And I only put on the one border … the original directions called for 3 borders.
Here’s a close-up of the quilting … it sort-of looks like feathers, but in reality, it’s just an elongated swirl – way easier than feathers to do!
Stitching Time
‘
Kate, from Life in Pieces, is hosting “Stitching Stuff” and the goal is to sew for at least 15 minutes a day. I use Kate’s guideline, but my personal goal is to sew for 30 minutes a day. On those “blah” days, it does motivate me to sit at my machine and 30 minutes often turns into several hours. Thank you Kate for the motivation!
Not many days of sewing this week.
January – May: 119 / 150
June 1 – 13: 9 / 12
Total: 128 / 162
Percentage = 79%
Stash Report
Donna at Quilt Paint Create hosts a weekly linky party where you can display your stash numbers. This has really kept my stash from growing (somewhat!) Before I buy anything, I am always mindful of the fact that I need to report it on my blog … That sometimes stops me in my tracks!
Squirrel is sandwiched and I have a plan for the quilting!
2. Once the Island Batik Catalogue quilt tops are done – they need to be quilted.
Island Batik Blog Hop
Have you been following the latest Island Batik Blog Hop? With quilts featuring the New York Beauty pattern? It’s been quite a variety of wonderful quilts!
I posted mine on June 6 … you can read about it HERE.